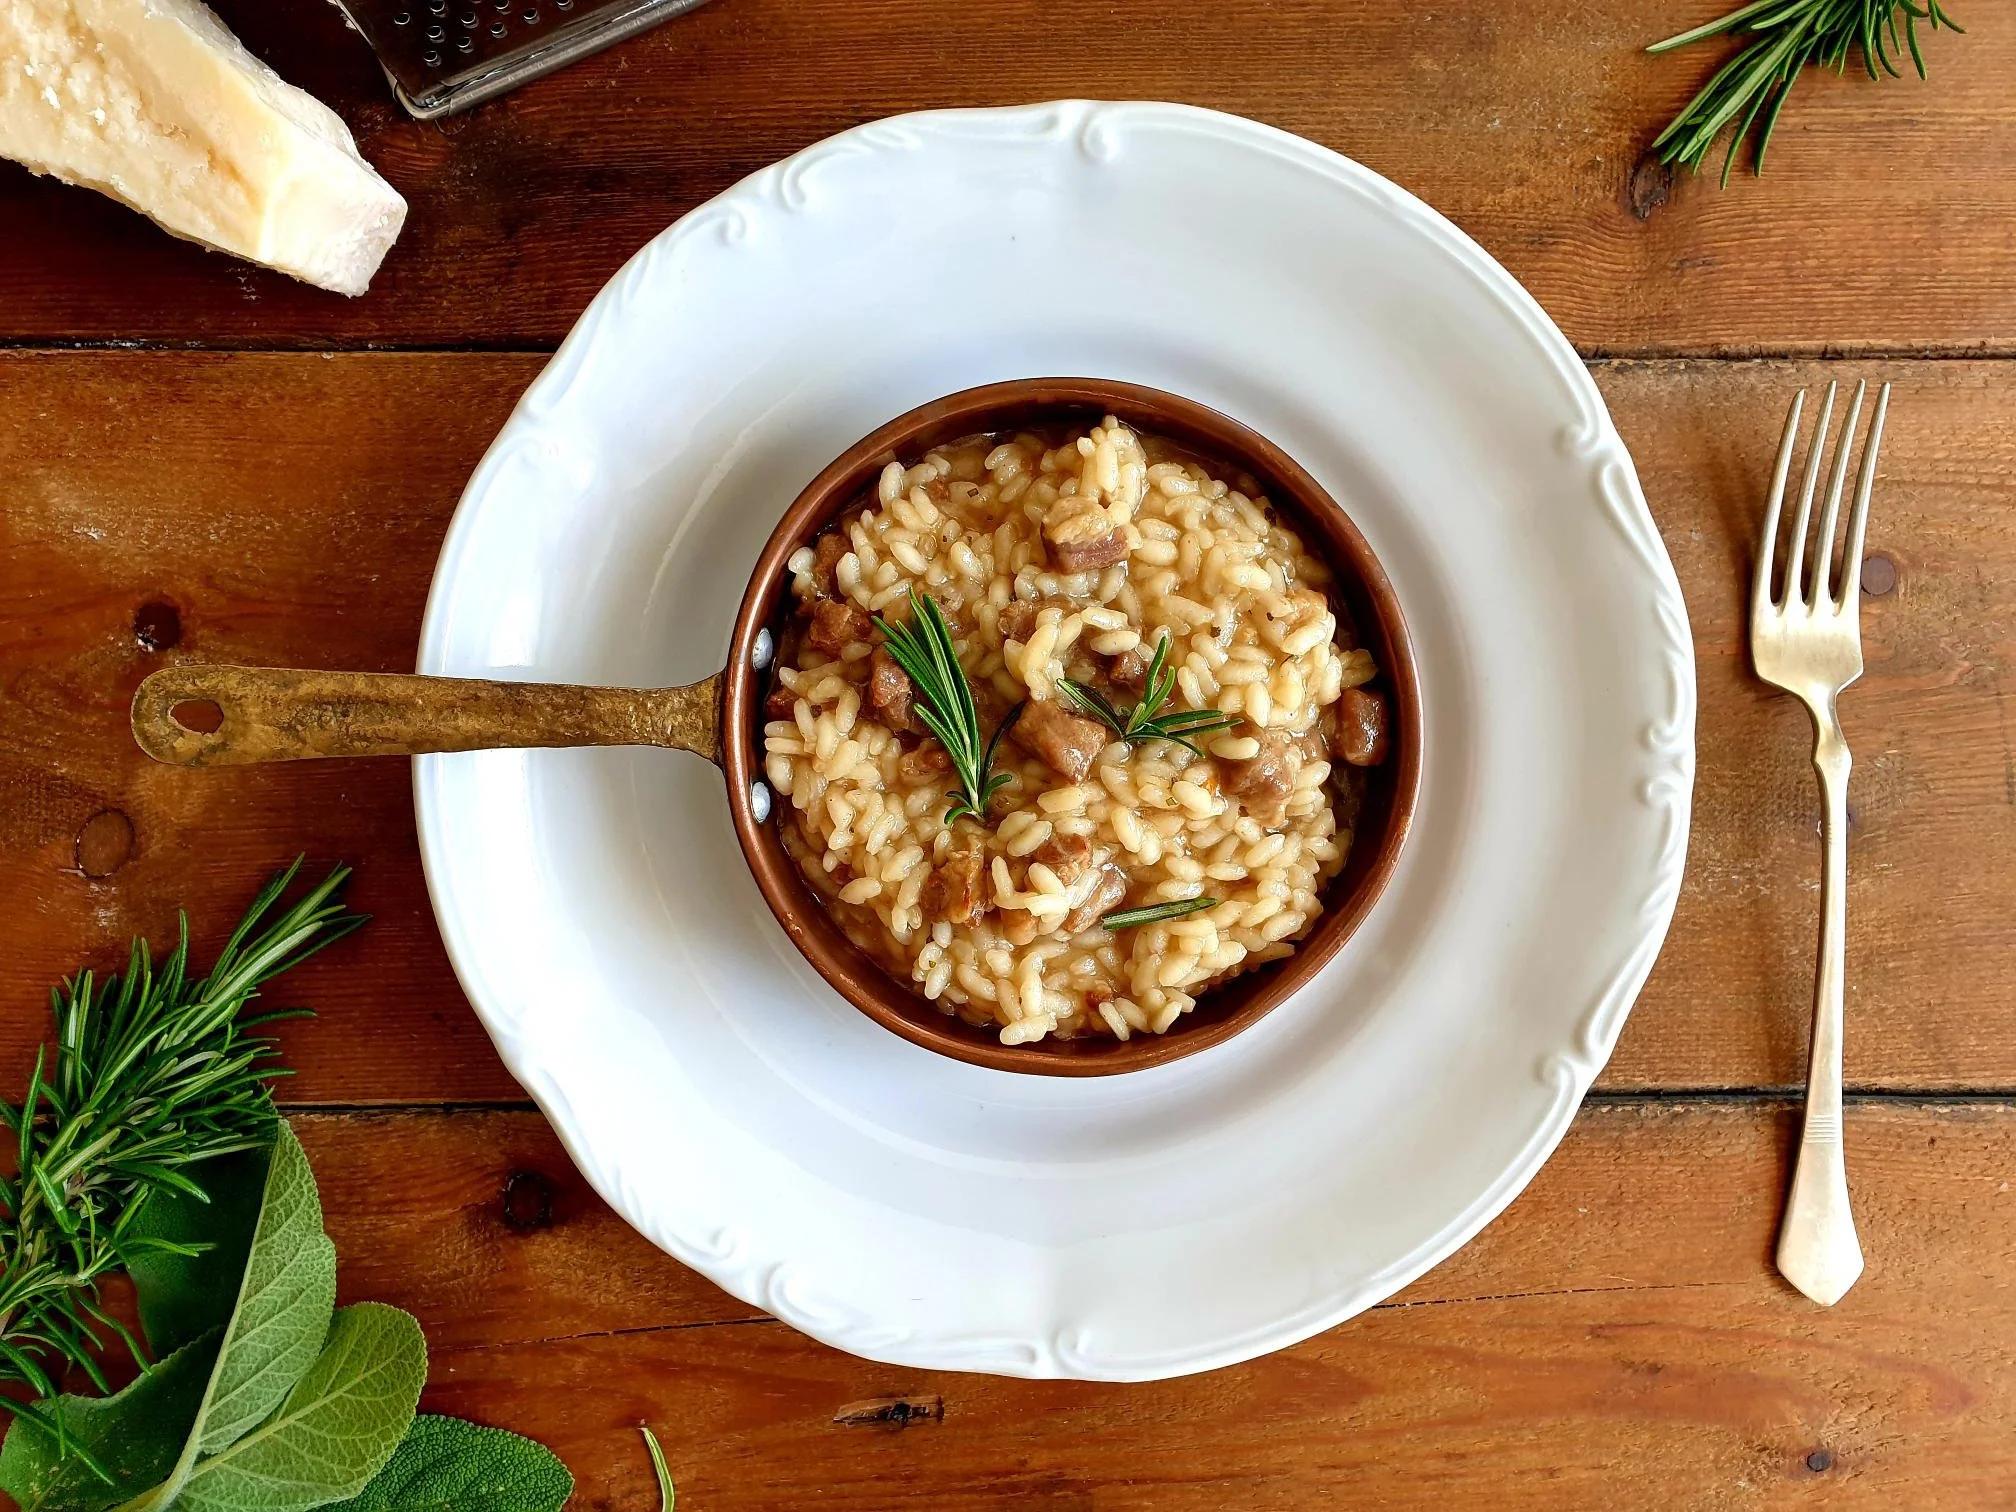
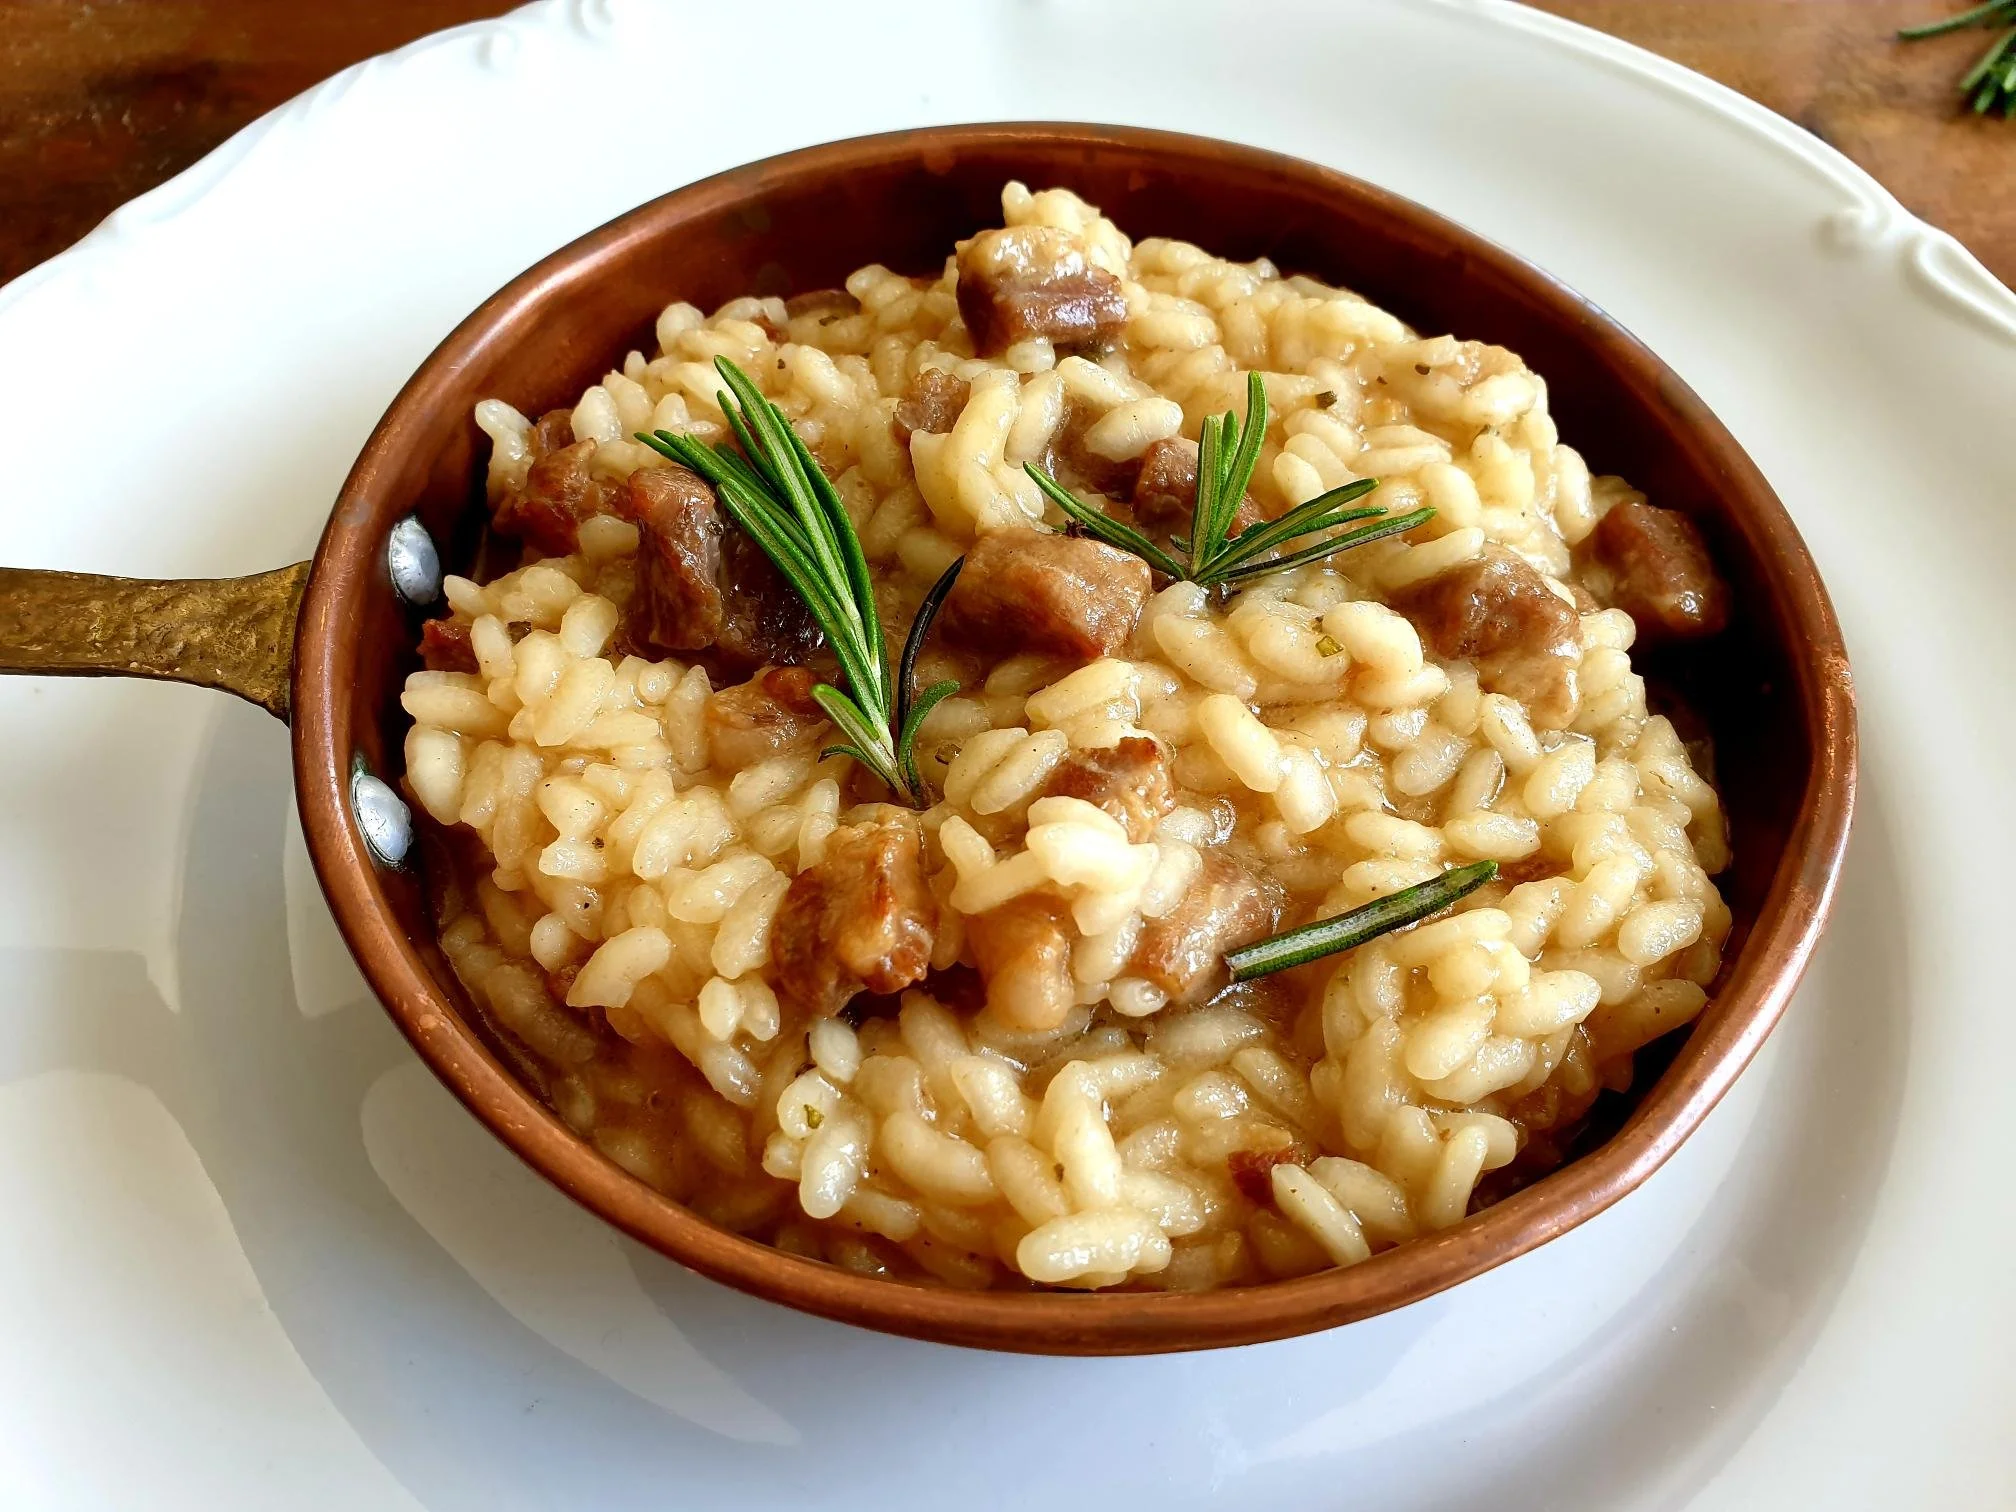
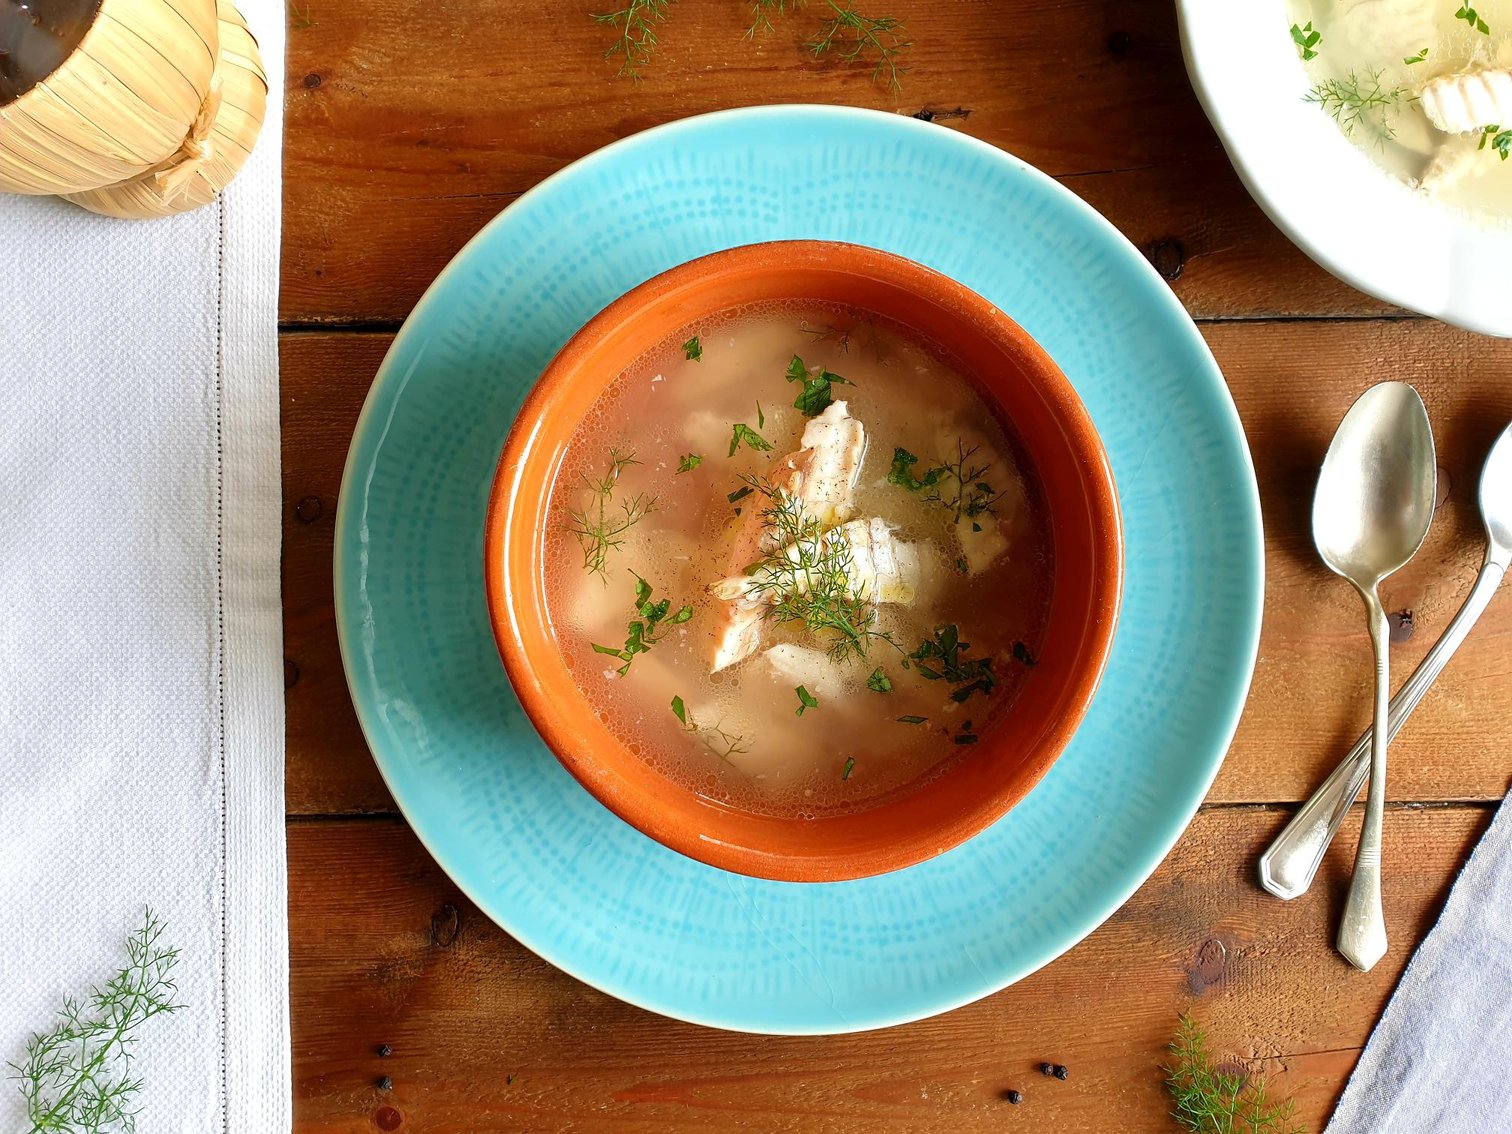
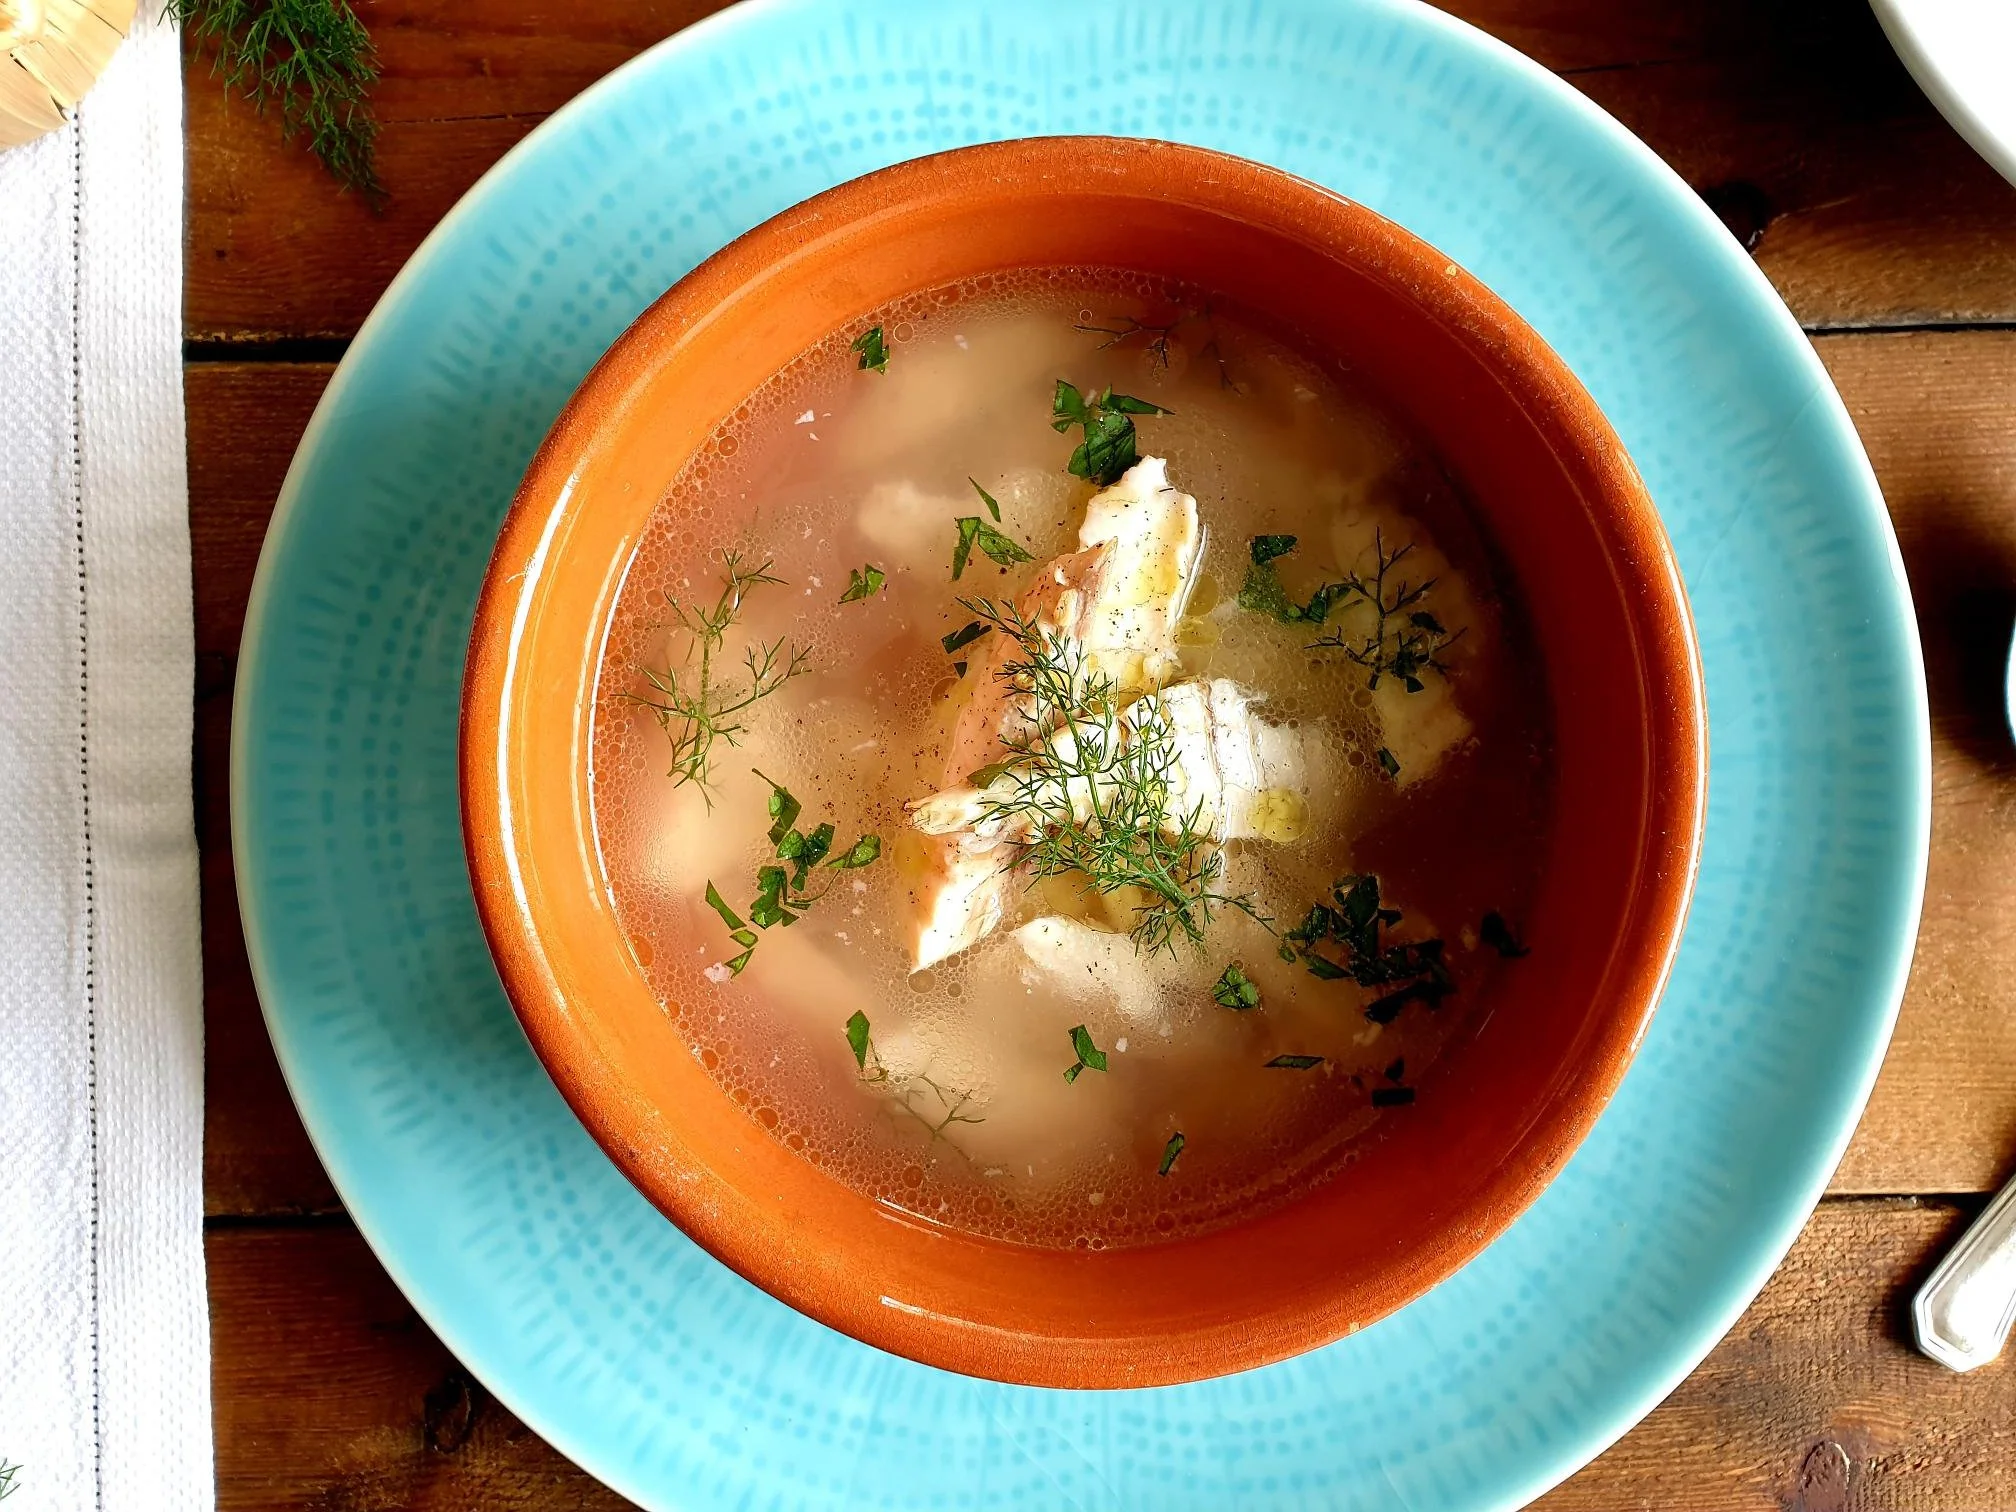
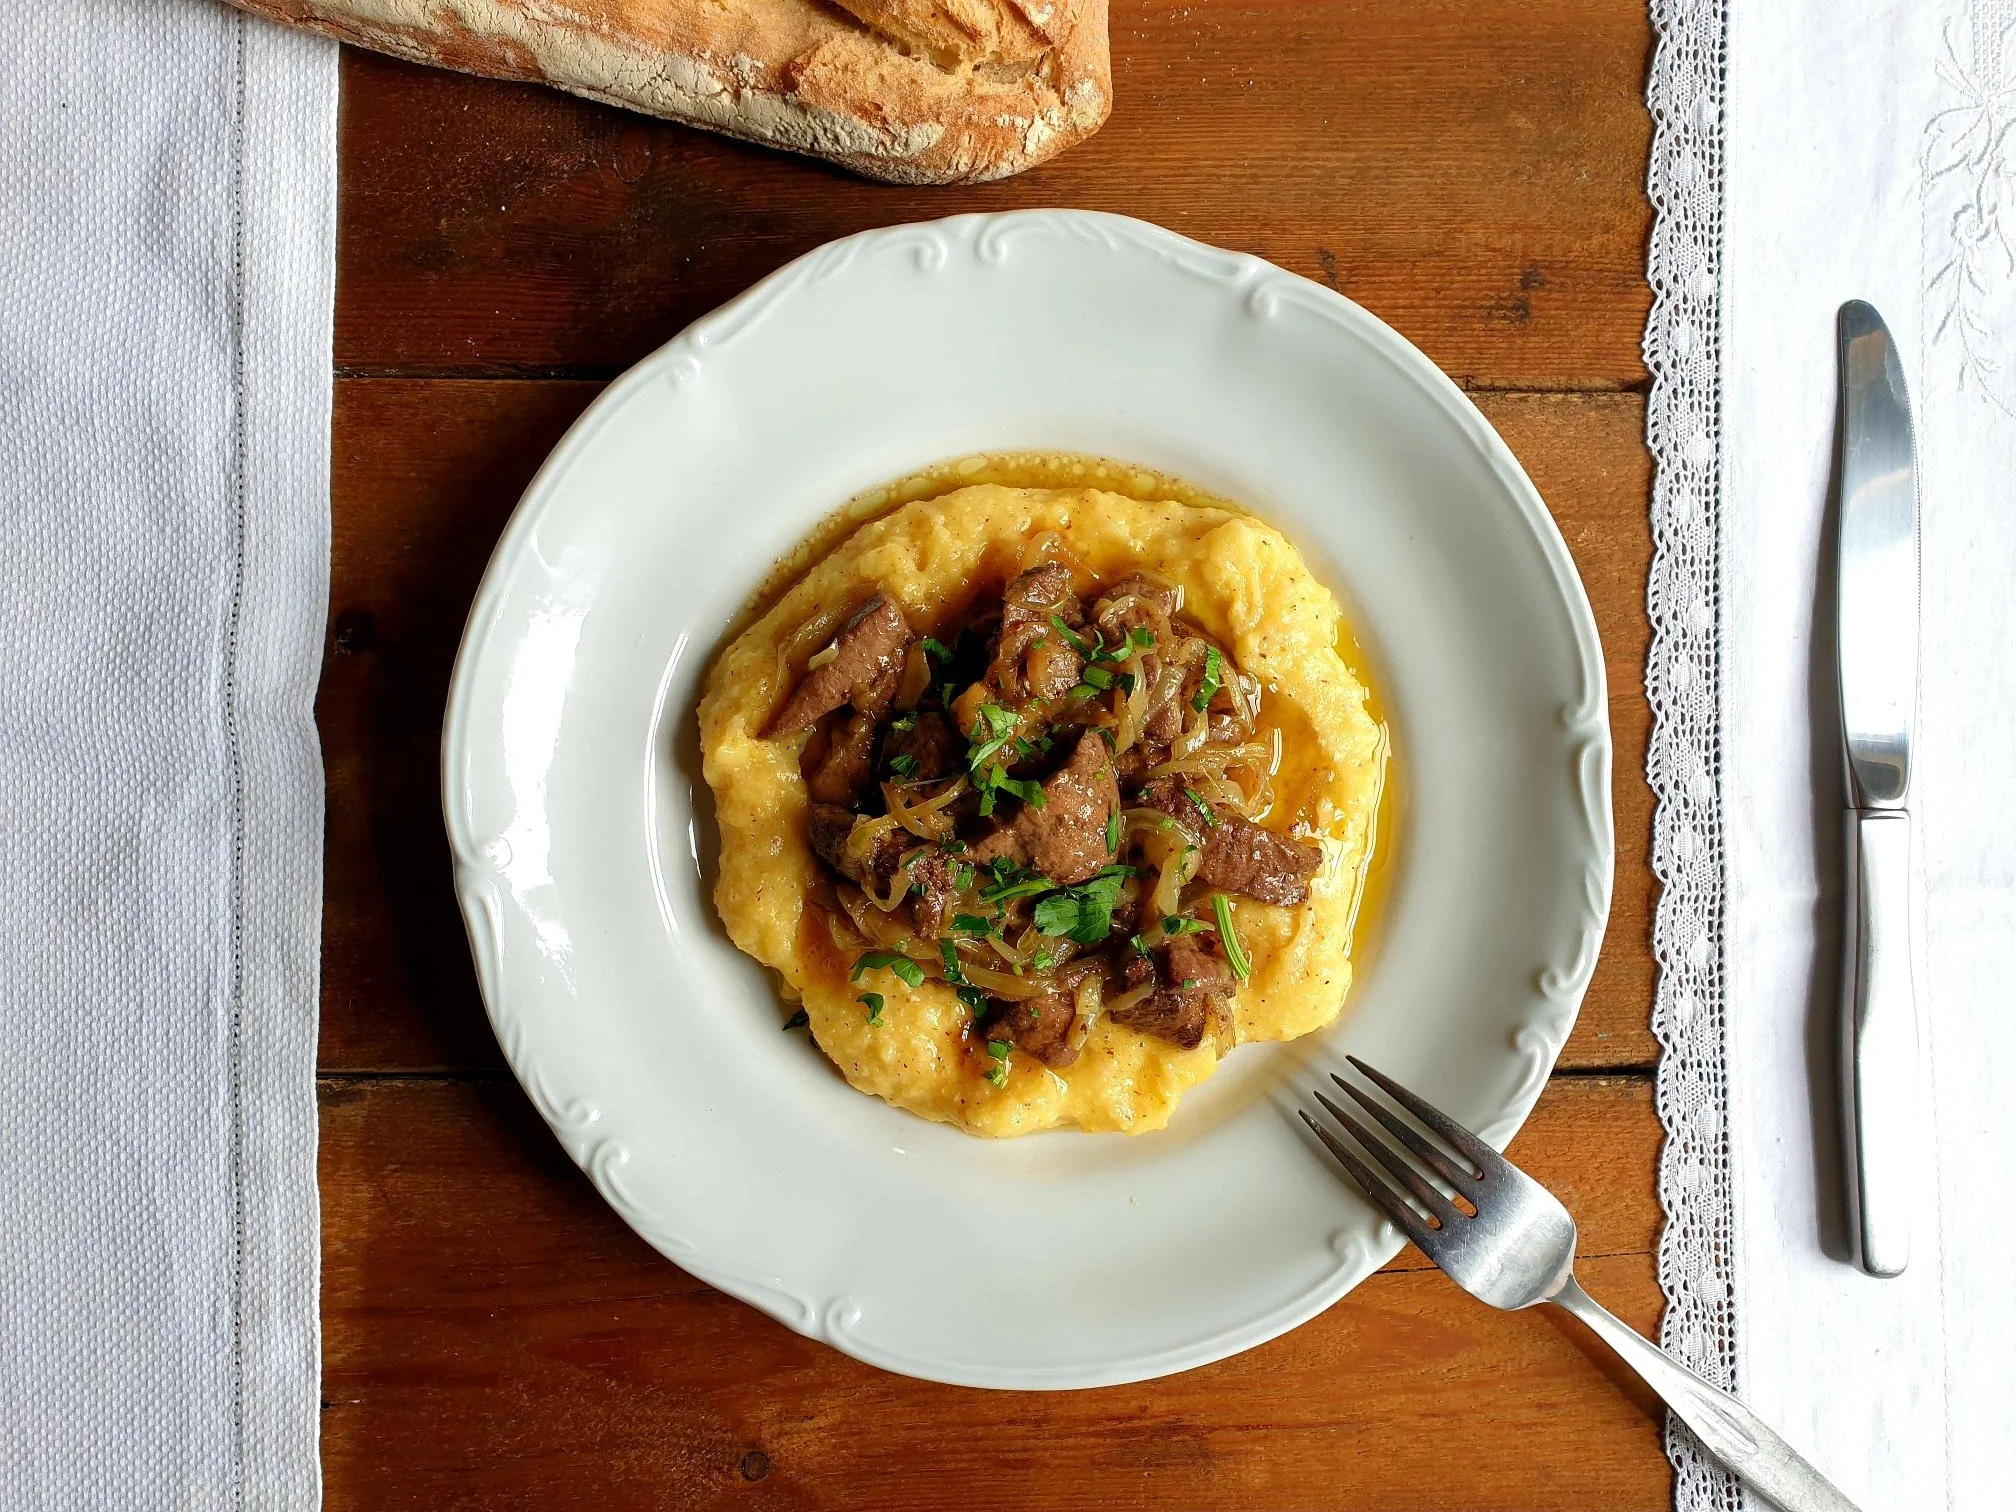
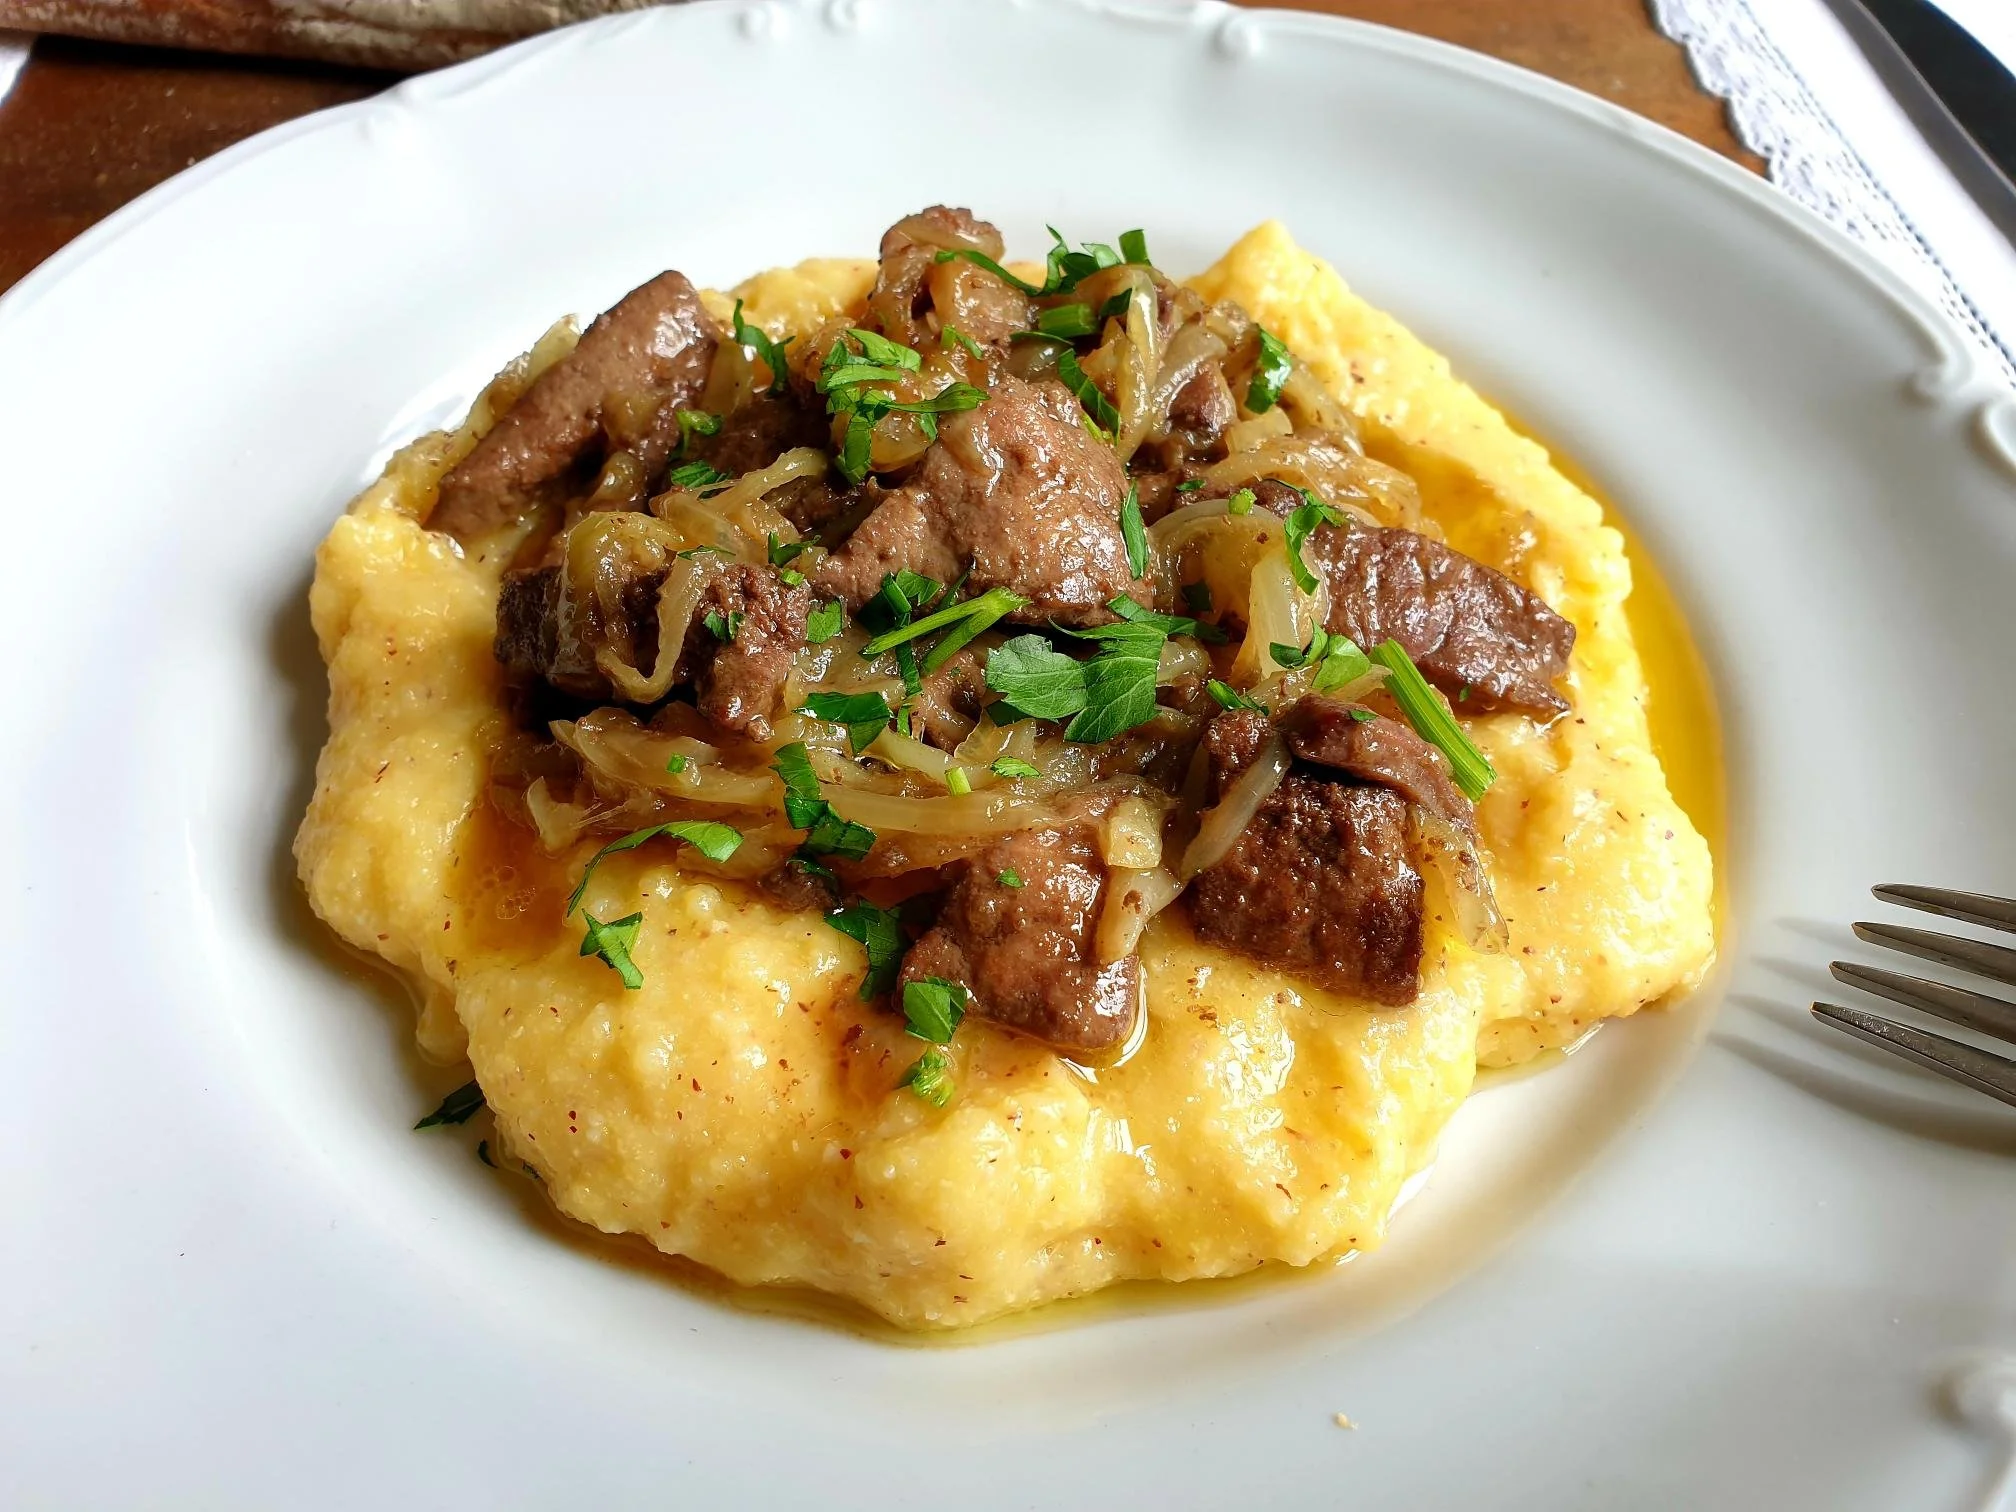
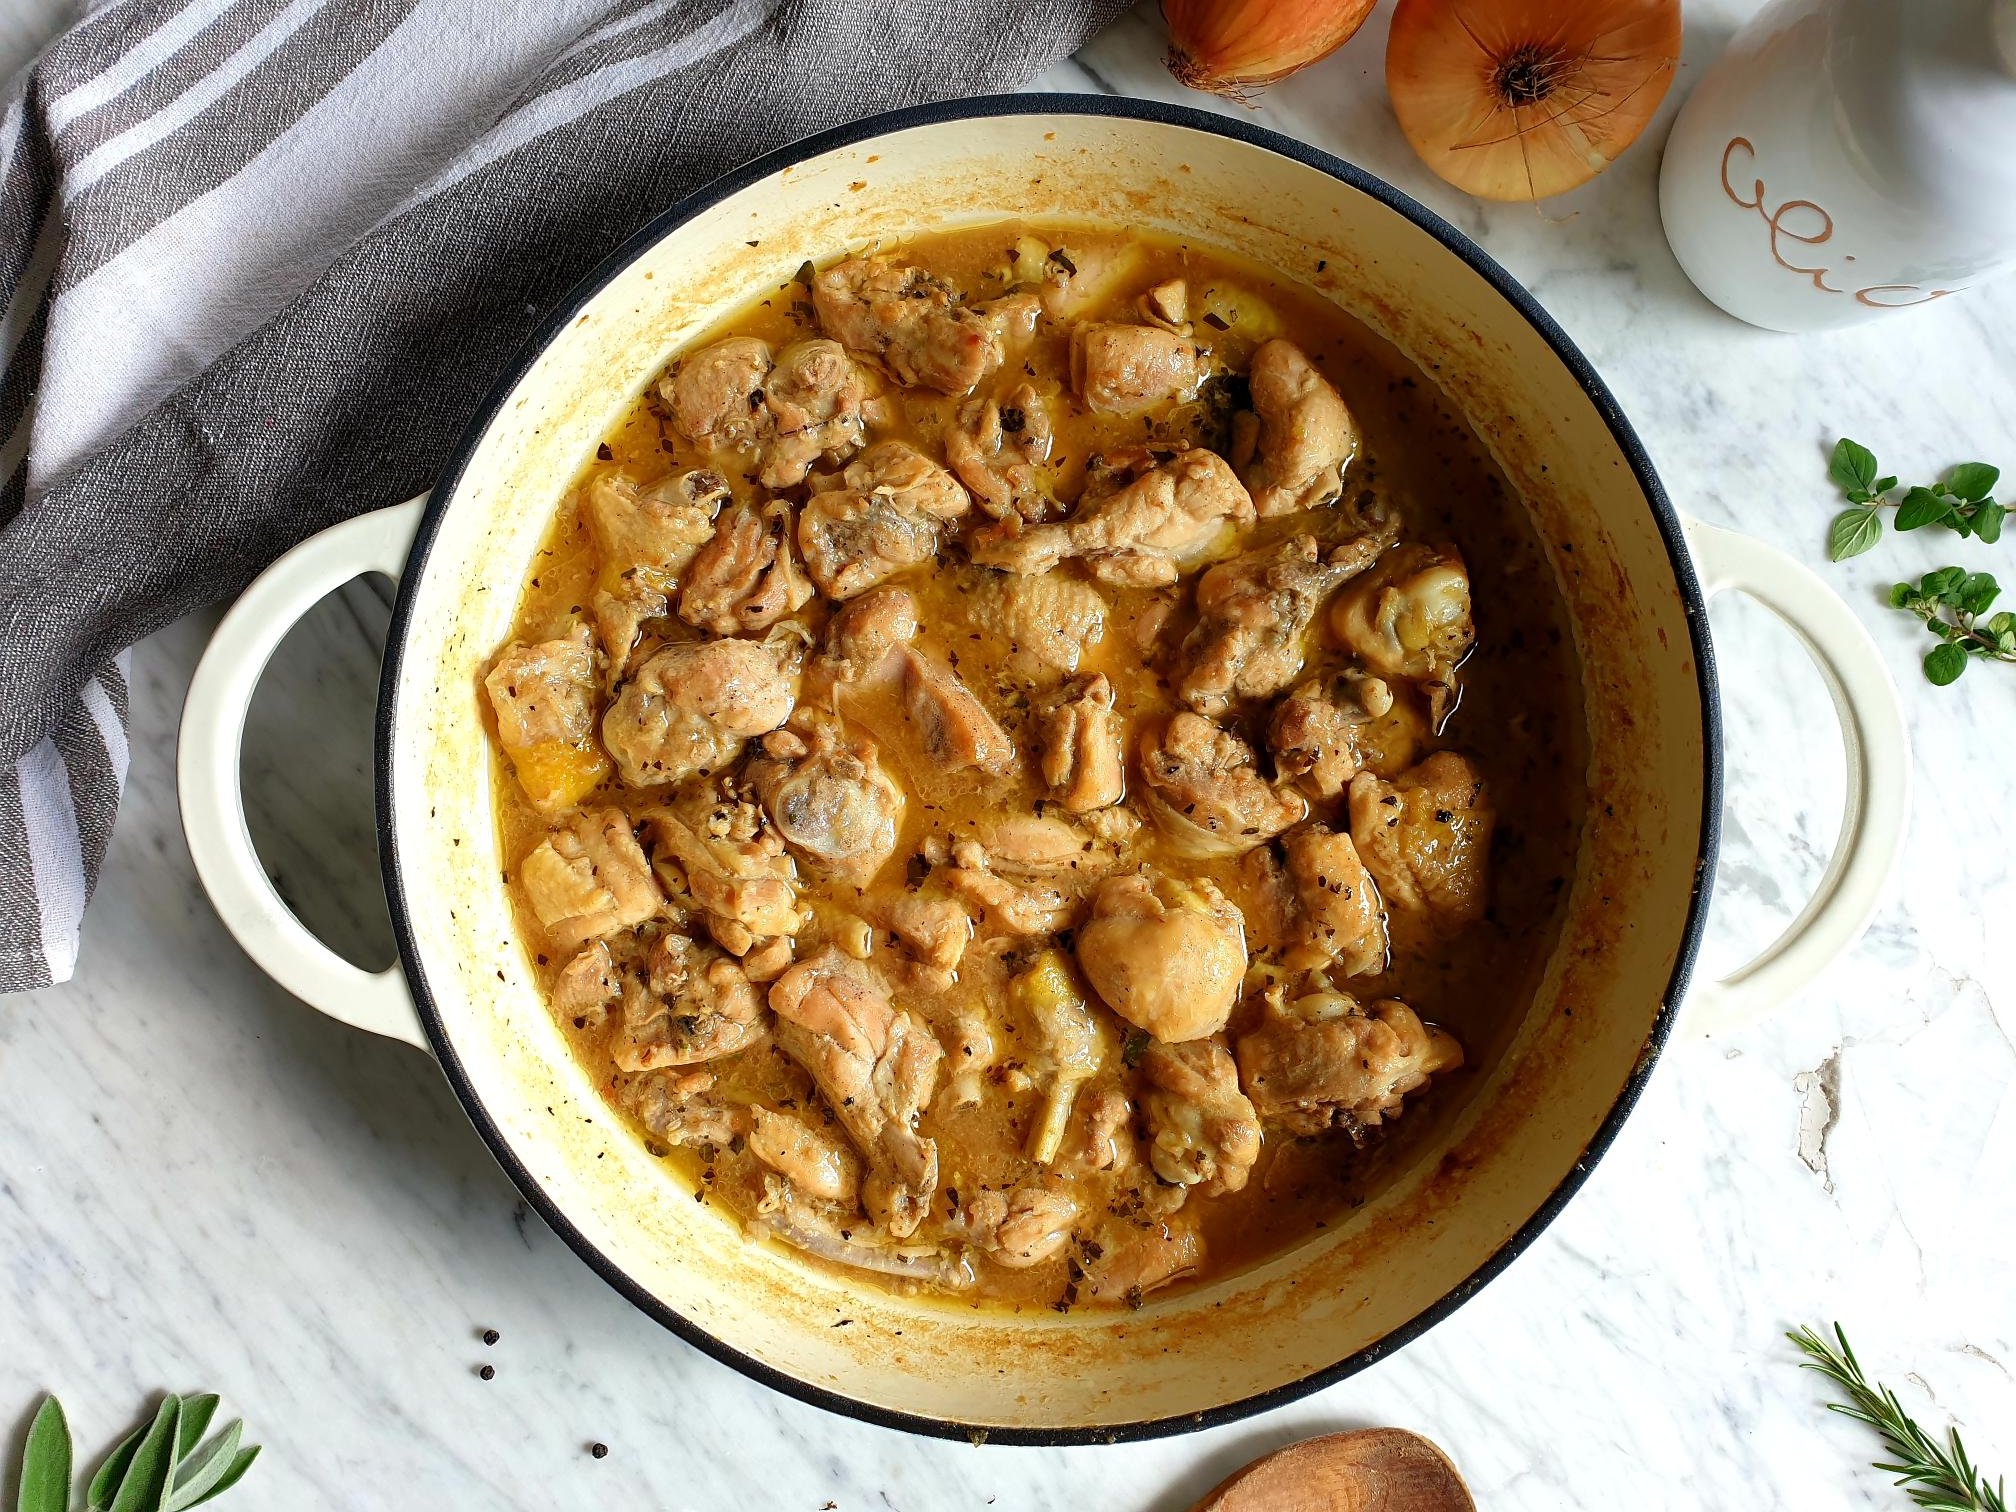
Chicken Goulash traditional Istrian Recipe
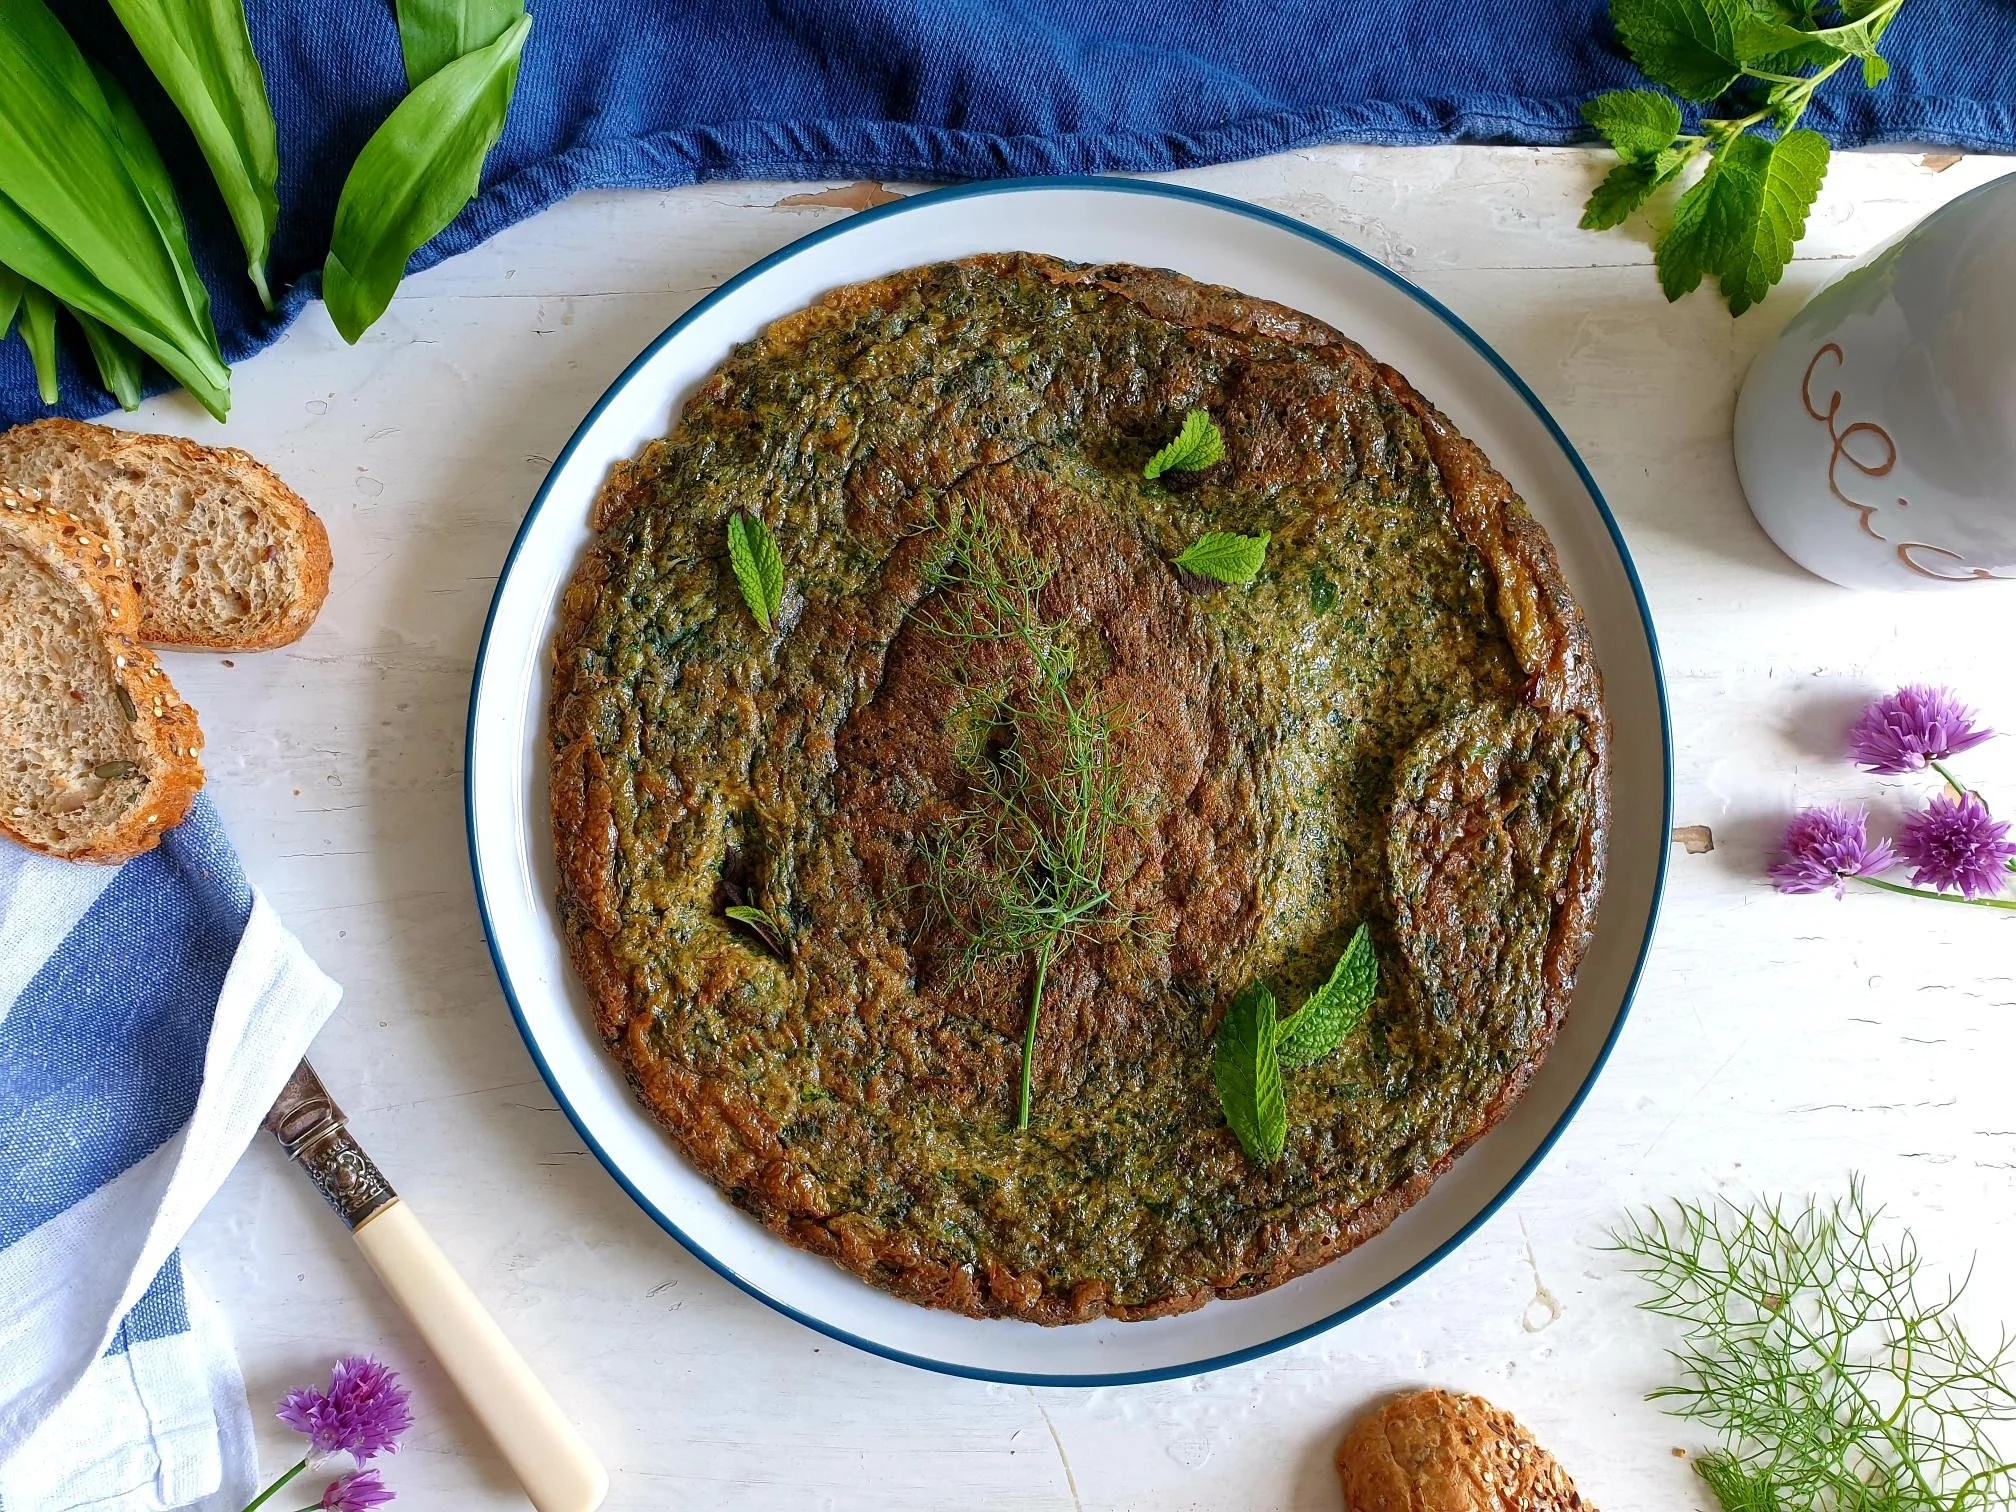
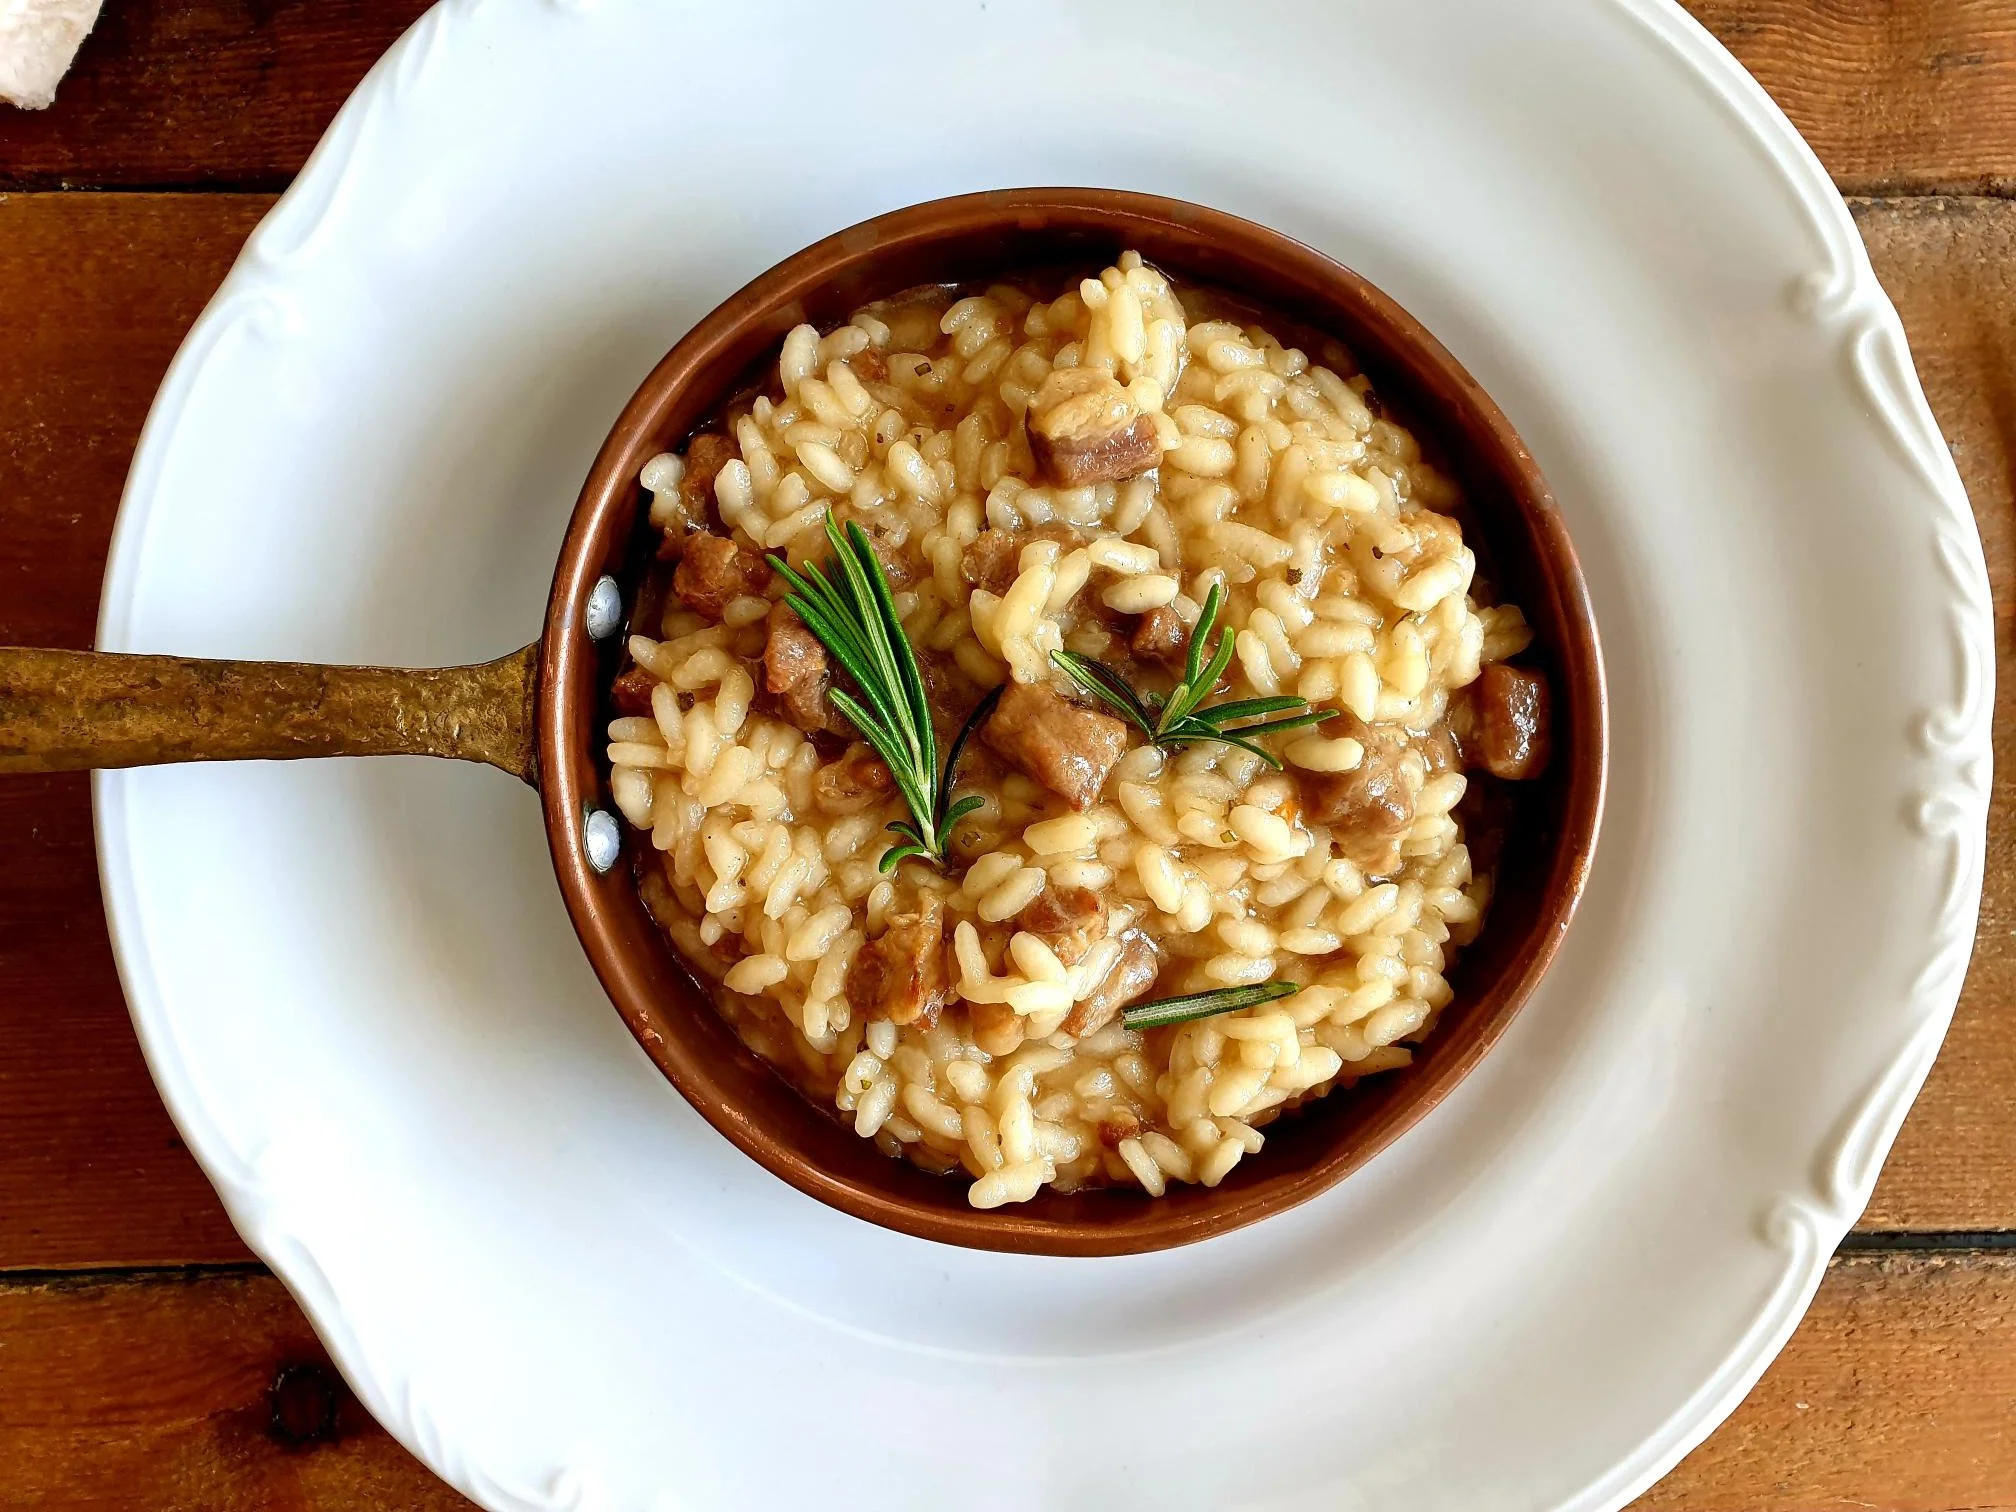
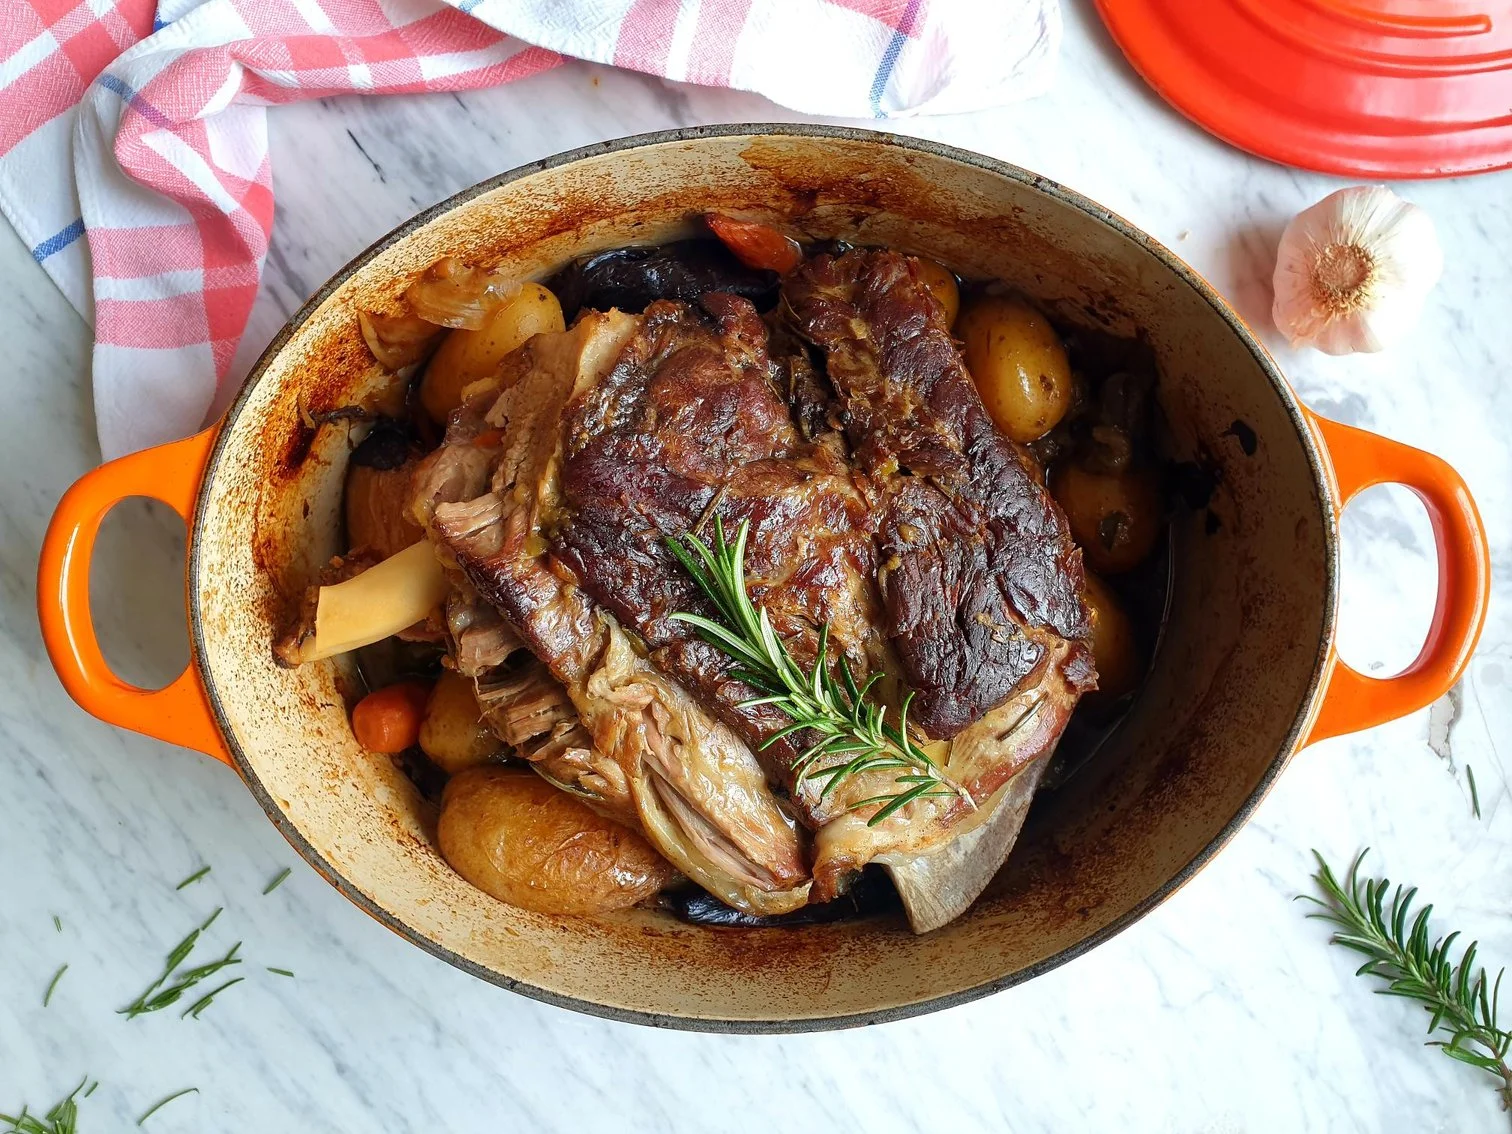
This hearty, comforting, succulent, and delicious meat dish, is as rustic or as elegant as you want to make it. It is made with only a few ingredients, fresh marjoram, being one of them, which gives this dish a distinguished flavour, very often found in Istrian cooking.
Chicken goulash is one of the most representative dishes of Slovenian Istra, known in local dialect as Kakušji šugo or in standard Slovenian Kokošji golaž, and it is a part of Istrian Žgvacet or Žvarcet, a collective term indicating traditional stew or goulash made with different kinds of meat like chicken, beef, venison, rabbit and then cooked in a sauce.
Nowadays, chicken goulash is prepared in the households on a regular basis, but this certainly was not the case in the past, as my nona told me. When she was a child, meat dishes were a rare sight on the dining table, and this particular dish was no exception, served exclusively to mark special occasion and during festivities. This may be a concept a bit difficult to grasp, as in today's world chicken meat is easily affordable and accessible for most people.

My nona also told me that in the past, in more rural settings, on small land holdings, even if not a farm, chickens were a very common sight, and were most common animal around. They roamed freely around the courtyards of the farmhouses, and kept safe during night time in fenced spaces (called in local dialect Kapunere). They were fed exclusively on corn or scraps from home grown vegetables, which made the meat particularly tasty. This was the reason, my nona explained, why a long list of ingredients were not used for this dish, as you really want to taste, elevate and appreciate the flavour of the chicken meat of such high quality.
Old chickens, no longer able to lay eggs would “disappear” from the courtyards and appeared in pots and pans in a slightly different form. Traditionally, for this recipe, the whole chicken is used, even the parts that have very little or no meat on them like ribs, but will truly add crucial flavour to the goulash and are removed and discarded when the dish is fully cooked.

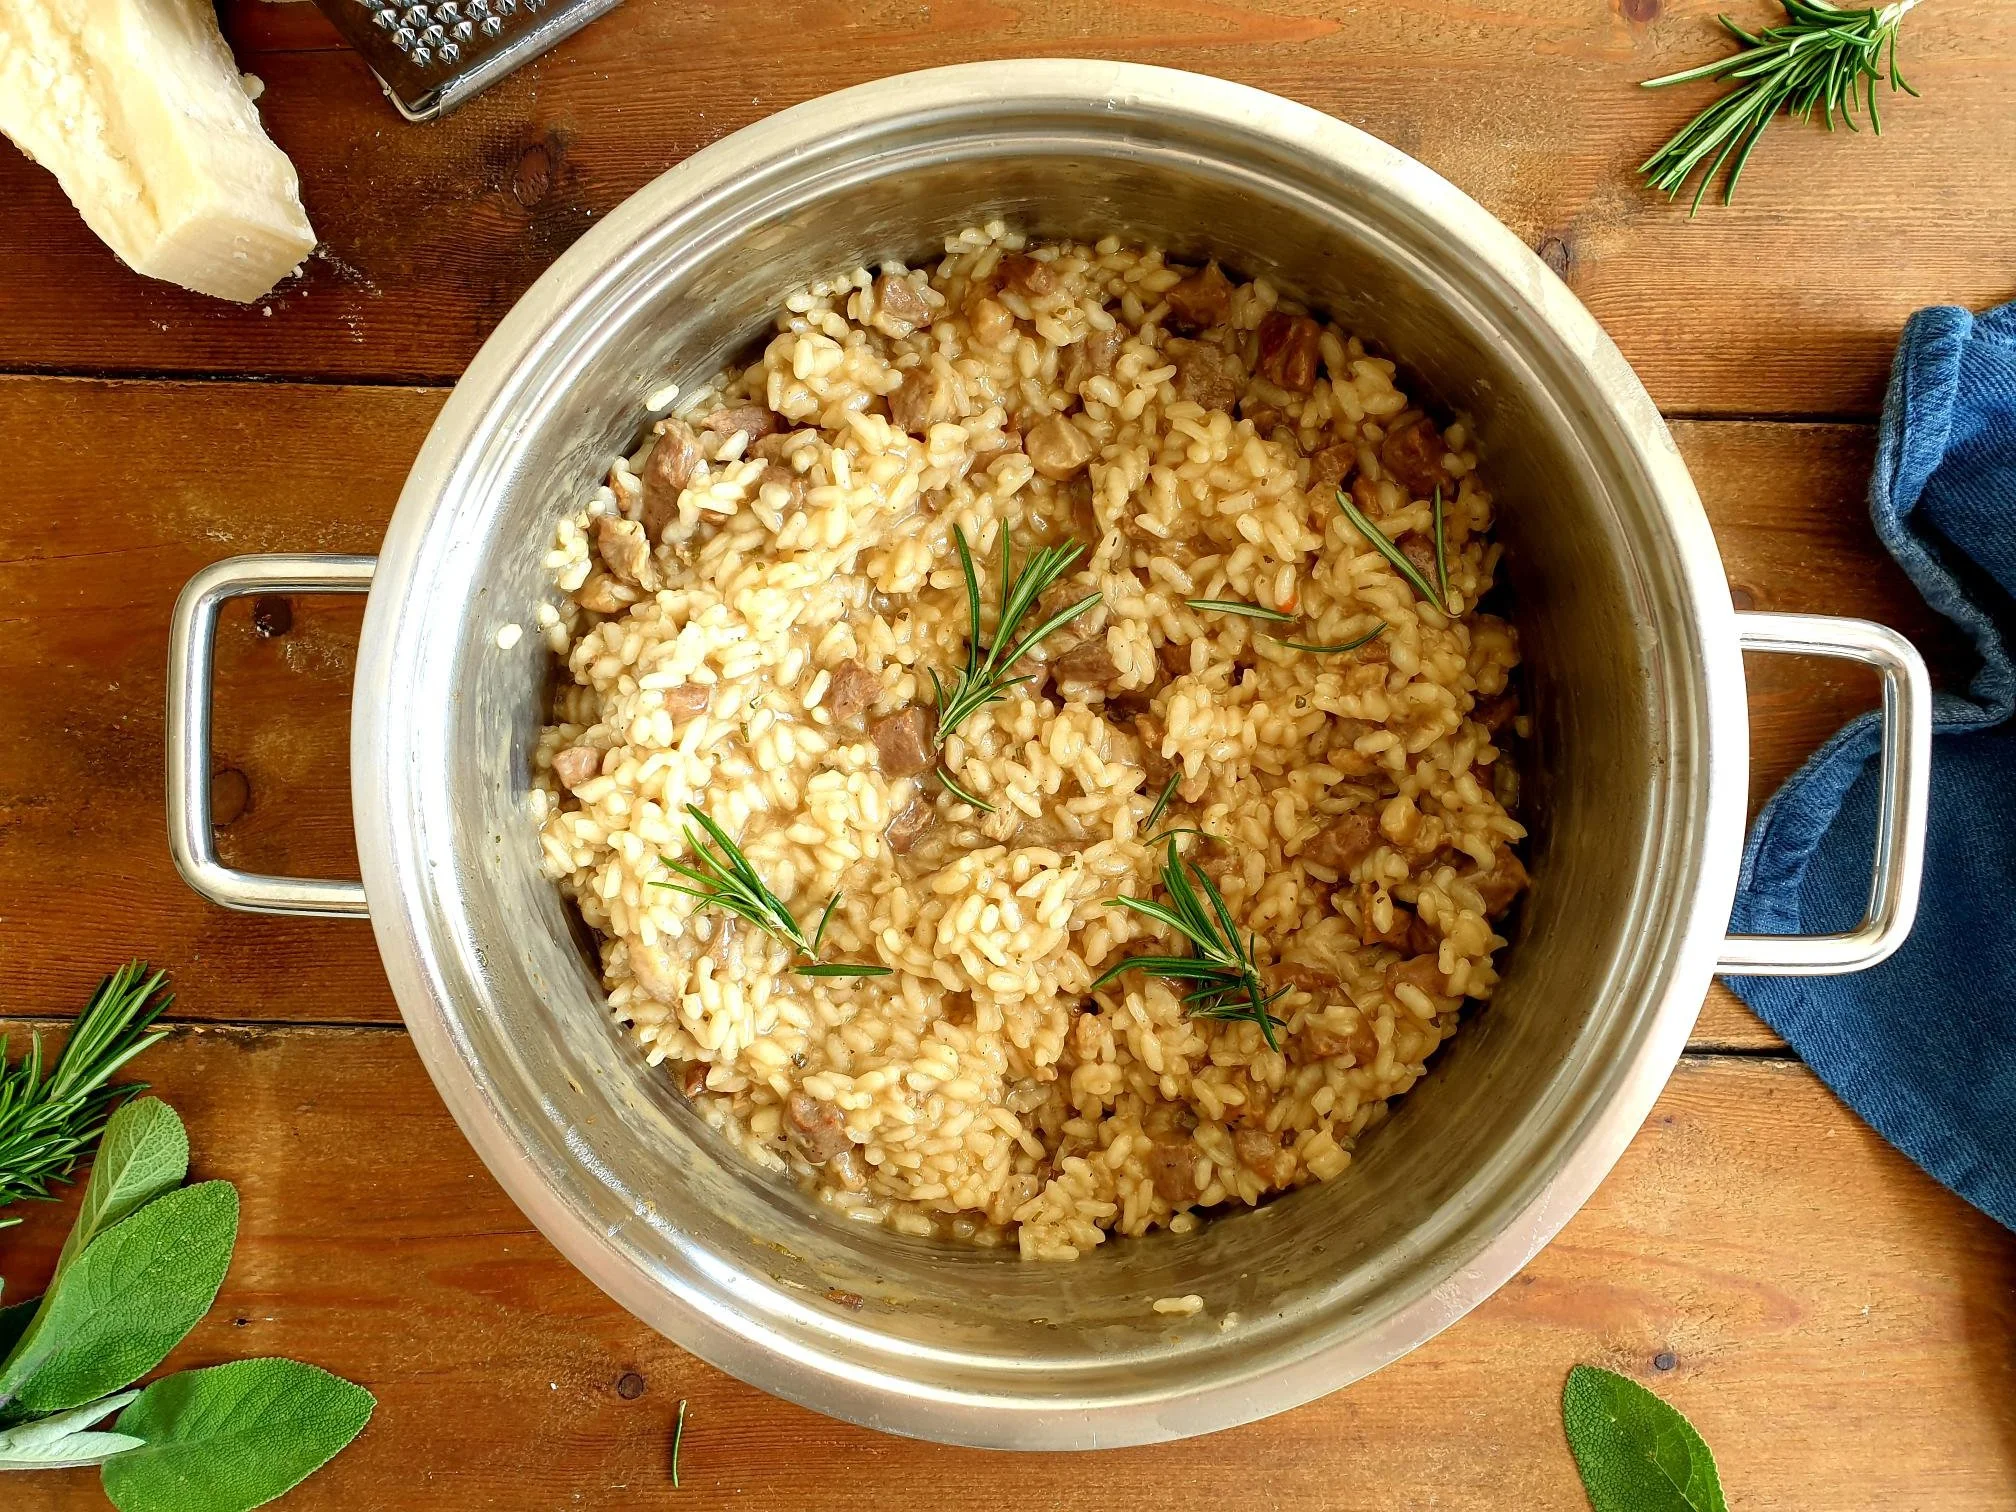
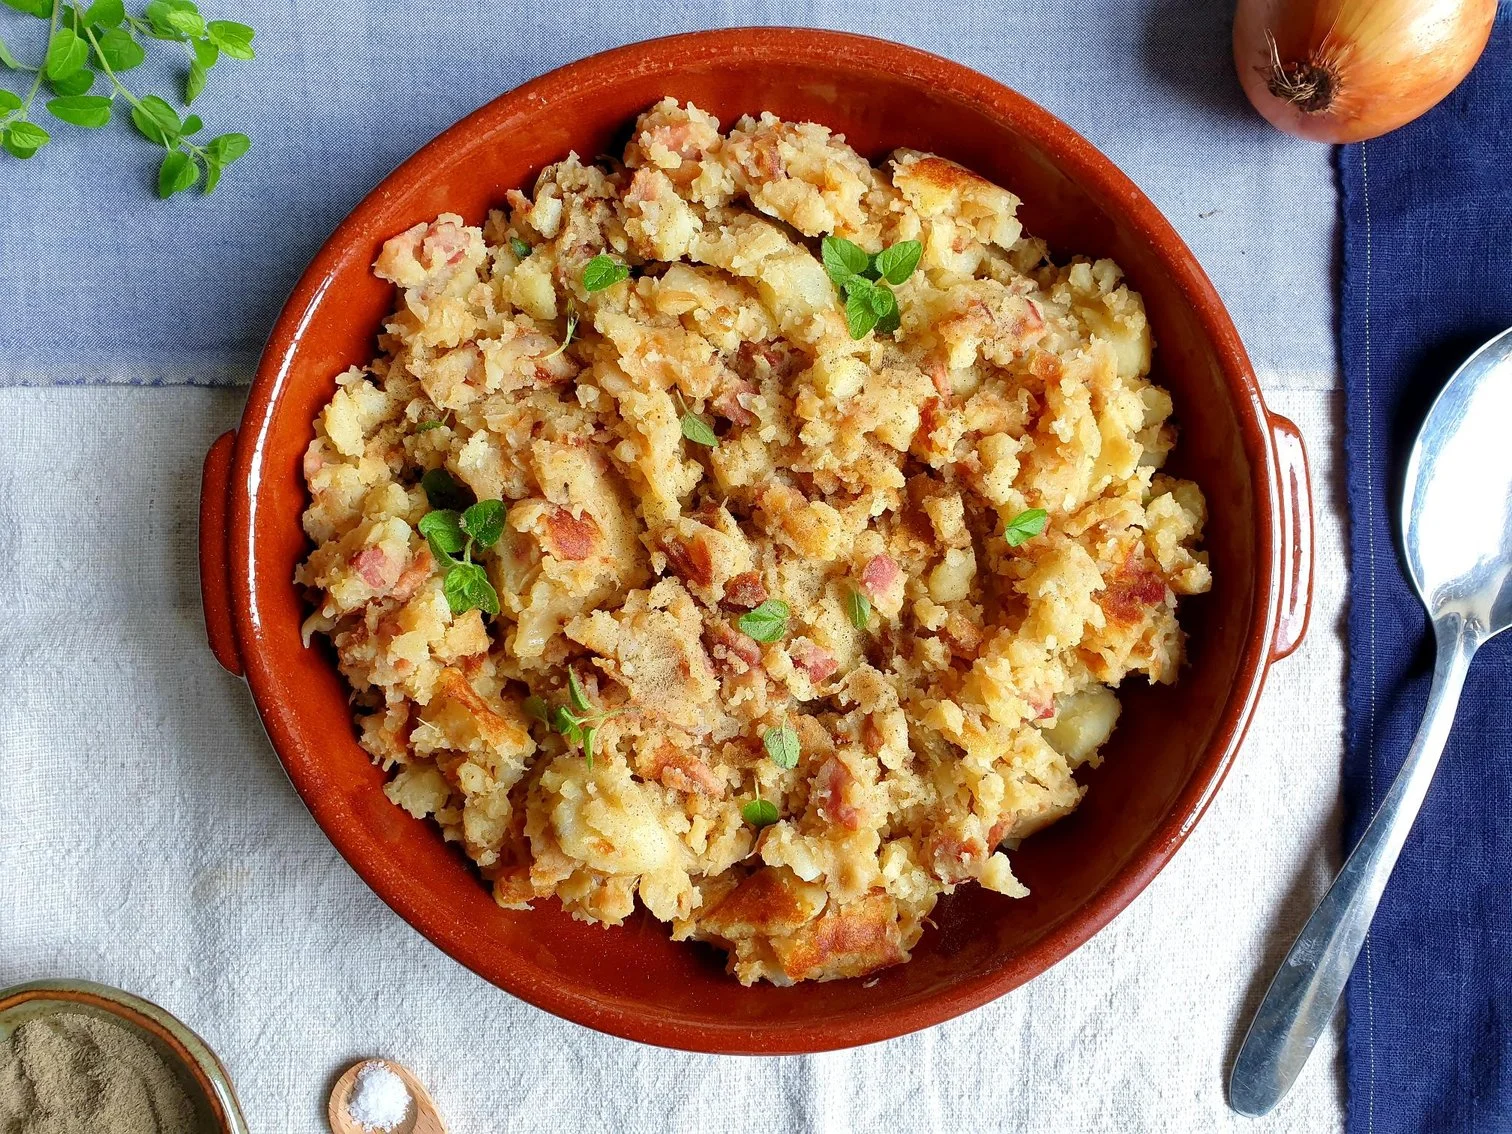
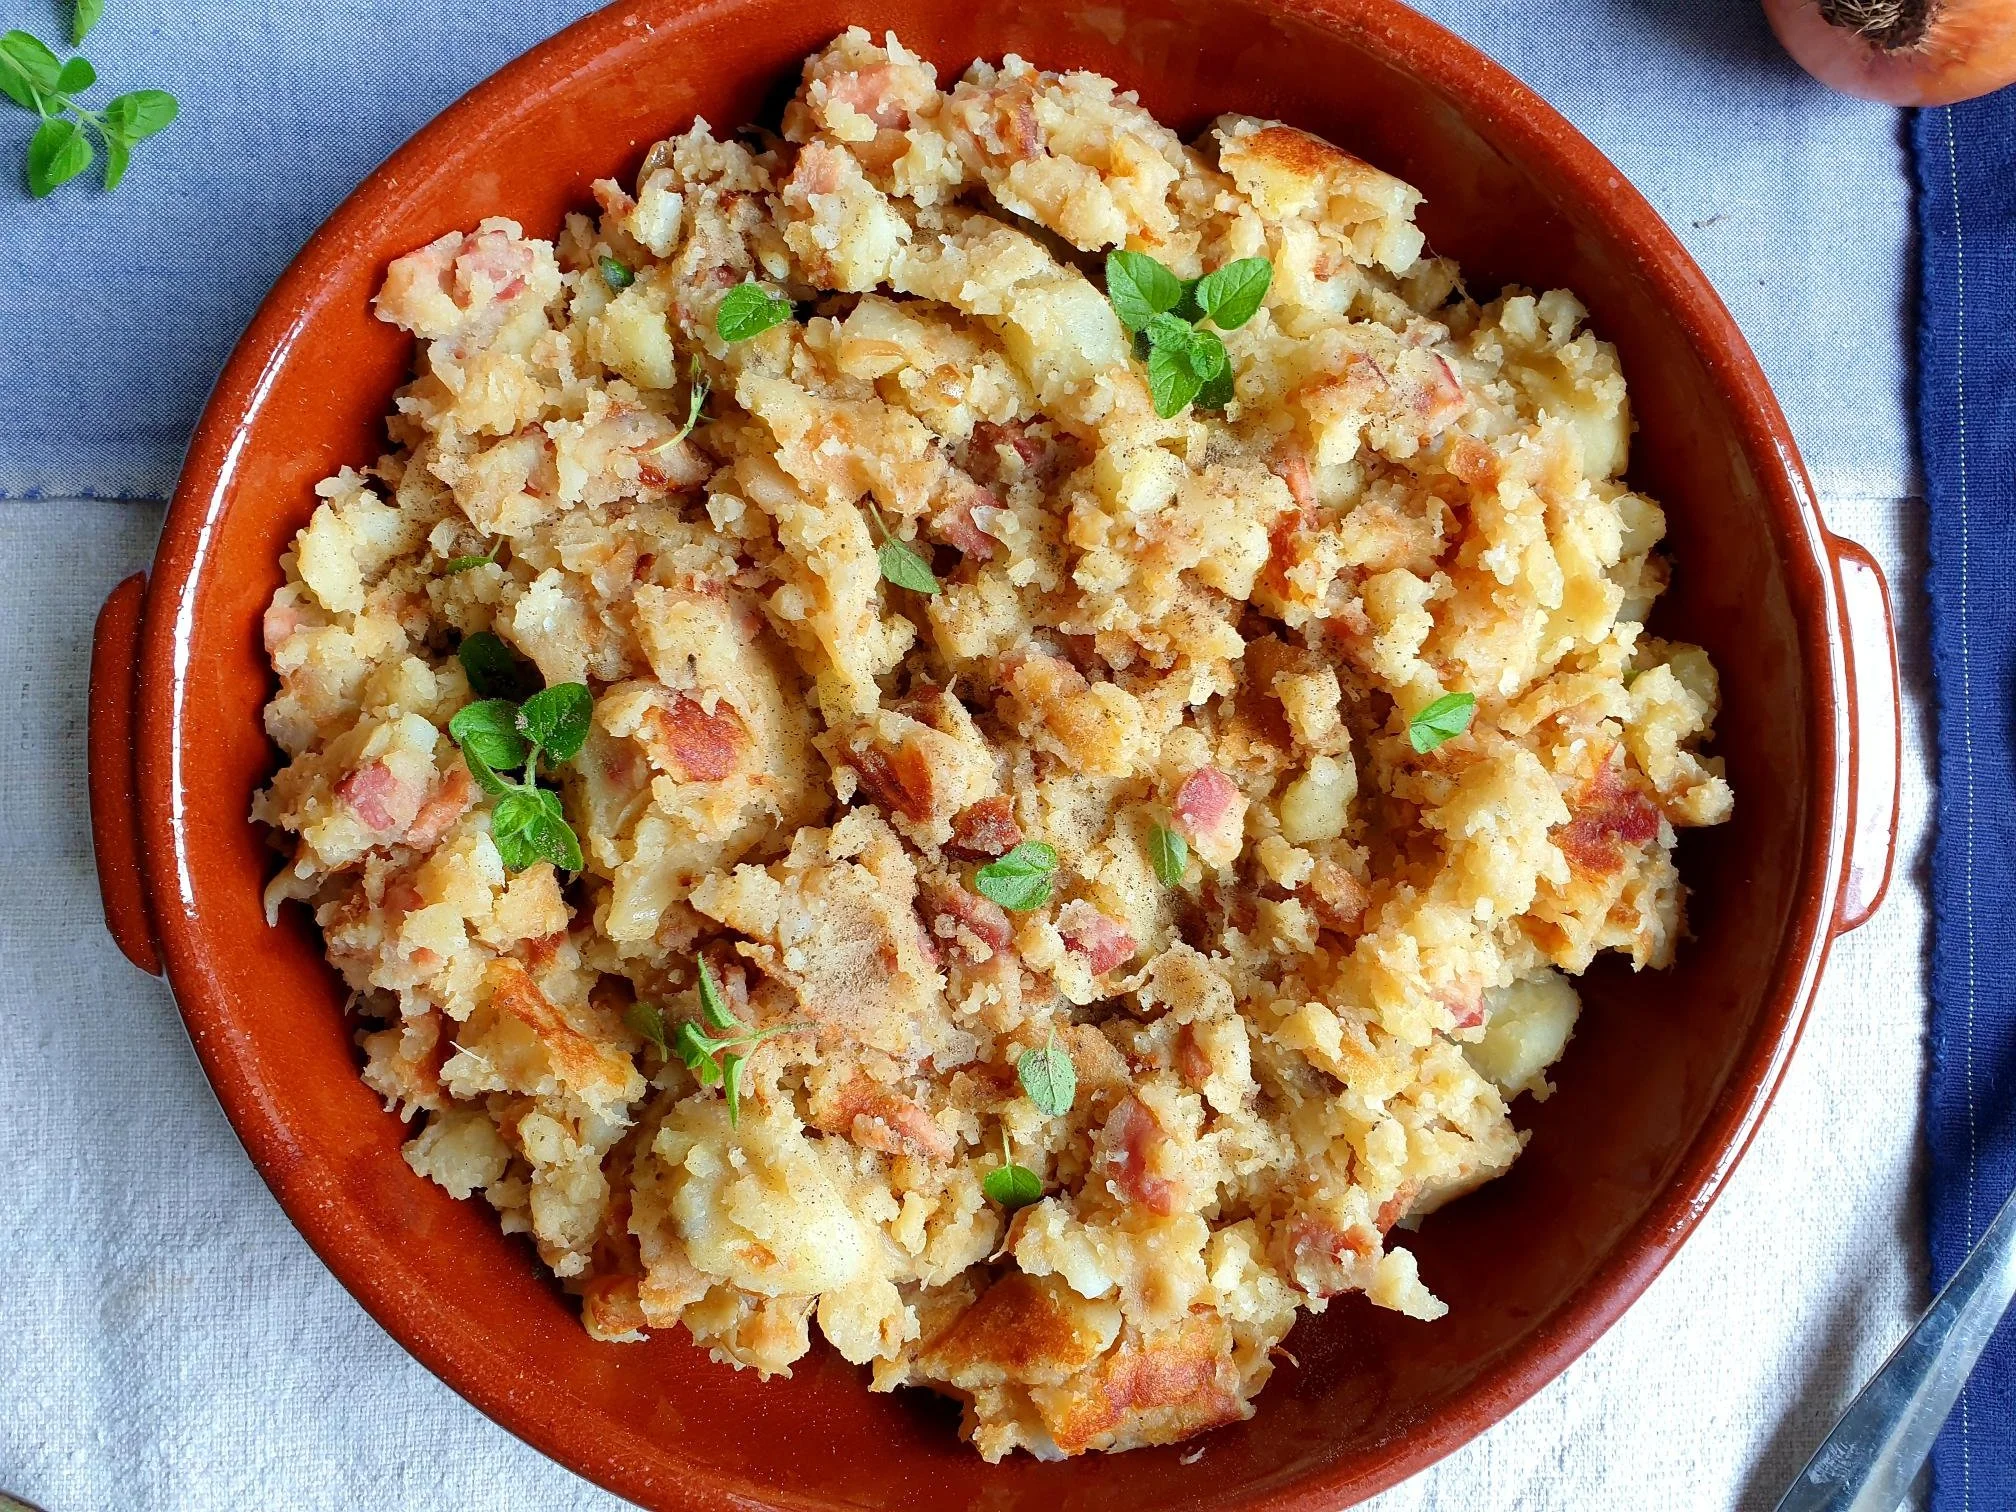
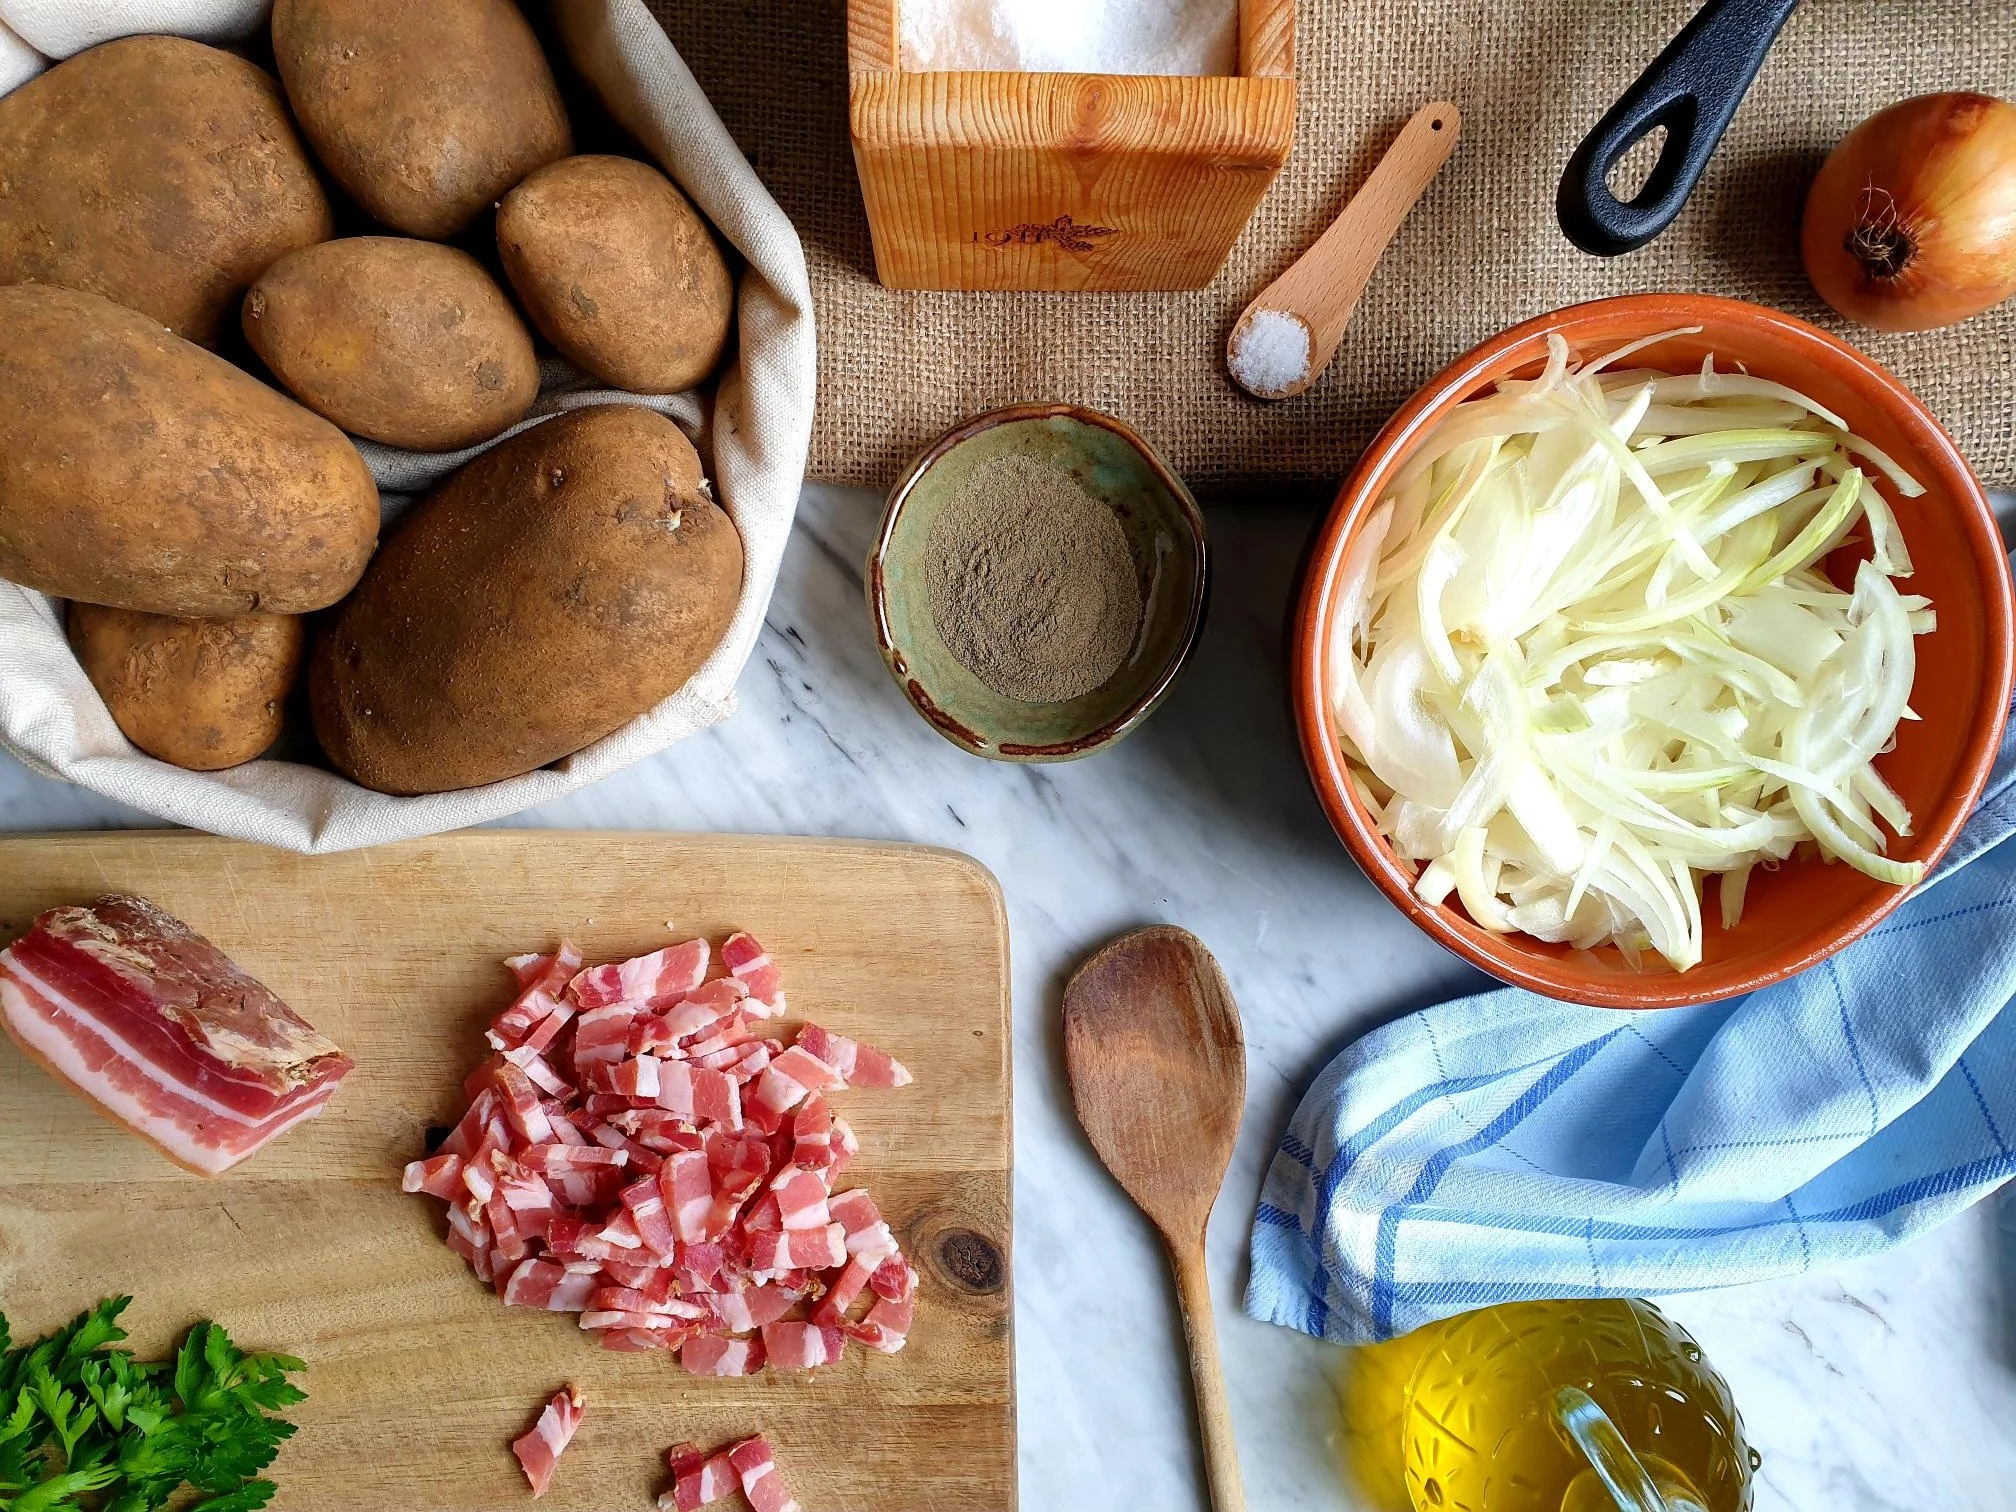
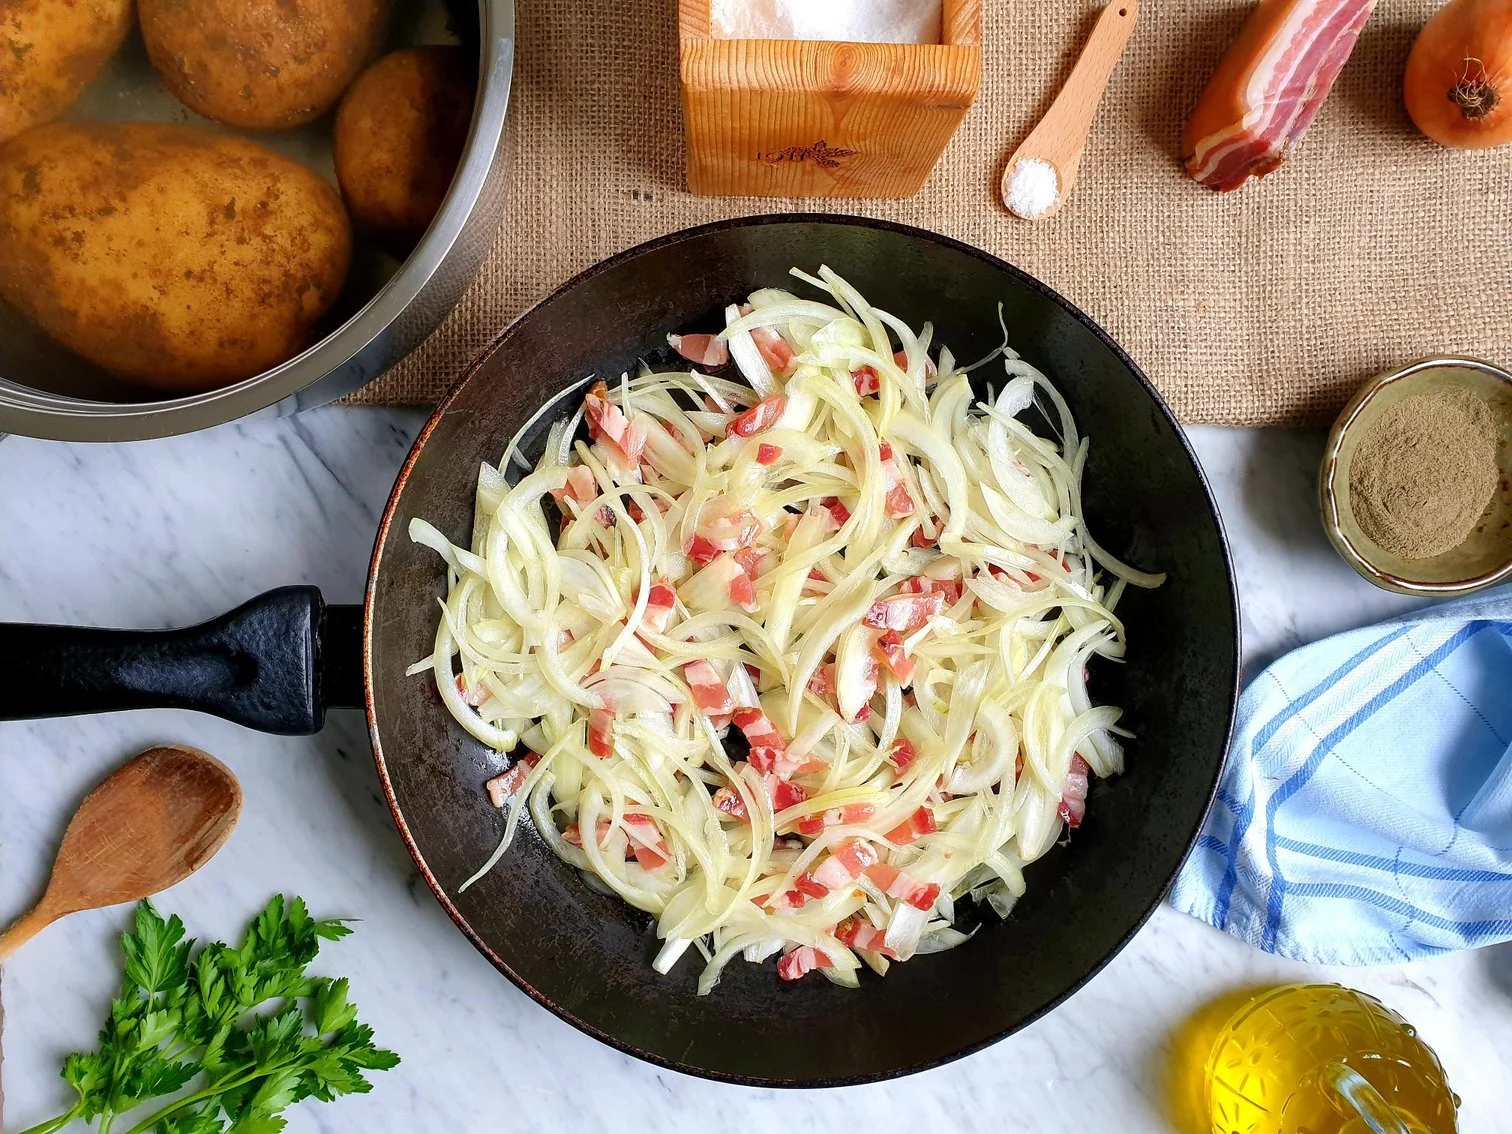
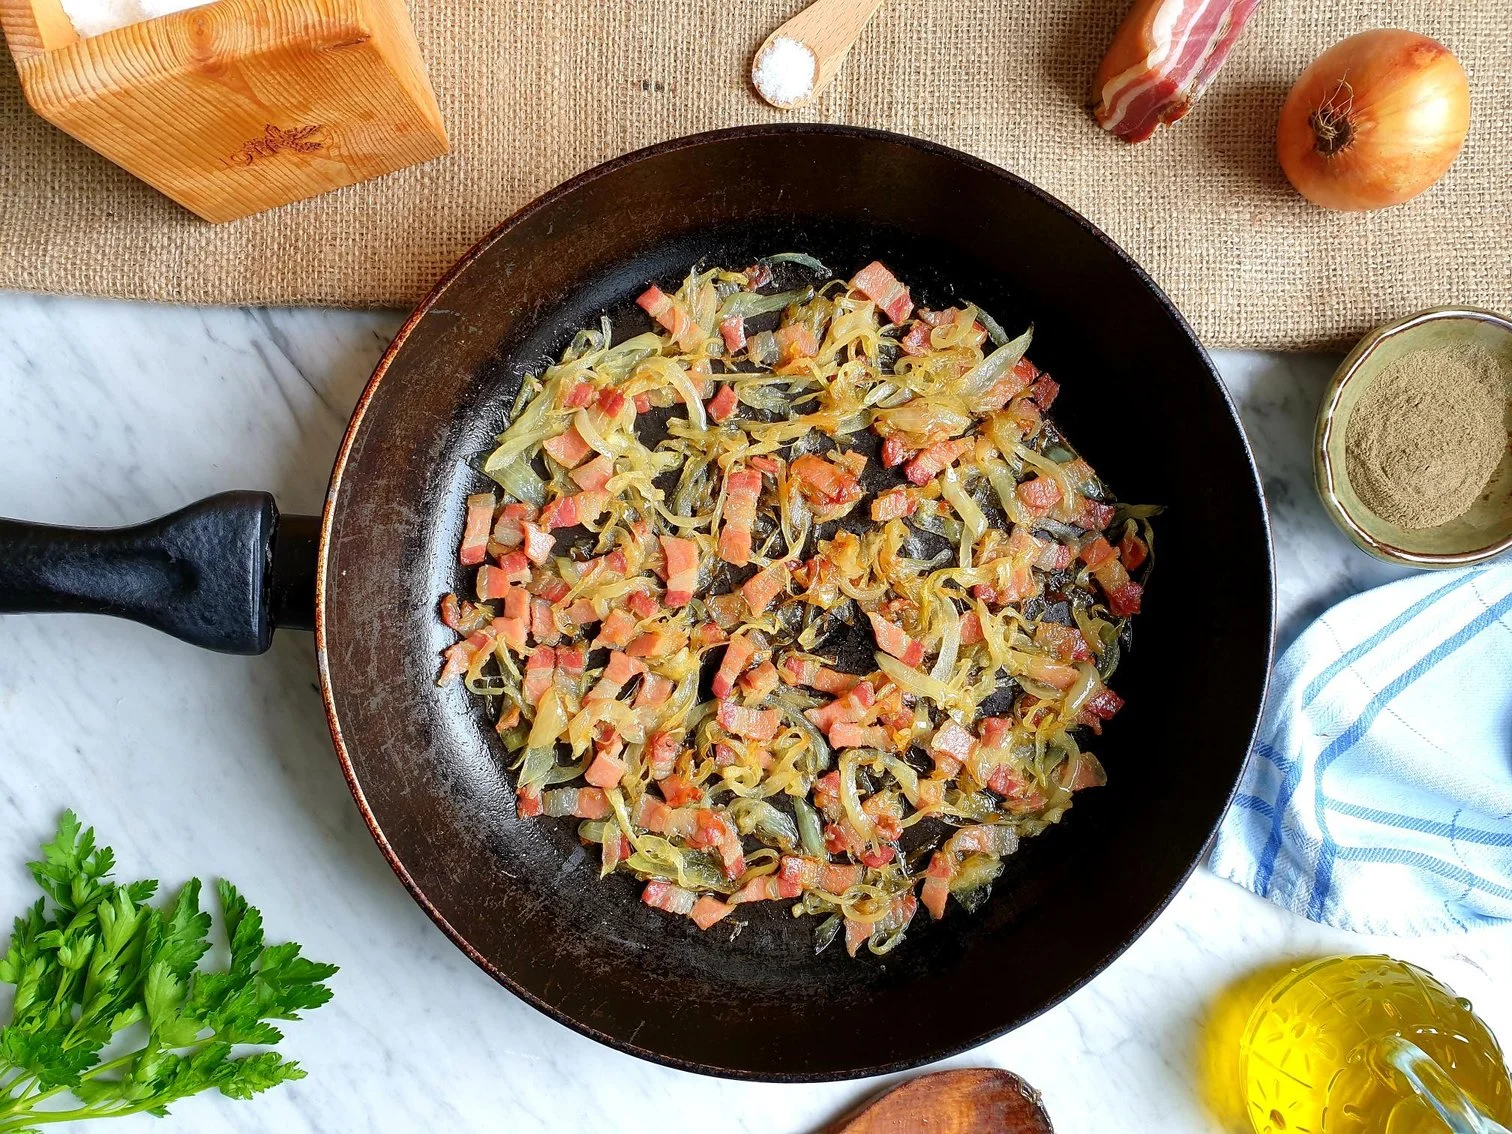
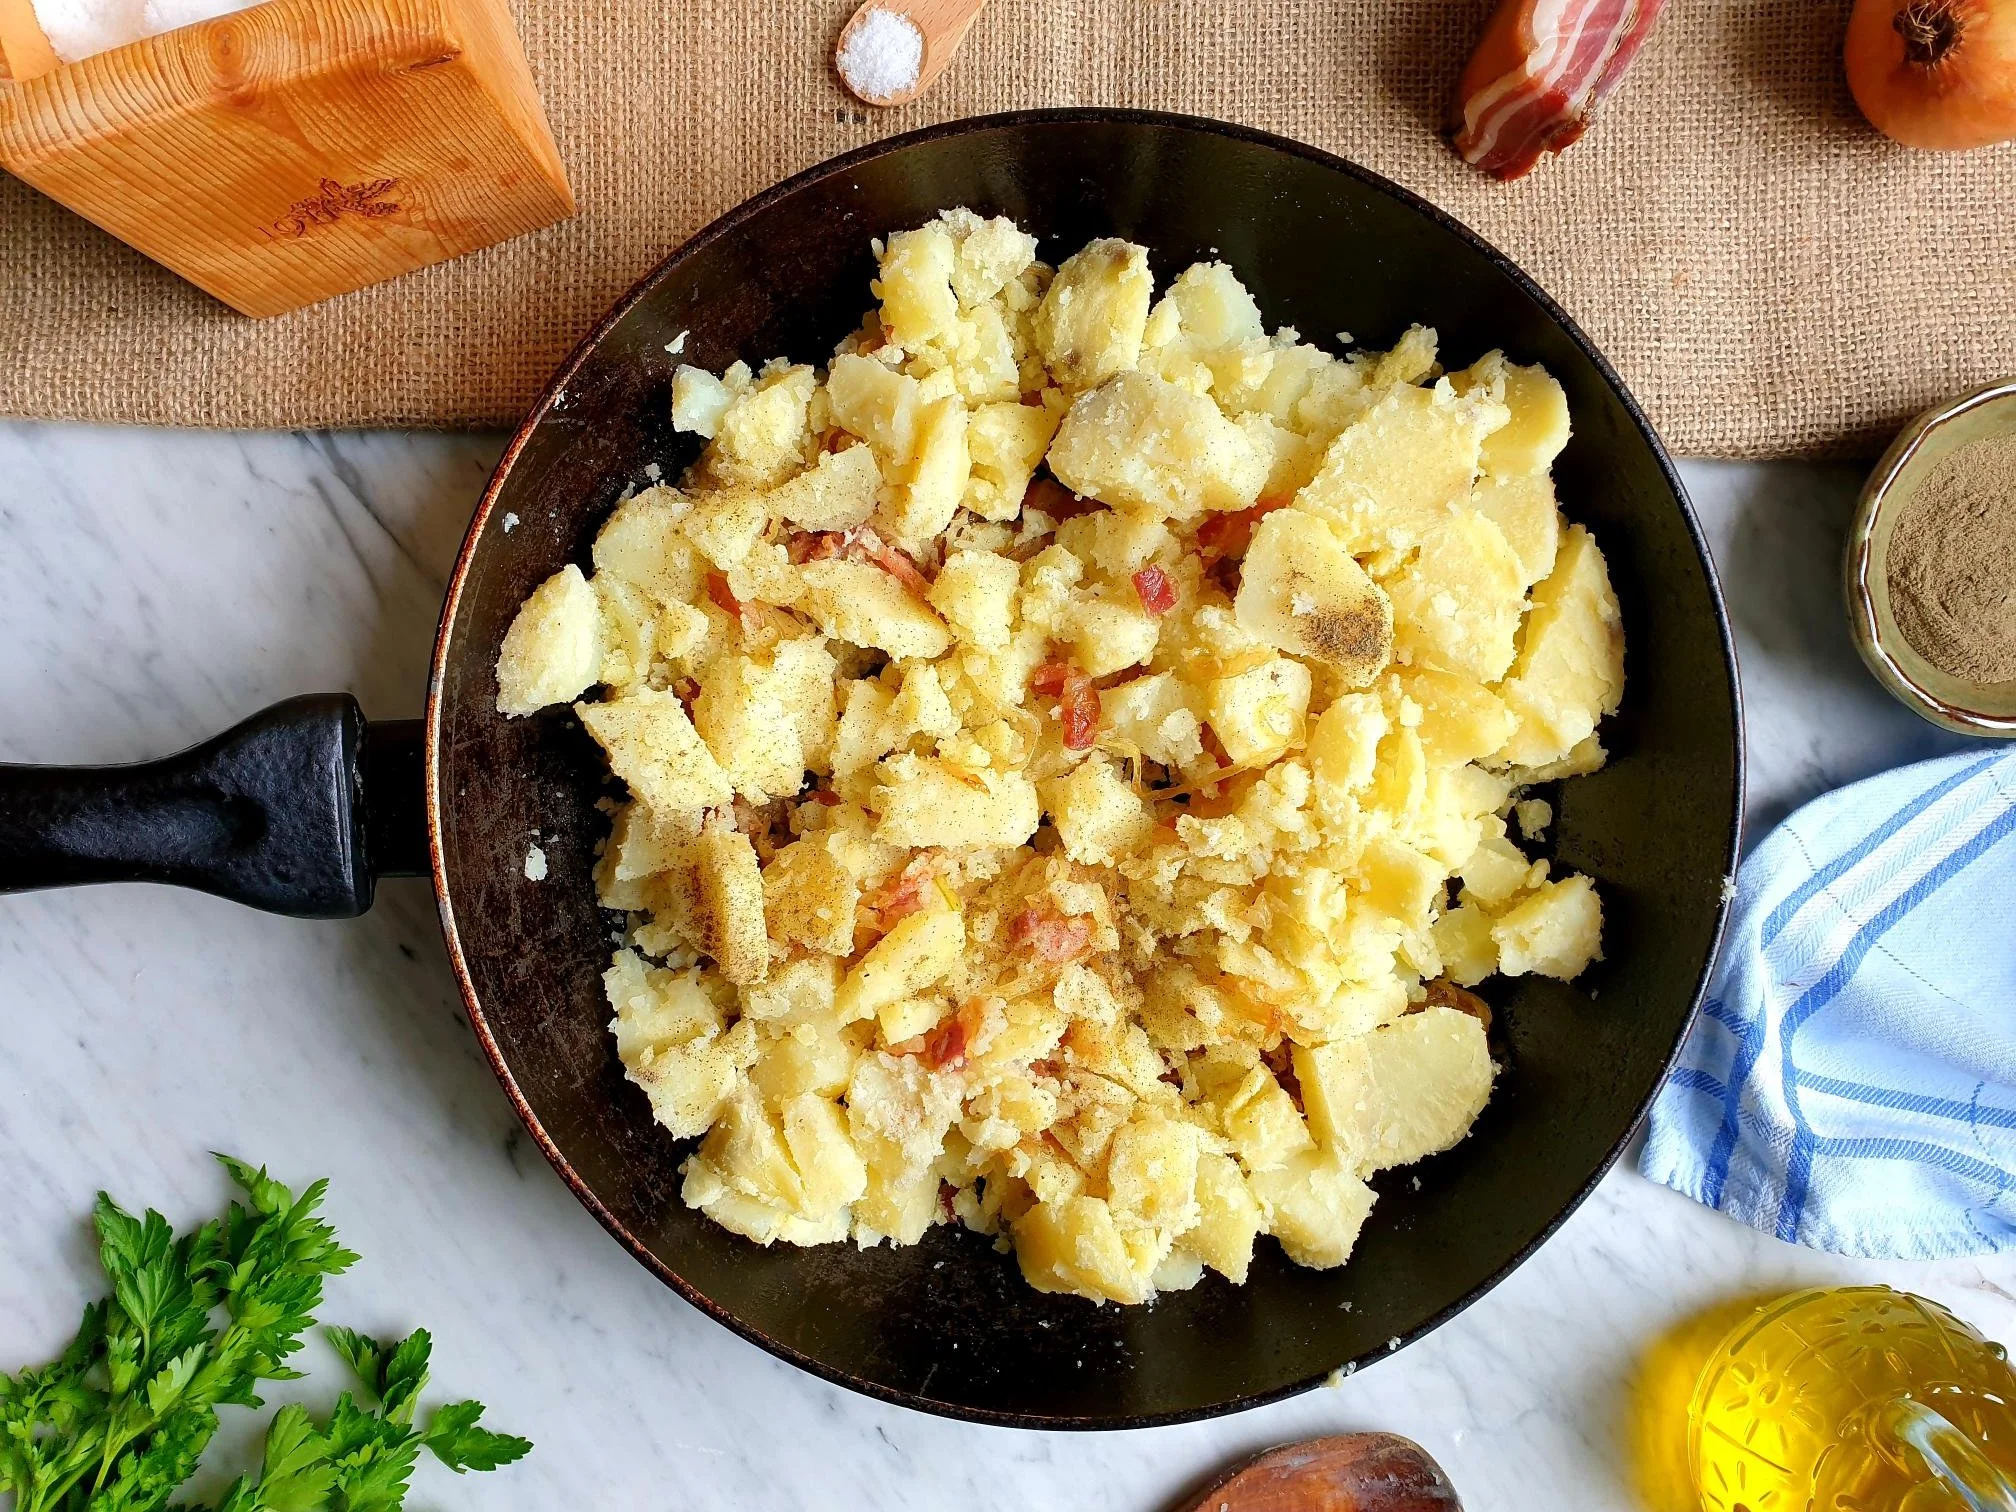
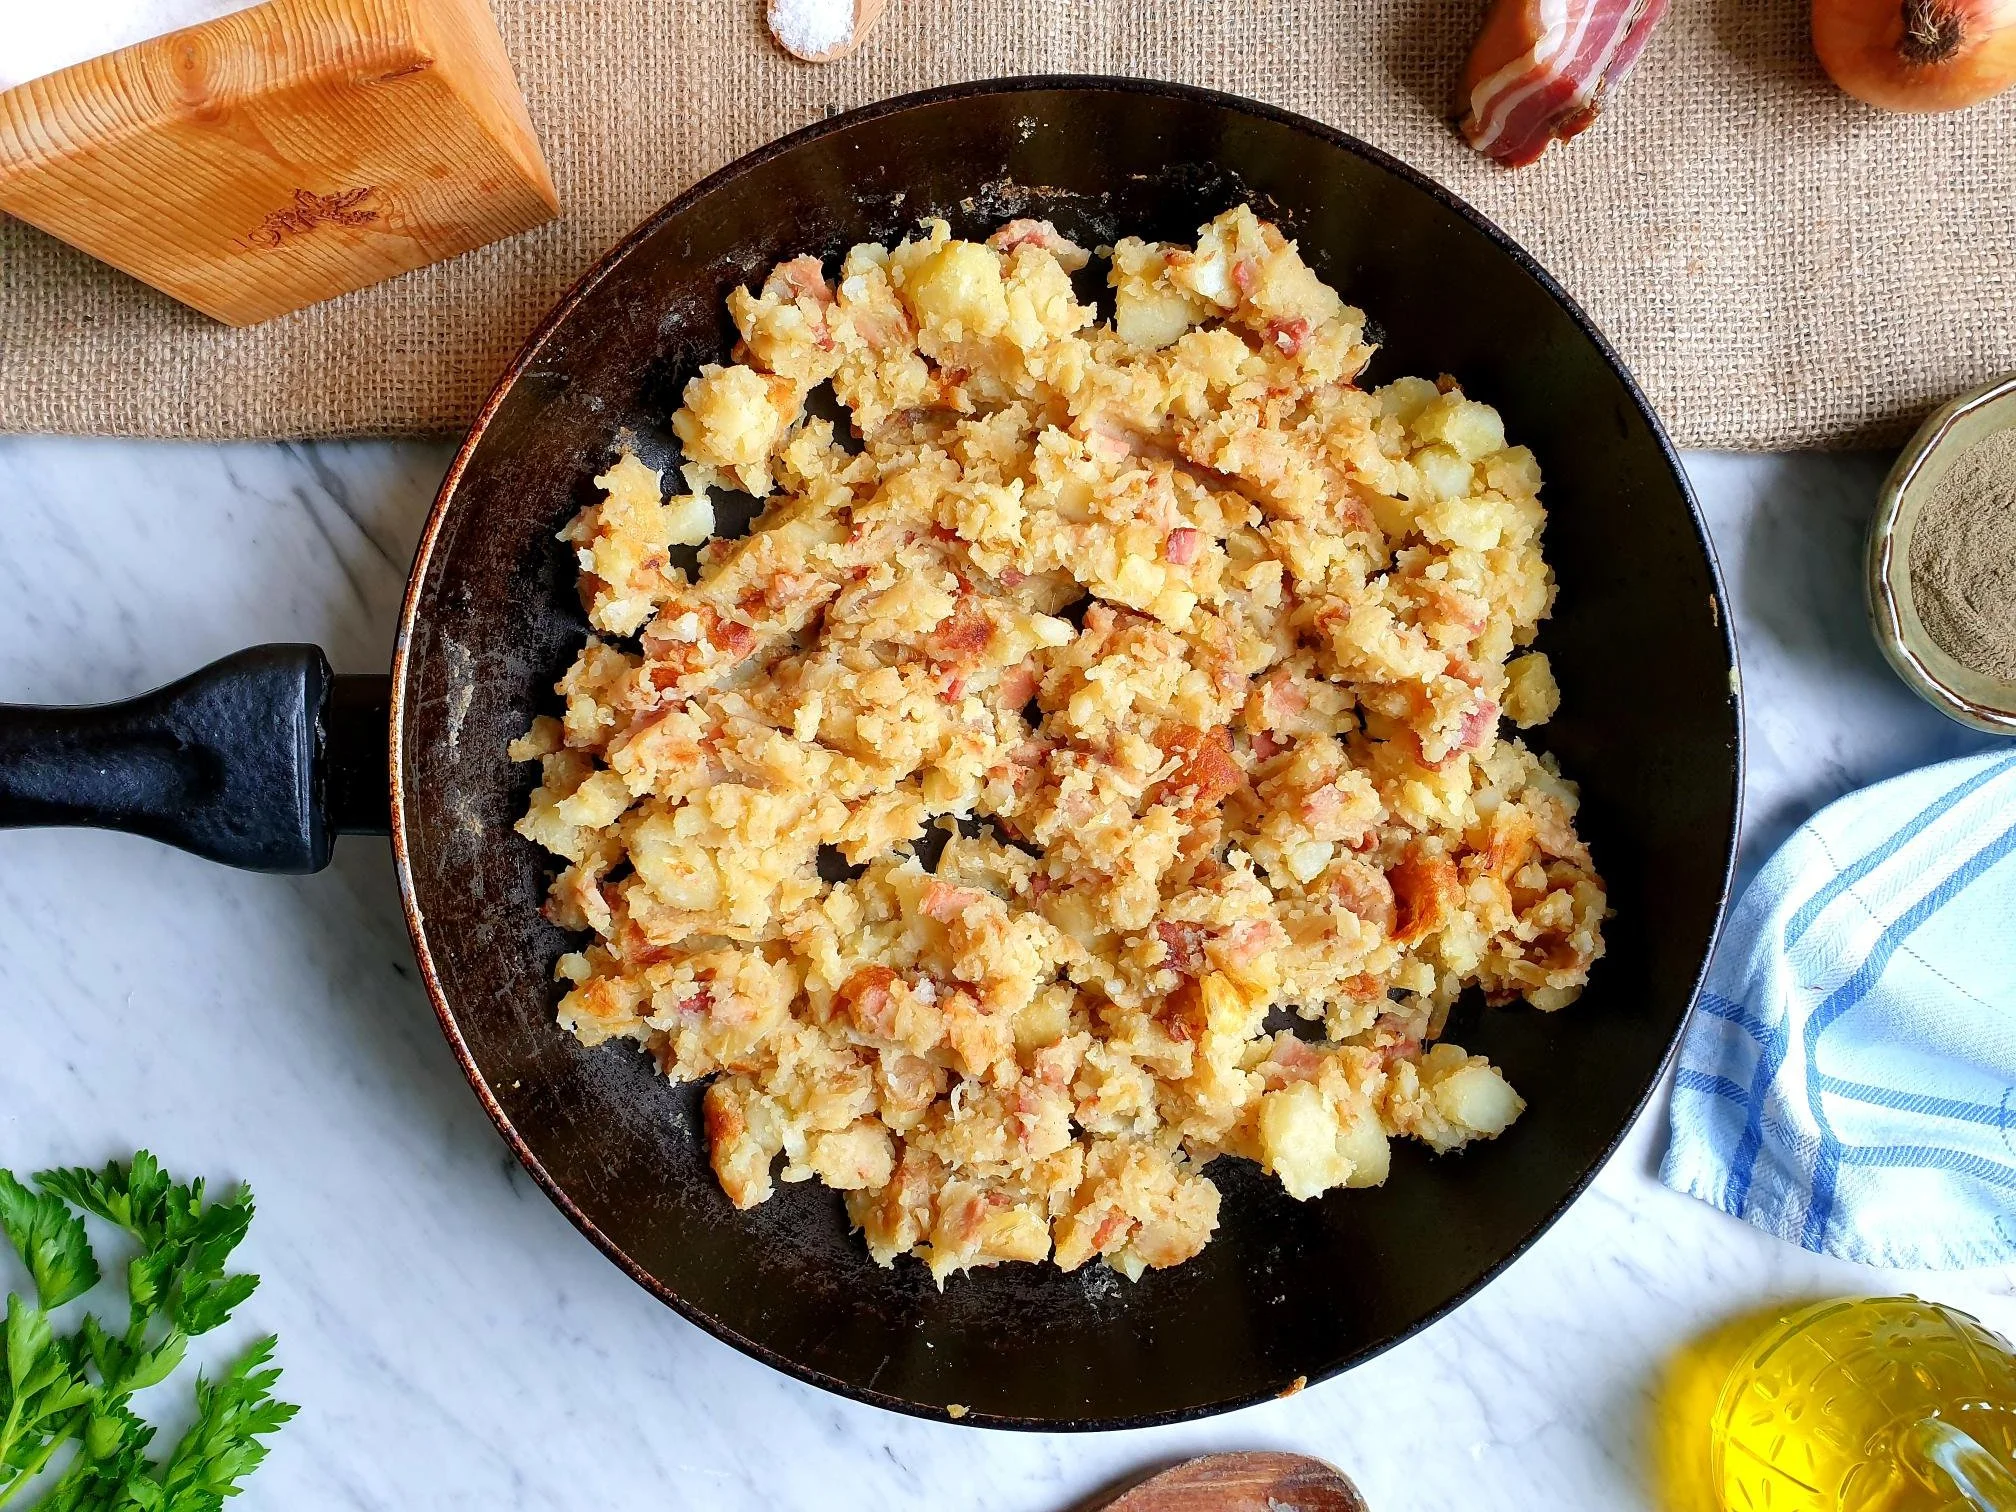
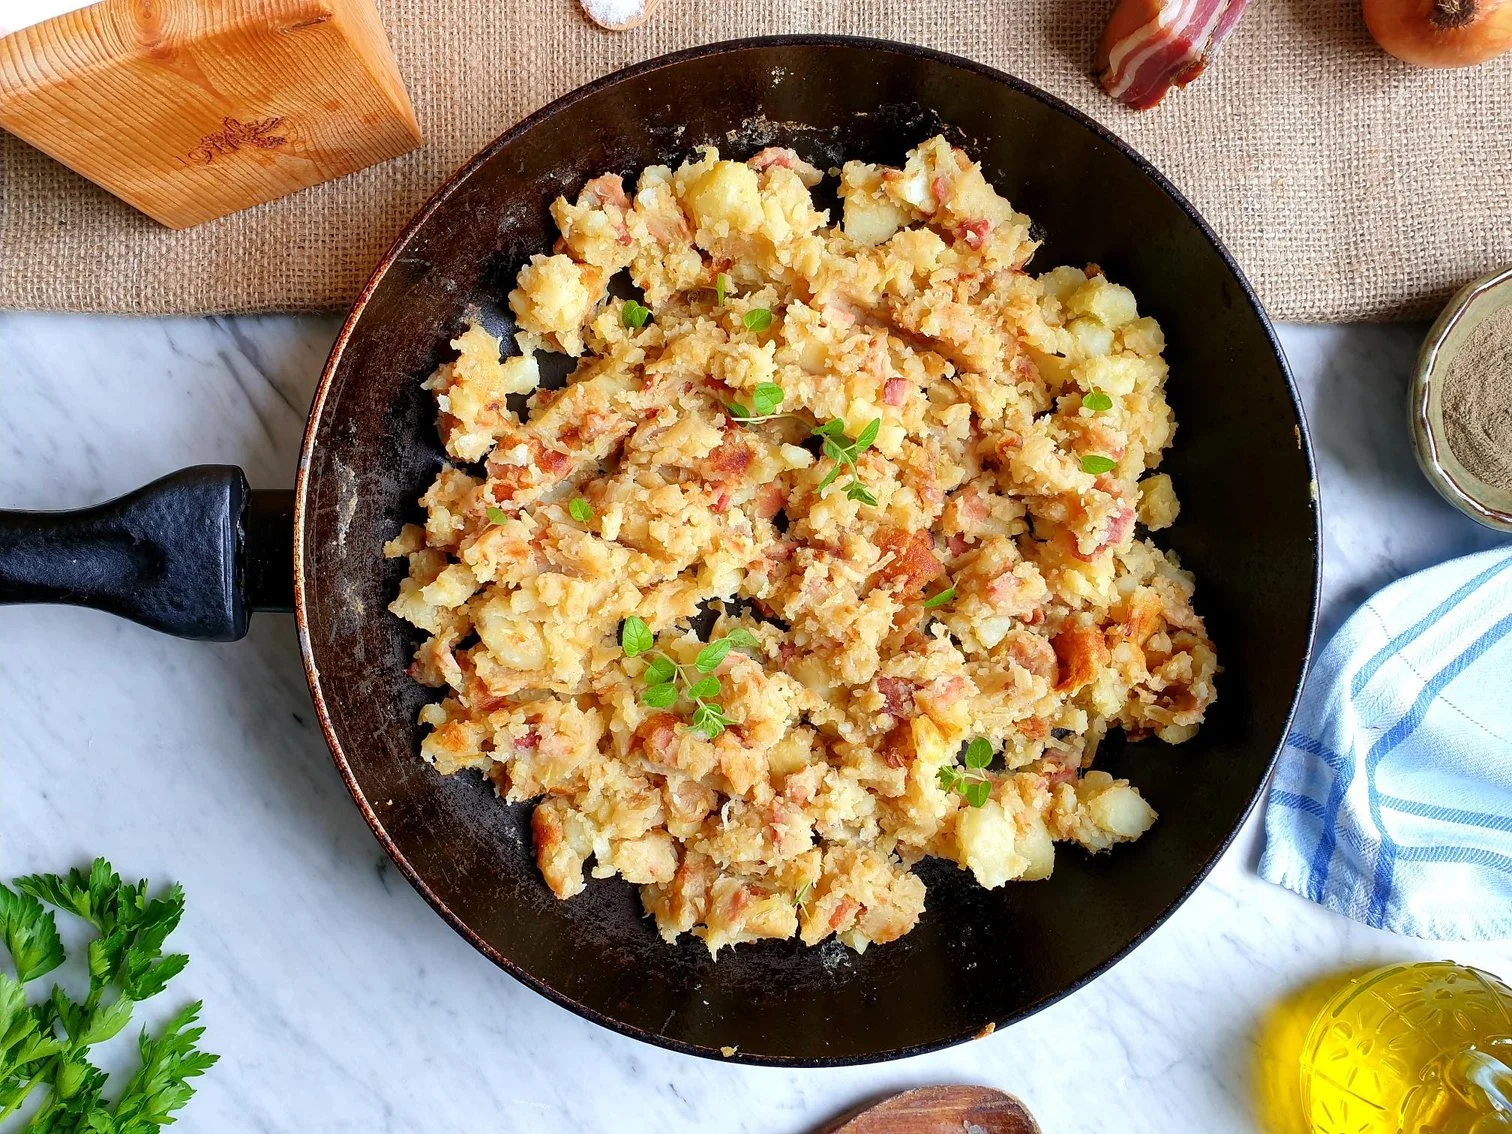
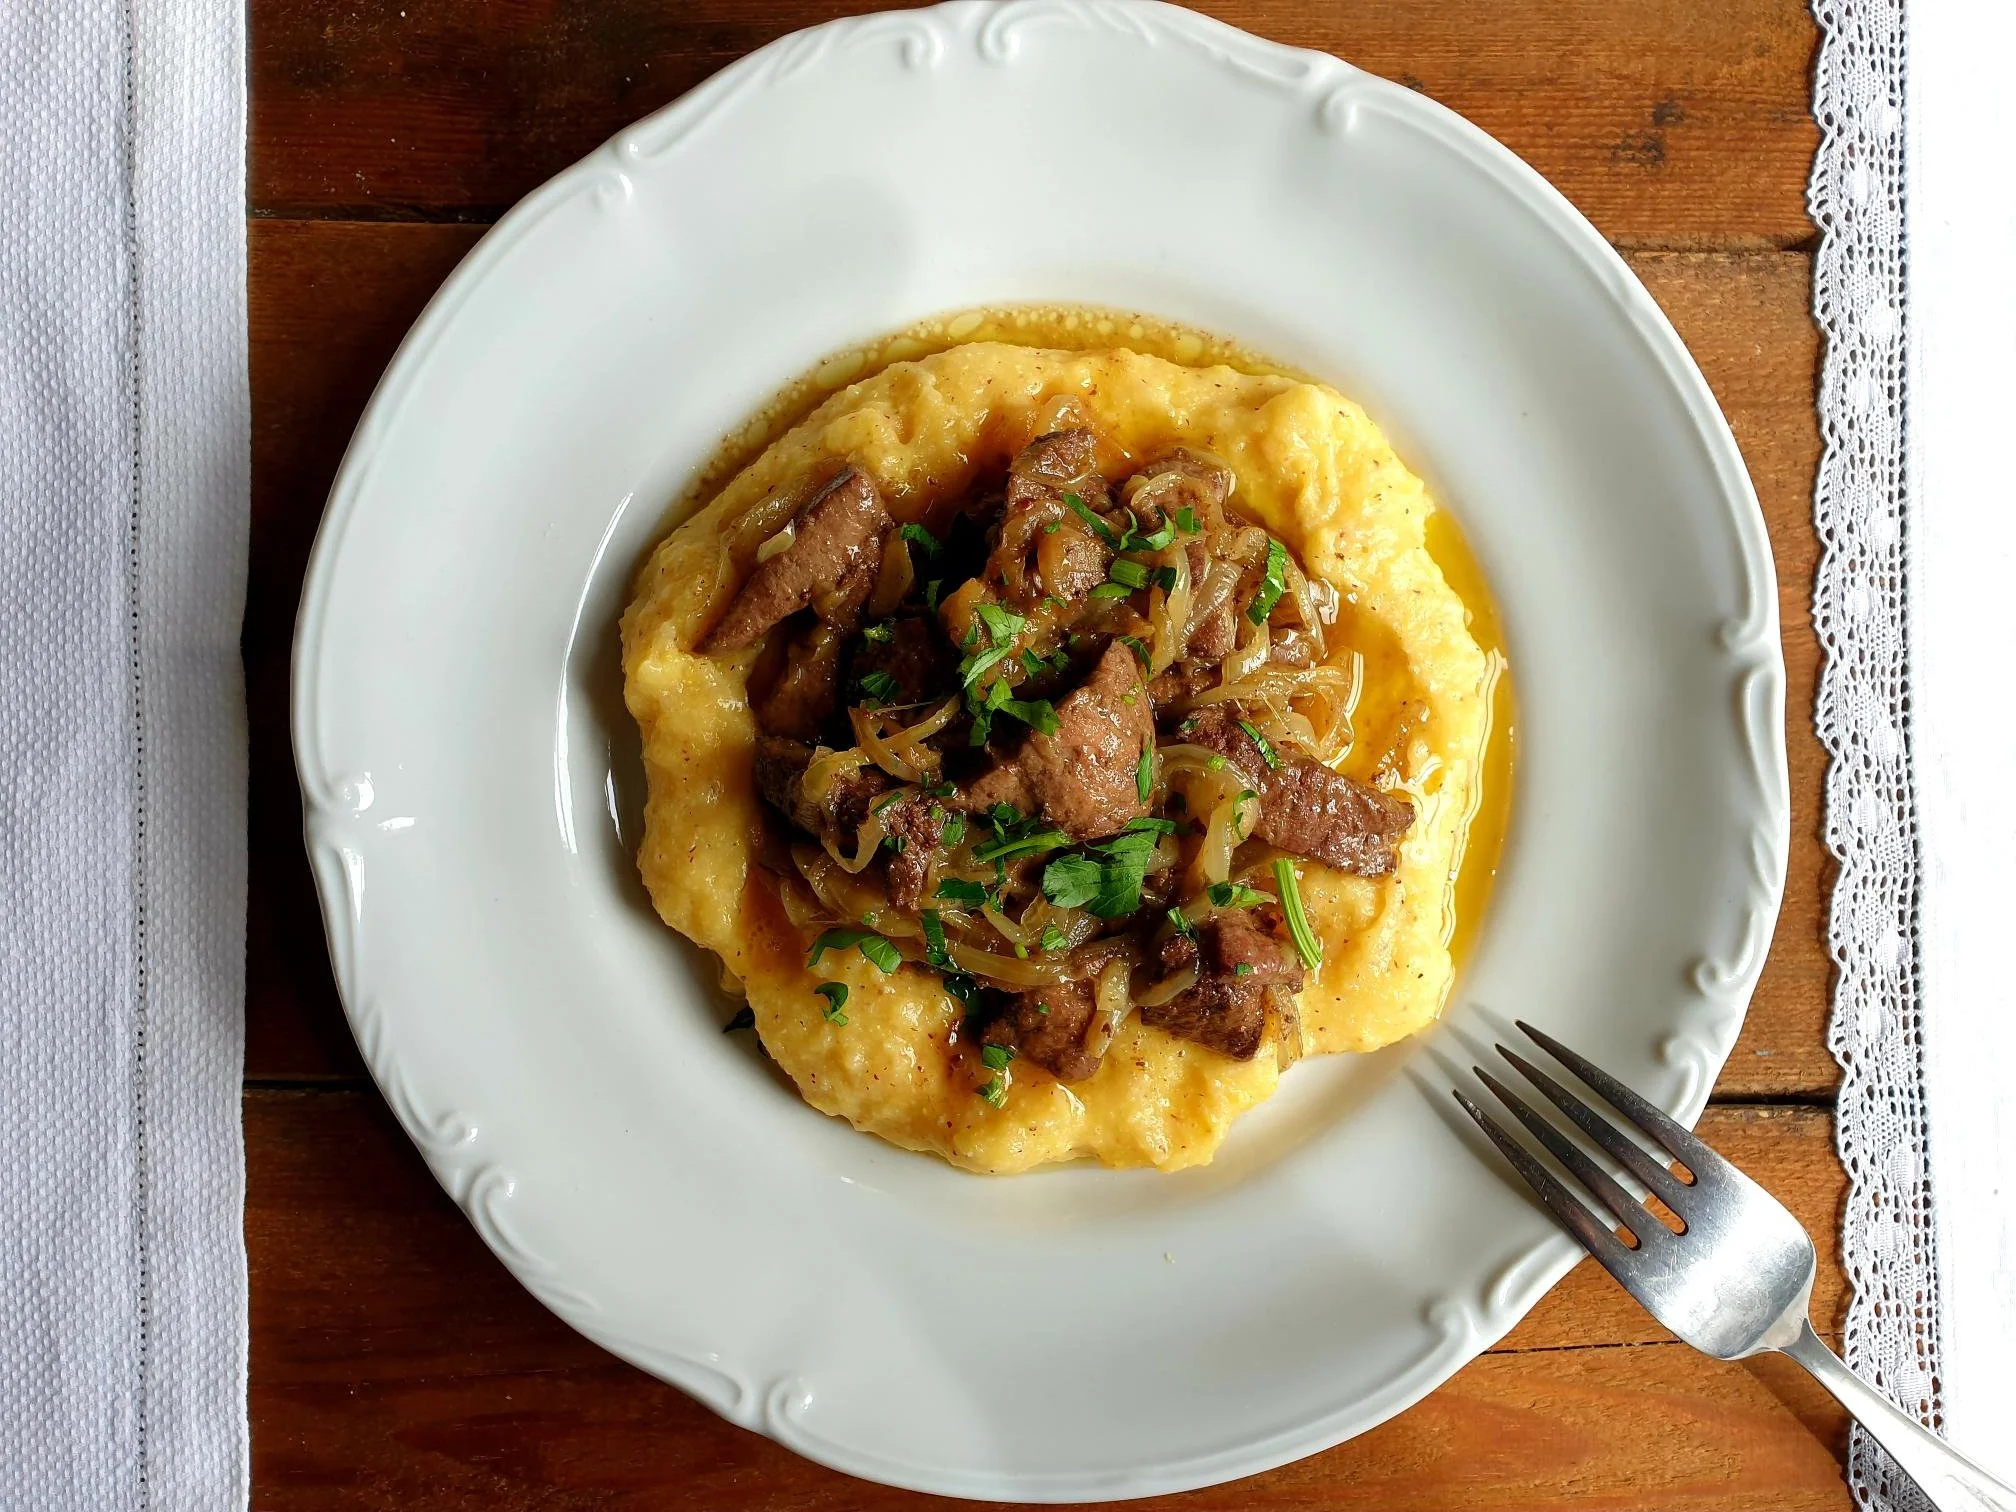
This once festive food was accompanied by home made potato gnocchi, polenta, typical Istrian home made fresh pasta like bleki, fuzi, pljukanci or bigoli, pan-fried potatoes with onions and pancetta, or simply with some crunchy bread to soak up the sauce. This recipe for Chicken goulash can be served with mashed potatoes or oven baked potatoes, although these alternatives are slightly a less traditional, but are still quite common side dishes. These days this dish is still enjoyed in this same way!
I am sharing here my nona's recipe, a very simple but very special recipe, as it has been in the family for generations. My nona learned how to cook this dish from her nona, and as the story goes for most of the recipes, this one also has variations and ingredients like white wine, a bit of chopped fresh tomatoes or a tablespoon of tomato concentrate, crushed garlic and other fresh herbs like a bit of finely chopped fresh rosemary, sage, basil and parsley, few celery leaves finely chopped can be added to the basic recipe.
Recipe
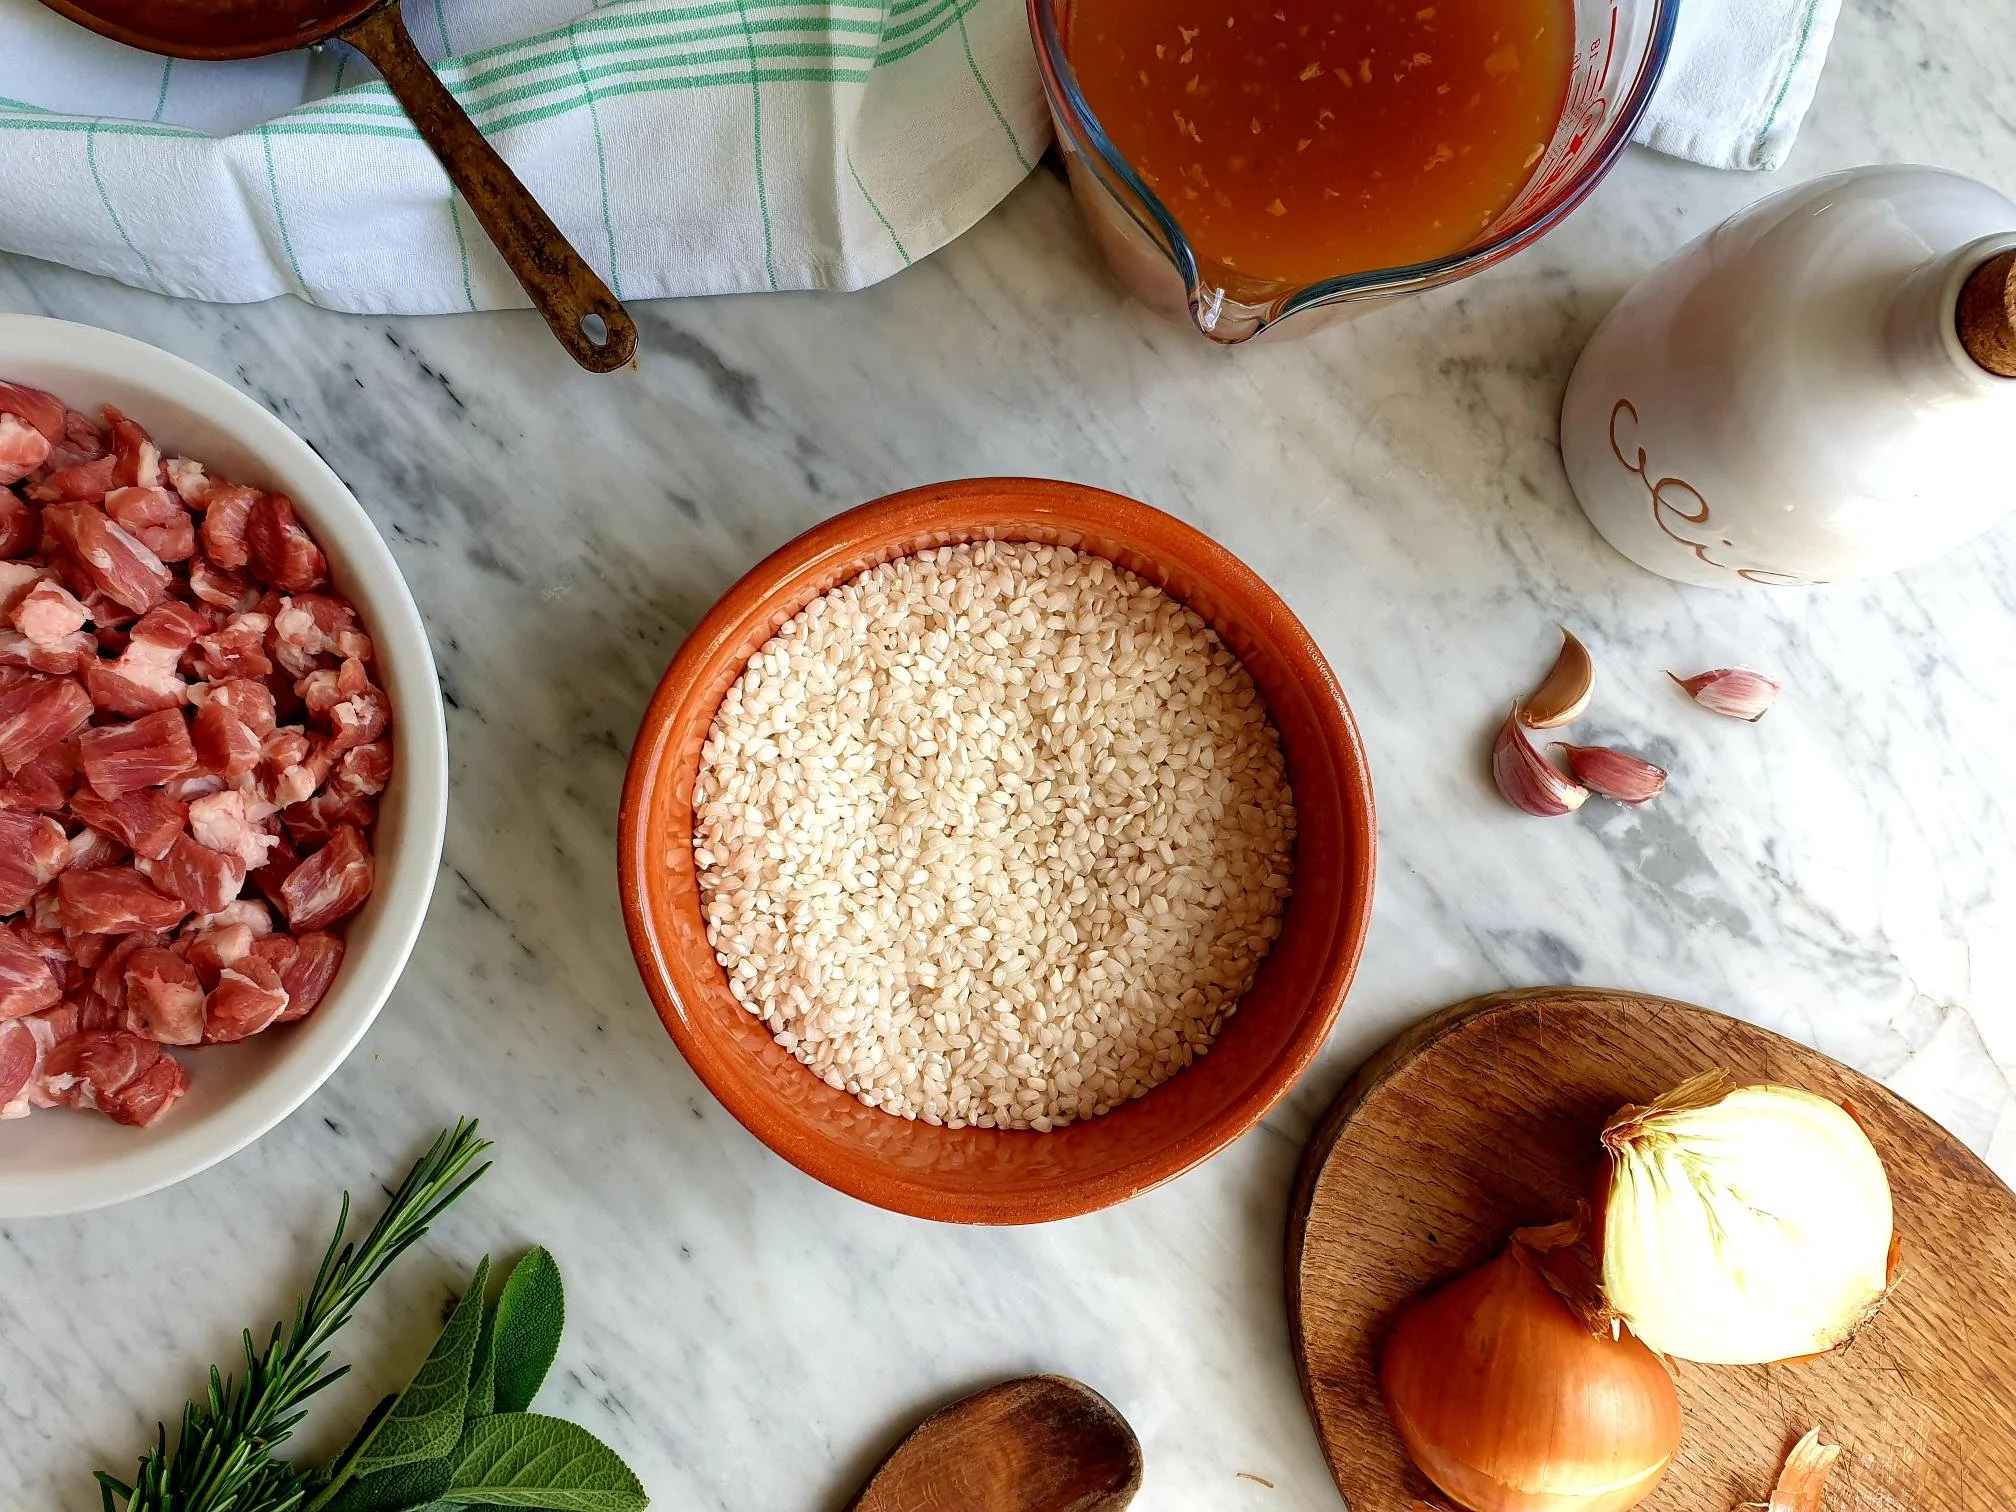
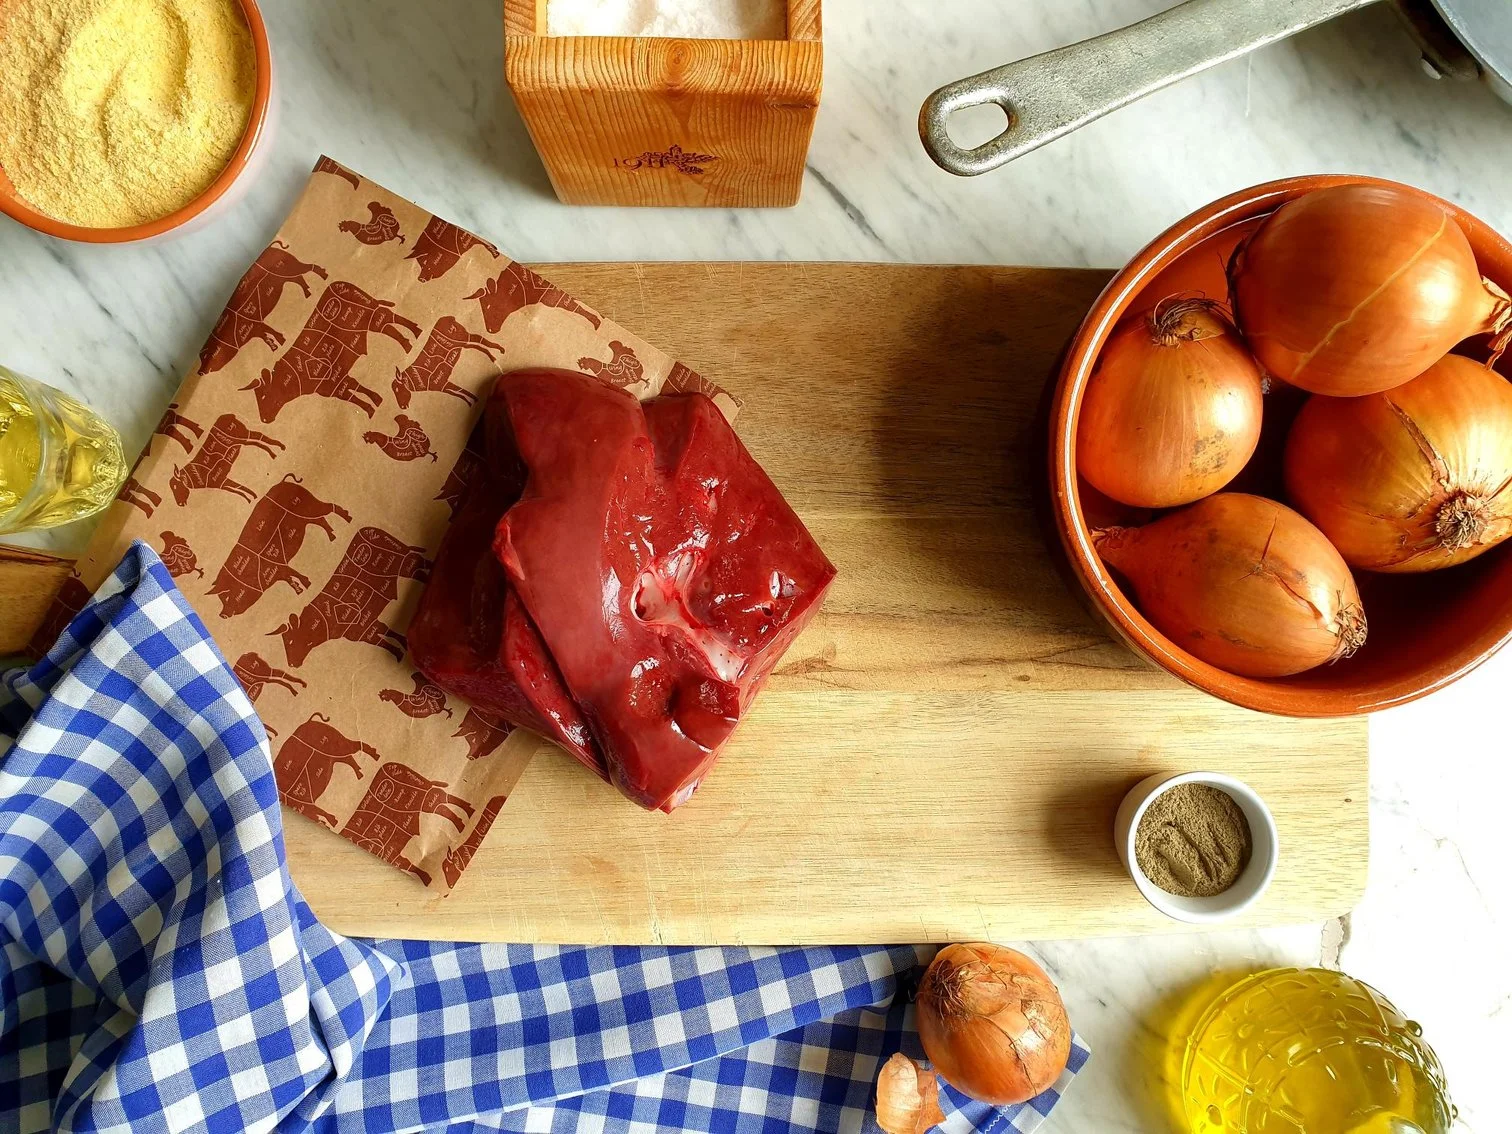
Ingredients
Serves 4-6
1 whole chicken (roaster or cockerel) 1kg-1.5kg, skinned, jointed and cut into chunks (your butcher will be more than happy to do this for you)
You can use just chicken thighs or drumsticks on the bone (or boneless pieces) or a combination of the two, and some chicken wings.
If you skin yourself, make sure you remove most of the skin to avoid the dish becoming to oily and greasy, and potentially unpleasant to eat.
2 Tbsp olive oil
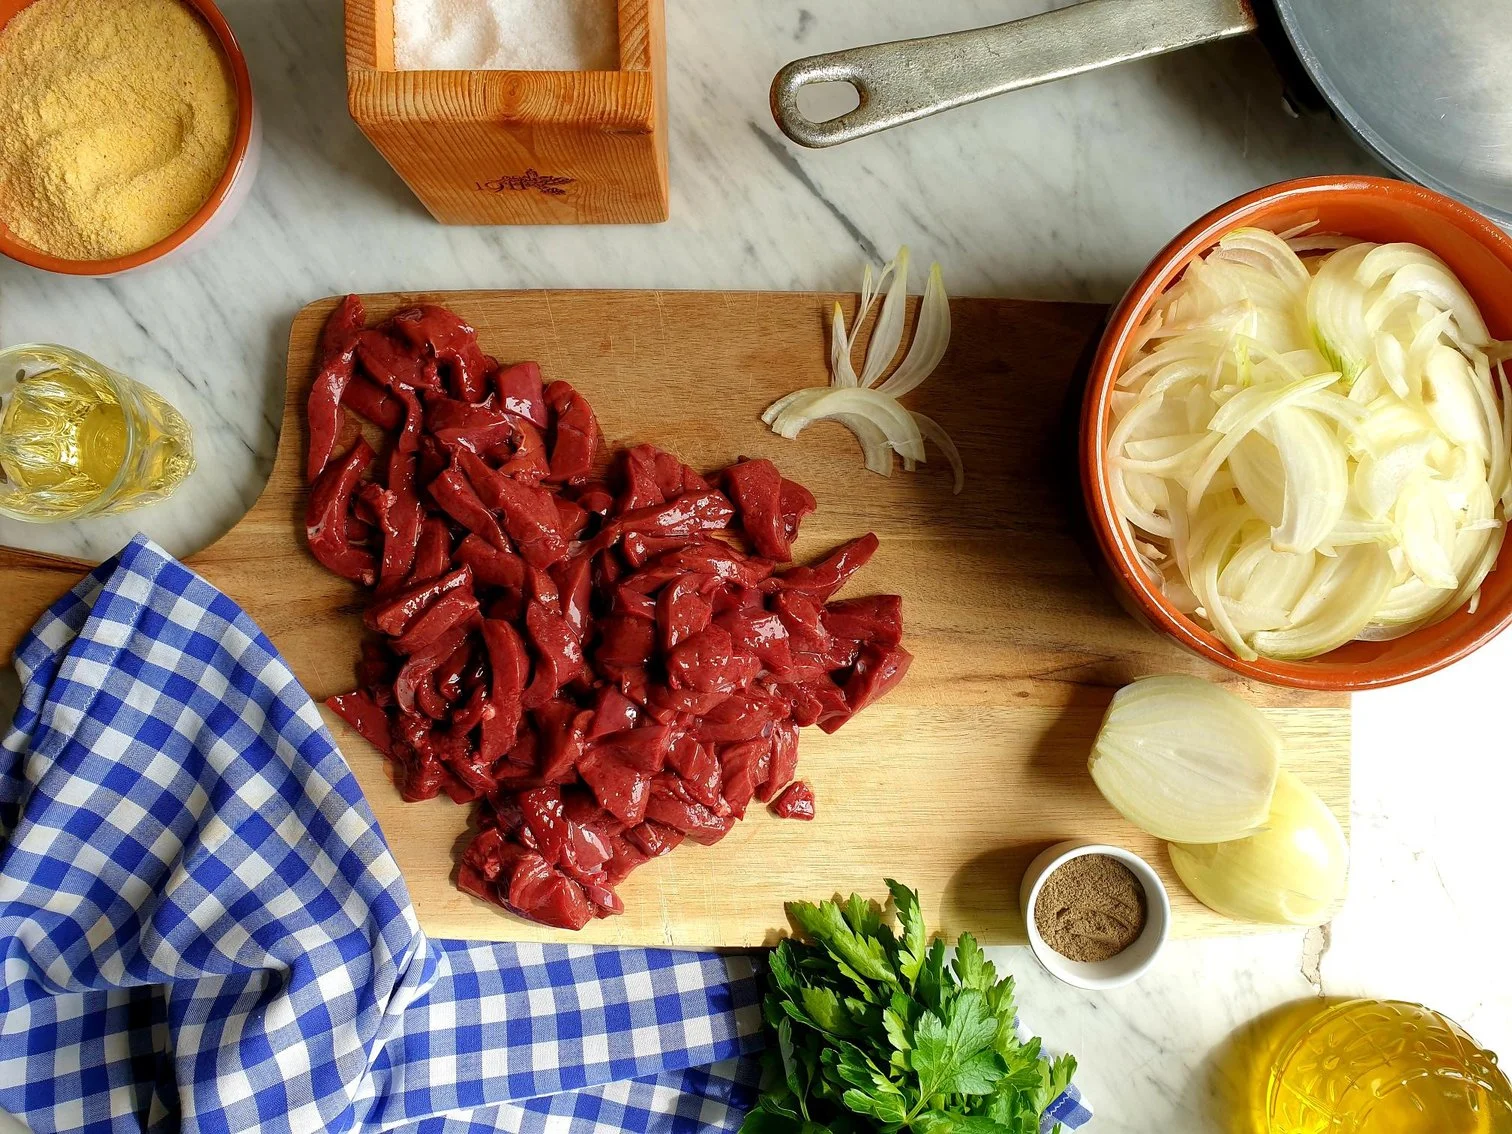
2 medium onions (about 240g) peeled and finely chopped
1 Tbsp white all purpose plain flour
1 Tbsp fresh marjoram, finely chopped (can use dry marjoram)
sea salt
black pepper

Method
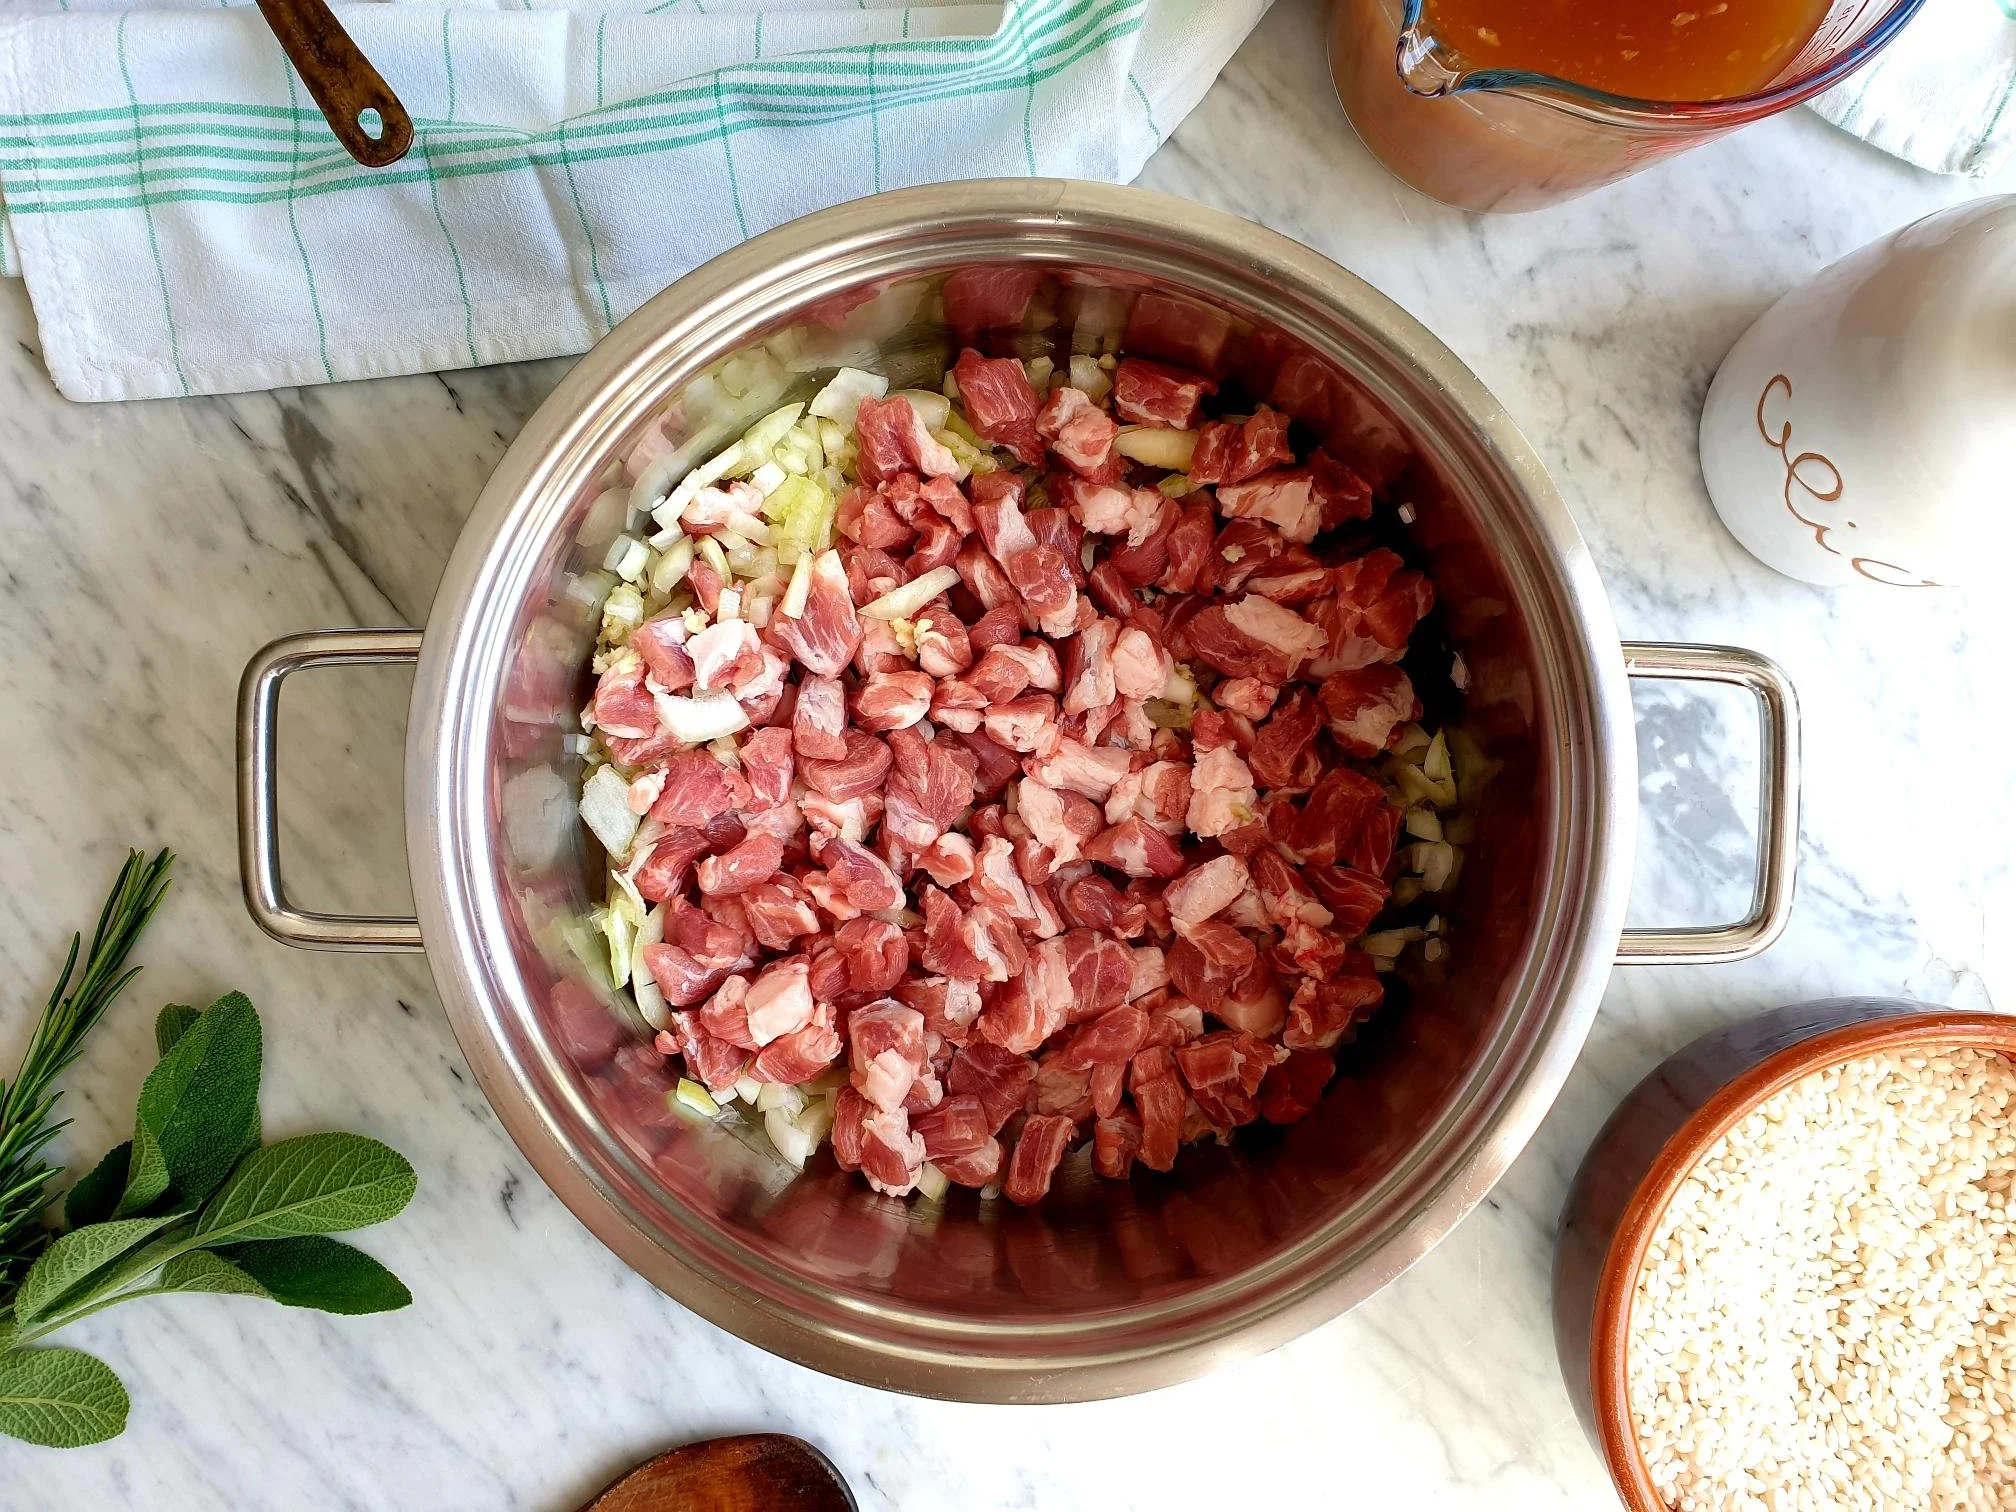
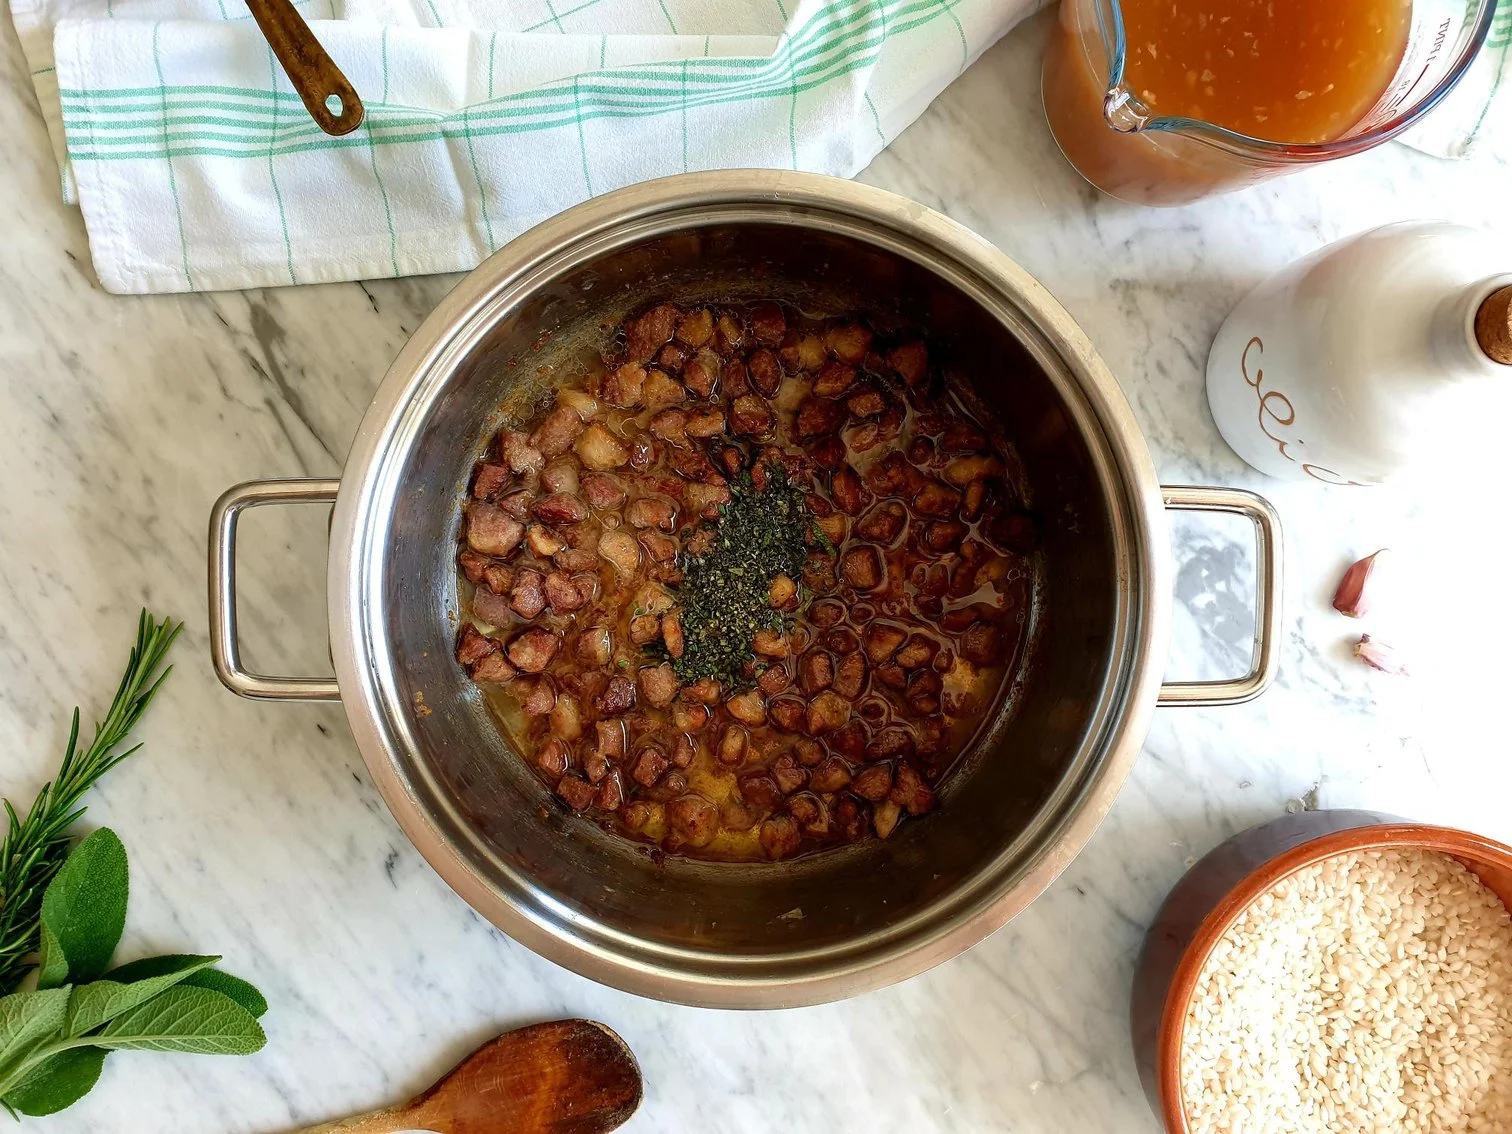
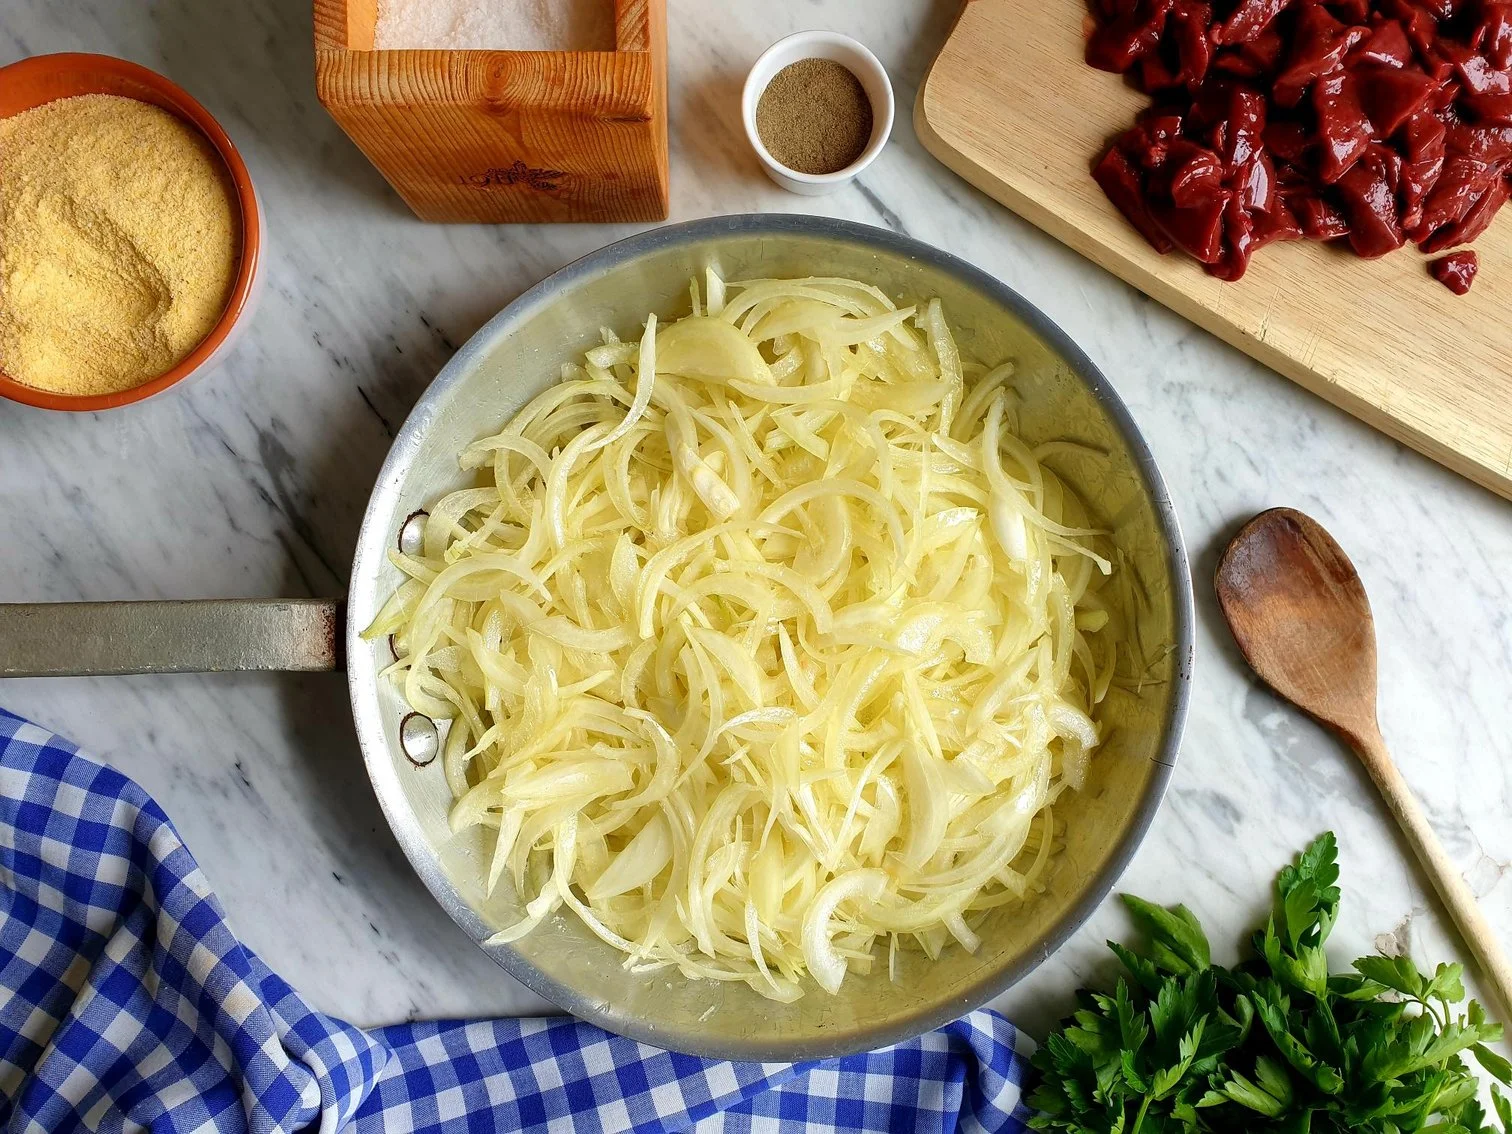
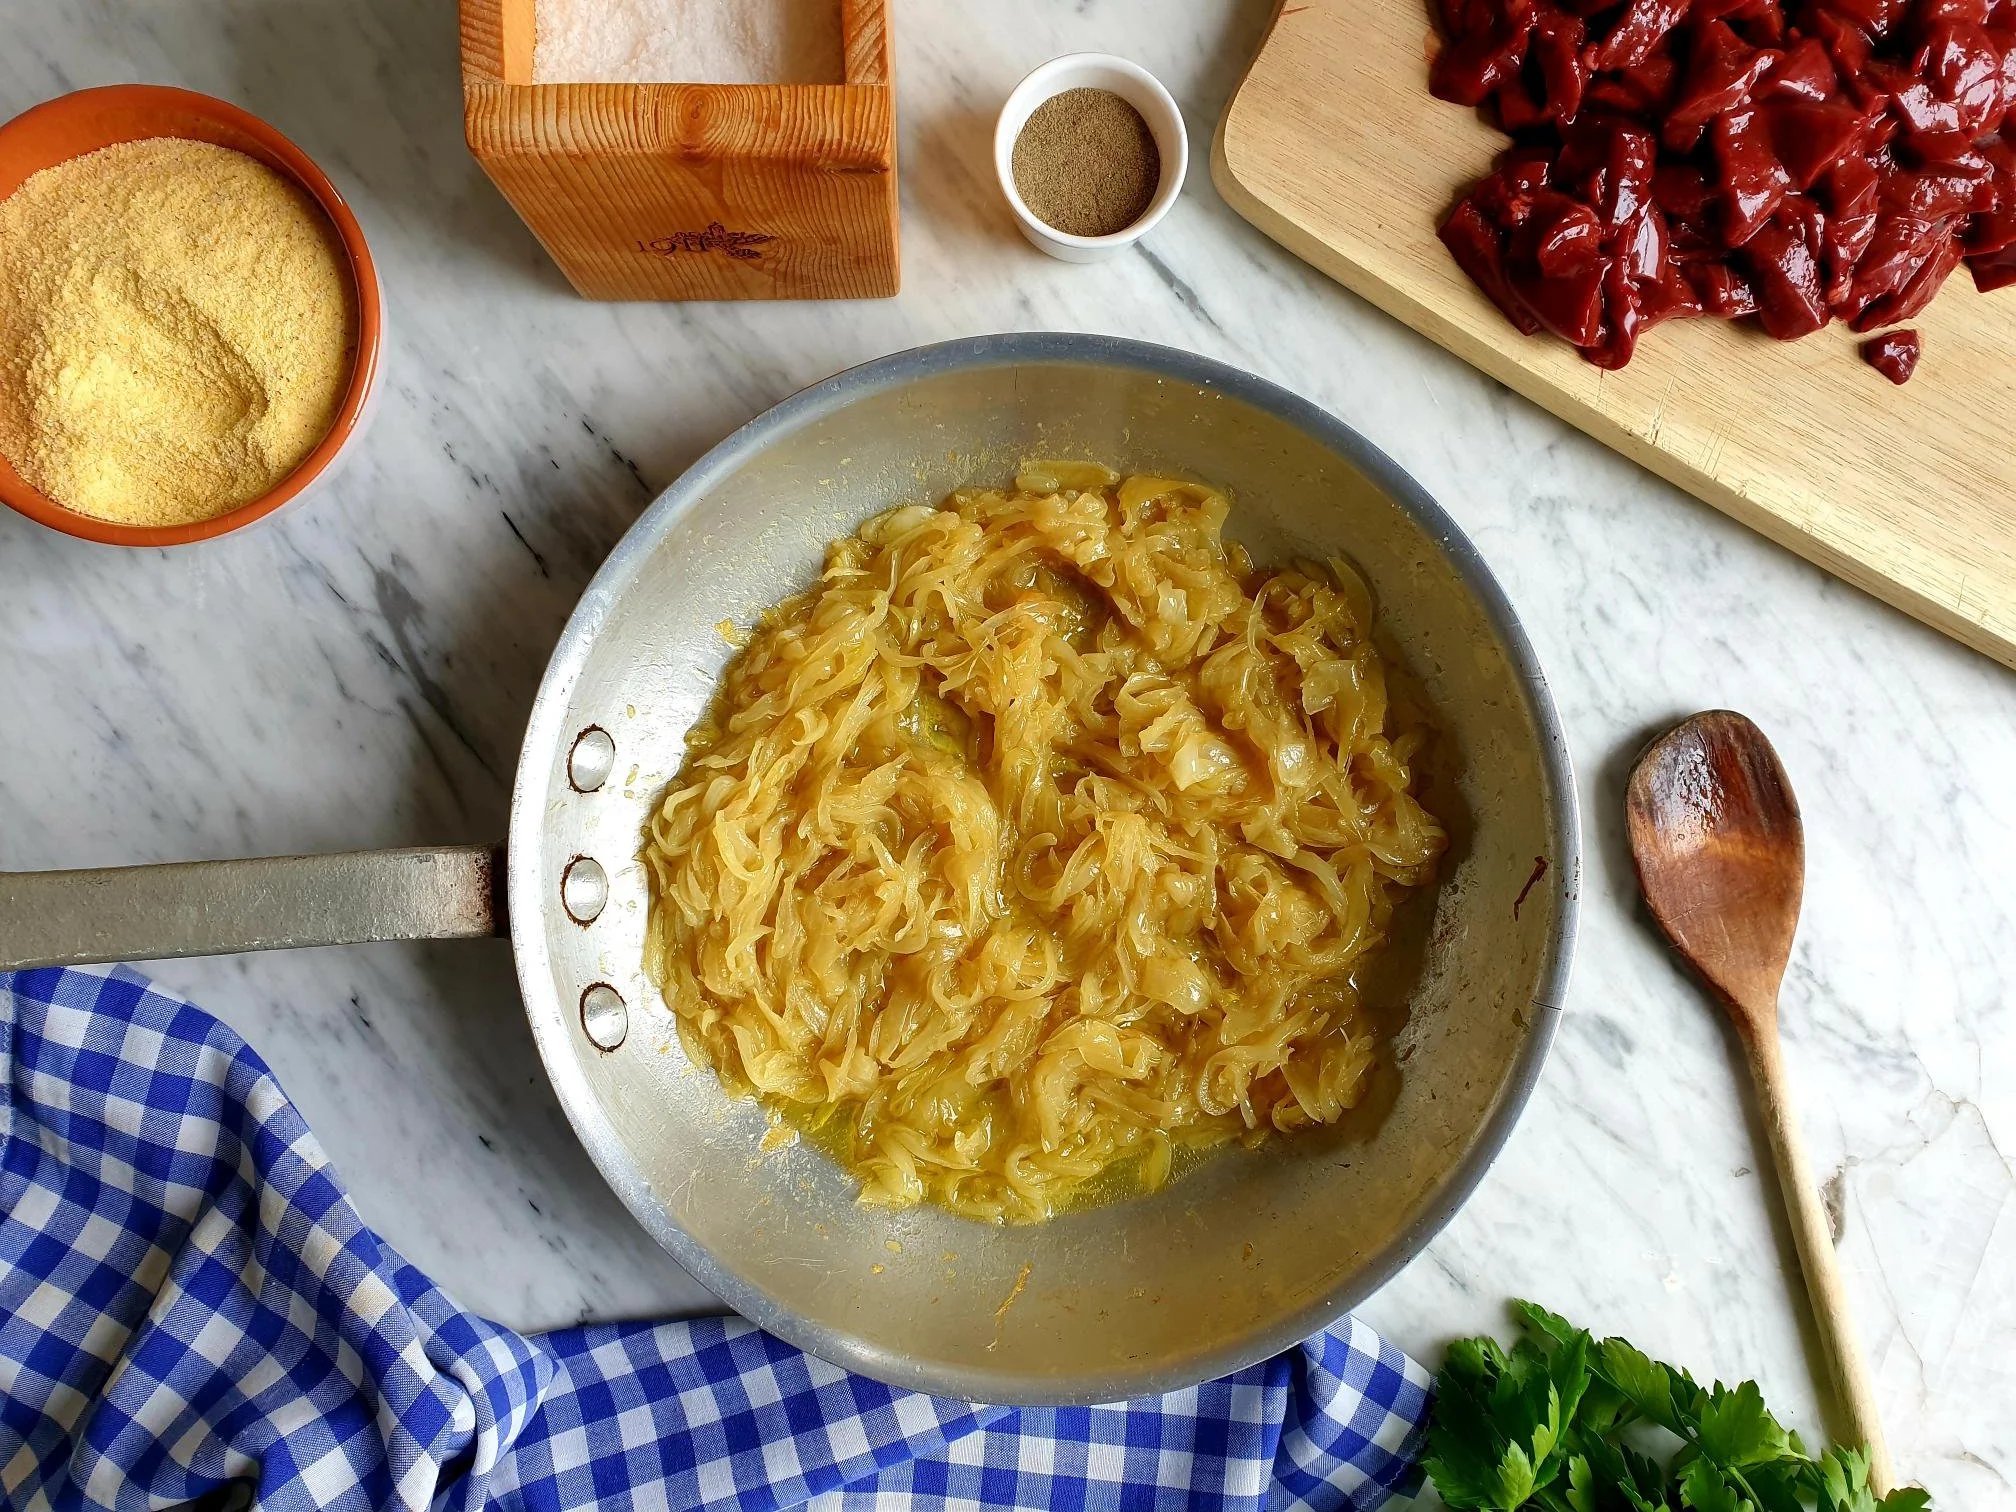
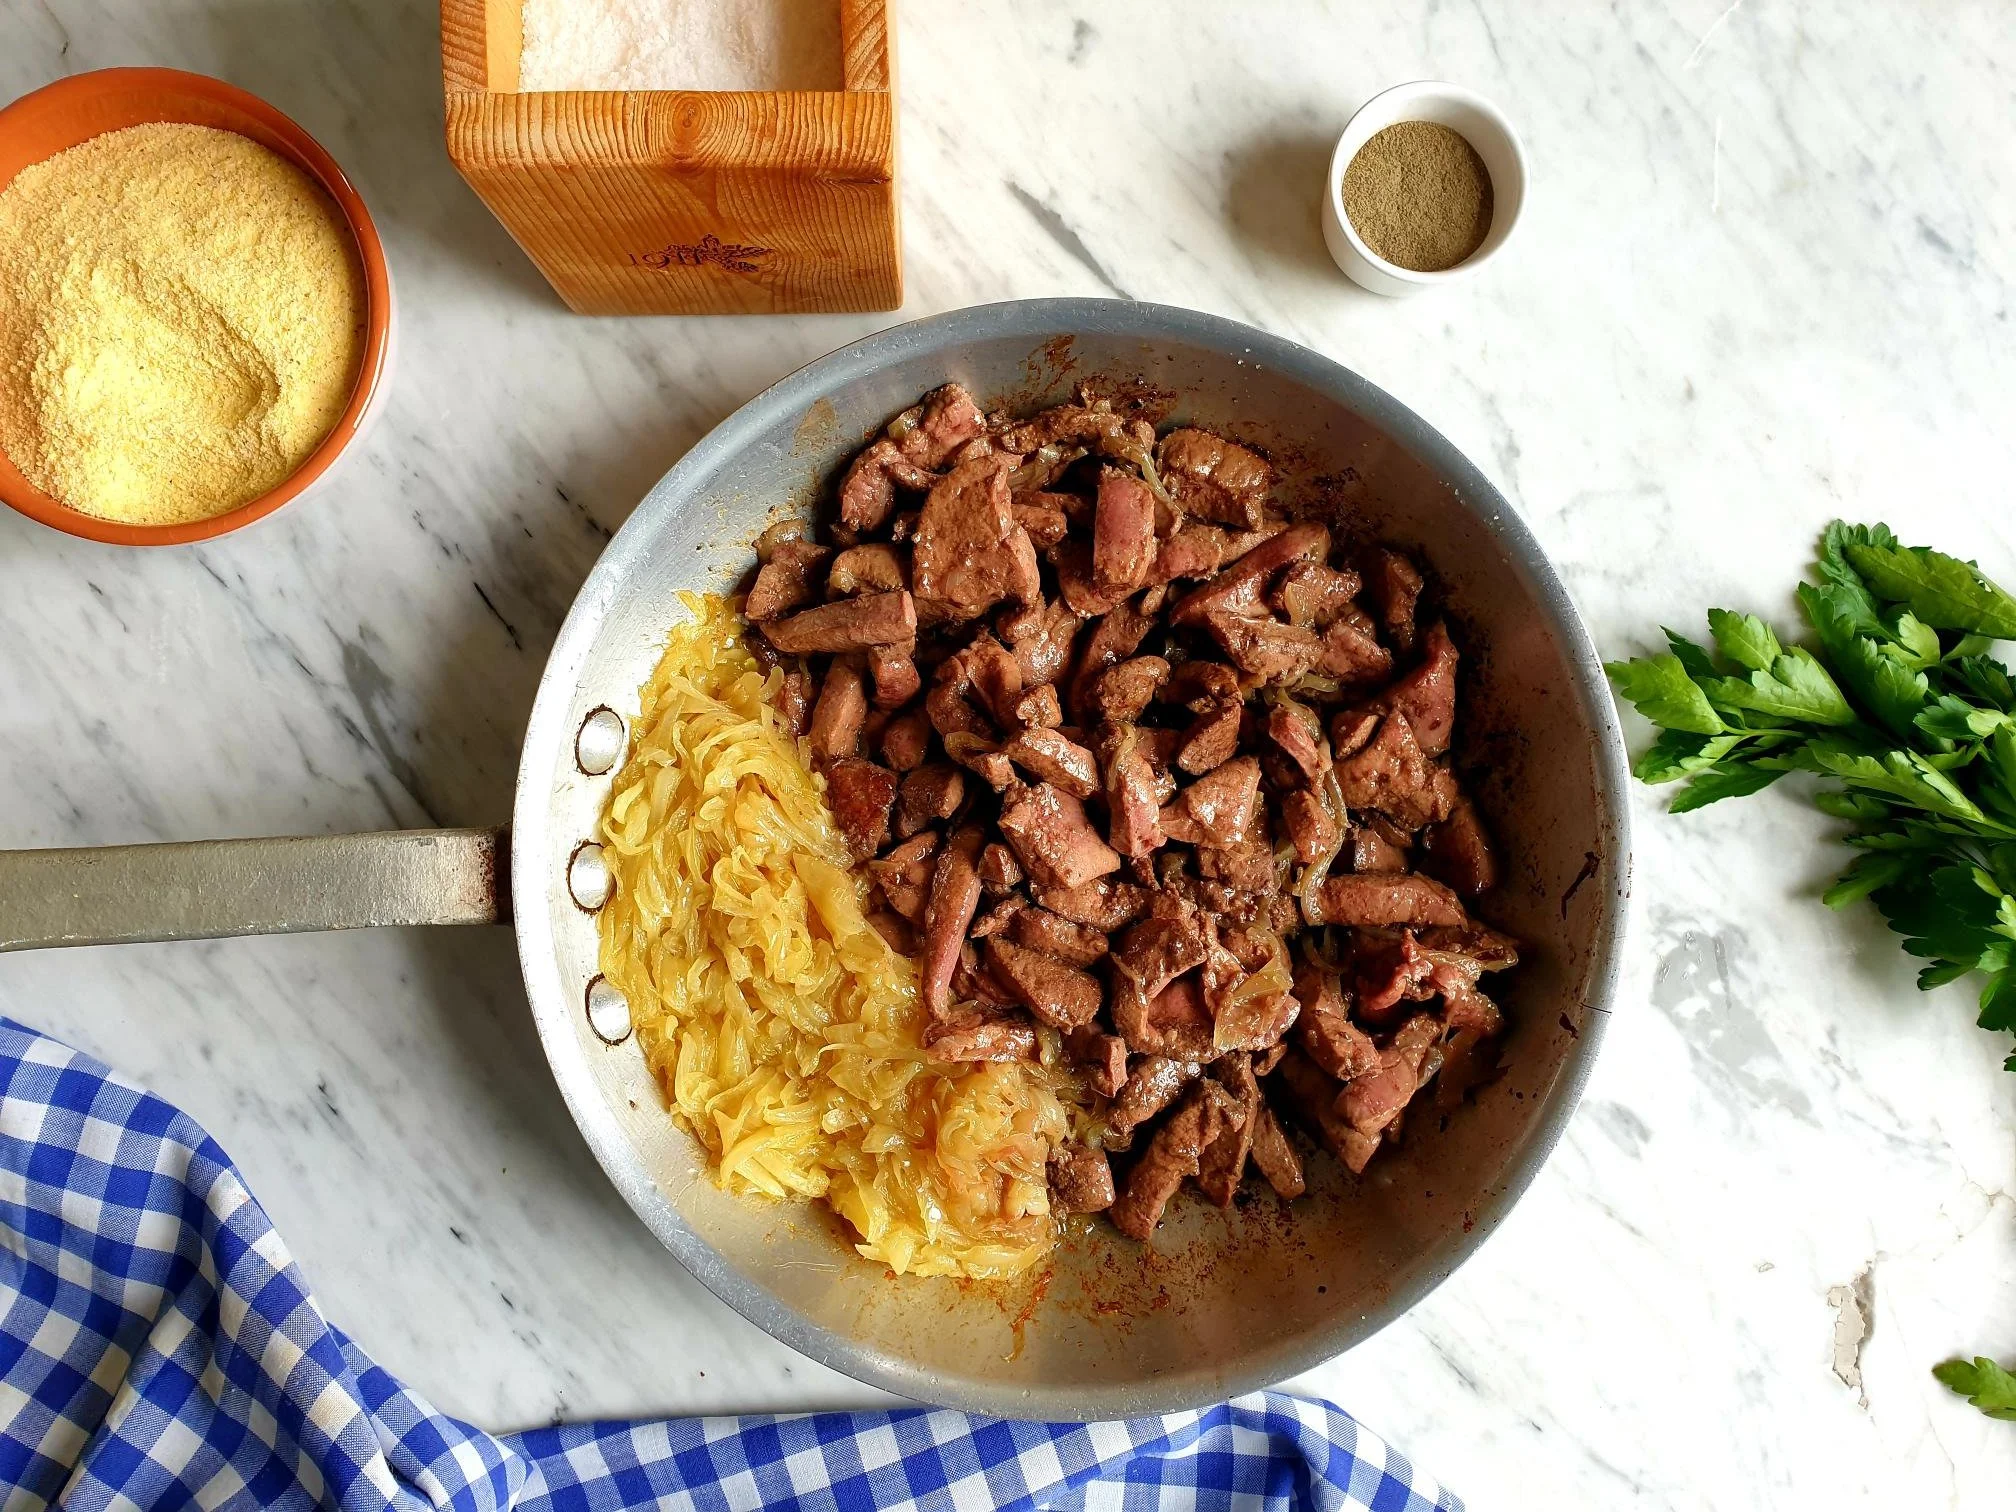
Put olive oil, finely chopped onions, and chunks of chicken in a fairly large shallow cast iron casserole dish or frying pan.
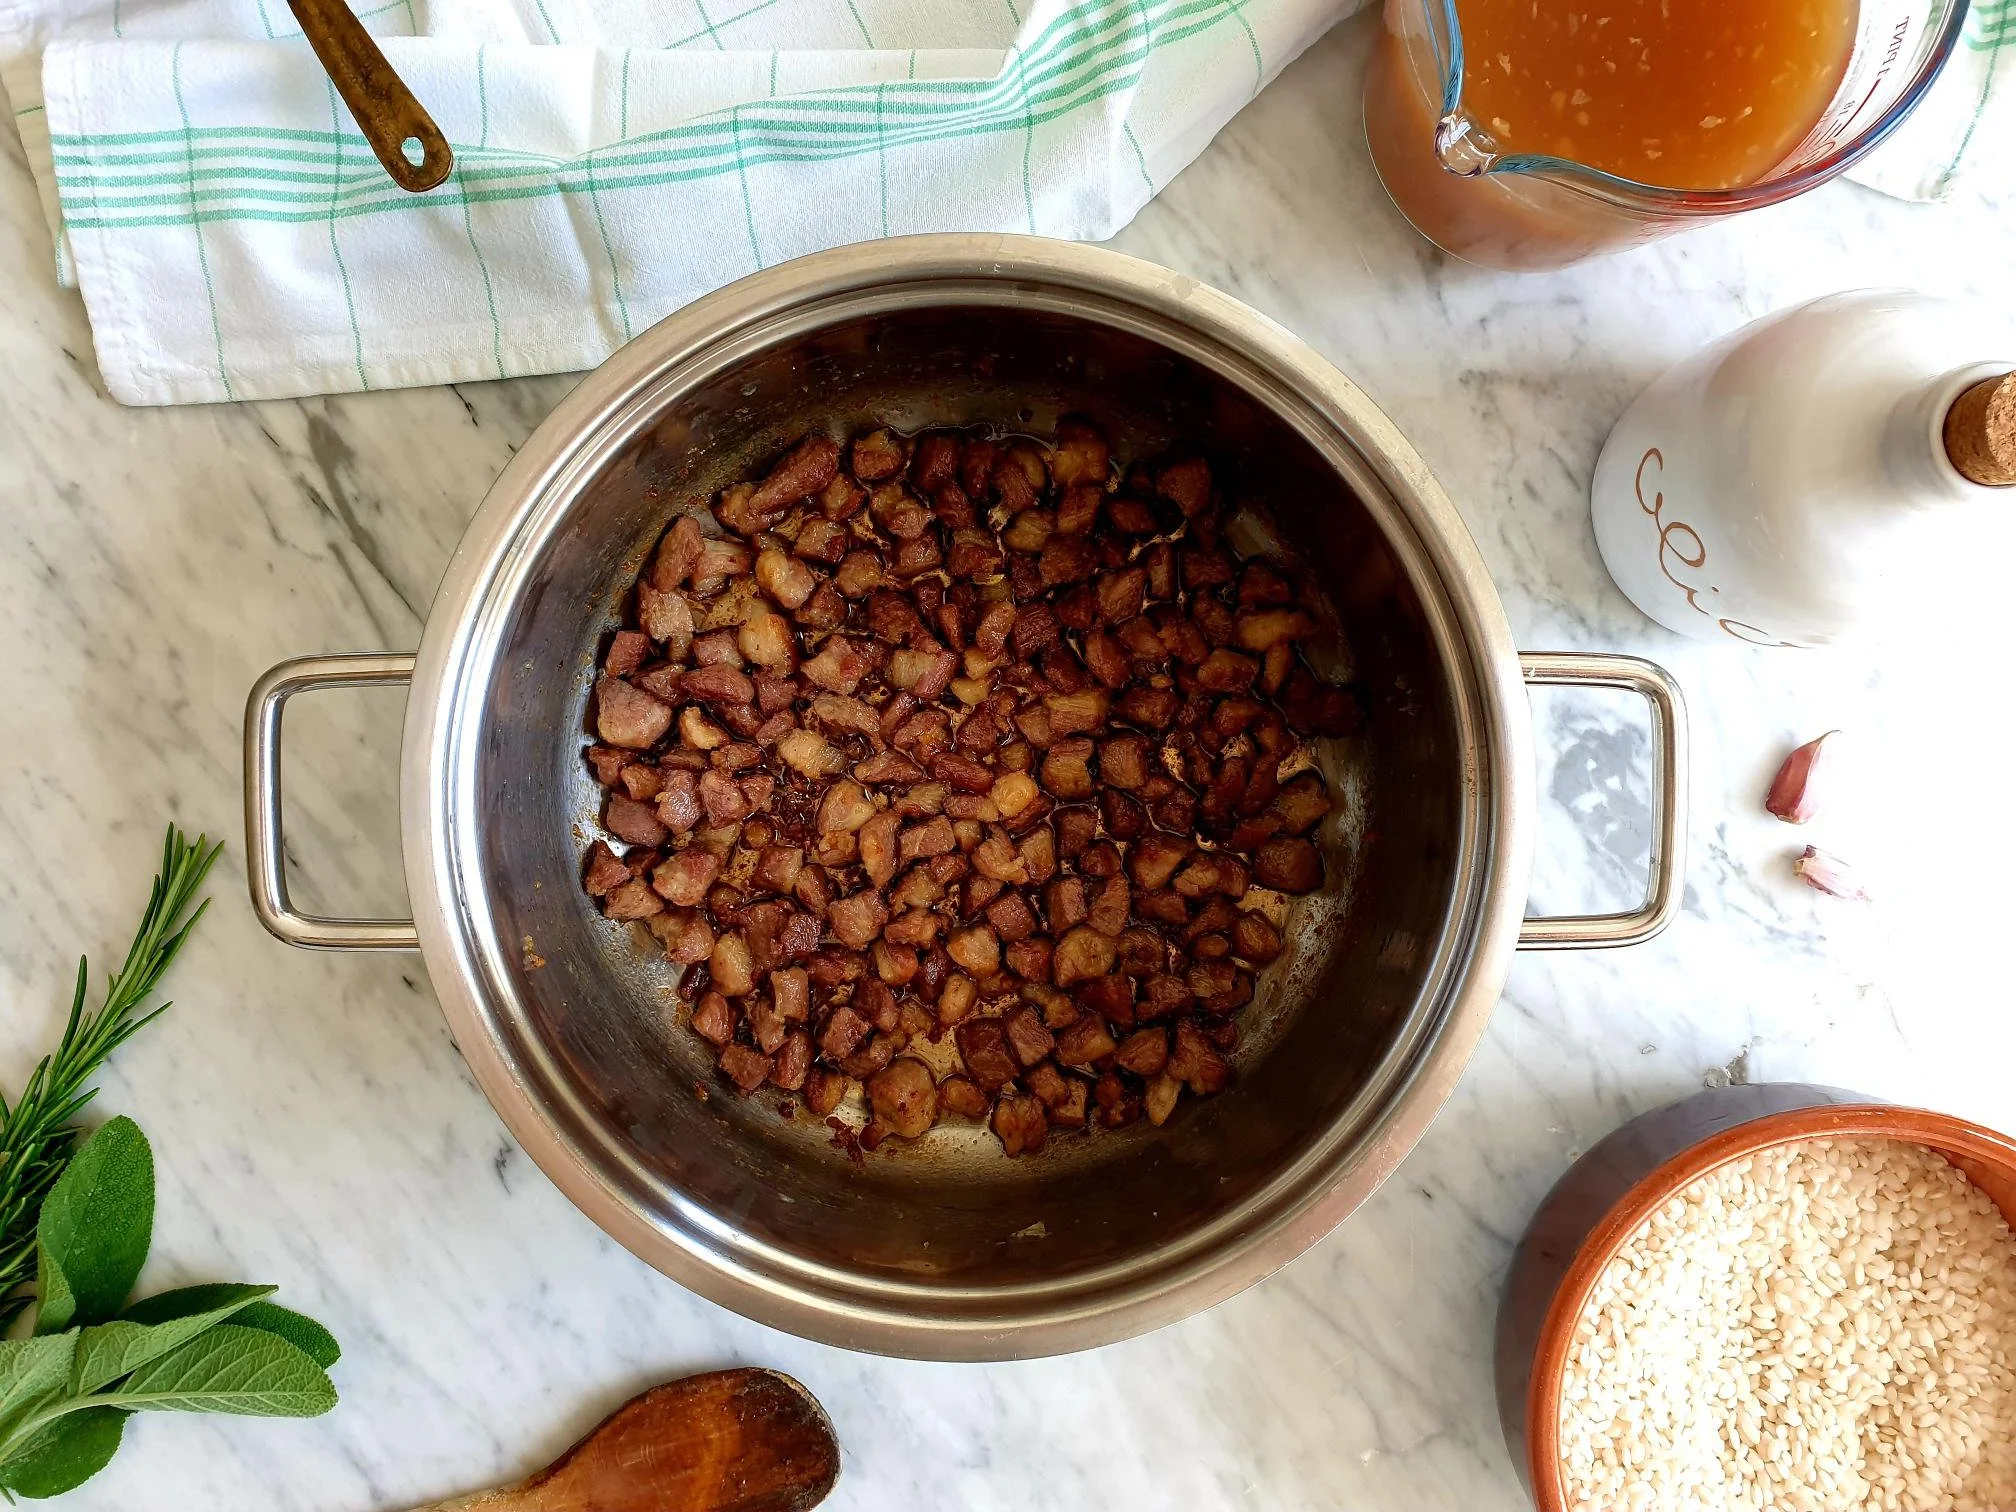
Add salt and pepper, and cook on a gentle heat until the onions become soft and caramelized, and meat is golden brown in colour, stir occasionally. This process should take around 45 minutes.
If it starts catching at the bottom, add a tiny bit of water.


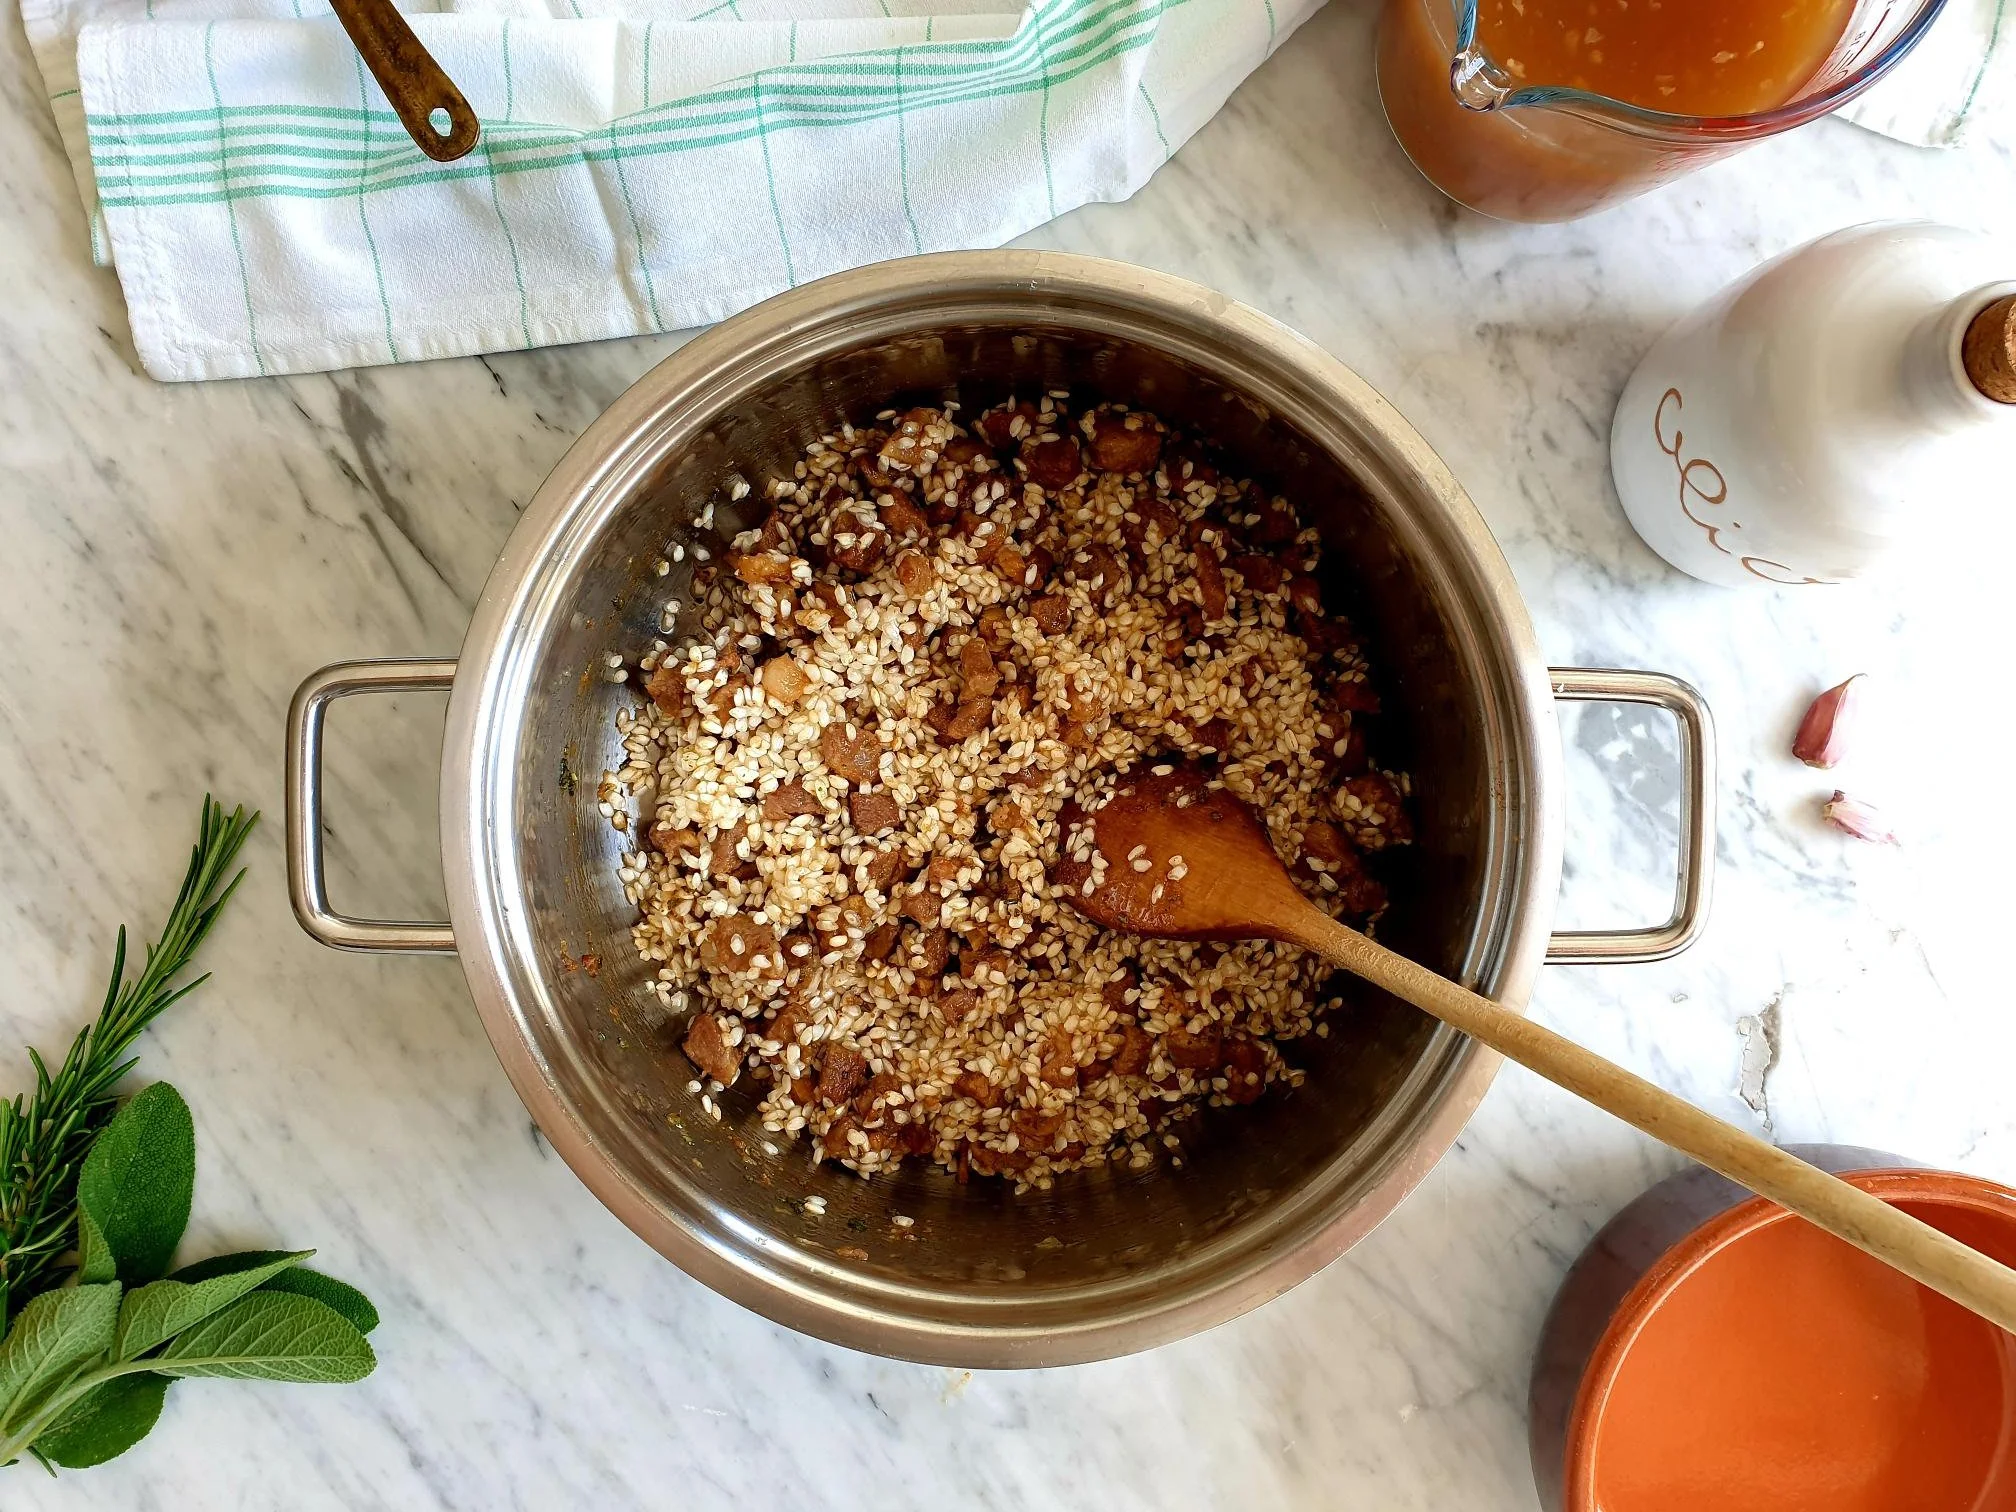
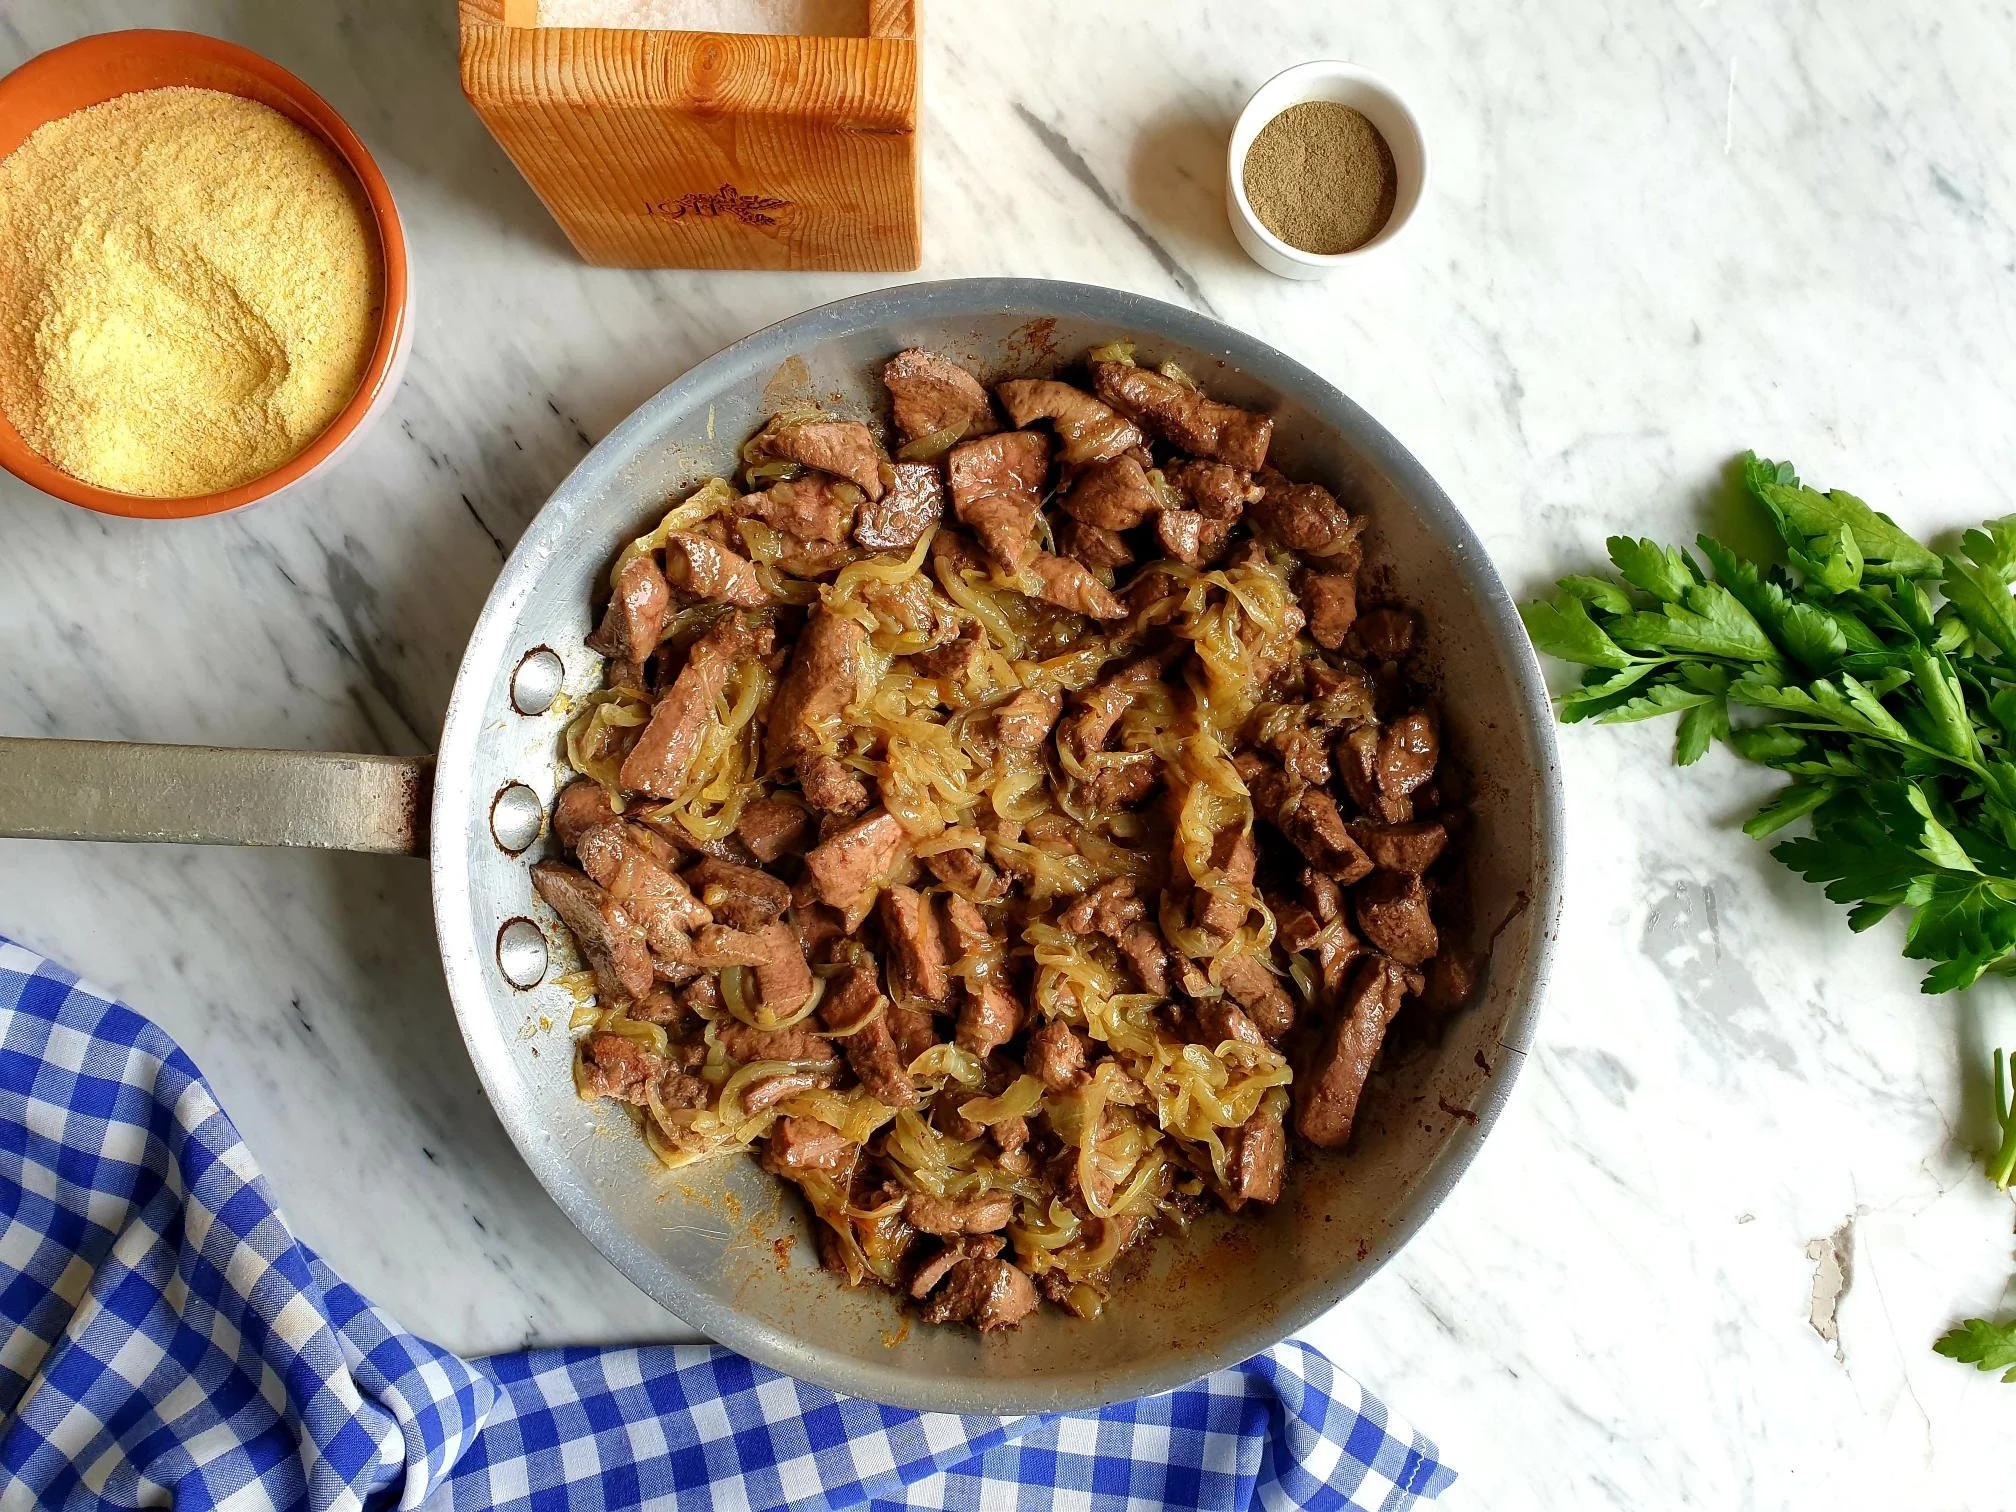
Sprinkle flour and add finely chopped fresh marjoram (or dry if using), stir with a wooden spoon.
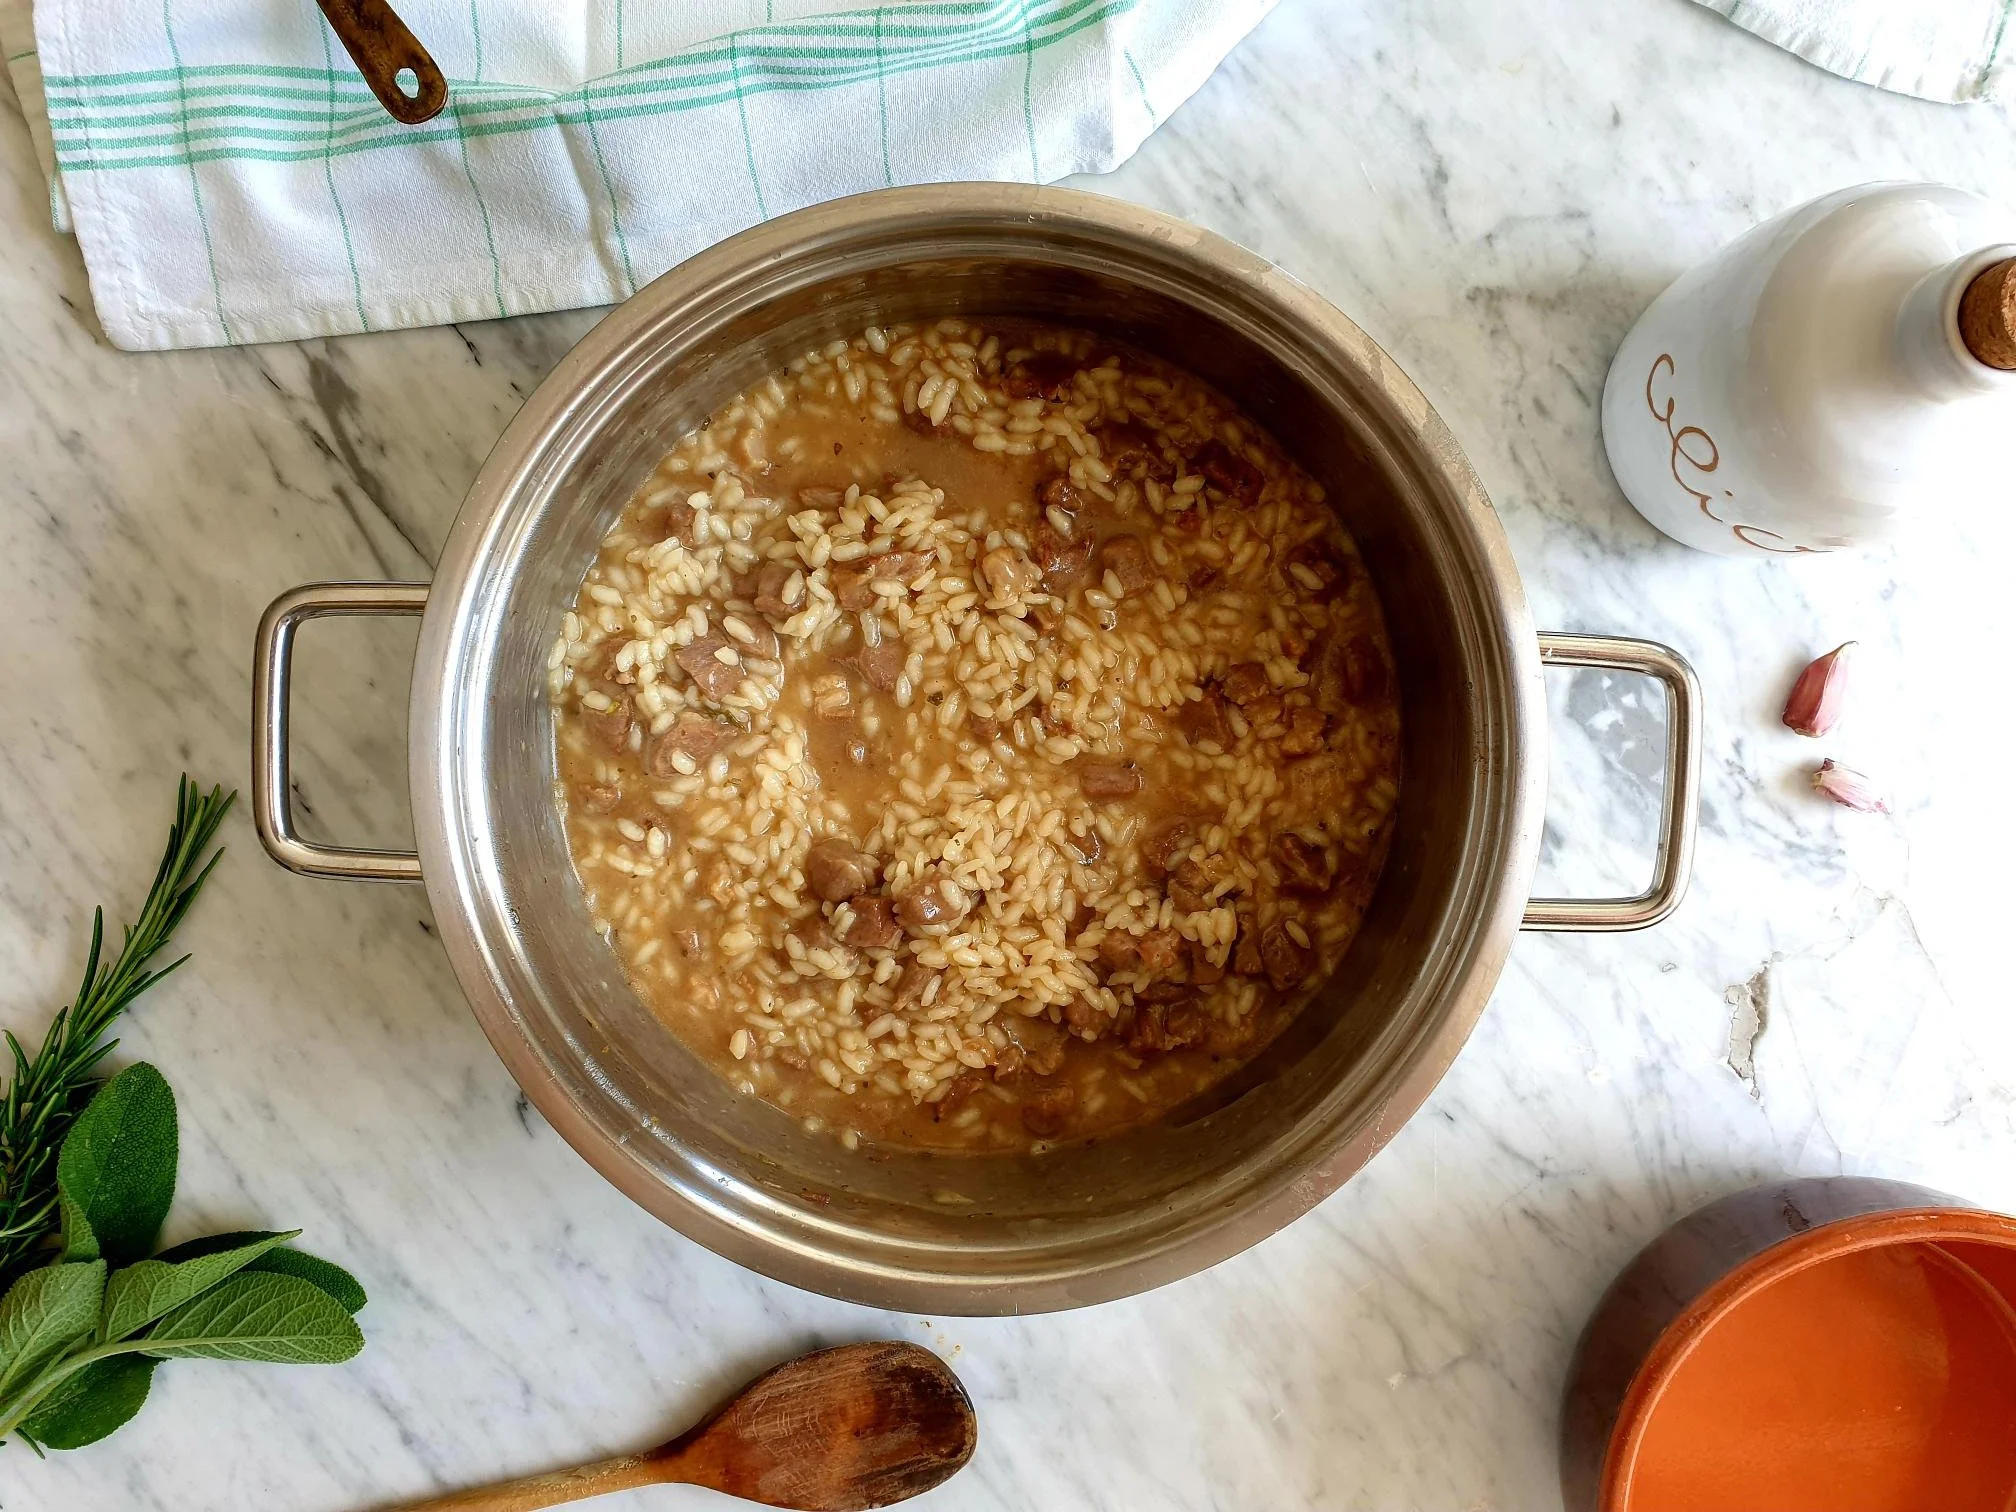
Add water to the pan, about ¾ full, and scrap with a wooden spoon bits and pieces that attached to the bottom and the sides of the pan.
Simmer for a few more minutes until the sauce thickens a bit.


The dish is fully cooked when the sauce becomes nice and velvety in consistency, it should not be either too thick nor to watery and too thin.
If you are using whole jointed chicken, fish out and discard pieces that you are not going to serve, like knuckles and chunks of ribs for example.
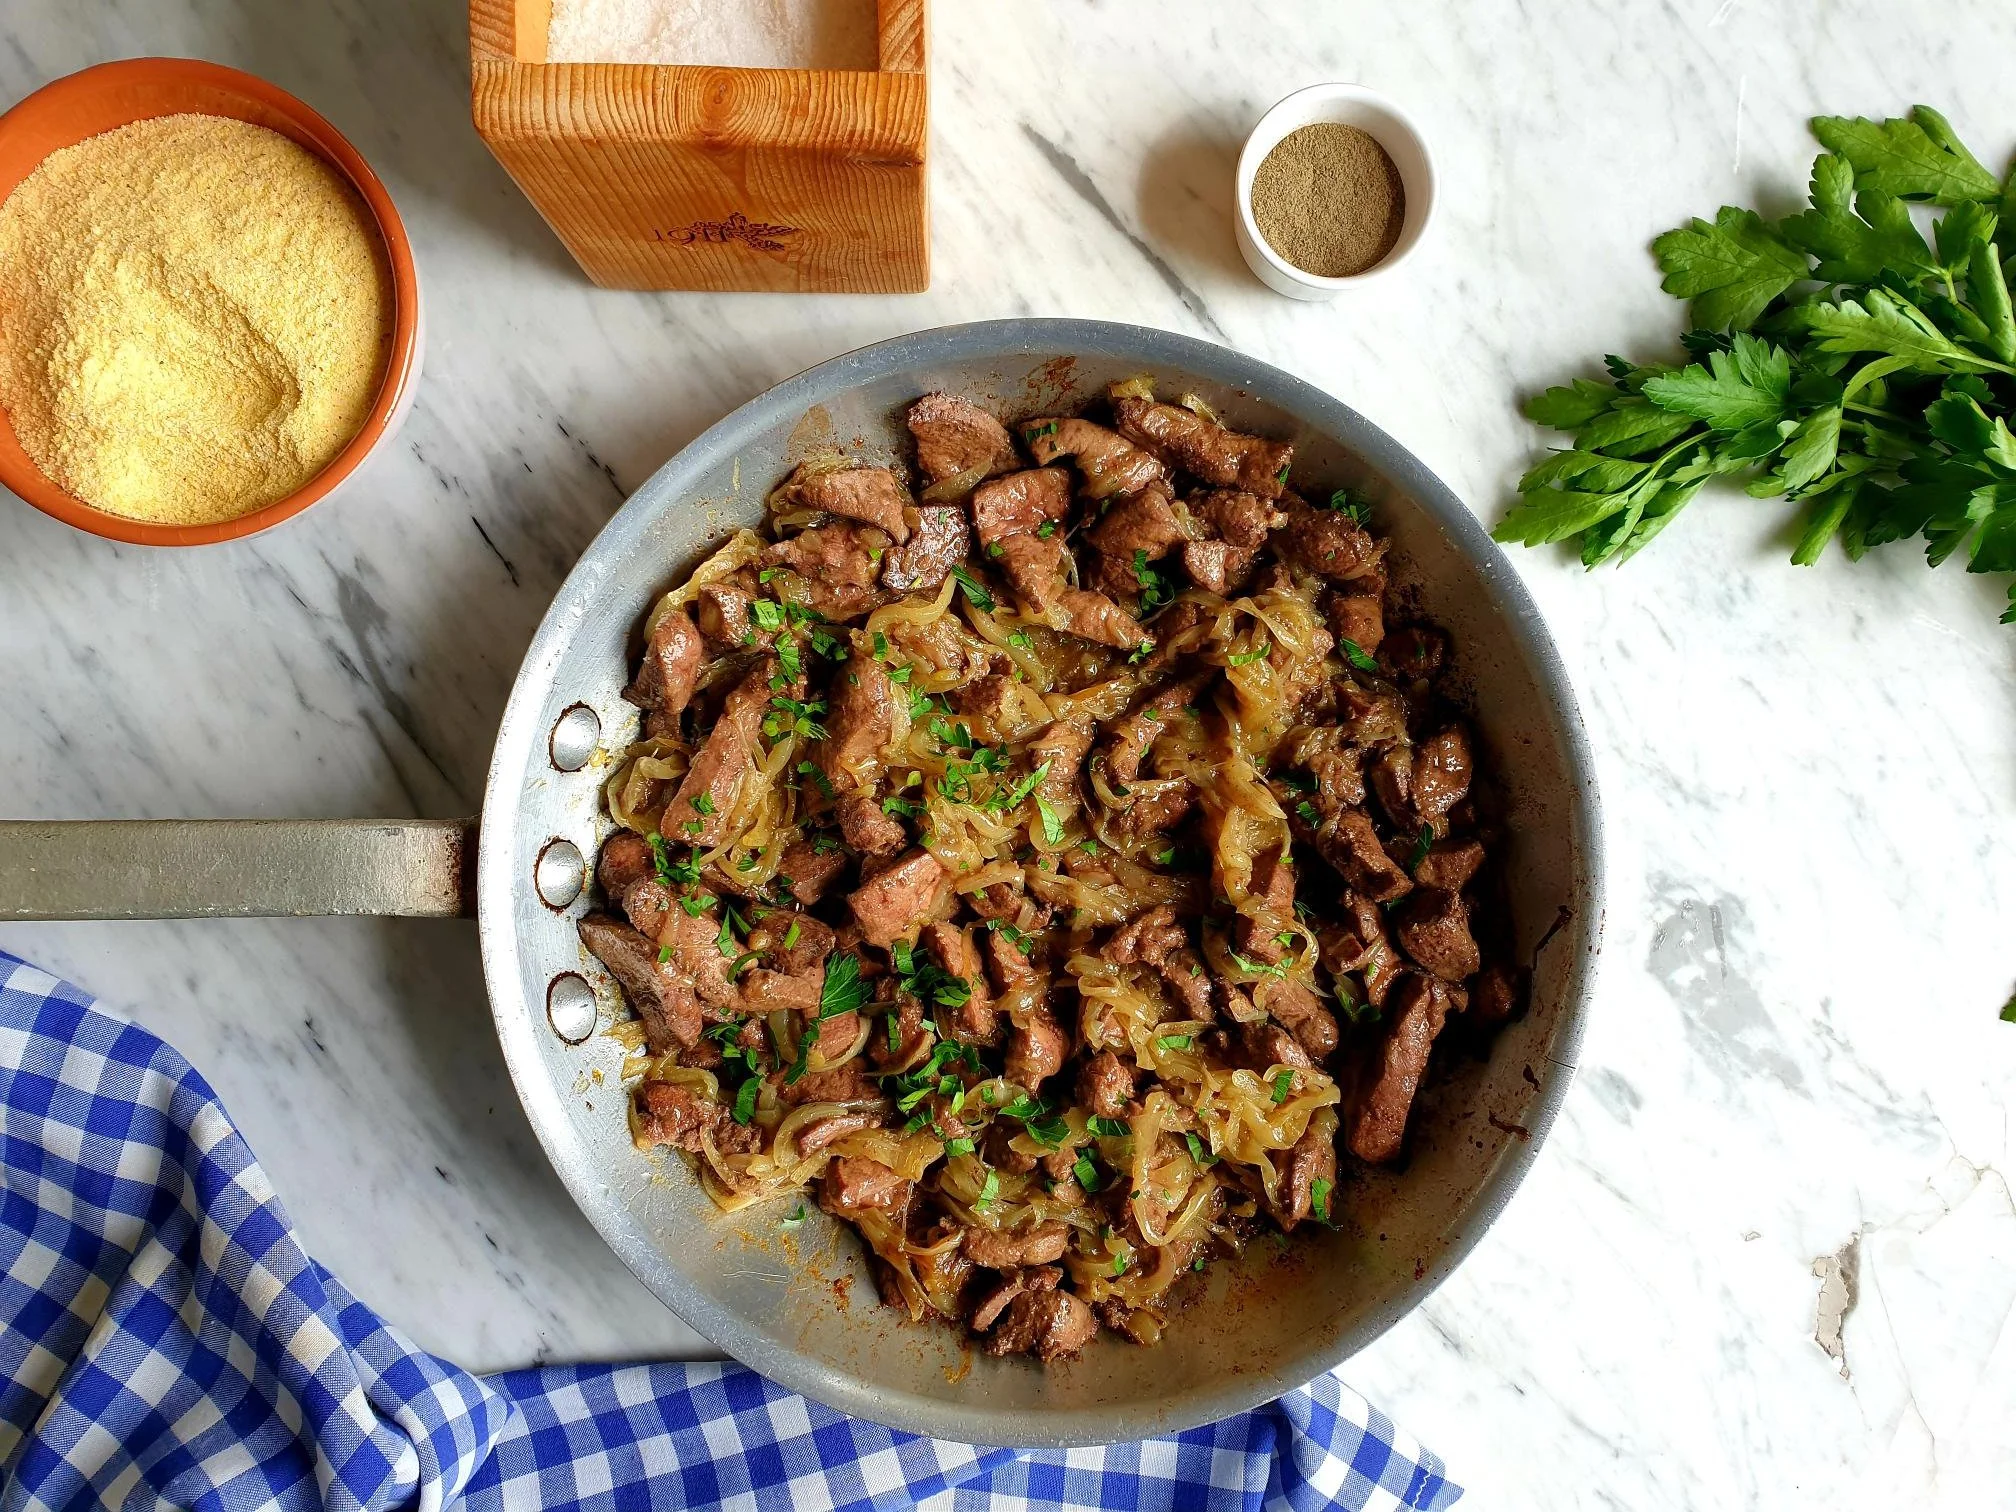
Taste and adjust seasoning with sea salt and black pepper.
Serve hot with potato gnocchi , soft cooked or grilled polenta, typical Istrian home made fresh pasta like bleki, fuzi, pljukanci or bigoli, pan-fried potatoes with onions and pancetta , mashed or oven roasted potatoes or simply with some crunchy bread to soak up the sauce.
Wine suggestion
Provincia di Pavia Pinot Nero IGT “Junior” 201 - Monsupello