Beans and Sardines

  • Home
  • About
  • Recipe of the week
  • Recipes
  • Wines
  • Contact

My Mum's Celebratory Sponge Cake with Fresh Strawberries and Cream Recipe

Beans and Sardines
July 30, 2024 by tina oblak in Adriatic Recipe, All year round recipe, baked dish, baking, celebratory desserts, Celebratory dish, easy baking, easy cakes, Easy recipe, festive bakes, festive dessert, festive dish, festive sweet things, pudding, simple recipe, sweet course, patisserie

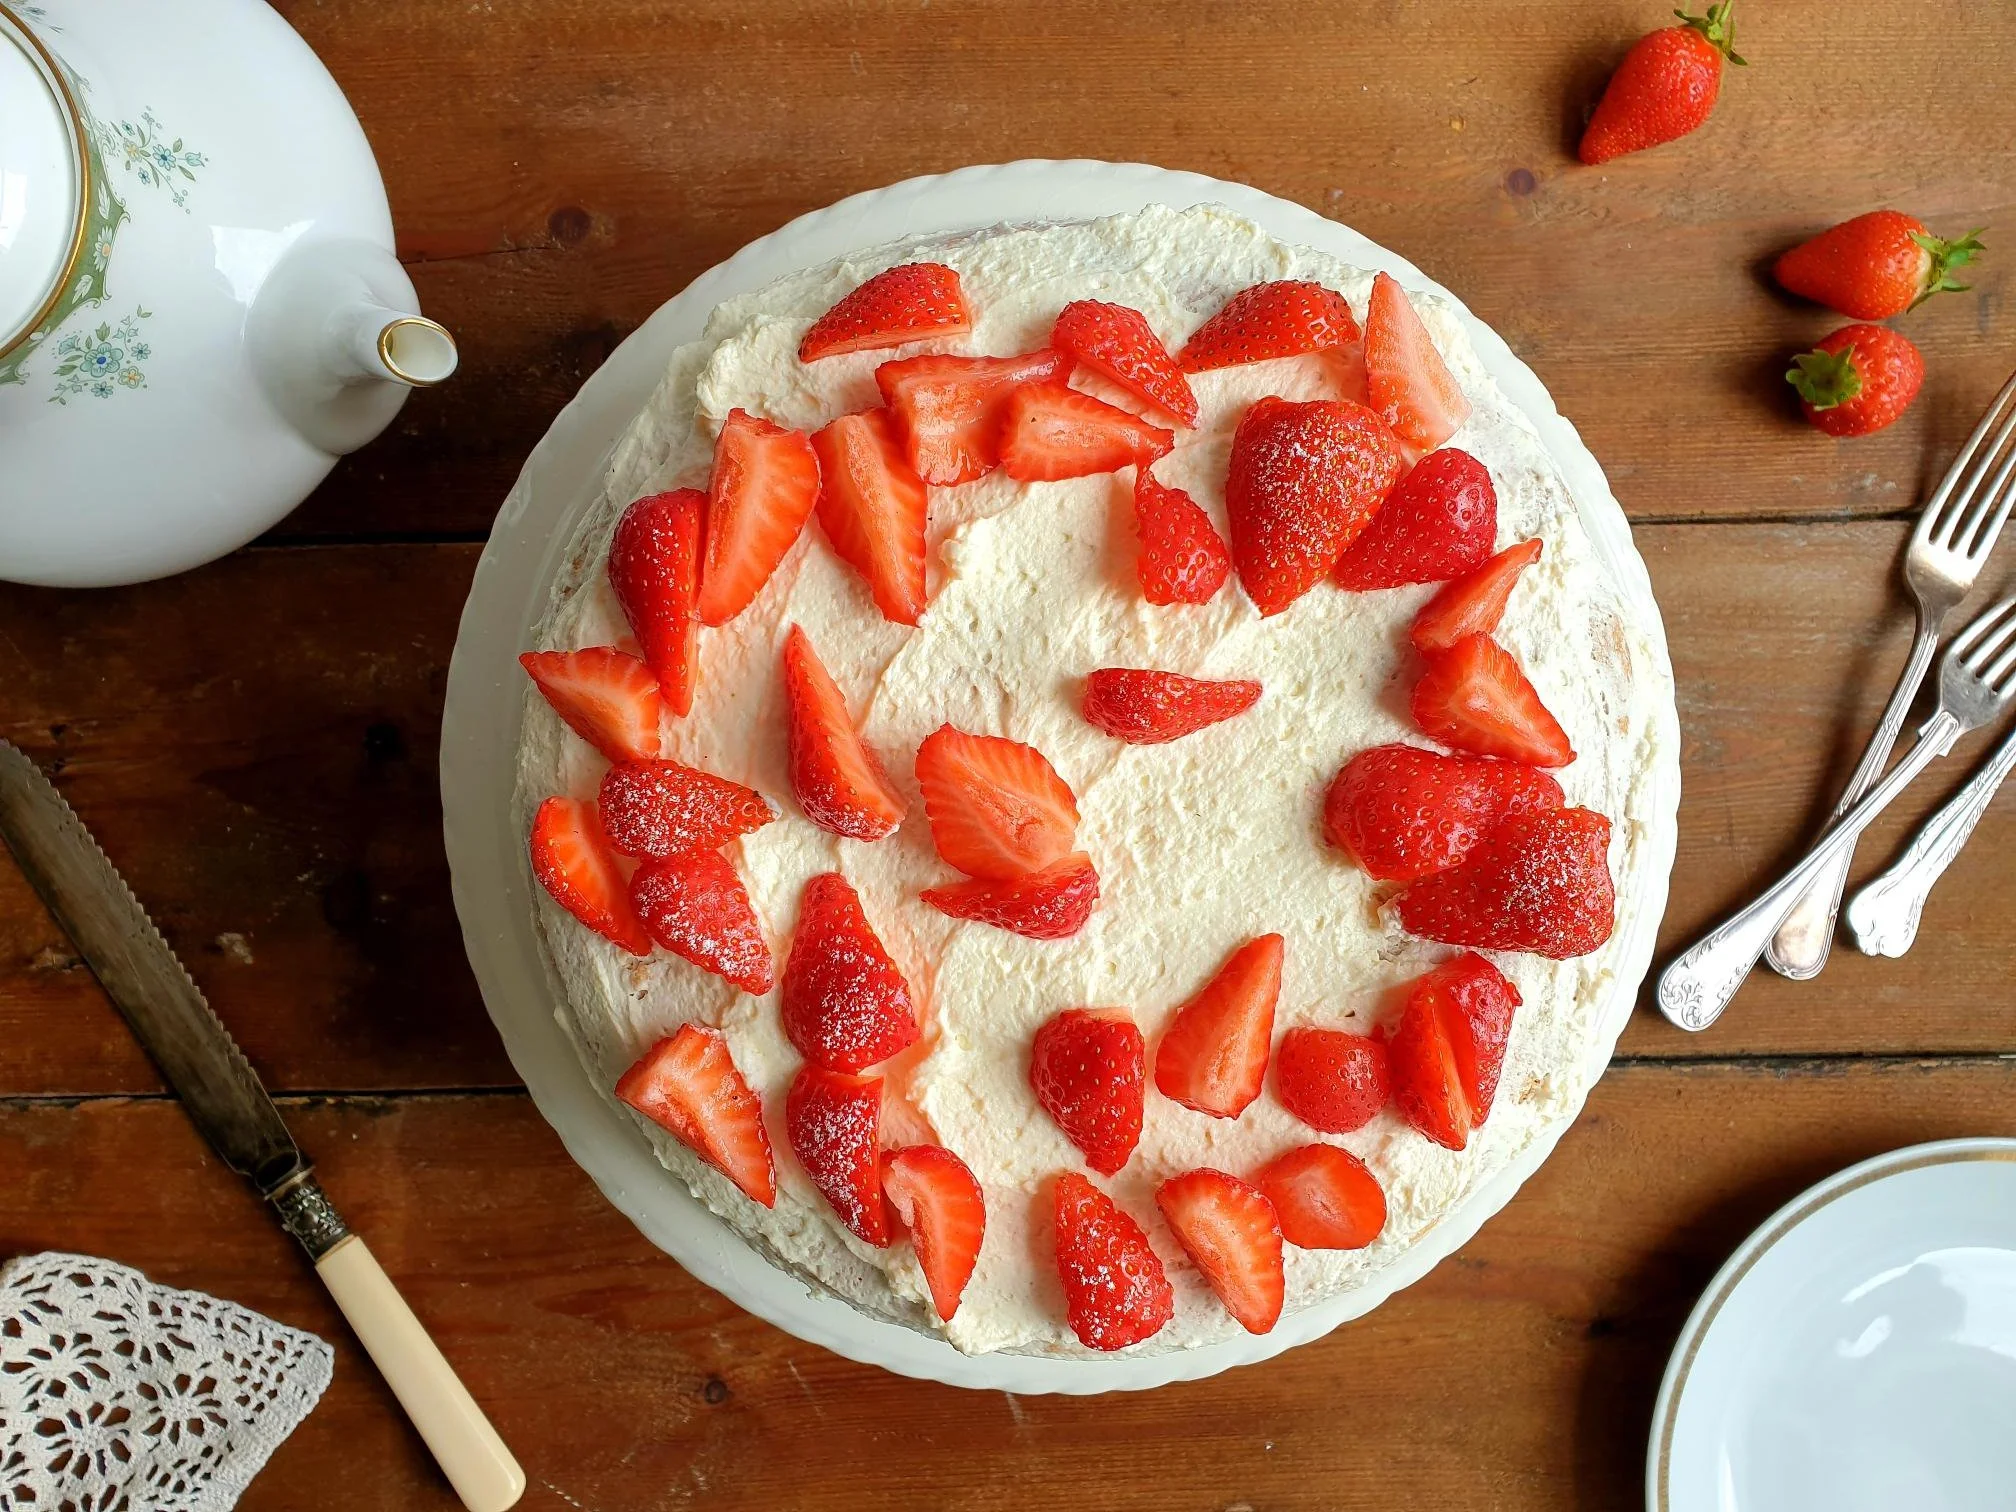
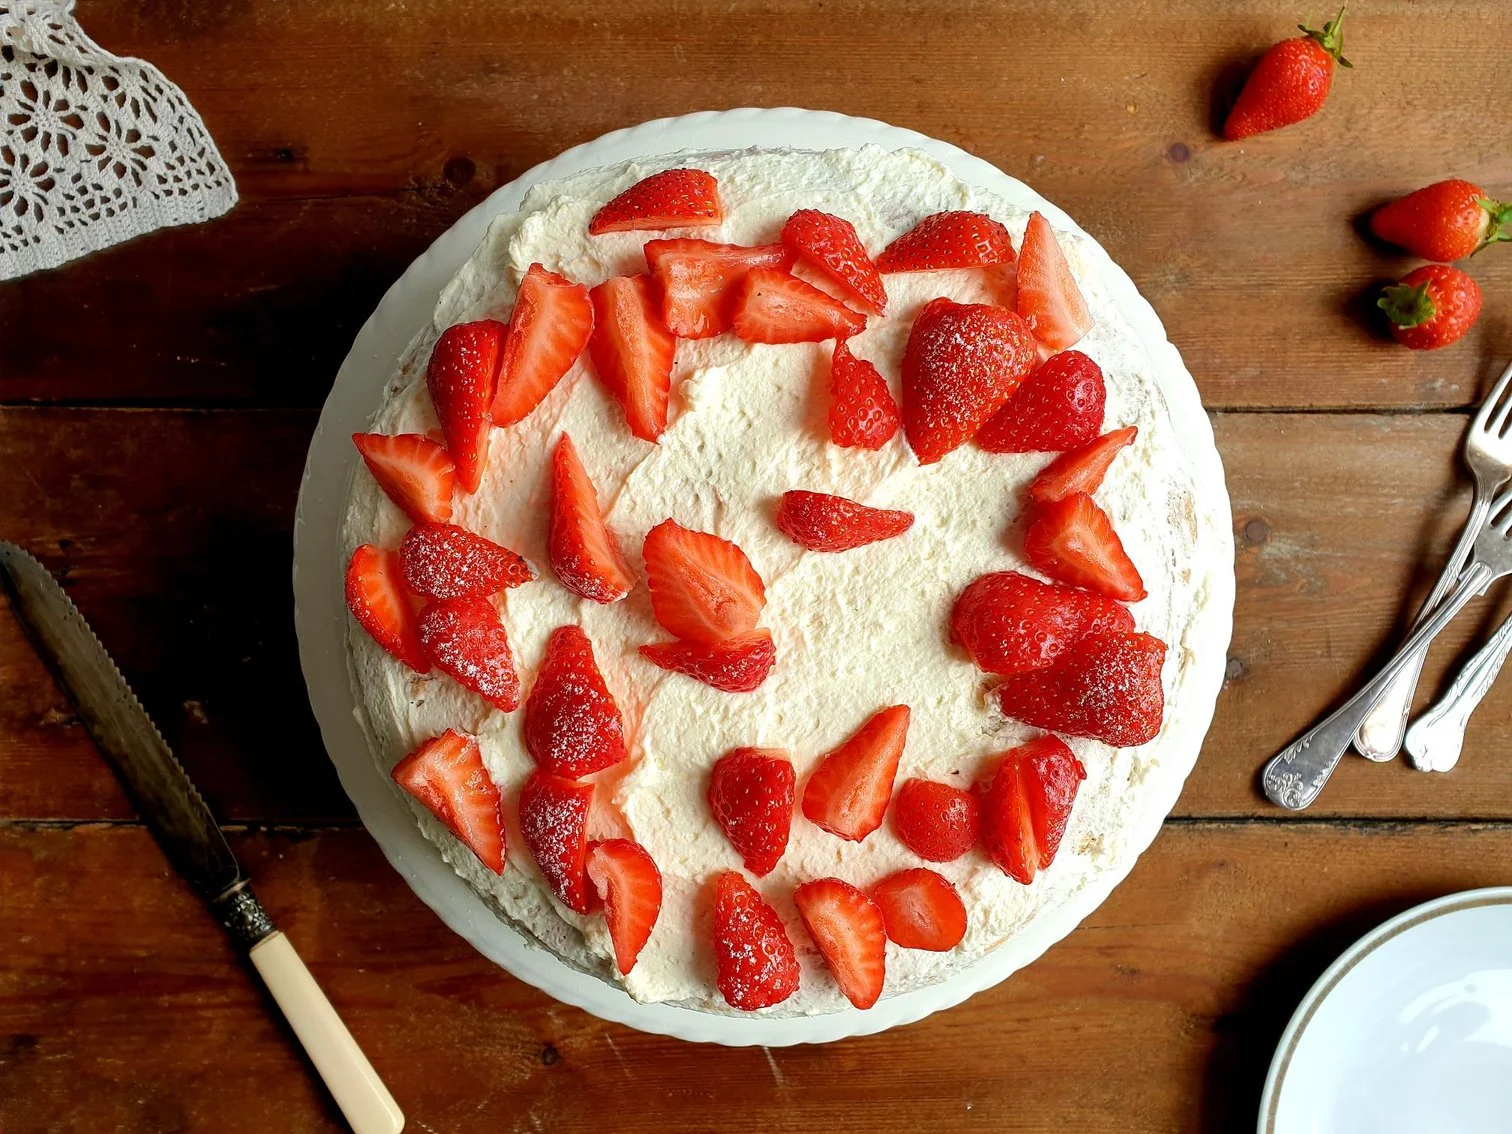
A classic simple sponge made with eggs, sugar and flour with no use of butter, filled with fresh whipped cream and fresh seasonal strawberries, a true classic celebratory cake that is difficult to beat. It is perfect for spring/summer birthdays and for all other summer special occasions, it is a top favourite with all ages.

This cake is delicious in taste with the lightest and fluffiest sponge; beautiful and elegant in its appearance, it looks like it has just come from the patisserie shop and yet could not be simpler to make.

With a few ingredients and a few simple steps you will impress your family and friends, and they will ask you for the recipe before they leave!

This celebratory cake would accompany all my childhood and my adulthood birthdays, baked exclusively by my mother.

In Slovenian Istra this type of sponge, refereed by the locals in the dialect as”Pandišpanija” (Pan di Spagna, translates literally as Spanish Bread) was the first form of the most simple celebratory cake, it was simply dusted with the sugar on the top and baked for special occasions like weddings. It is believed to originate during Napoleon's reign (19th century), and was first used in Croatian side of Istra, and then to then spread into a Slovenian part. Only later this type of sponge was cut horizontally in half and filled with different types of cream which resembles more to a modern concept of celebratory cake.

She would bake this type of cake for every birthday in the family and for her special friends, changing the fruits a bit to reflect the seasons. Peaches work very well and, in the winter, when the selection of fresh fruit is limited, she would use different types of tinned fruit which works amazingly well, the syrup from the tin was used to spoon the disc of the sponge.

No one will ever get fed up with this celebratory cake, we never had to struggle with any leftovers, bake it and see for yourself!

I am sharing the recipe for this special cake to remember and to honour my mother who recently died, so her legacy for this celebratory cake can live on for years to come.

Recipe

Ingredients

For the Sponge

  • 4 eggs (room temperature)

  • 4 Tbsp cold water

  • 200g icing sugar

  • 1 Tsp vanilla extract or 1 sachet of vanillin powder (very widely used in continental Europe baking)

  • 150g all purpose flour, sifted

  • 8g baking powder, sifted

For the filling and topping

  • 400g fresh strawberries, washed, pat dried and halved or quartered (reserve 100g fresh strawberries to decorate the top of the cake)

  • 2 Tbsp caster sugar (can use less or more depending on the taste and the sweetness of the strawberries)

  • 2 Tbsp water

  • 300ml fresh double cream, cold

  • 2 Tbsp caster sugar or to taste

Method

Preheat the oven to 180º static.

Lightly grease (I used butter) a 22cm (9in) loose-bottomed cake tin or spring form round cake tin and line the base with baking parchment.

Separate the egg whites and the yolks. Put the egg whites in a big clean bowl and the egg yolks in a small cereal type of bowl, whisk the egg yolks lightly with the fork.

View fullsize My Mum's Celebratory Sponge Cake with fresh strawberries and cream 1.jpg
View fullsize My Mum's Celebratory Sponge Cake with fresh strawberries and cream 3.jpg

Add 4 table spoons of cold water into a bowl with egg whites and start whisking with the hand whisker.

During the whisking start gradually adding, one spoon at a time of icing sugar and keep whisking until the egg whites become stiff and firm but not dry.

View fullsize My Mum's Celebratory Sponge Cake with fresh strawberries and cream 4.jpg
View fullsize My Mum's Celebratory Sponge Cake with fresh strawberries and cream 6.jpg

Add vanilla extract and egg yolks and mix well until fully incorporated.

My Mum's Celebratory Sponge Cake with fresh strawberries and cream 8.jpg
My Mum's Celebratory Sponge Cake with fresh strawberries and cream 9.jpg

Slowly and gradually start adding sifted flour together with baking powder.

Gently fold until thoroughly blended, do not mix with the hand mixer as you want to keep all the air inside the mixture which will make the cake incredibly soft and fluffy.

View fullsize My Mum's Celebratory Sponge Cake with fresh strawberries and cream 11.jpg
View fullsize My Mum's Celebratory Sponge Cake with fresh strawberries and cream 12.jpg

Transfer the mixture into the prepared tin and bake in the pre-heated oven for about 25 minutes or until golden in colour, well risen and the top of the cake springs back when lightly pressed with a finger.

View fullsize My Mum's Celebratory Sponge Cake with fresh strawberries and cream 13.jpg
View fullsize My Mum's Celebratory Sponge Cake with fresh strawberries and cream 14.jpg

While the cake is baking prepare the strawberries for the filling. Wash and pat dry 300g of strawberries, cut the smaller strawberries in half and the bigger ones in quarters. Place them in the bowl, add 2 table spoons of caster sugar (or to taste) and two table spoons of water.

View fullsize My Mum's Celebratory Sponge Cake with fresh strawberries and cream 24.jpg
View fullsize My Mum's Celebratory Sponge Cake with fresh strawberries and cream 25.jpg

Mix well and leave the strawberries to macerate, put aside until needed.

View fullsize My Mum's Celebratory Sponge Cake with fresh strawberries and cream 26.jpg
View fullsize My Mum's Celebratory Sponge Cake with fresh strawberries and cream 27.jpg

Filter the strawberries, put them in a sieve and collect the juices.

View fullsize My Mum's Celebratory Sponge Cake with fresh strawberries and cream 29.jpg
View fullsize My Mum's Celebratory Sponge Cake with fresh strawberries and cream 28.jpg

Leave the sponge to cool in the tin for a few minutes, then remove from the tin and peel off the baking parchment.

Finish cooling on a wire rack.

View fullsize My Mum's Celebratory Sponge Cake with fresh strawberries and cream 15.jpg
View fullsize My Mum's Celebratory Sponge Cake with fresh strawberries and cream 16.jpg

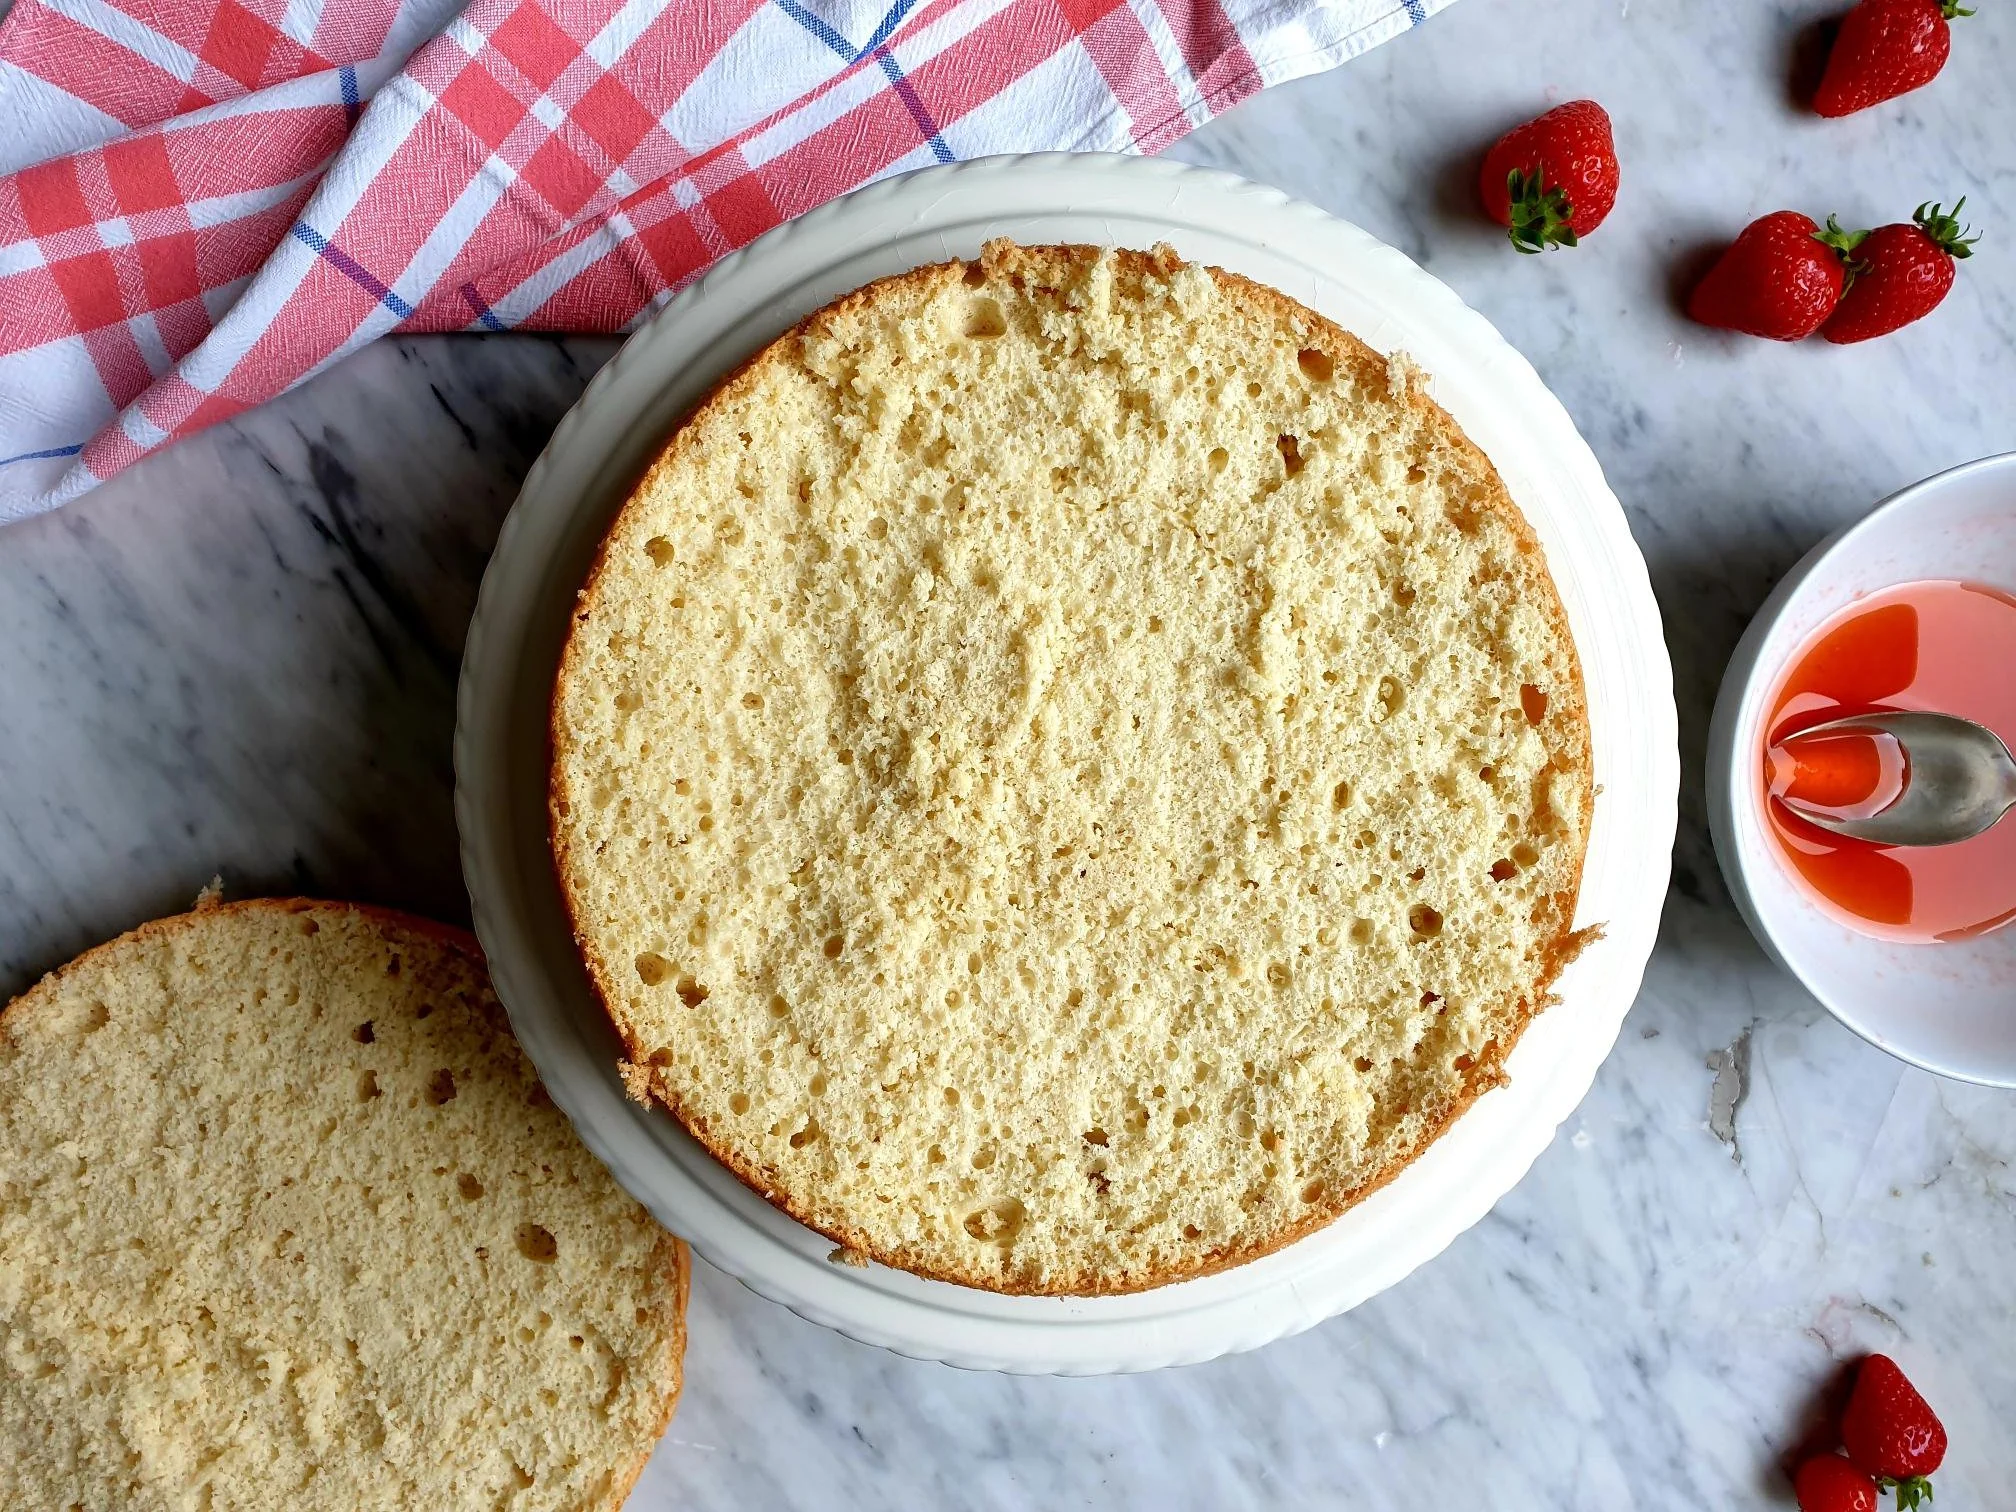
When the sponge is completely cool, take a sharp knife and cut the cake horizontally in half so you obtain two discs.

View fullsize My Mum's Celebratory Sponge Cake with fresh strawberries and cream 20.jpg
View fullsize My Mum's Celebratory Sponge Cake with fresh strawberries and cream 21.jpg

Place the bottom disk of the sponge on a cake stand of your choice.

Take fresh double cream from the fridge and pour it into a mixing bowl. Start whisking with the hand whisker.

During the whisking start adding caster sugar and whisk until the cream becomes stiff enough to be able to spread it on the cake.

View fullsize My Mum's Celebratory Sponge Cake with fresh strawberries and cream 31.jpg
View fullsize My Mum's Celebratory Sponge Cake with fresh strawberries and cream 32.jpg

Spoon strawberry juices over a bottom disk of the sponge.

View fullsize My Mum's Celebratory Sponge Cake with fresh strawberries and cream 34.jpg
View fullsize My Mum's Celebratory Sponge Cake with fresh strawberries and cream 36.jpg

Spread roughly 1/3 of whipped cream.

View fullsize My Mum's Celebratory Sponge Cake with fresh strawberries and cream 37.jpg
View fullsize My Mum's Celebratory Sponge Cake with fresh strawberries and cream 38.jpg

Then arrange the macerated strawberries over the disc to completely cover it.

Place the second disk of the sponge on the top.

View fullsize My Mum's Celebratory Sponge Cake with fresh strawberries and cream 39.jpg
View fullsize My Mum's Celebratory Sponge Cake with fresh strawberries and cream 40.jpg

Spread the rest of the cream on the top and on the sides of the cake.

Decorate to your liking the top of the cake with fresh strawberries, sliced or left whole.

View fullsize My Mum's Celebratory Sponge Cake with fresh strawberries and cream 43.jpg
View fullsize My Mum's Celebratory Sponge Cake with fresh strawberries and cream 44.jpg

Dust with a bit of icing sugar if desired and serve.

Just a thought

This cake must be eaten on the day of filling. You can prepare the sponge a day ahead, cool it completely and store it in an airtight container until the following day when is ready to be filled and decorated.

You can use tinned fruit of your choice instead of fresh strawberries. Make sure you reserve the syrup and use it to spoon over the bottom disc of the sponge as described in the recipe.

July 30, 2024 /tina oblak
sponge cake, double cream, whipped cream, fresh fruit, tinned fruit, celebratory cake, Pandišpanija, Pan di Spagna
Adriatic Recipe, All year round recipe, baked dish, baking, celebratory desserts, Celebratory dish, easy baking, easy cakes, Easy recipe, festive bakes, festive dessert, festive dish, festive sweet things, pudding, simple recipe, sweet course, patisserie
Comment

My Mother's Marble Chocolate and Vanilla Ring Cake Recipe

Beans and Sardines
July 06, 2023 by tina oblak in Adriatic Recipe, All year round recipe, baking, breakfast, brunch, Central Europe cakes, Central European recipes, dessert, Eastern Europe cakes, Eastern European recipes, easy baking, easy cakes, Easy recipe, home baking, Istrian cuisine, Istrian dish, Istrian food, Istrian gastronomy, Mitteleuropean cuisine, Mitteleuropean recipes, Mitteleuropean food, pudding, Rustic dish, simple recipe, Slovenian cuisine, Slovenian food, Slovenian gastronomy, Snacks, Sweet Things

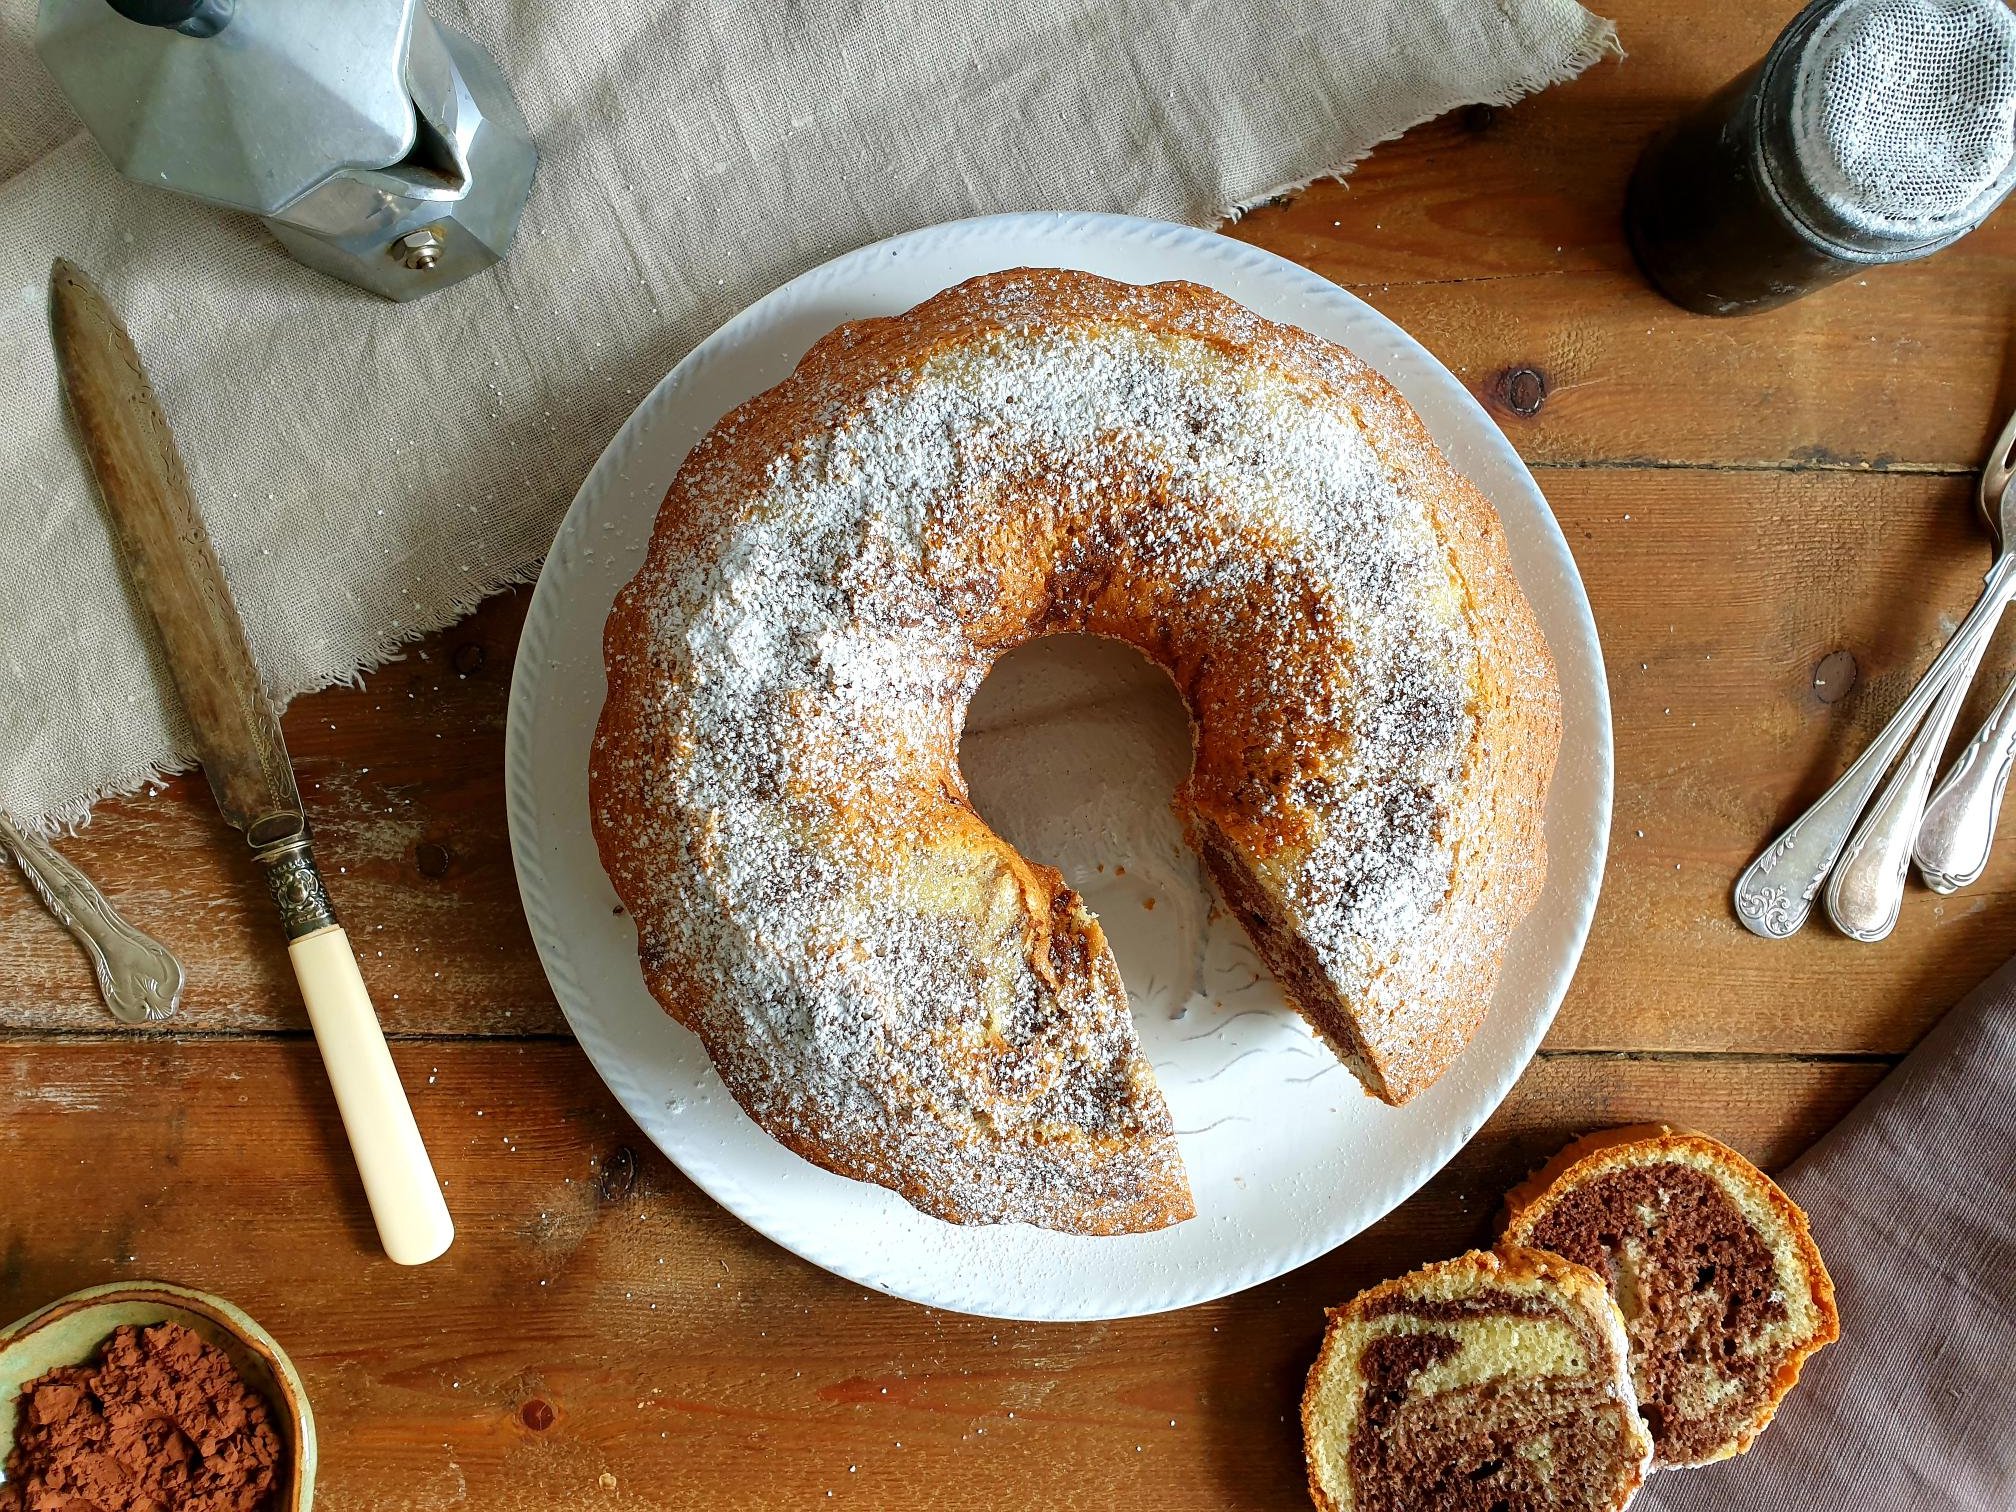
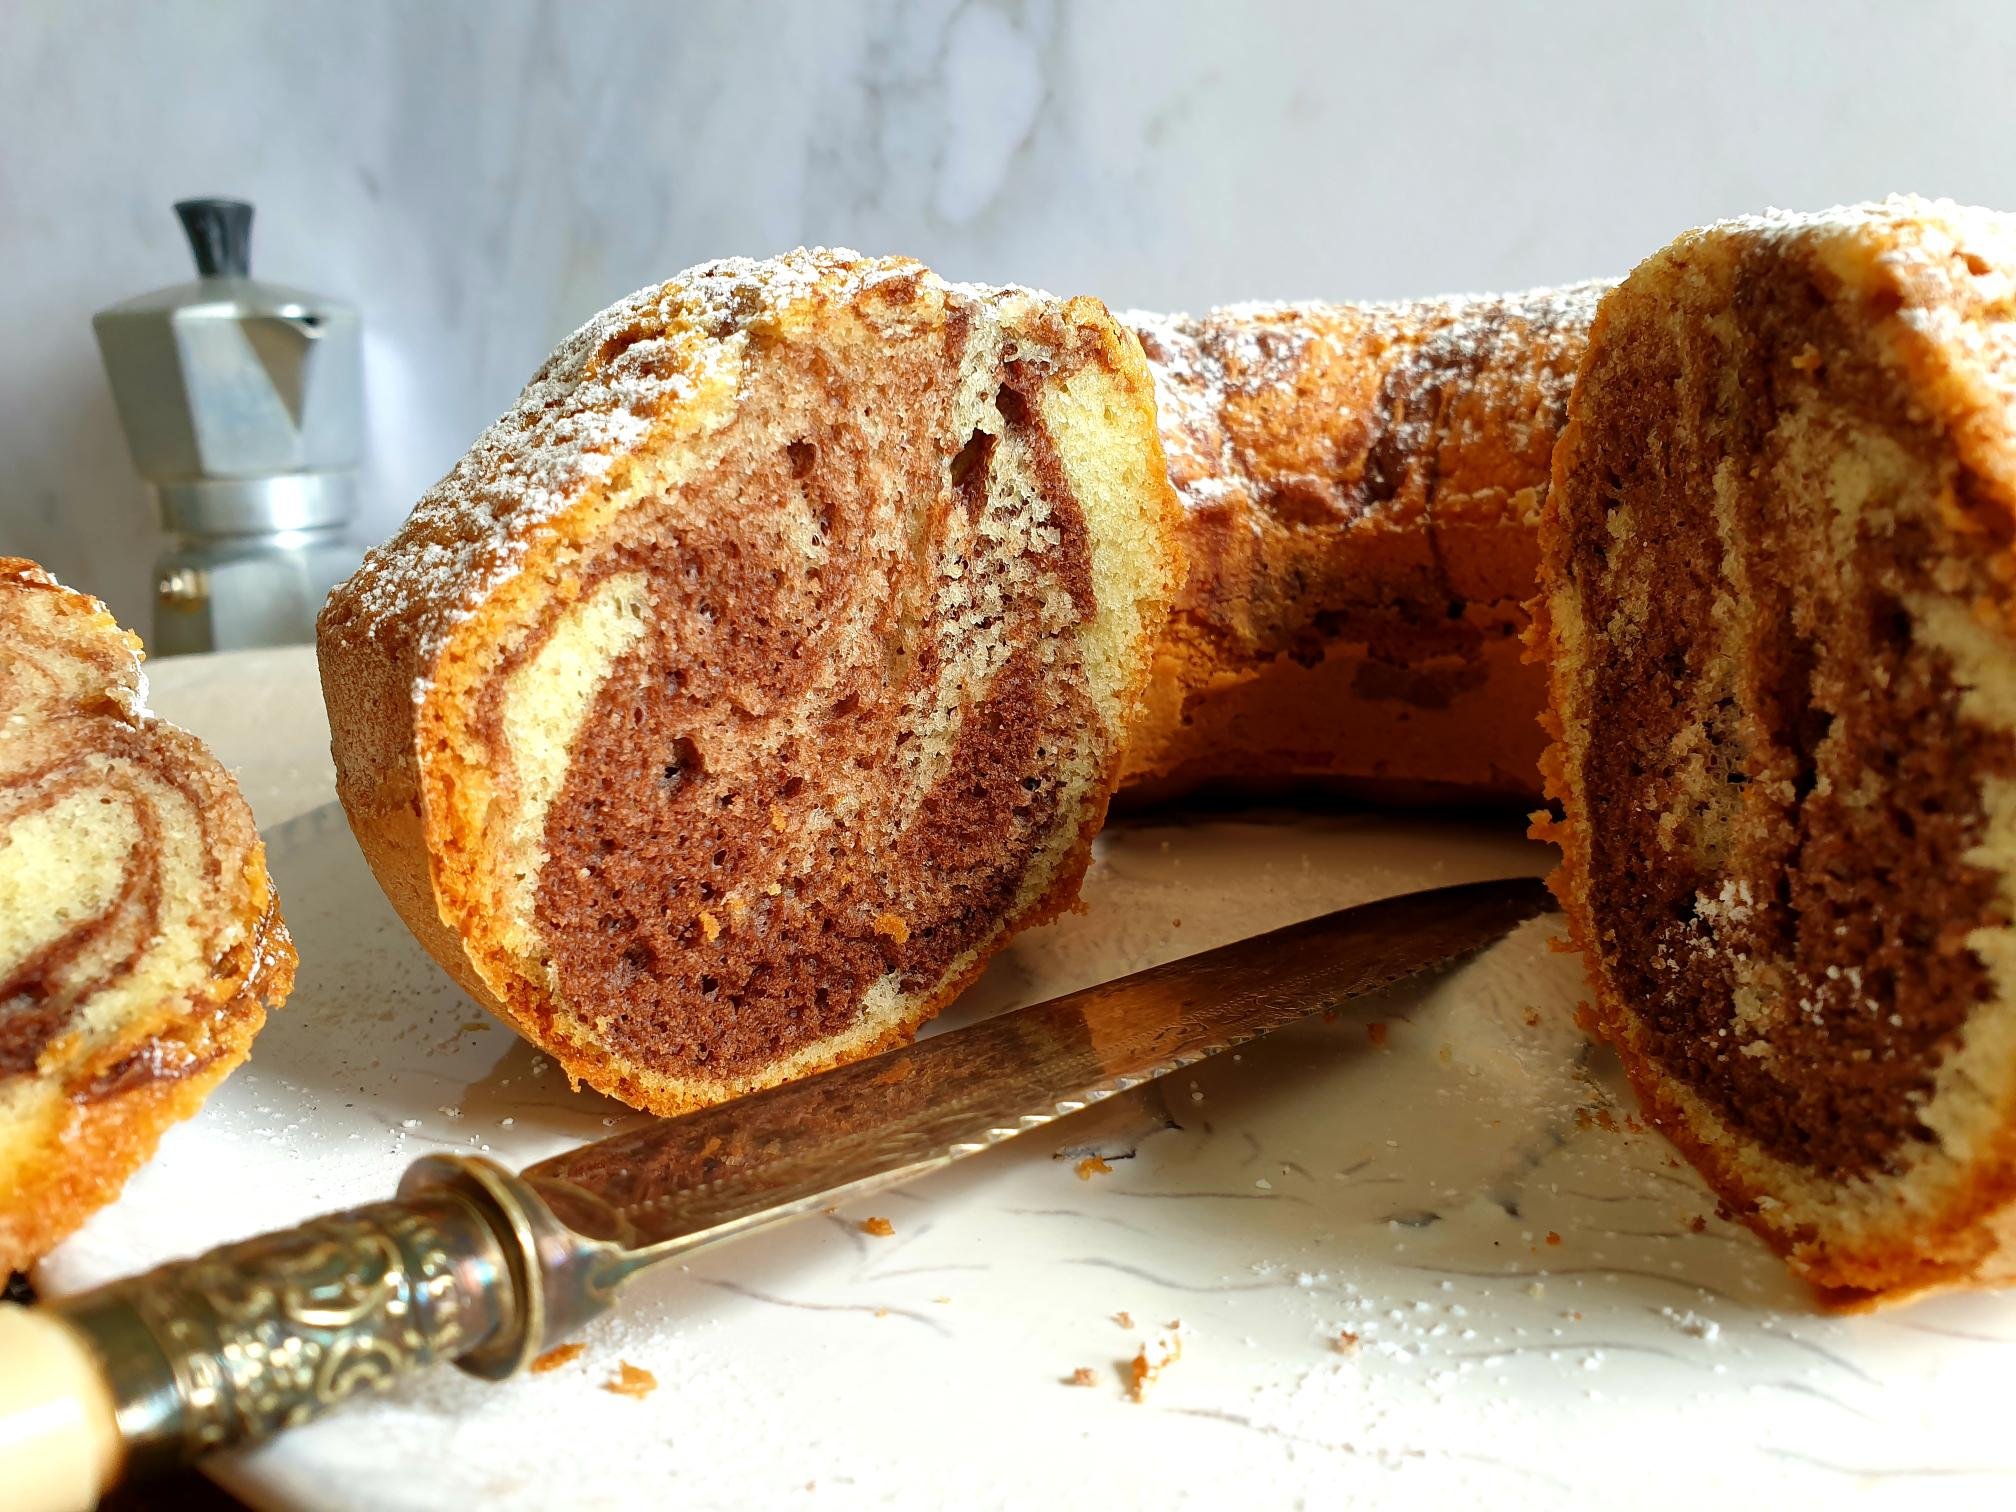
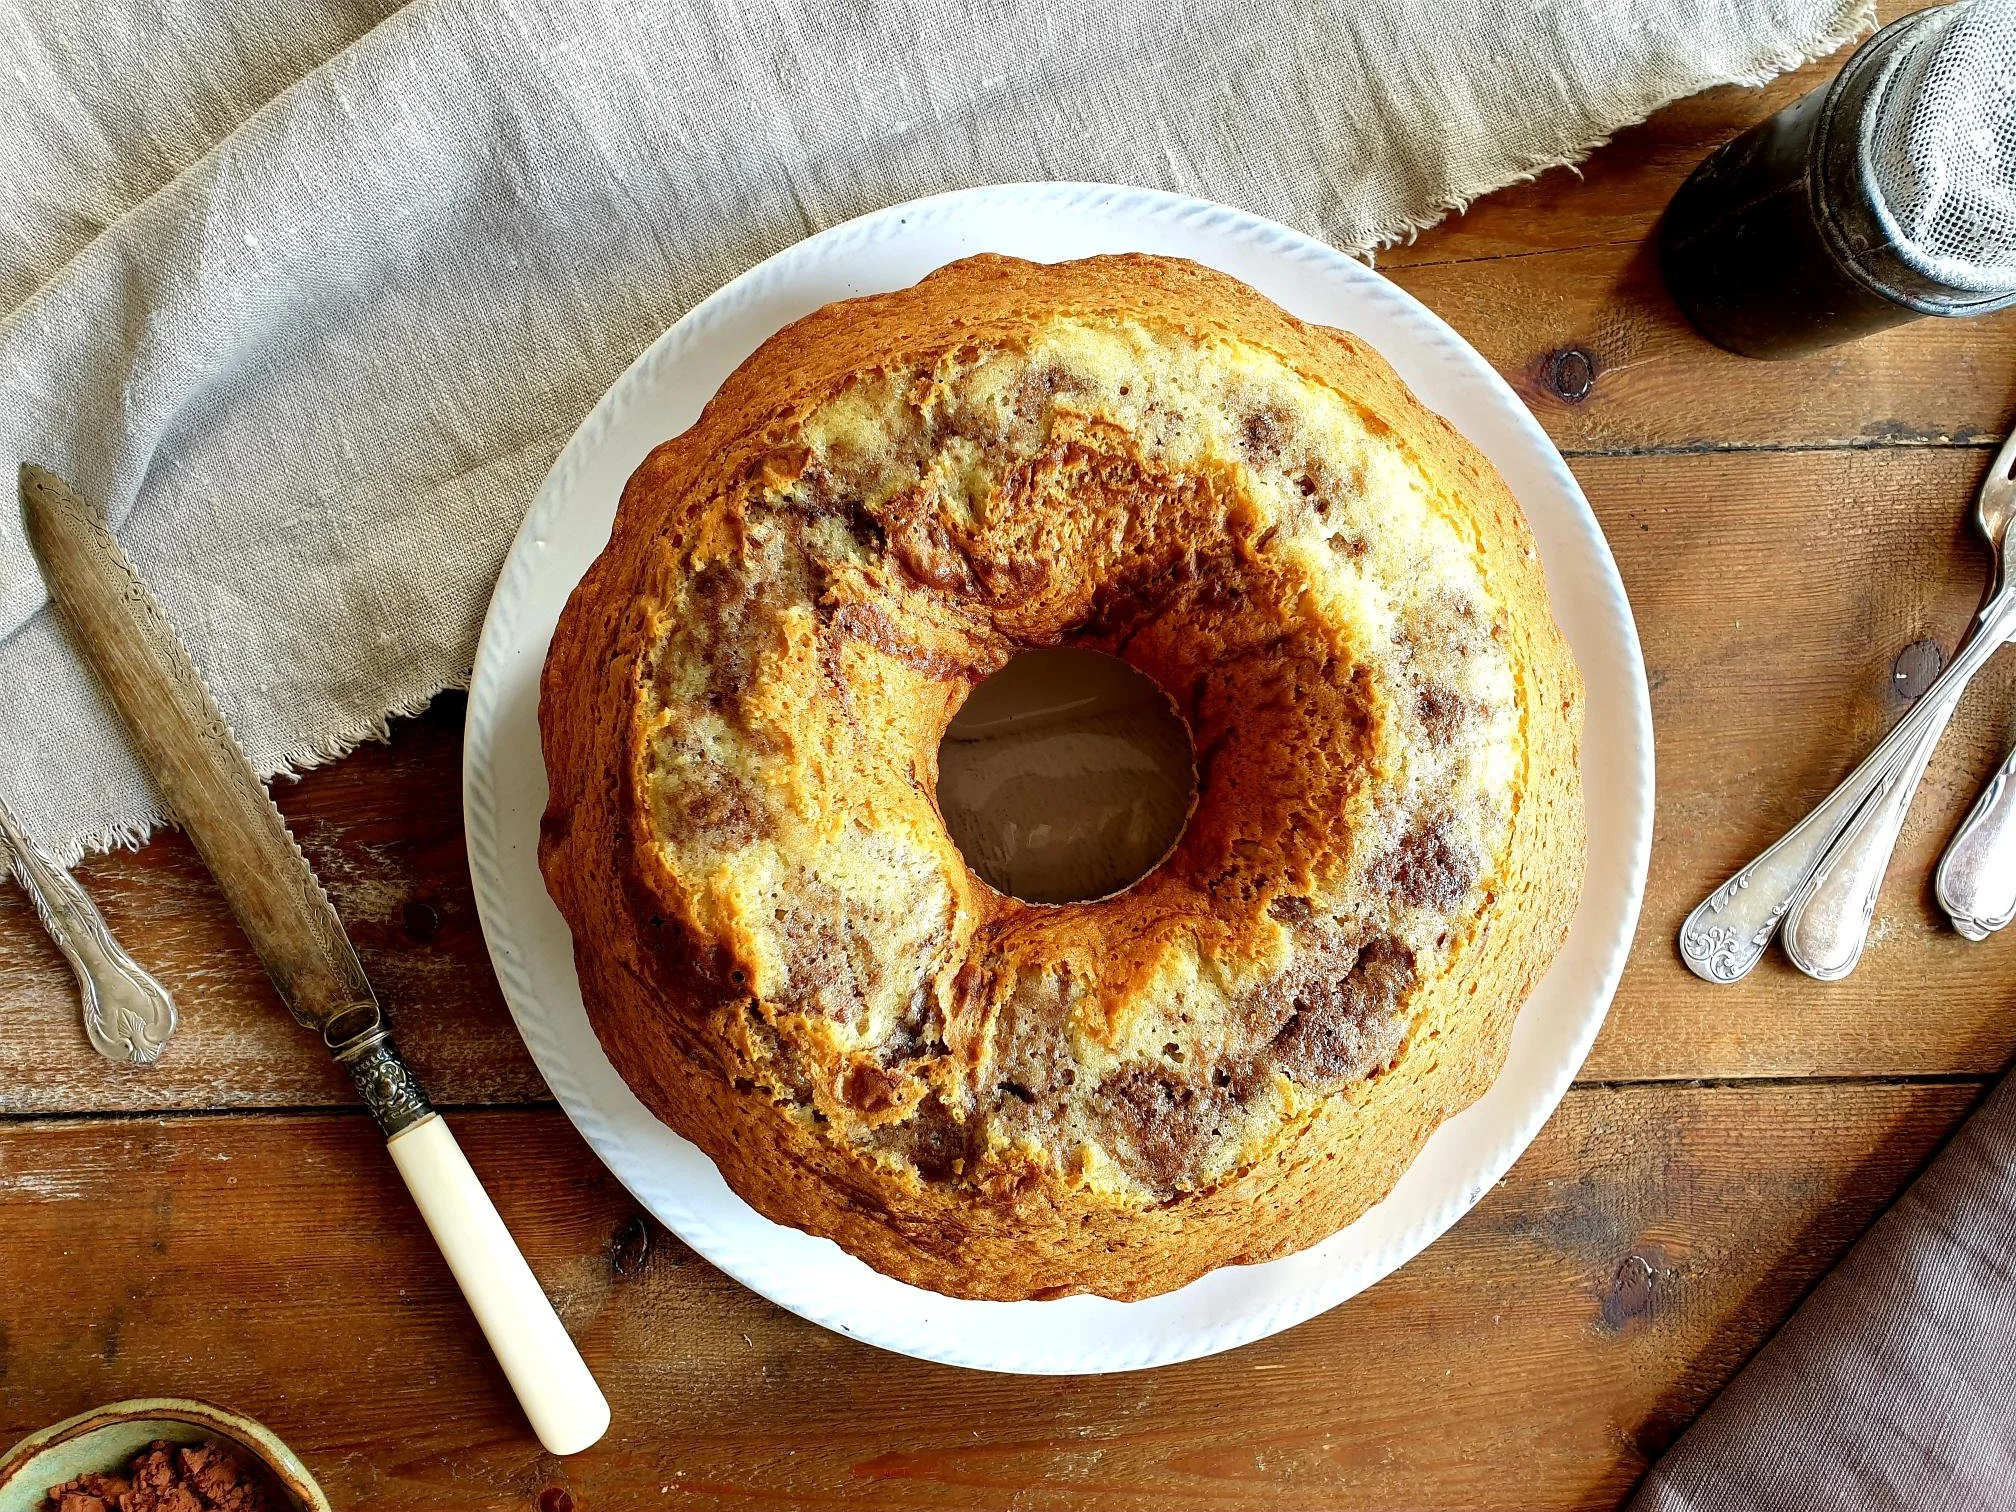
Perhaps, you know the old adage, which actually goes back to Tudor times, ‘You can’t have your cake and eat it (too)?’ Well, with this recipe – you can! All your baking dilemmas, should I go for a chocolate cake this time, or for a vanilla one, are solved with this one recipe – you can have both in one cake!

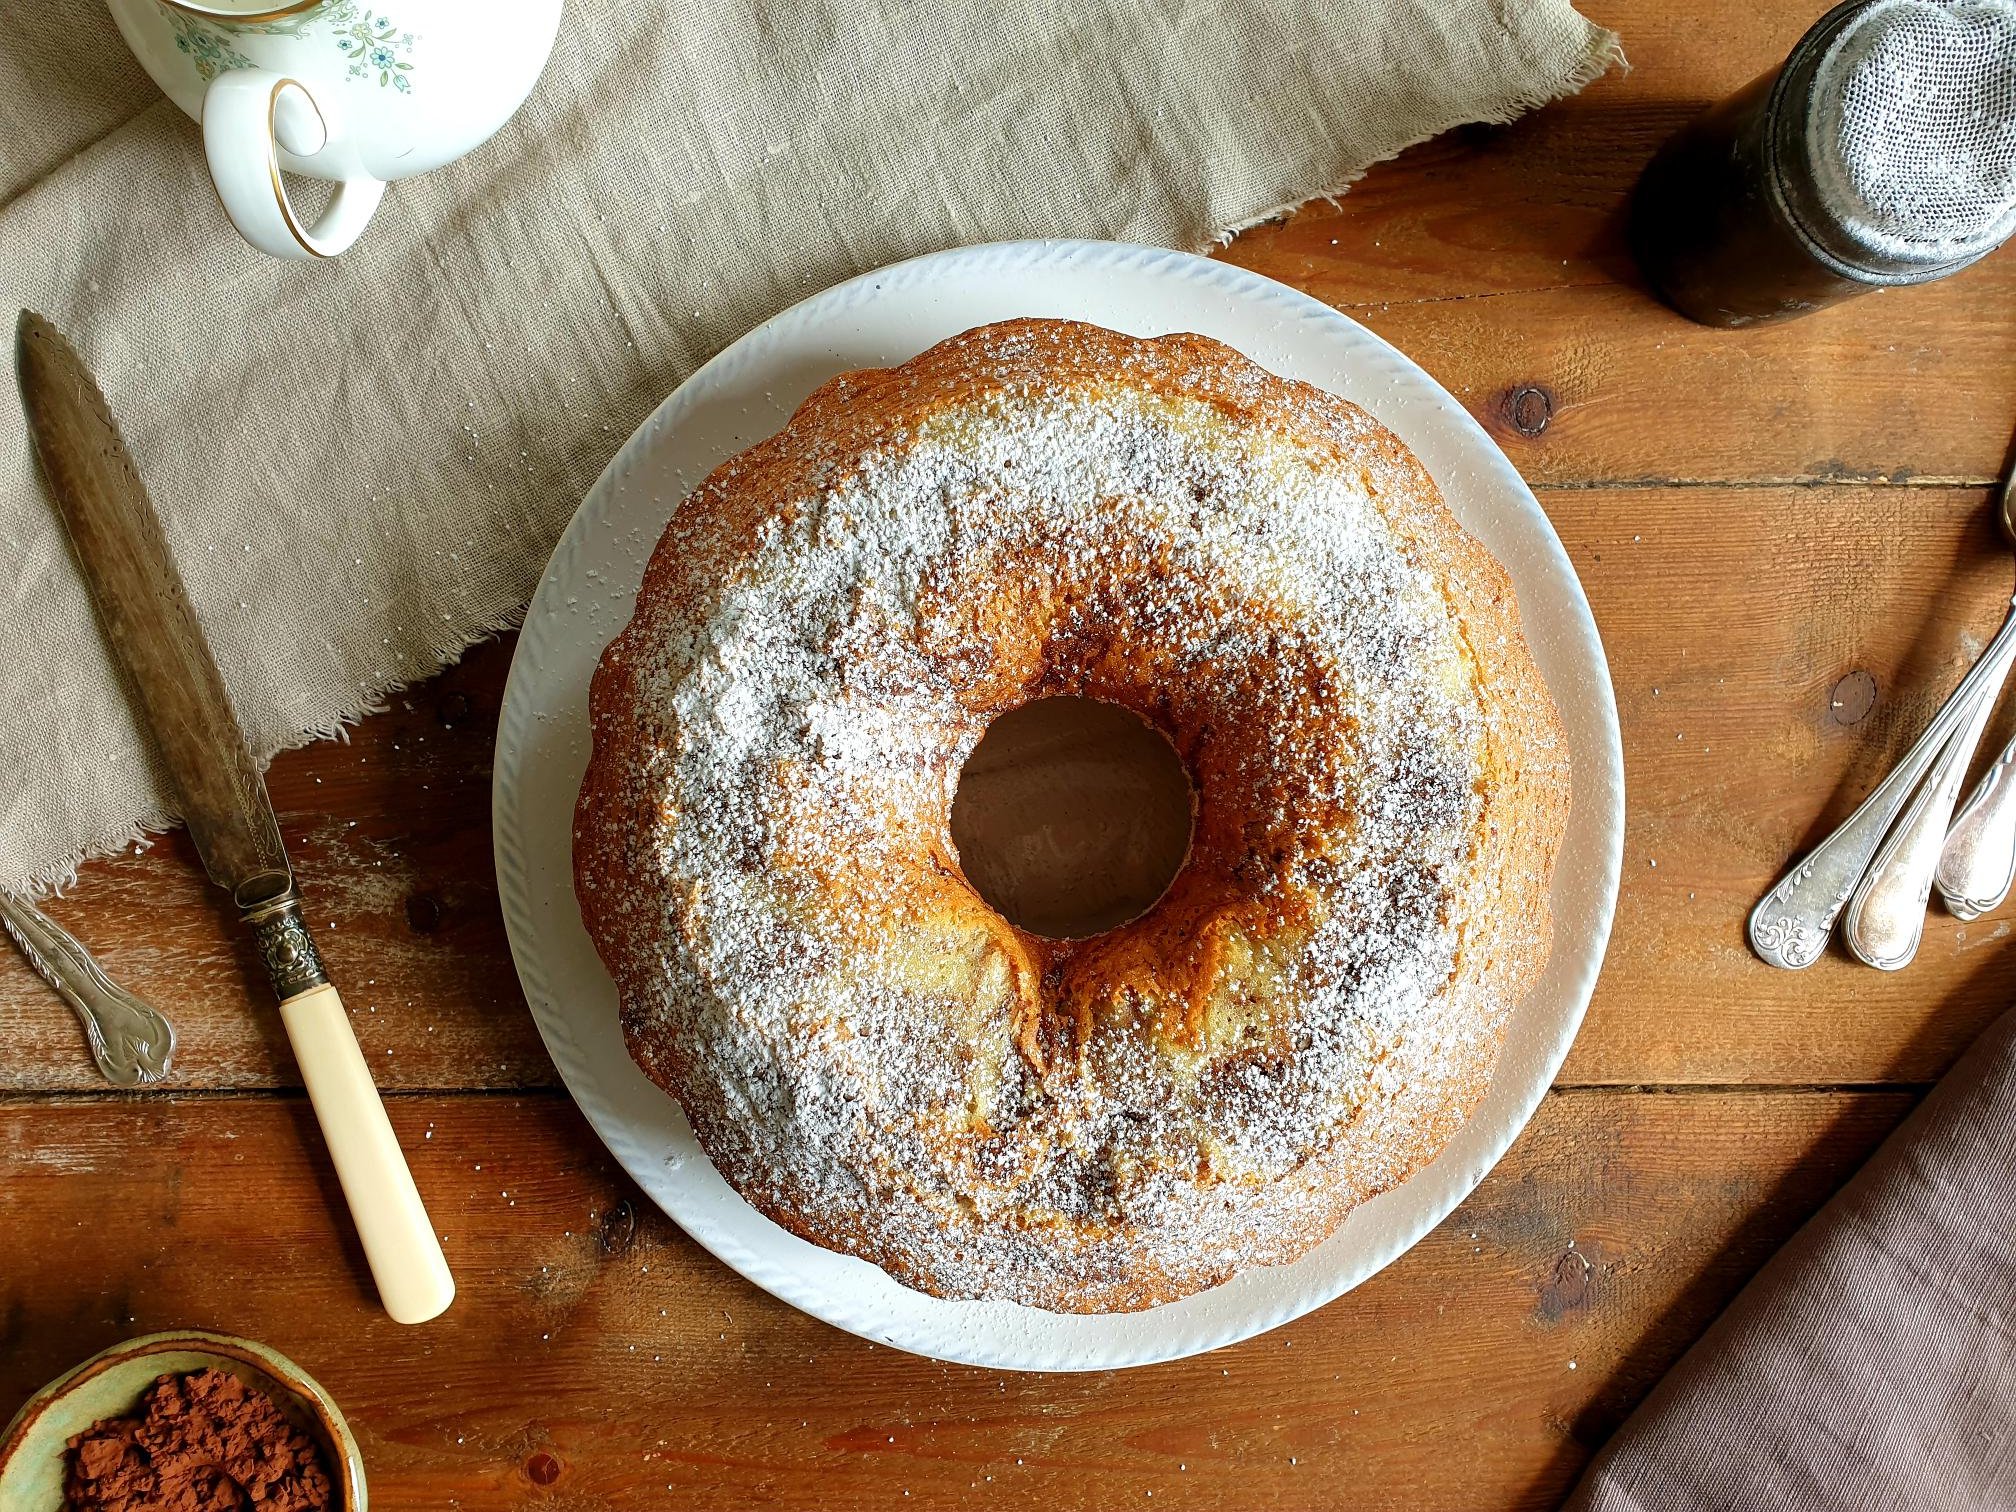
This chocolate and vanilla sponge cake is a classic childhood sweet treat. It is moist with a soft and fluffy texture, it looks pretty, and is still elegant, since the light and dark batter is blended lightly together giving it a marble appearance, and so, hence its name, marble cake, or it is sometimes called a zebra cake, due to its zebra-striped pattern (skunks are also striped, but I supposed that isn’t a very appealing name for a cake). It is also known as a ring cake or a Bundt cake, especially in the United States.

So, this cake delivers on appearance and flavour every single time, and if you want to impress your family and friends, this is the cake to go for. It is very easy to make and you can whizz it up in no time.

It originated in Germany, where it is still very popular, from a Kugelhopf, a two-coloured sweet yeast bread.

This impressive cake has been frequently baked in Austrian households and other European countries, including in Slovenia (Šarkelj) where it represents one of the most frequently baked weekend sweet treats and it is enjoyed for breakfast as well, there is no wrong time to eat it!

This was a regular bake in my house when I was a small girl, all you need is a few simple ingredients and a few simple steps to follow, I promise you, you will think twice before reaching out for the store-bought version, and here it is, my mother's recipe.

Recipe

Ingredients

  • 4 medium eggs, room temperature

  • 250g caster sugar

  • 1 Tsp vanilla extract

  • 100ml milk, room temperature

  • 100ml sunflower oil, room temperature

  • 250g all purpose white flour (plain flour), sifted

  • 16g baking powder

  • 2 Tbsp cocoa powder, sifted

  • dusting sugar/vanilla powder sugar for dusting, optional

Method

Preheat the oven to 180°C static or equivalent.

Grease well with butter or oil a ring mould or a bundt cake tin. Make sure you cover every nook and cranny (alternatively you can use a 20cm cake tin or a 900g loaf tin, grease and line with baking parchment)

Dust with flour, shake off and tip out the excess.

View fullsize Marble Cake 2.jpg
View fullsize Marble Cake 4.jpg

Put in the mixing bowl the eggs and the sugar, and beat well until the mixture becomes golden pale in colour.

Add the milk, oil and vanilla extract, mix well.

View fullsize Marble Cake 5.jpg
View fullsize Marble Cake 6.jpg

Start adding, one spoonful at the time of sifted flour together with the baking powder.

View fullsize Marble Cake 7.jpg
View fullsize Marble Cake 8.jpg

Divide the batter, spoon half of the batter in a separate bowl.

Add in one half of the batter sifted cocoa and mix well.

View fullsize Marble Cake 10.jpg
View fullsize Marble Cake 11.jpg

Pour the white mixture into the base of the prepared ring mould first. Then pour the chocolate mixture on top.

View fullsize Marble Cake 12.jpg
View fullsize Marble Cake 13.jpg

Gently swirl a little with the knife.

Bake for about 35 minutes or until the cake has shrunk from the sides of the tin and is well risen, the top of the cake should ‘spring back’ when lightly pressed with your fingertips.

Leave to cool in the tin for a few minutes.

Turn out the cake and finish cooling on a wire rack.

Dust with icing sugar or vanilla icing sugar and serve.

July 06, 2023 /tina oblak
chocolate and vanilla ring cake, marble chocolate and vanilla cake, marble cake, zebra cake, Bundt cake, chocolate and vanilla Bundt cake, chocolate and vanilla zebra cake
Adriatic Recipe, All year round recipe, baking, breakfast, brunch, Central Europe cakes, Central European recipes, dessert, Eastern Europe cakes, Eastern European recipes, easy baking, easy cakes, Easy recipe, home baking, Istrian cuisine, Istrian dish, Istrian food, Istrian gastronomy, Mitteleuropean cuisine, Mitteleuropean recipes, Mitteleuropean food, pudding, Rustic dish, simple recipe, Slovenian cuisine, Slovenian food, Slovenian gastronomy, Snacks, Sweet Things
Comment

My mum's easy Pear Traybake Recipe

Beans and Sardines
September 14, 2022 by tina oblak in Adriatic Recipe, All year round recipe, Autumnal dish, Autumnal recipe, baked dish, baking, bite-sized nibbles, breakfast, Central Europe cakes, Central European recipes, child friendly dish, dessert, easy baking, easy cakes, Easy recipe, Finger food, home baking, Istrian cuisine, Istrian food, Istrian gastronomy, pudding, Rustic dish, simple recipe, Slovenian cuisine, Slovenian food, Slovenian gastronomy, Small bites, Snacks, sweet course, sweet finger food, sweet nibbles, Sweet Things

This pear tray bake is made with simple, everyday, ingredients found in your pantry, it is moist, light, soft, super delicious, and incredibly easy and quick to prepare. You will want to make it over and over again, and it will become your number one recipe for a traybake.

This recipe covers it all when it comes to sweet treats, it is perfect for any occasion and it can be enjoyed any time of the day. You can serve it at room temperature or cold as a snack, it goes really well with tea and coffee, it can be made in advance and taken to the picnics; but, it also can be equally served warm as an elegant dessert when “dressed up” a bit and accompanied with cream, whipped cream, fromage frais, yoghurt, or a good quality vanilla ice cream or gelato.

This sumptuously moist pear traybake is incredibly popular back home on the Slovenian coast and baked in the households on a regular basis all year round. In fact, the idea behind this traybake is to use the same basic sponge recipe and add different fresh seasonal fruits or their combinations, so you always end up with a slightly different cake. And of course, using jarred or tinned fruit in this recipe is perfectly fine too.

In the autumn you can use for example pears, apples, plums and blackberries and add ground cinnamon and clove and orange zest to enhance that characteristic autumnal flavours, on the contrary, in the spring and summer months the use of peaches, cherries, nectarines and lemon zest will add freshness to the sponge base.

View fullsize Pear Traybake 1.jpg
View fullsize Pear Traybake 2.jpg

I am sharing here my mum's recipe for a tray bake she used to make, and still does, it will become a staple in your sweet things repertoire to bake.

Ingredients

Serves 12

  • 3-4 ripe pears (about 500g), tinned pears also work well in this recipe

  • lemon zest and juice of ½ small unwaxed lemon

  • 3 medium eggs (room temperature)

  • 150g caster sugar

  • 130g plain white all purpose flour

  • 6g baking powder (1 Tsp)

  • 5 Tsp neutral tasting oil (75ml)

  • ½ Tsp vanilla extract

  • ¼ Tsp ground cinnamon, optional

  • ¼ Tsp ground cloves, optional

  • icing sugar, for dusting

Method

Pre-heat the oven to 180C/Fan 160C/Gas 4.

Lightly grease a tray bake or roasting tin, approx 30 x 23cm (12 x 9), then line the base with baking parchment.

Peel, core and thinly slice the pears. Transfer into a bowl, add lemon zest and squeeze the lemon juice over them. This will help the pears from turning brown and discolouring but also adds a bit of of extra flavour.

Crack the eggs into a mixing bowl, add the sugar and beat with a free-standing or hand-held mixer for about 7 minutes or until the mixture has thickened, becomes slightly pale in colour and foamy.

View fullsize Pear Traybake 11.jpg
View fullsize Pear Traybake 12.jpg

Add sifted flour and baking powder along with oil, vanilla extract, and ground cinnamon and clove, if using. Stir with a wooden spoon to incorporate well all the ingredients.

View fullsize Pear Traybake 13.jpg
View fullsize Pear Traybake 14.jpg

Add pears to the mixture and stir with a wooden spoon or spatula.

View fullsize Pear Traybake 15.jpg
View fullsize Pear Traybake 16.jpg

Transfer the mixture into the tray.

Bake in the pre-heated oven for about 40-45 minutes or until the cake is golden, firm to the touch and and when inserting the knife into the centre should come out clean.

Leave to cool then turn out, remove the parchment, dust with a bit of icing sugar and cut into 12 pieces.

You can also serve it warm as a dessert with cream, whipped cream, fromage frais or a good quality vanilla ice cream or gelato.

Just a thought

In this traybake you could use other fruit such as apples, peaches, nectarines, cherries or plums or a combination of the fruits that your prefer, and all of the fresh fruits can be replaced by jarred or tinned alternative.

You can freeze this tray bake for up to three month.

Wine suggestion

Moscato di Trani DOC Dolce Naturale "Dulcis in Fundo" 2019 - Torrevento

September 14, 2022 /tina oblak
Traybakes, fresh fruit, tinned fruit, jarred fruit, fruit sponge cake, fresh pears, ground cinnamon, ground cloves, lemon zest, pear cake, pear traybake
Adriatic Recipe, All year round recipe, Autumnal dish, Autumnal recipe, baked dish, baking, bite-sized nibbles, breakfast, Central Europe cakes, Central European recipes, child friendly dish, dessert, easy baking, easy cakes, Easy recipe, Finger food, home baking, Istrian cuisine, Istrian food, Istrian gastronomy, pudding, Rustic dish, simple recipe, Slovenian cuisine, Slovenian food, Slovenian gastronomy, Small bites, Snacks, sweet course, sweet finger food, sweet nibbles, Sweet Things
1 Comment

Austrian style Curd Cheesecake Recipe

Beans and Sardines
February 16, 2022 by tina oblak in Adriatic Recipe, baked dish, baking, celebratory desserts, dessert, Easy recipe, festive bakes, festive dessert, festive sweet things, pudding, Sweet Things, easy cakes, no flour cakes, home baking, easy baking, Central Europe cakes, Eastern Europe cakes

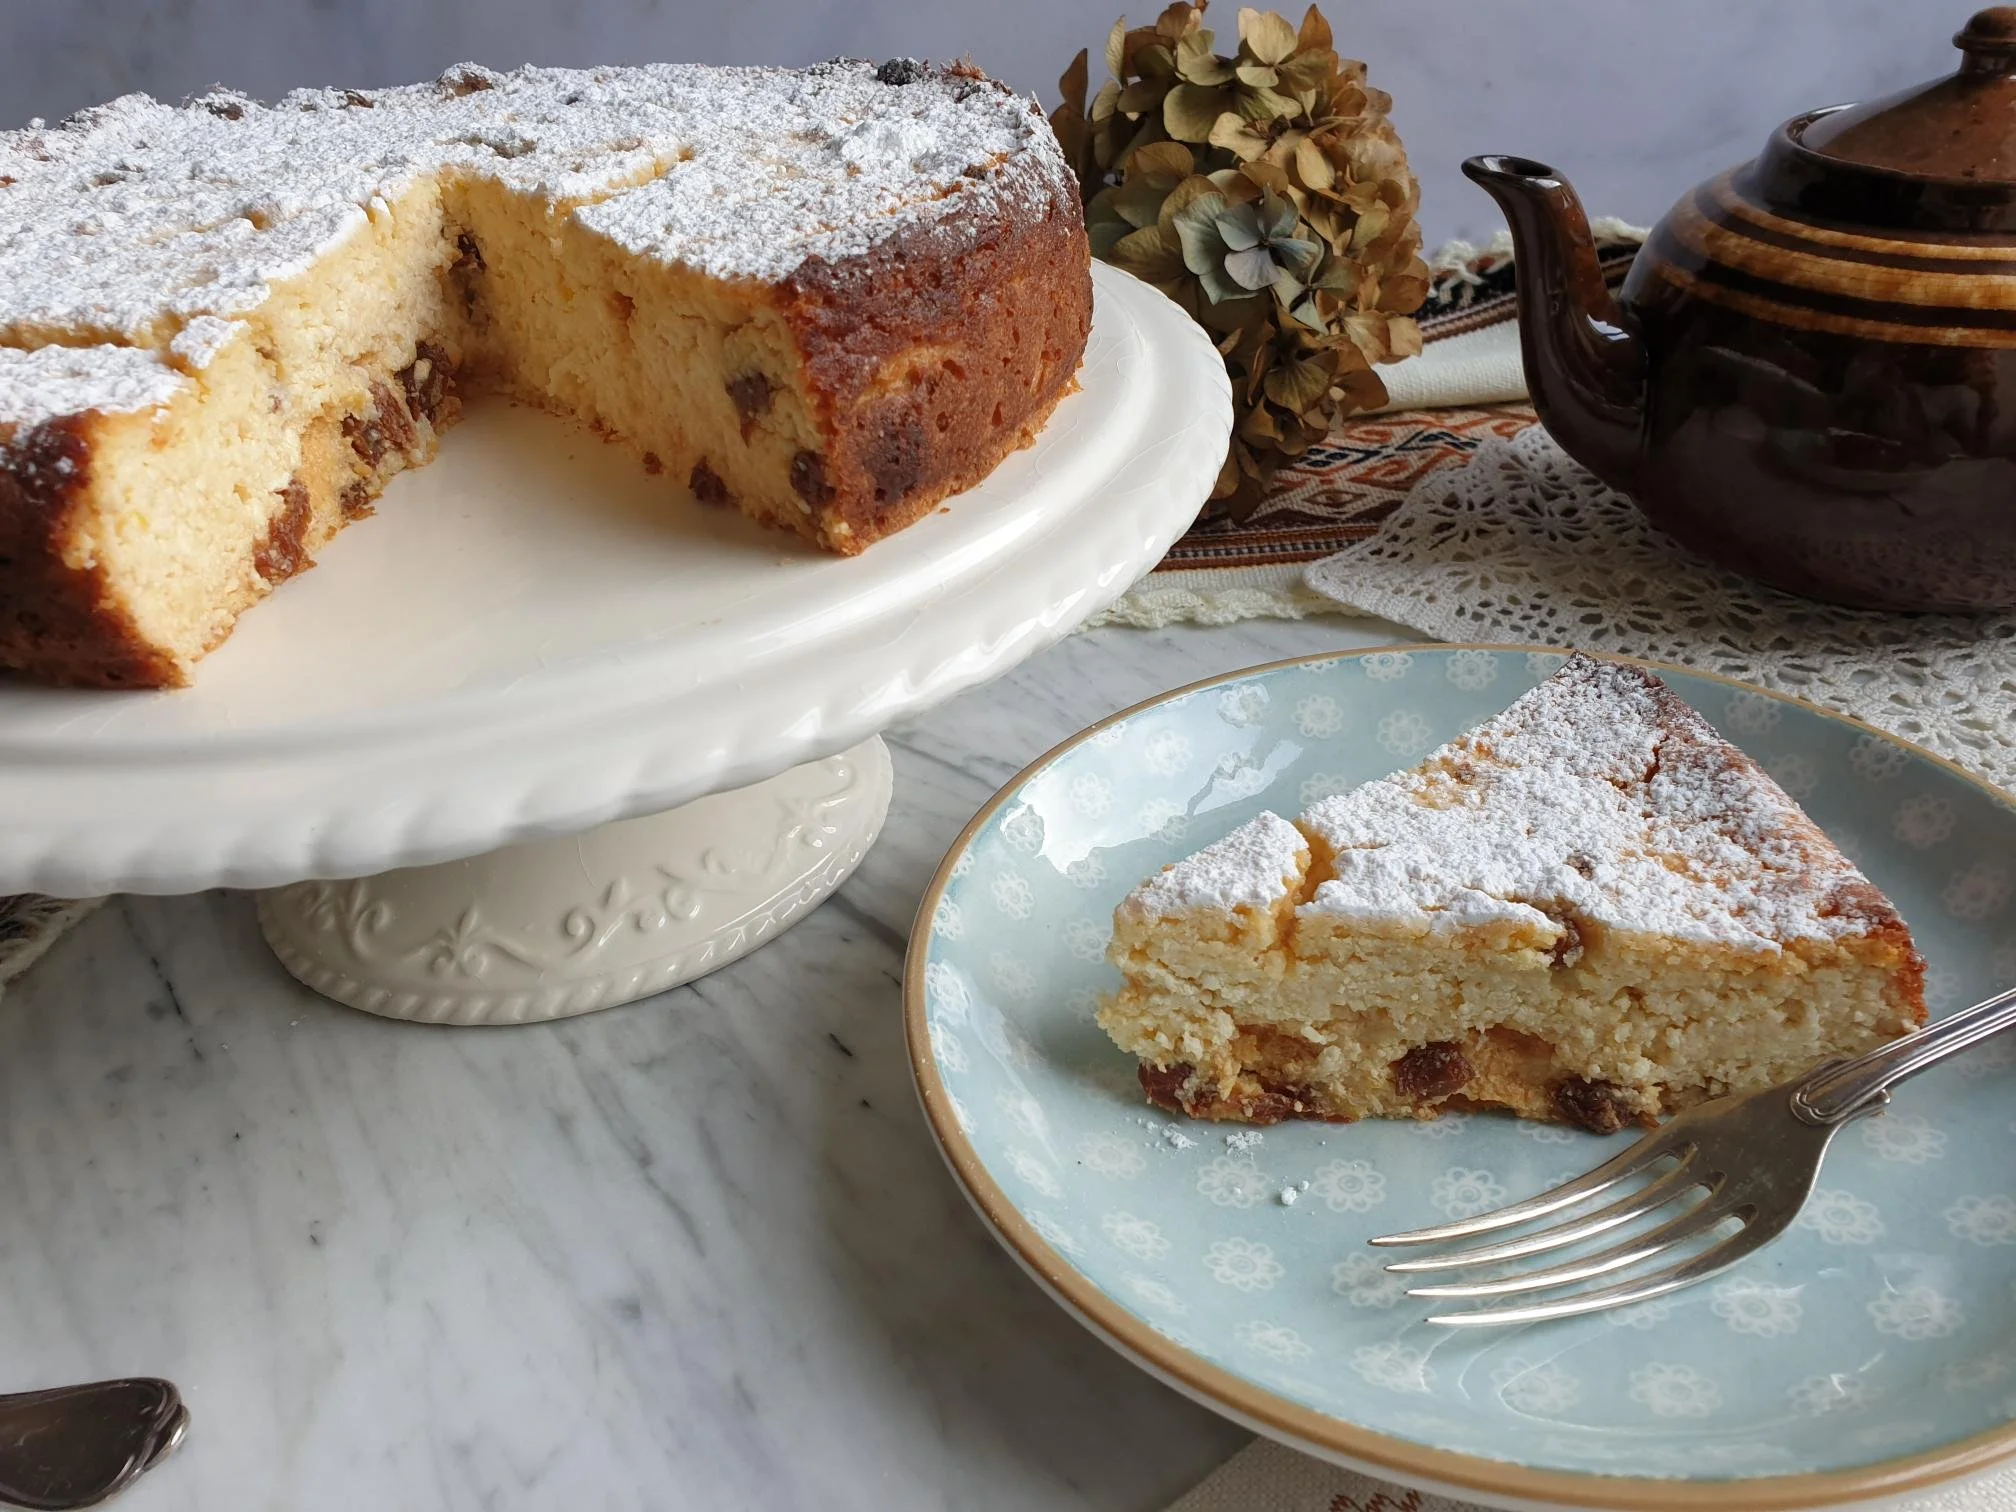
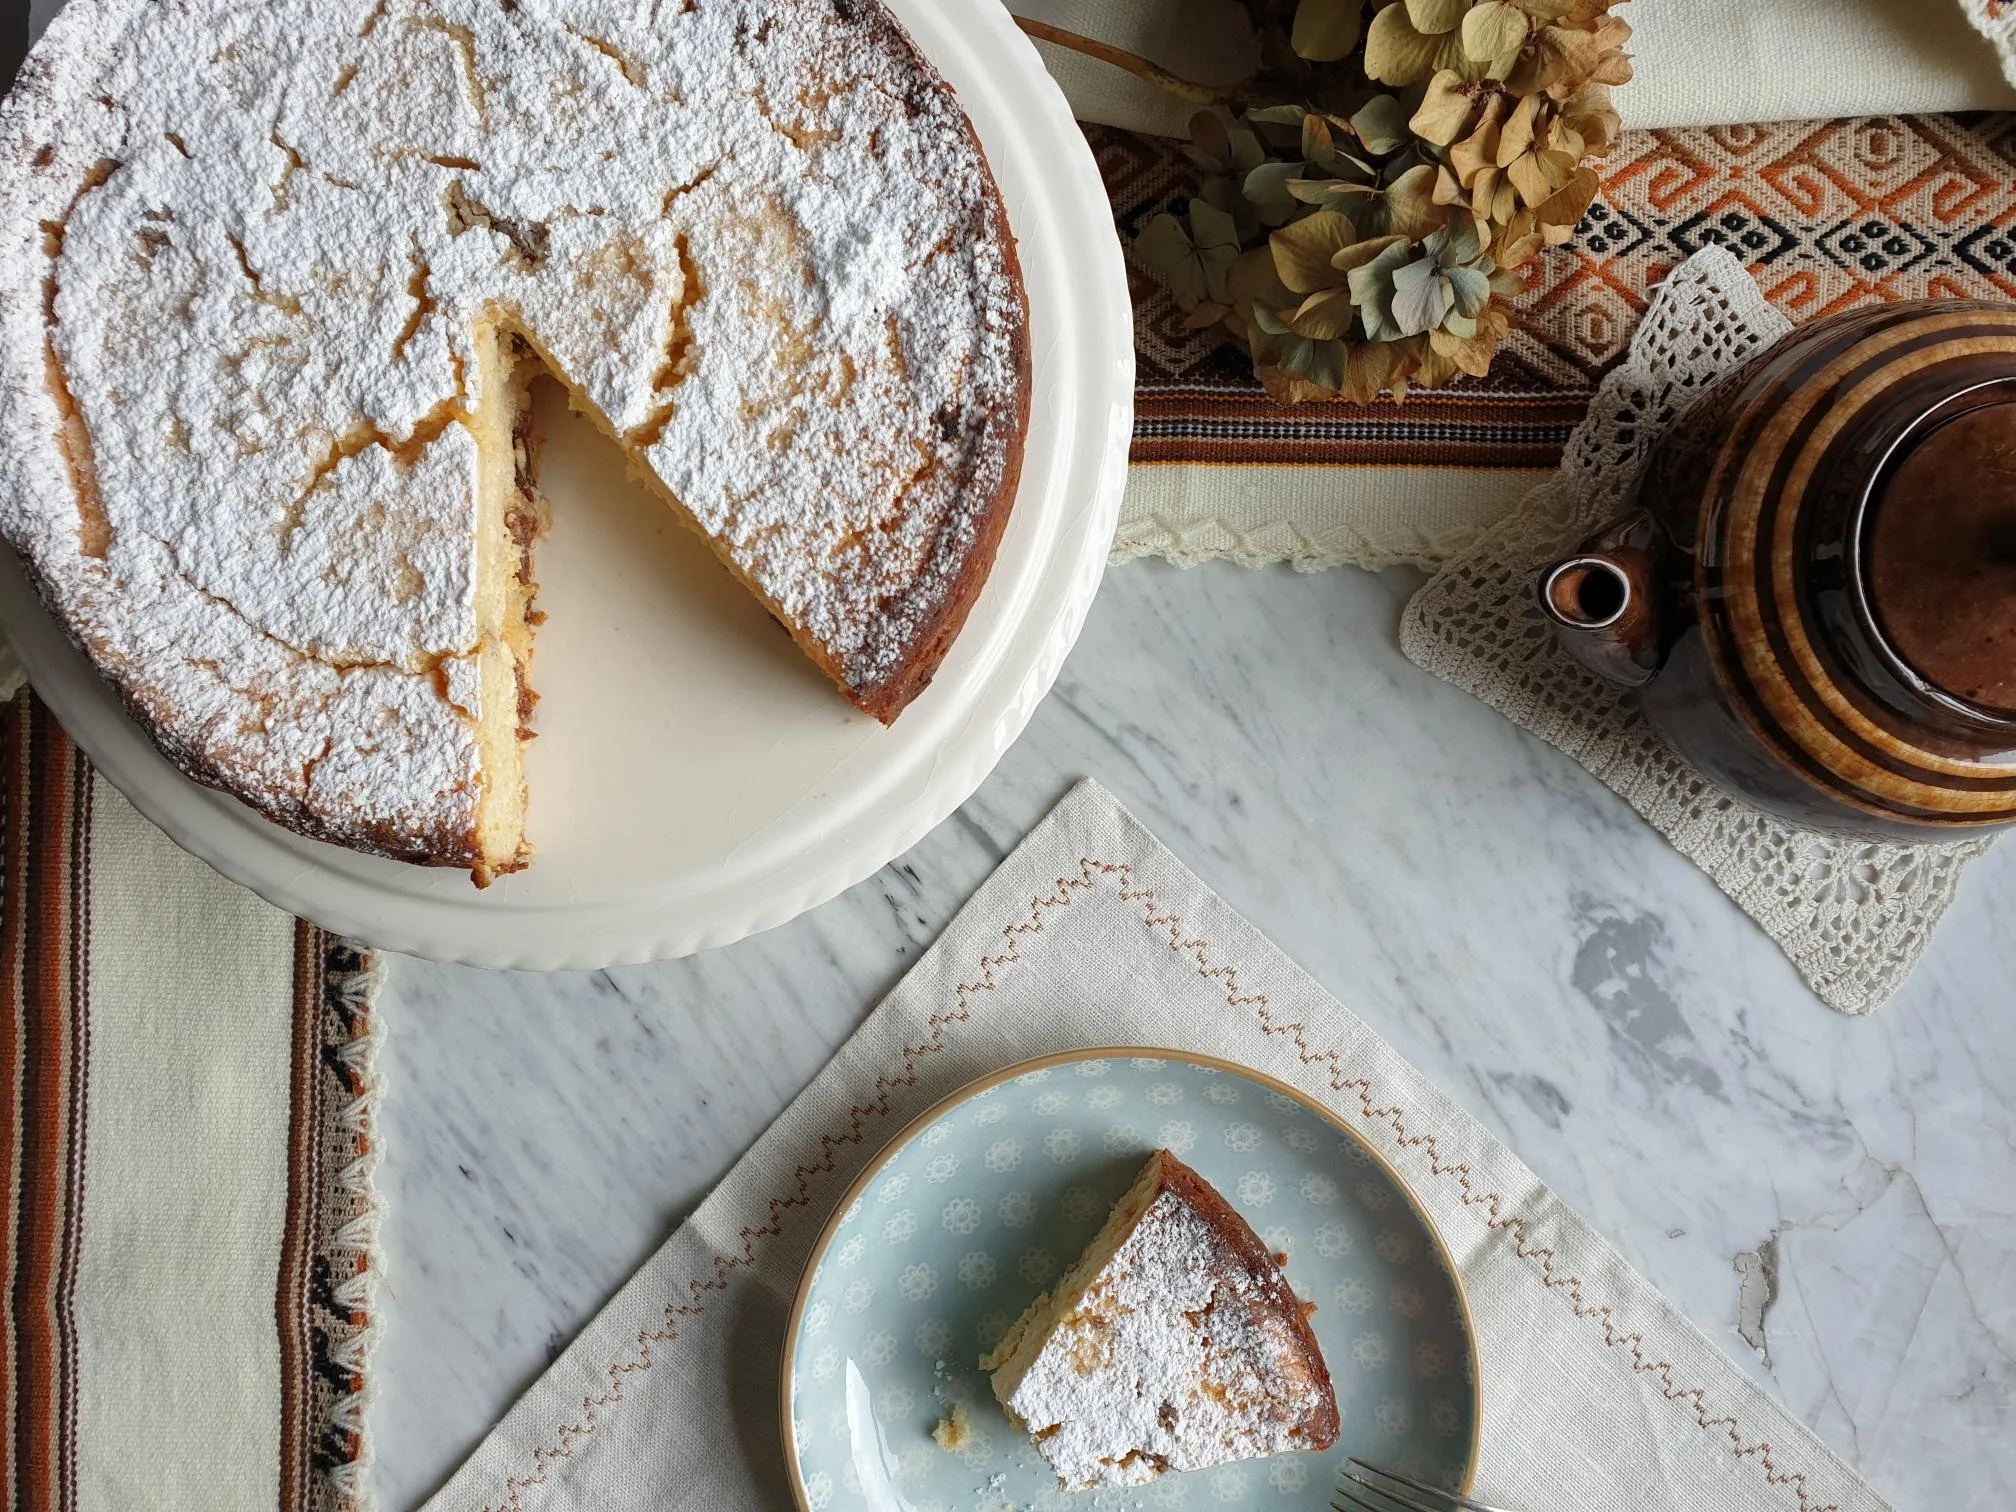
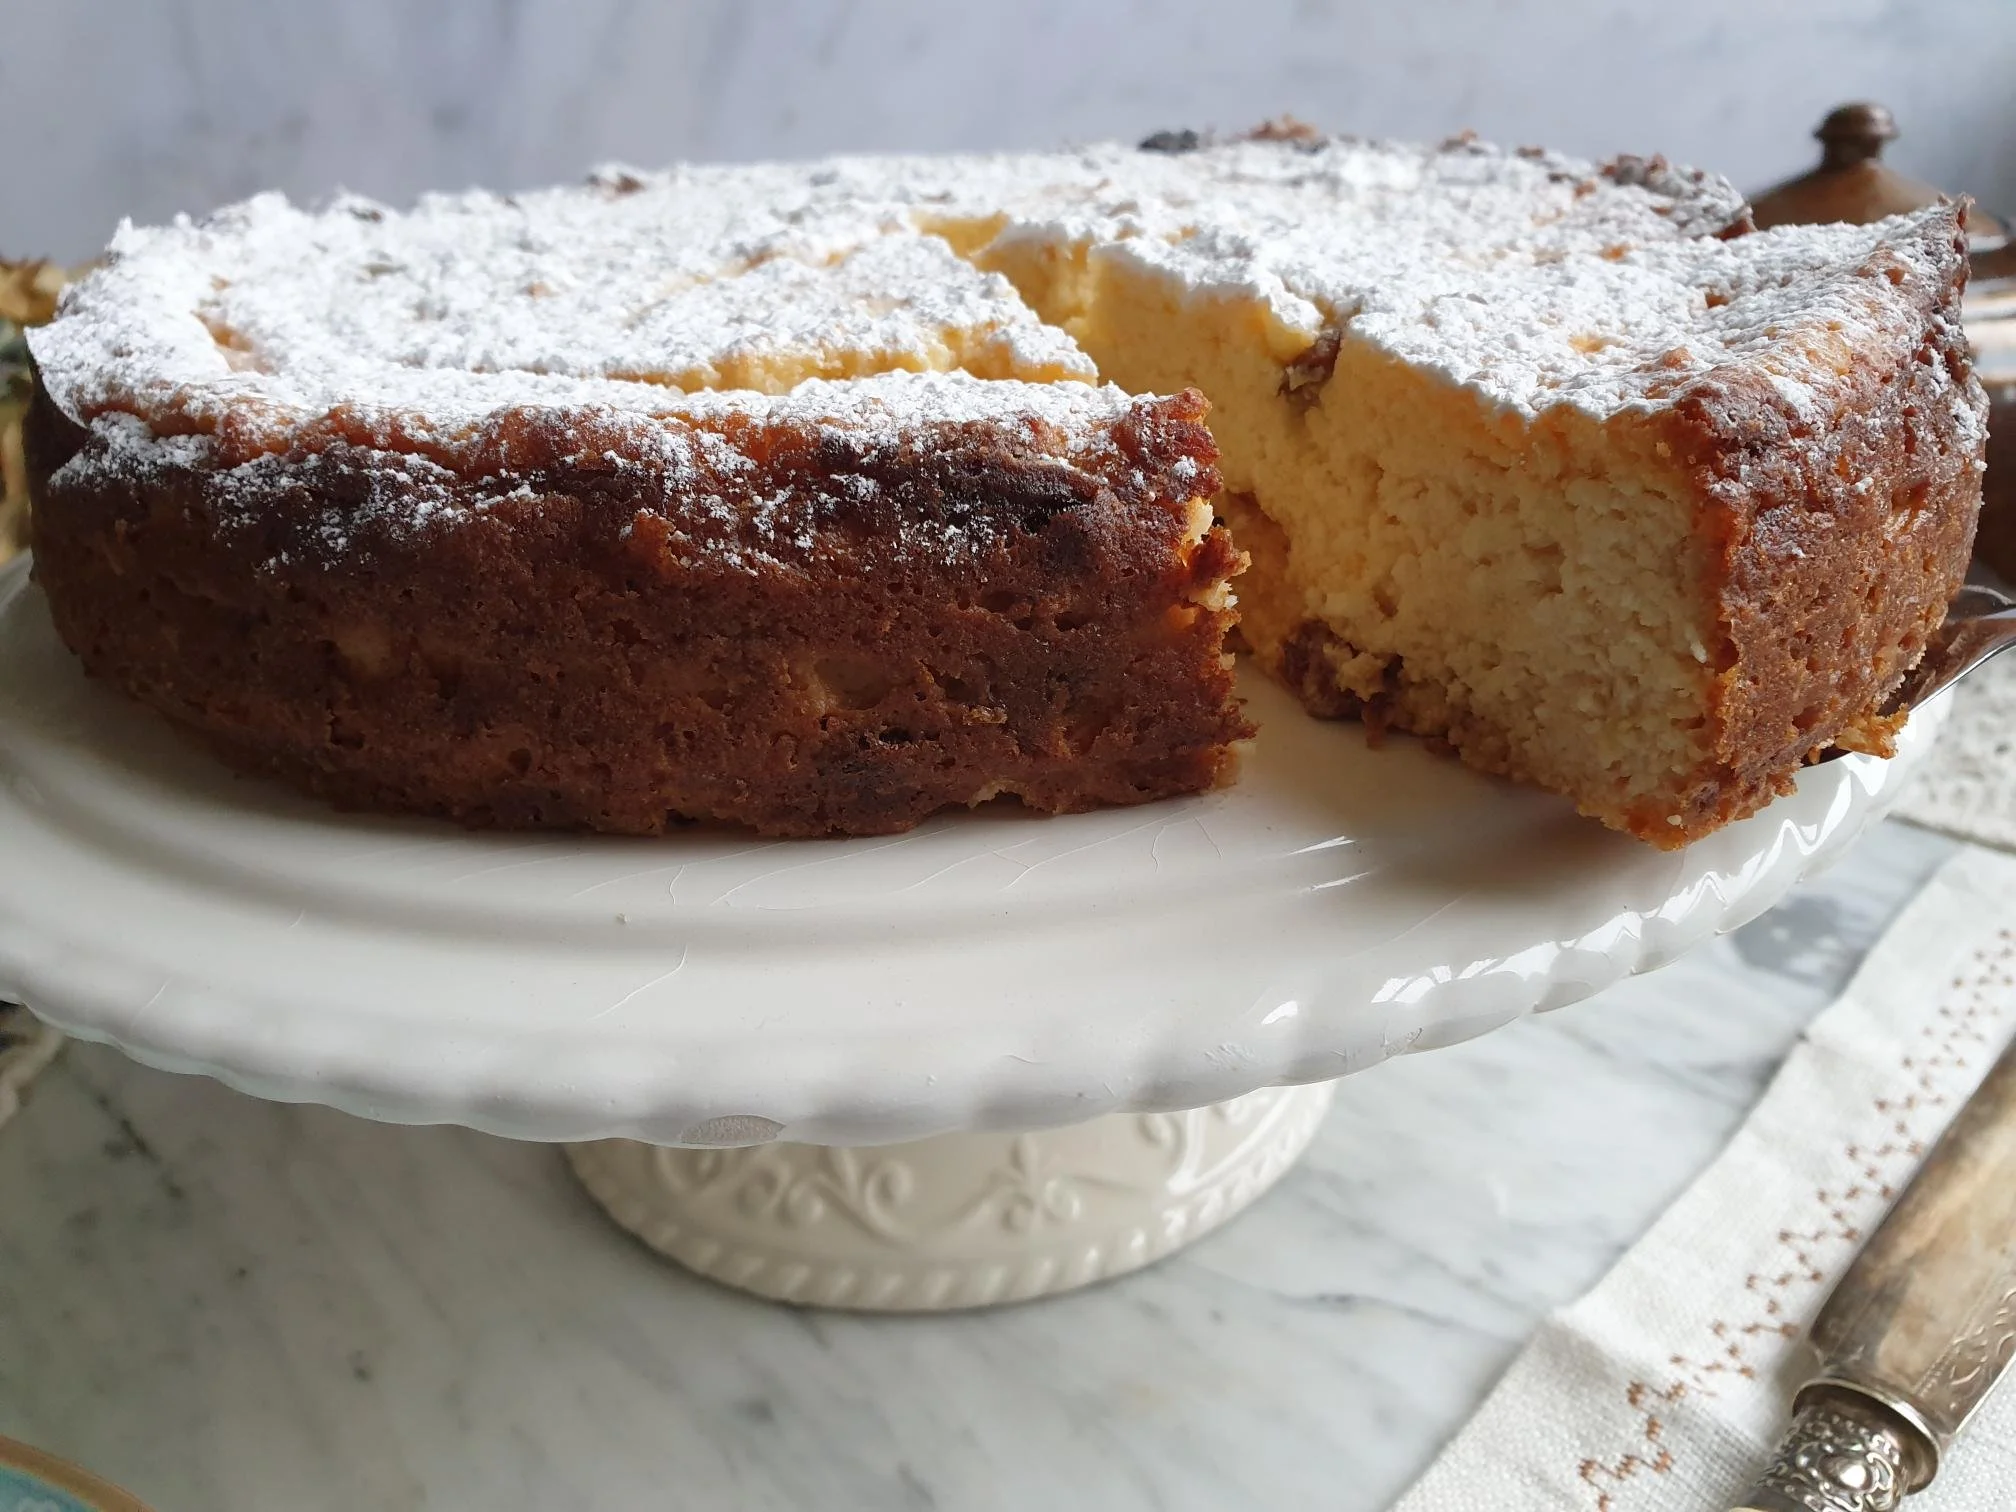
This Austrian style Curd Cheesecake is a sweet dessert, delicious in its simplicity, consisting of one main layer mixture of curd cheese or ricotta, flavoured with sugar, lemon zest, vanilla extract, eggs and the raisins that have been luxuriously soaked in dark rum.

This cake is quite moist, therefore refreshing and perfect for any occasion, it is very easy to make and a great recipe to keep in the repertoire for cakes that require minimum effort but deliver maximum satisfaction.

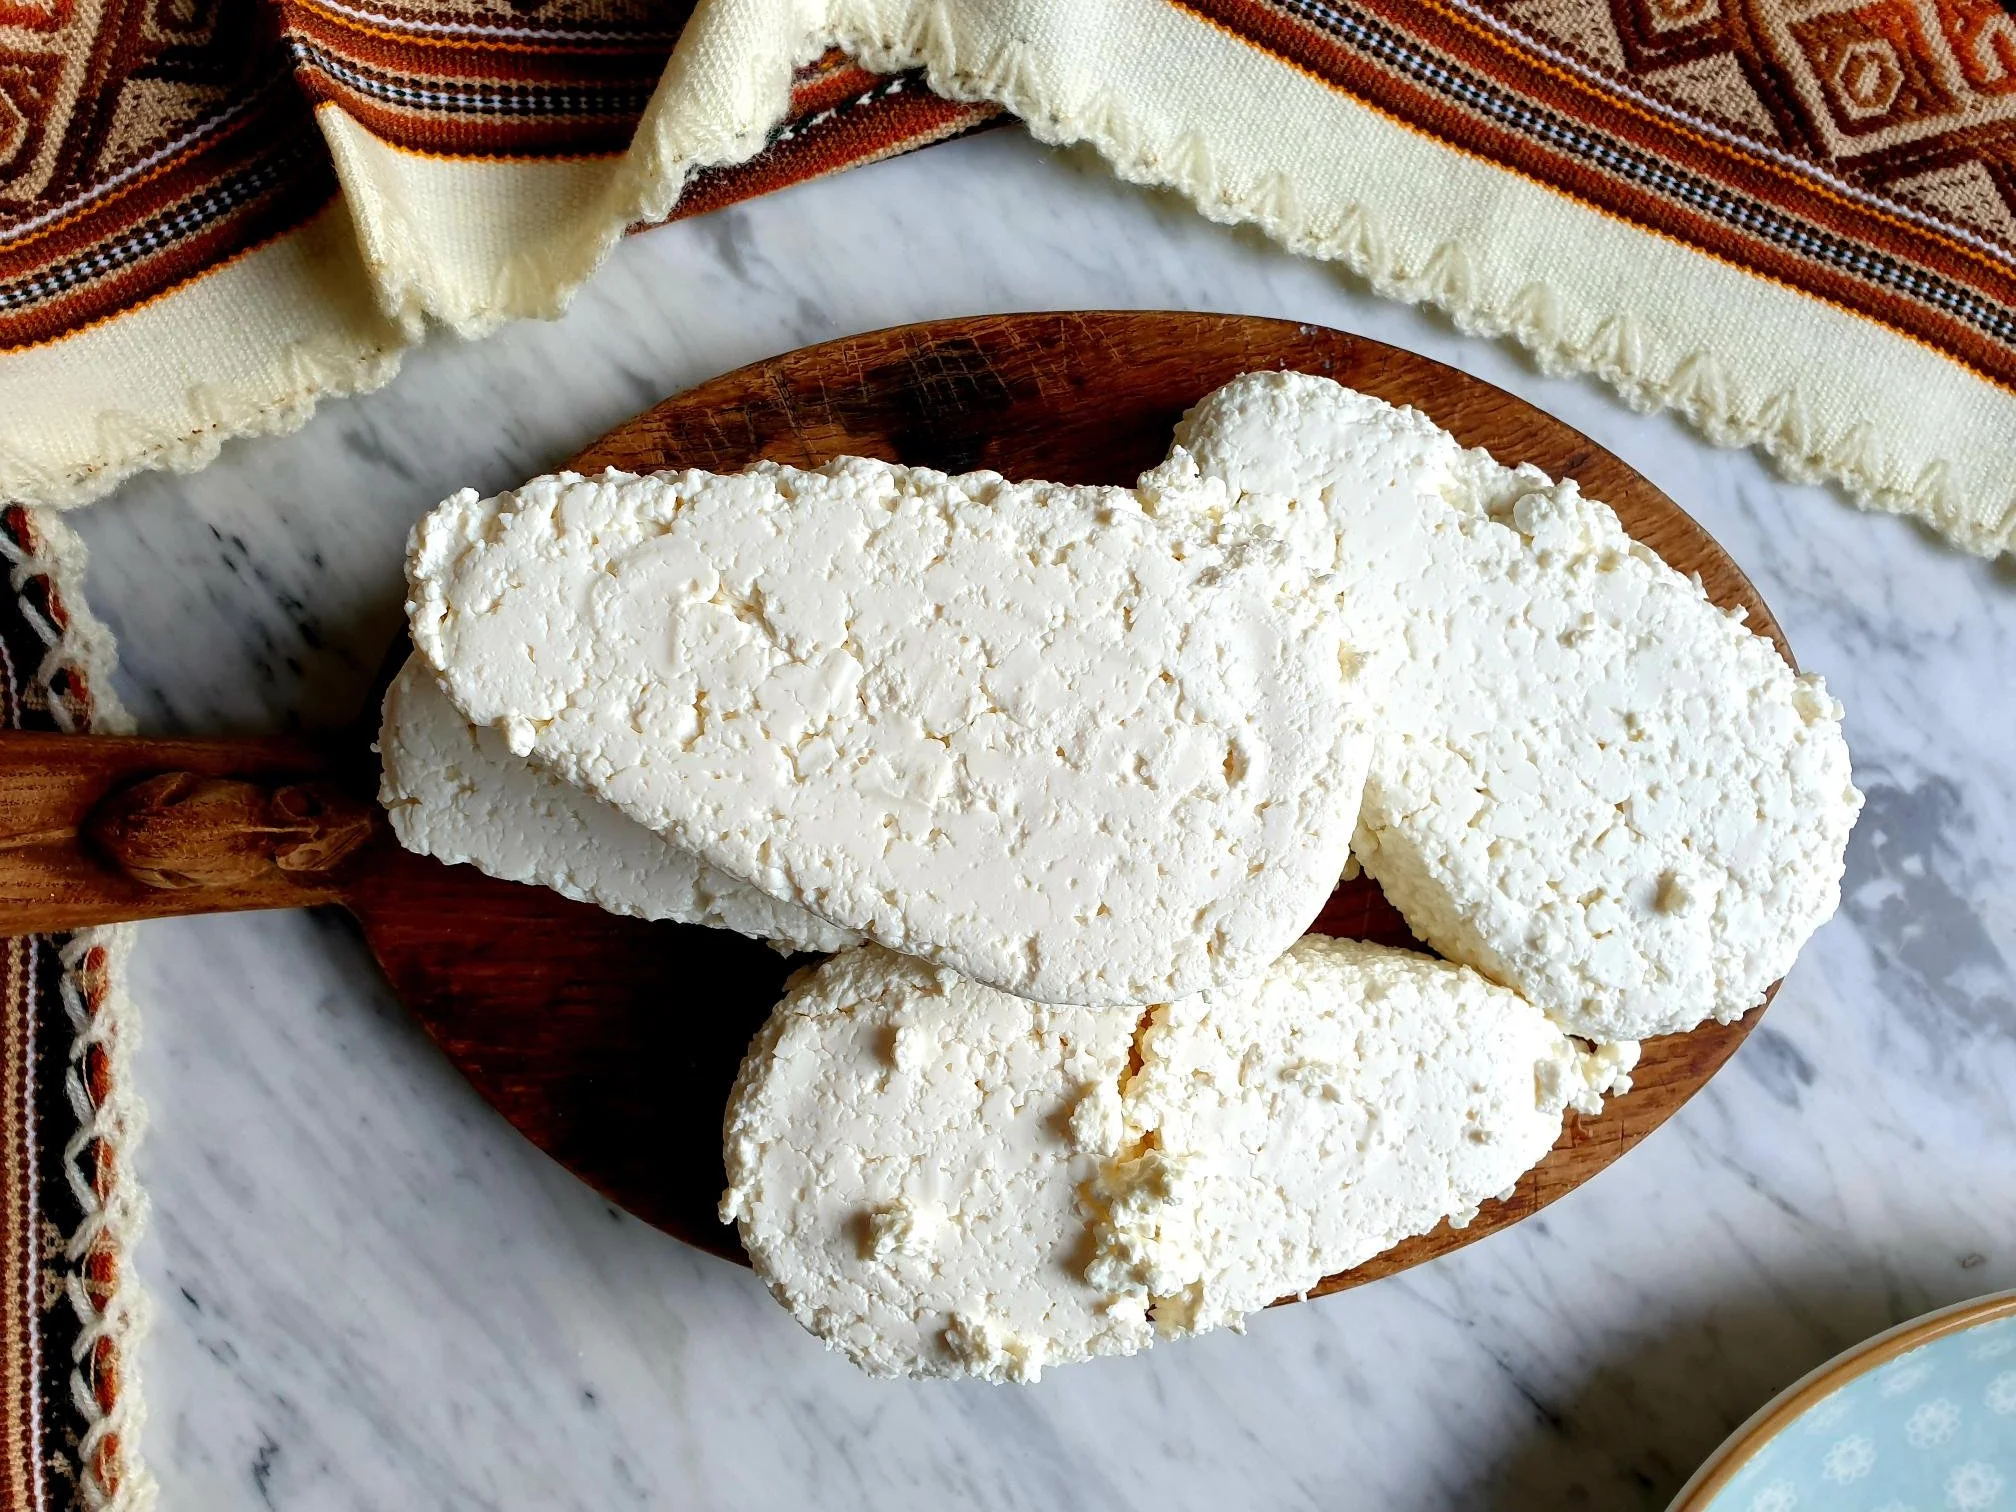
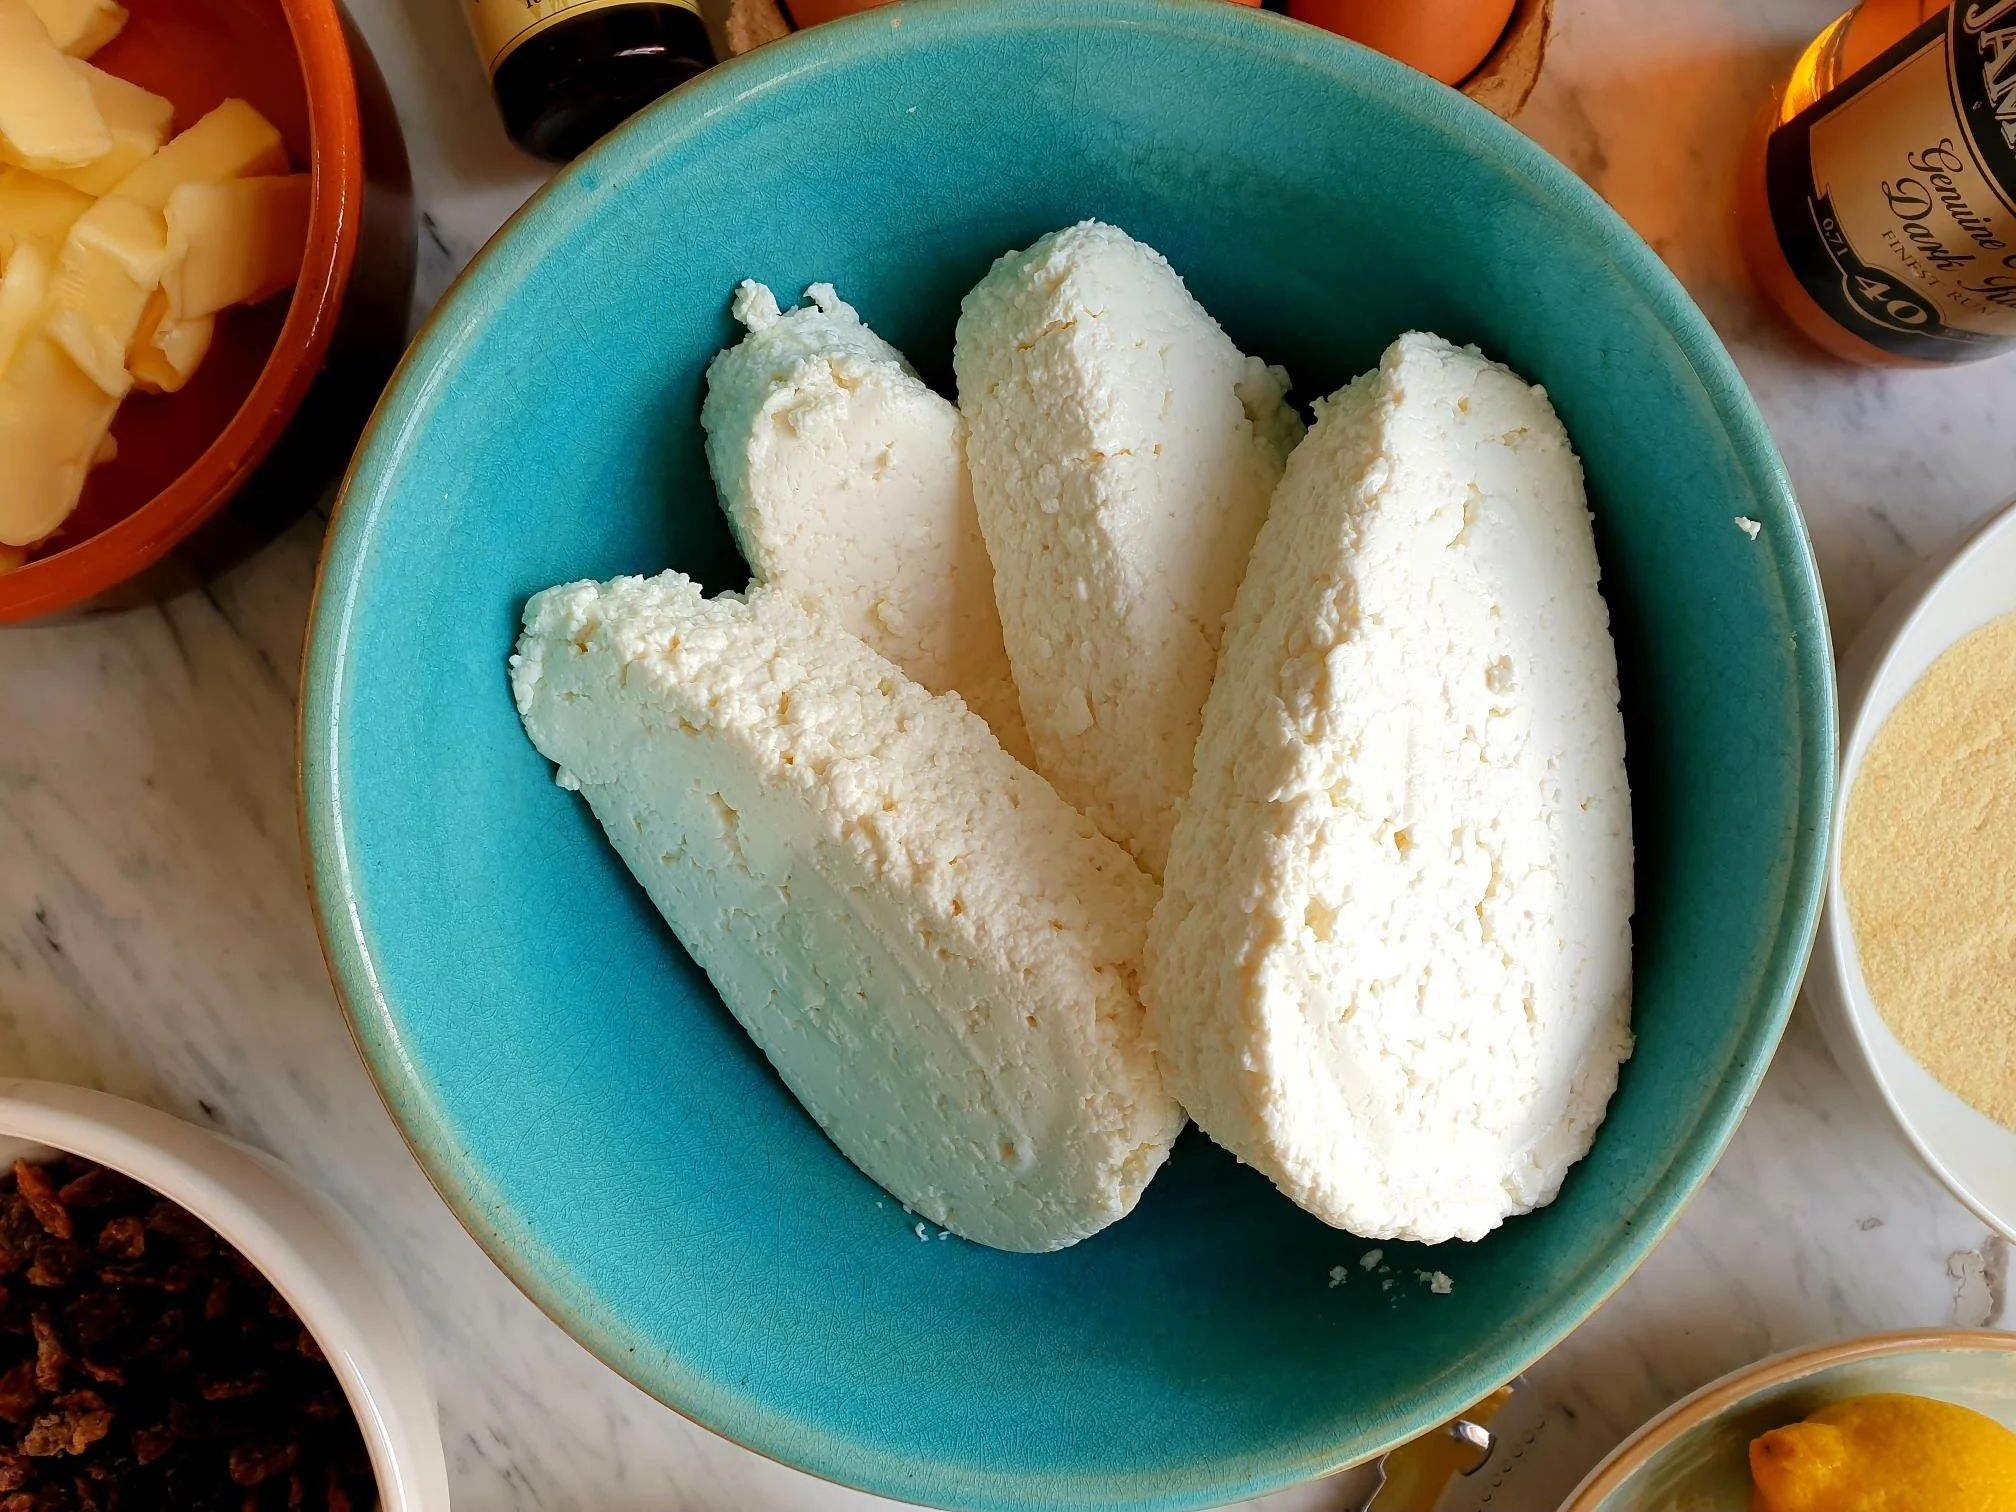
In Slovenia, where I come from, curd cheese, in Slovenian called skuta (also referred to as farmer's cheese or baker's cheese) has always been a very popular and commonly used ingredient in baking.

For this recipe, you can easily replace curd cheese for ricotta, which is what I used to do when I first arrived in England, and struggled to find curd cheese, but it is now available these days in most bigger supermarkets or Polish food stores.

Curd cheese

My mother and my maternal grandmother would make this cake very often, this is proper home made rustic baking, and I am sharing here this nostalgic and special family recipe.

Give it a go and try this wonderful cake, but please do remember, despite the temptation, it is really important to completely cool down the cake before cutting it into slices.

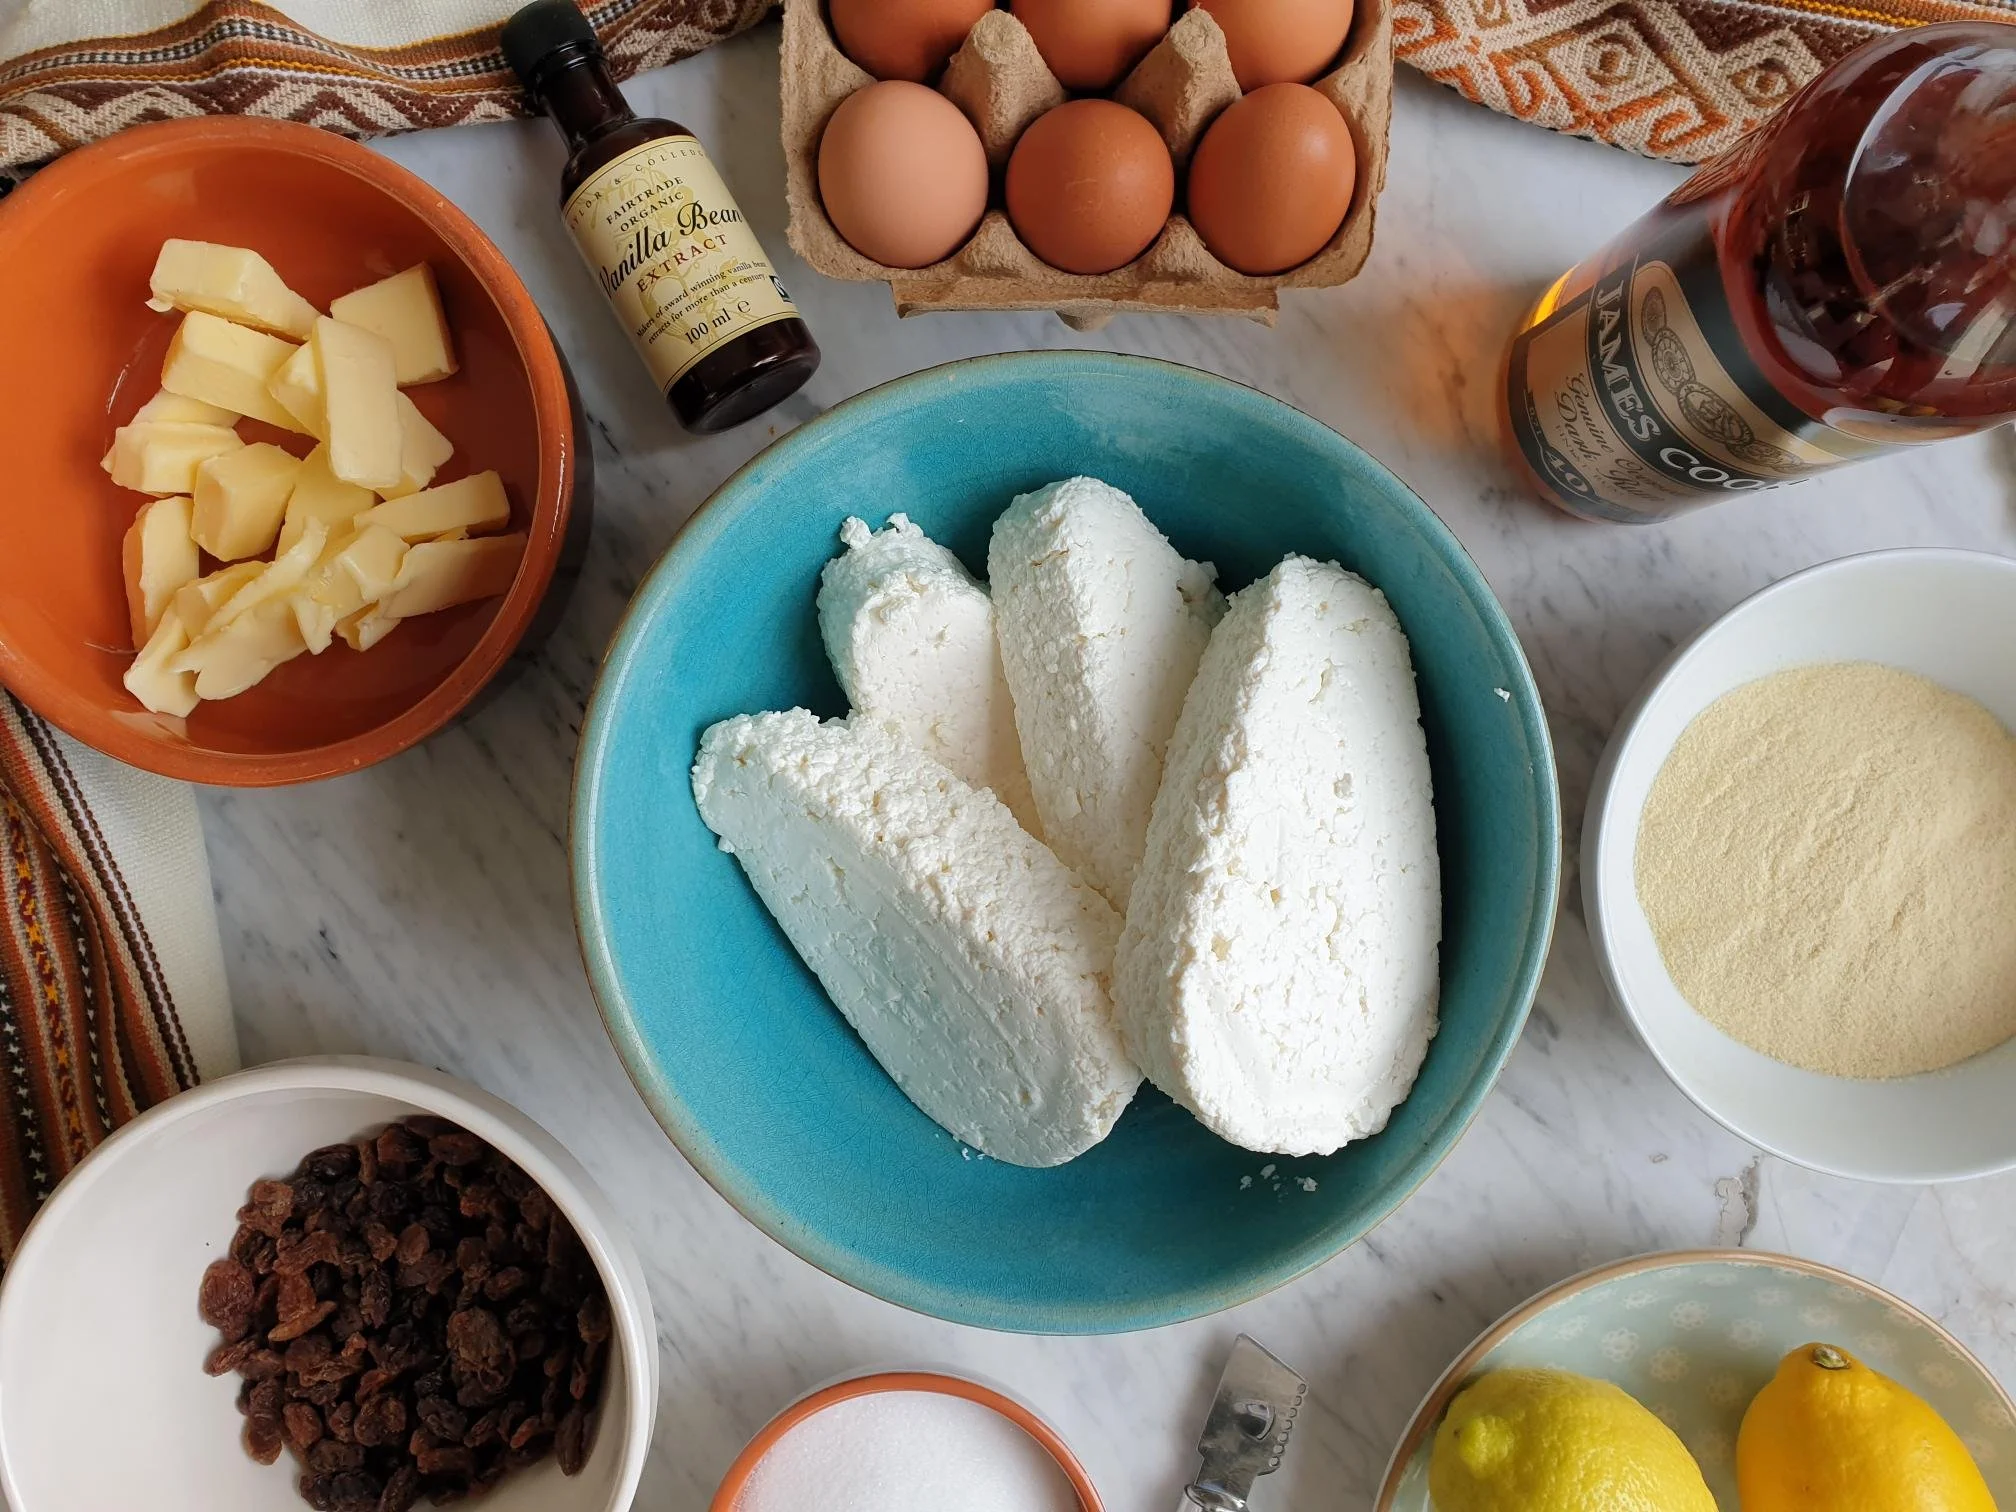
Ingredients

Serves 10

  • 120g butter, softened

  • 200g caster sugar

  • 4 eggs, separated

  • 1kg curd cheese or ricotta

  • 100g semolina

  • 3 Tsp vanilla bean extract or seeds of one vanilla pod

  • finely grated lemon zest of 2 unwaxed lemons

  • 120g raisins or sultanas

  • 4 Tbsp dark rum or lukewarm water (for soaking the raisins)

  • icing sugar for dusting

Curd Cheese

Method

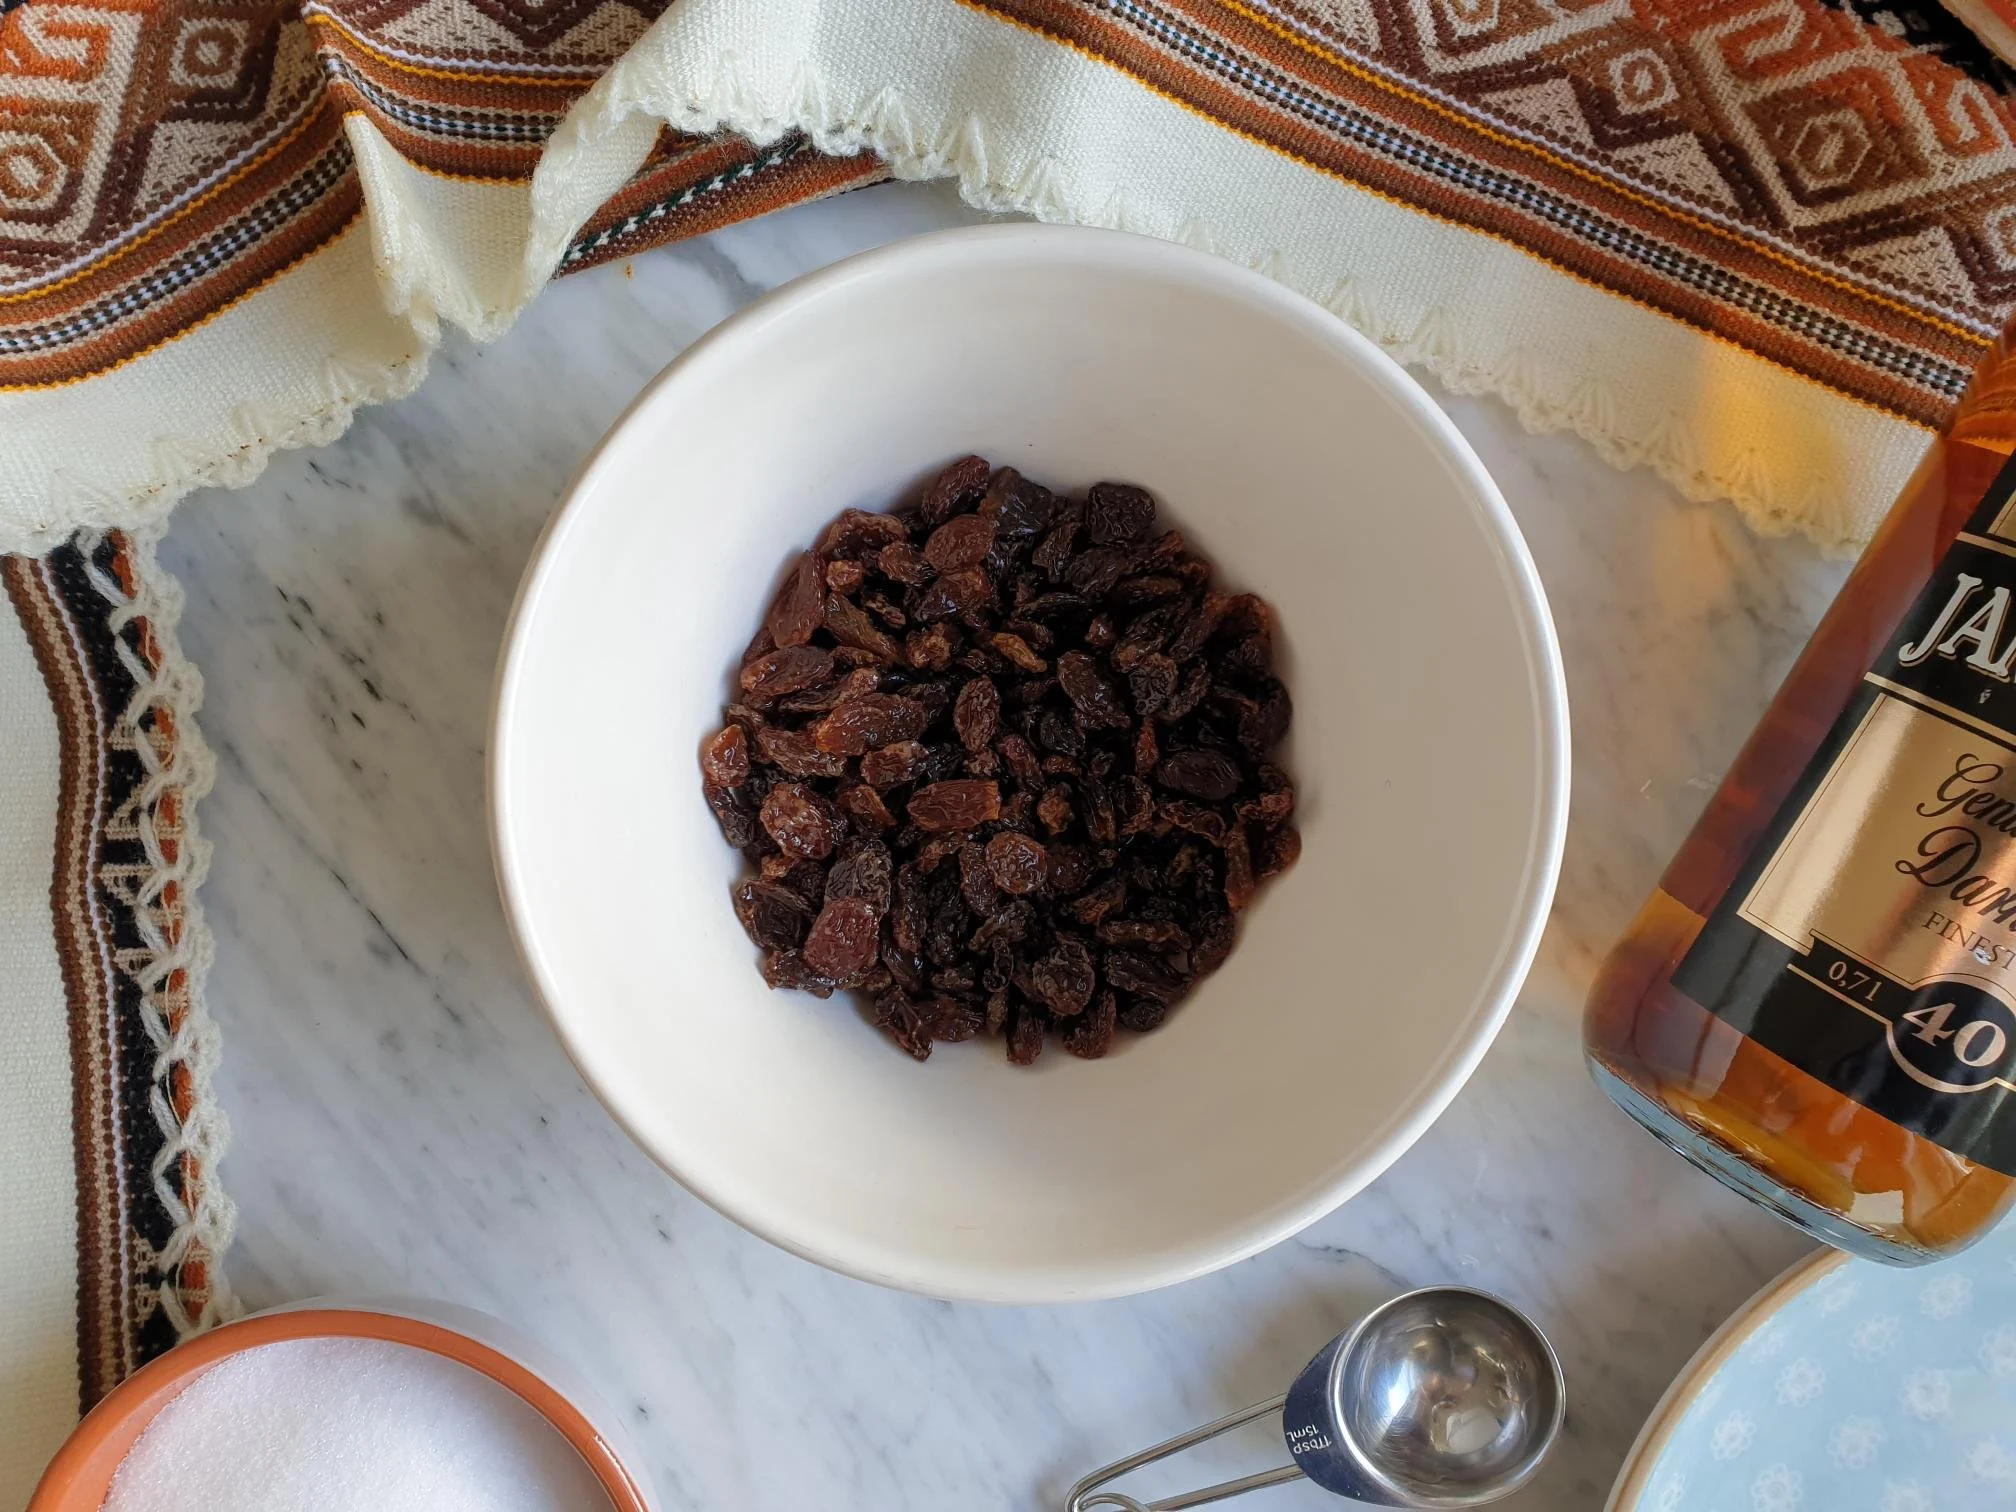
Place the raisins in a small bowl, pour dark rum or lukewarm water over them and let them soak and plump up for about 30 min.

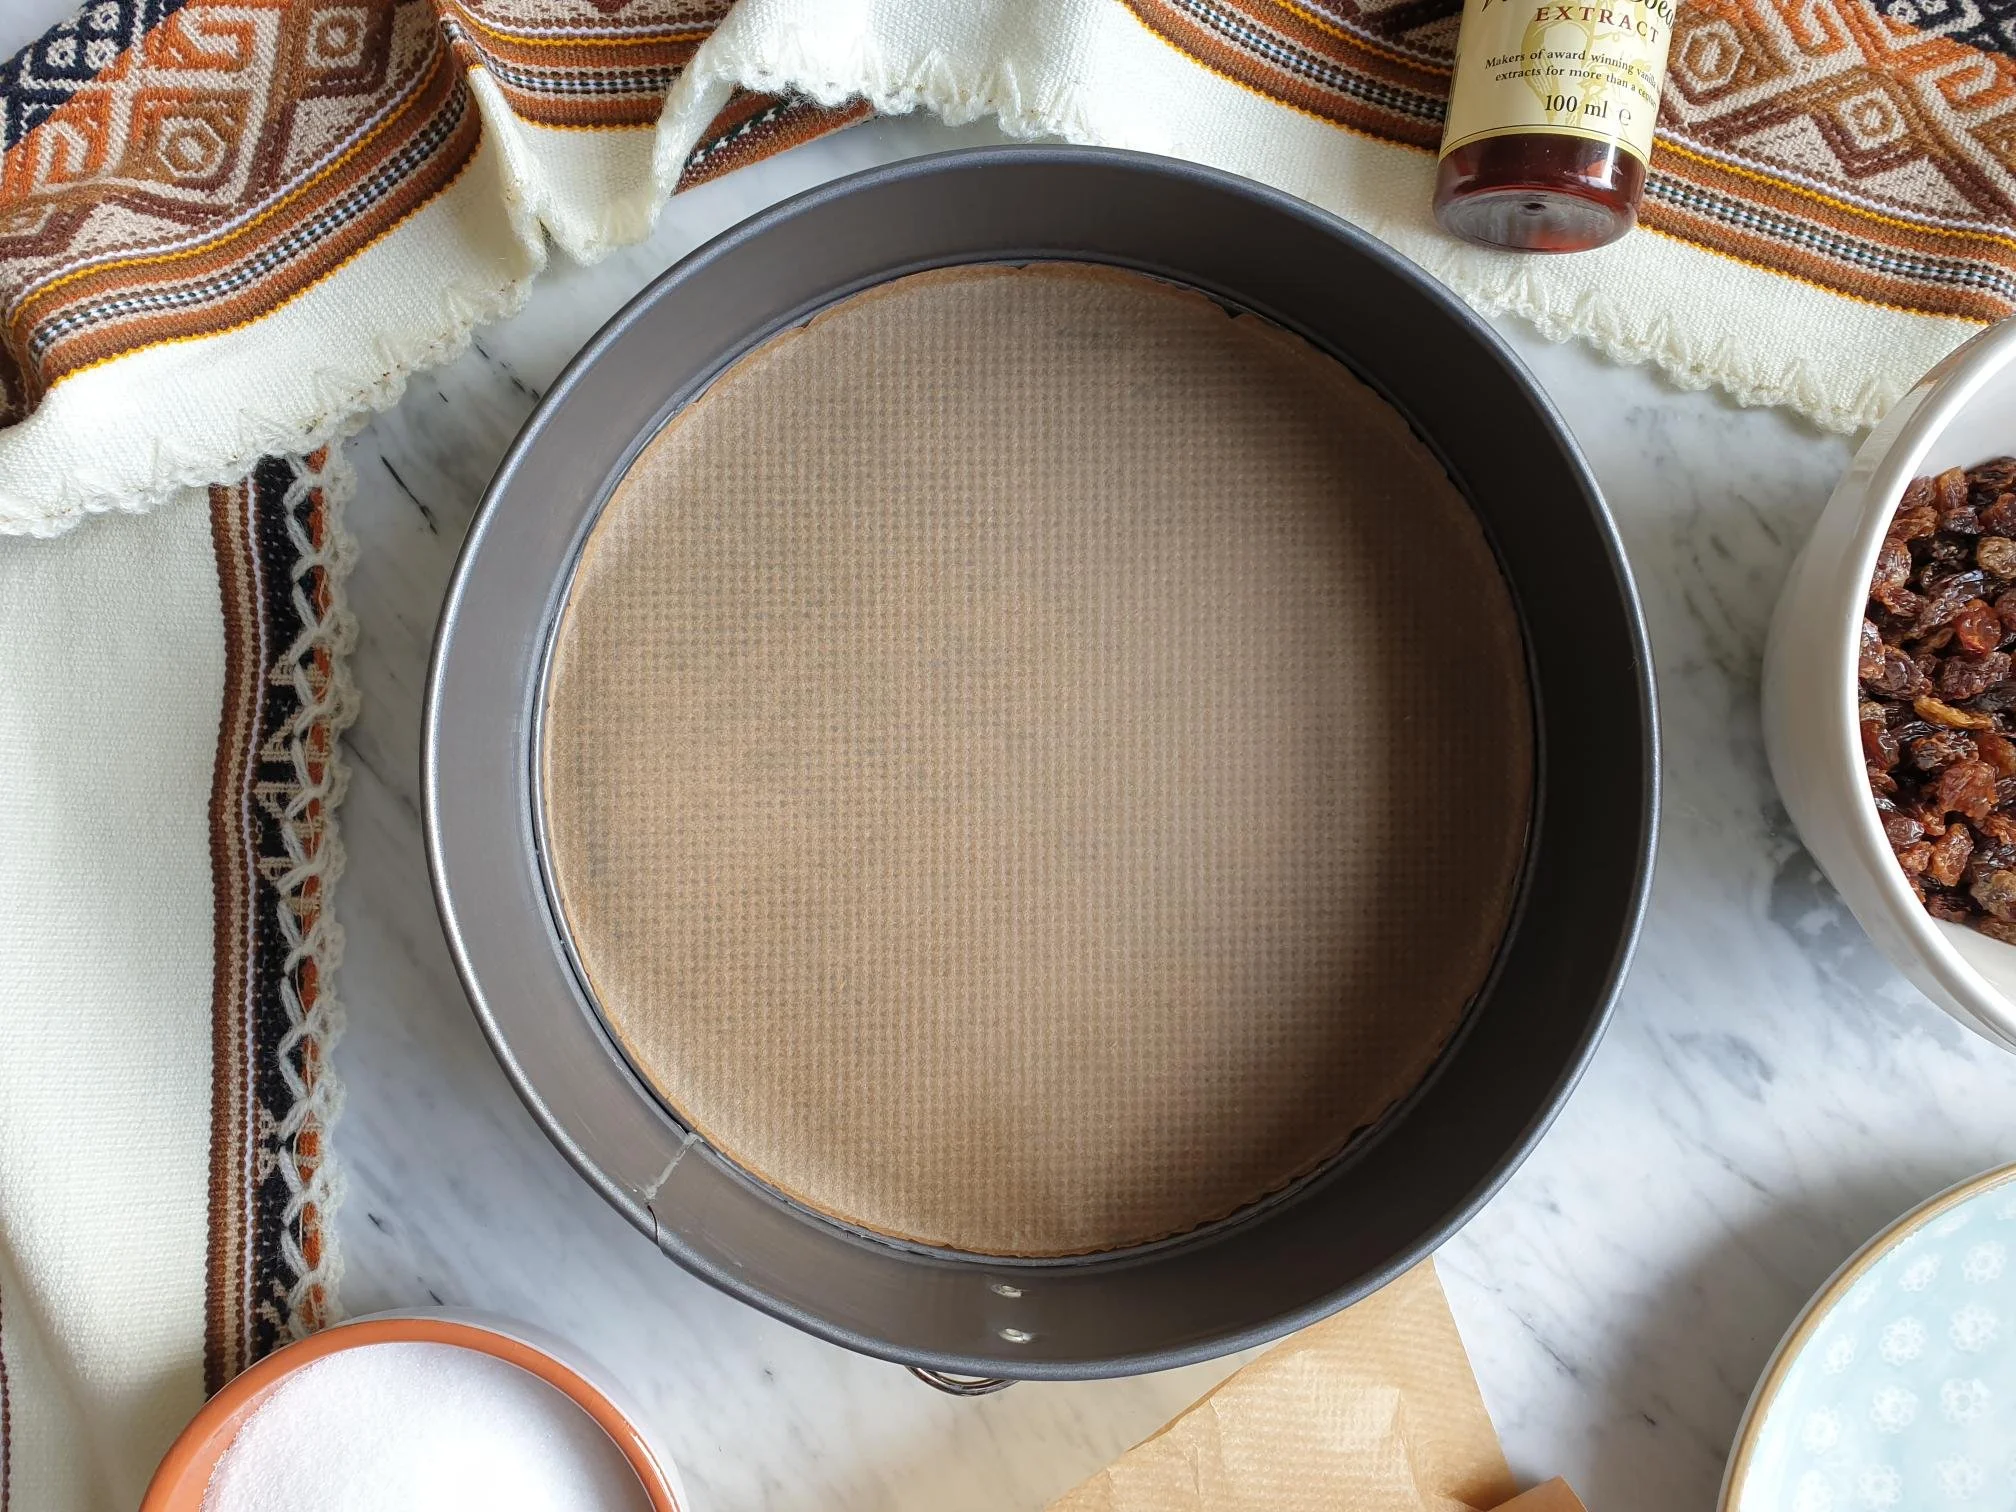
Preheat the oven to 200C static or equivalent. Lightly grease a 23cm springform tin or loose-bottomed tin and line the base with baking parchment.

Put the softened butter and sugar in a large bowl and mix well. Beat together until light and creamy.

Start adding to the sugar and butter mixture the egg yolks, one at a time, making sure the egg yolk is fully absorbed before adding the next one.

View fullsize Curd cheescake 7.jpg
View fullsize Curd cheescake 8.jpg

Add grated lemon zest, curd cheese or ricotta, semolina and vanilla extract and mix well all the ingredients.
View fullsize Curd cheescake 9.jpg
View fullsize Curd cheescake 10.jpg

Drain the raisins, remove excess liquid, and add them to the mixture.
View fullsize Curd cheescake 11.jpg
View fullsize Curd cheescake 12.jpg

Put the egg whites in a separate large bowl, add a pinch of salt and whisk the egg whites until stiff but not dry.

View fullsize Curd cheescake 13.jpg
View fullsize Curd cheescake 14.jpg

Fold very gently and lightly into the mixture.

View fullsize Curd cheescake 15.jpg
View fullsize Curd cheescake 16.jpg

Turn the mixture into a prepared tin.

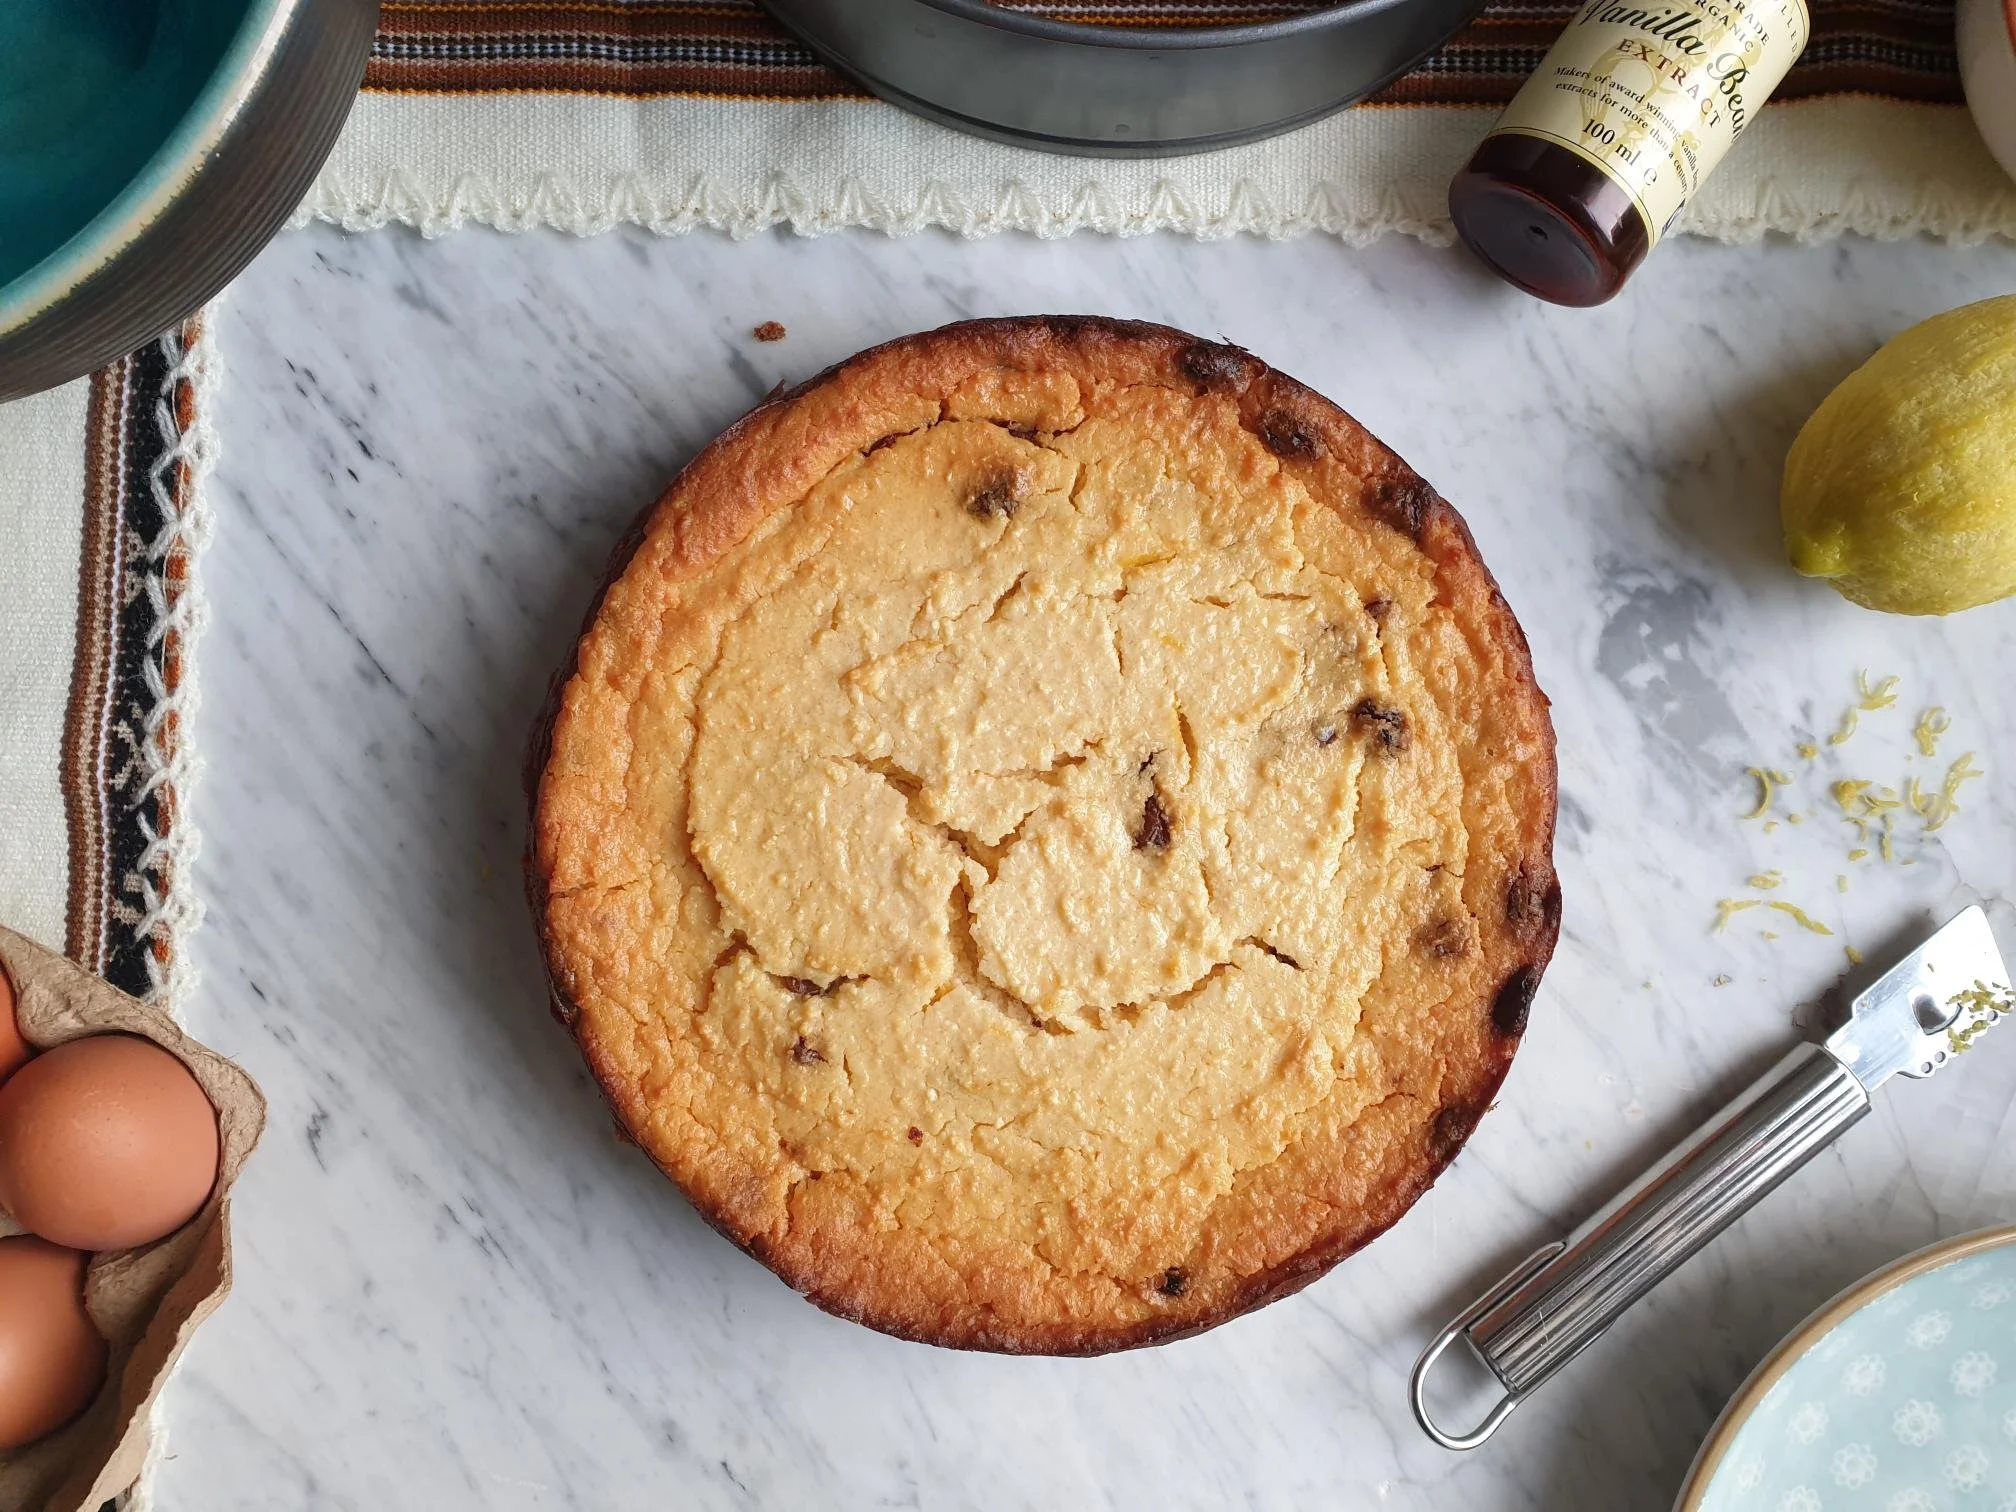
Bake the cake in a preheated oven for 30min on 200C then lower the temperature to 180C and bake further for another 30min. Cake should be golden in colour on the surface and firm to the touch.

If halfway through baking time the cake is browning too fast, cover the top of the cheesecake loosely with the aluminium foil, to prevent the top from becoming too brown.

When the cake is baked, turn off the oven but leave the cheesecake in the oven for about 1 hour allowing it to cool a bit.

Take the cake out of the oven and allow it to cool completely.

View fullsize Curd cheescake 17.jpg
View fullsize Curd cheescake 18.jpg

Loosen the sides of the cake, using a palette knife if needed, and remove the tin.

Invert the cheesecake, then remove the base of the tin and the baking parchment.

Turn the cake back the right way up.

Dust with sifted icing sugar just before serving. This cake is very moist and the icing sugar will dissolve if you dust the cake too soon, no permanent damage though.

Wine suggestion

Montefalco Sagrantino Passito DOCG 2015 - Lungarotti


February 16, 2022 /tina oblak
curd cheese, ricotta, skuta, no flour cakes, moist cakes, baker's cheese, farmer's cheese
Adriatic Recipe, baked dish, baking, celebratory desserts, dessert, Easy recipe, festive bakes, festive dessert, festive sweet things, pudding, Sweet Things, easy cakes, no flour cakes, home baking, easy baking, Central Europe cakes, Eastern Europe cakes
Comment