Oven Baked Ricotta (or curd cheese) Filled Crêpes Recipe
If you love your traditional pancakes but looking for a recipe that will elevate it a notch, look no further.
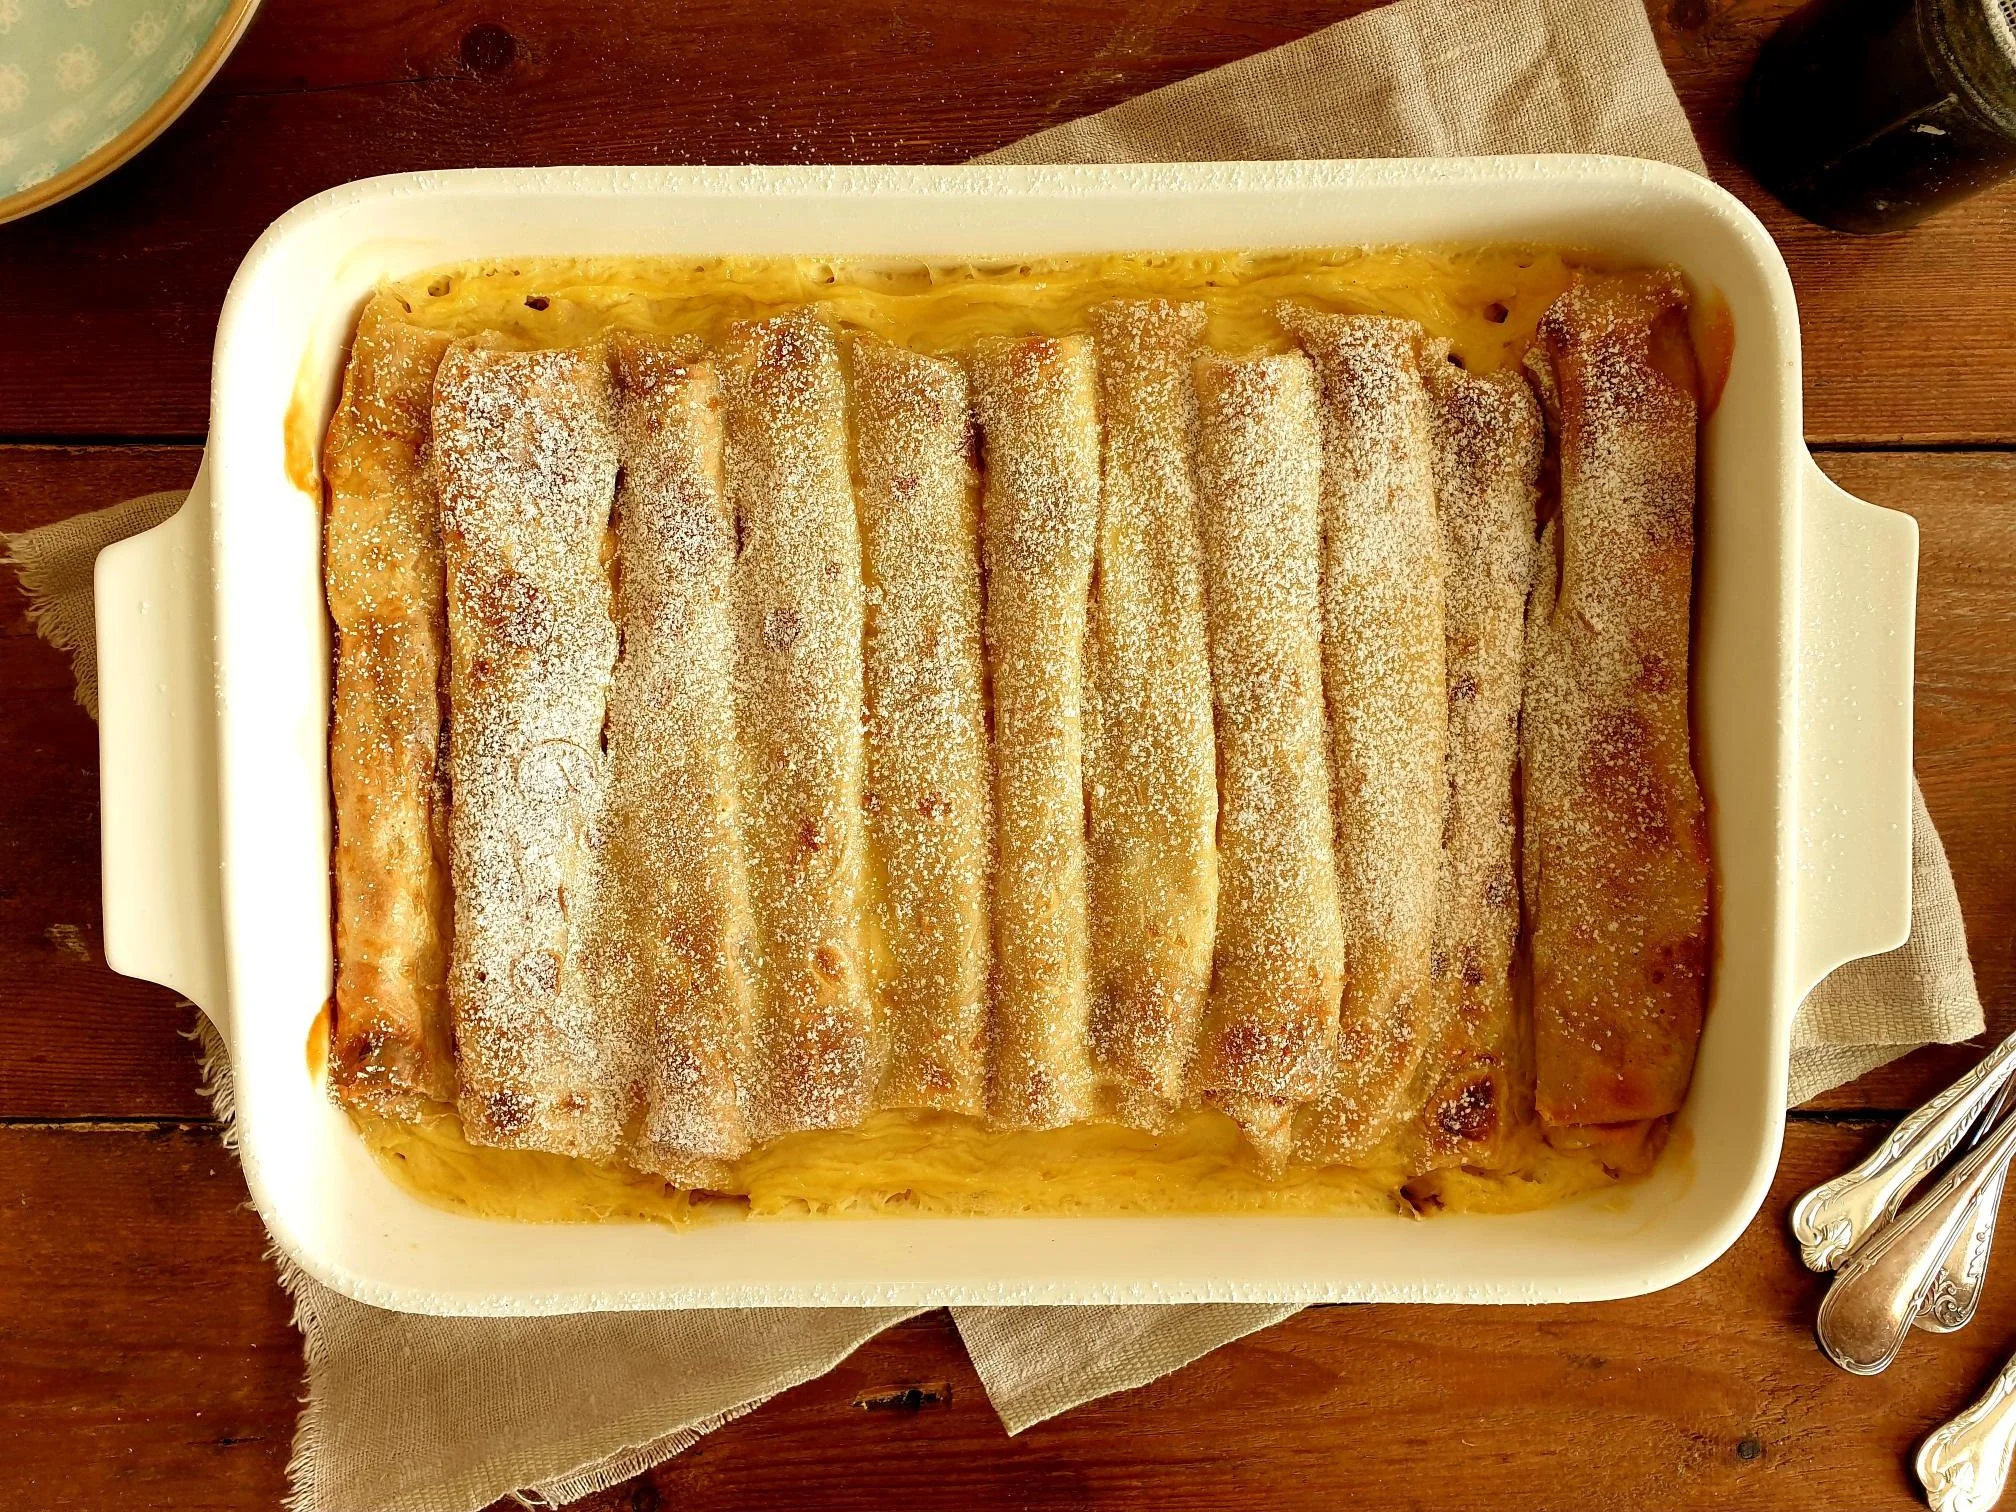
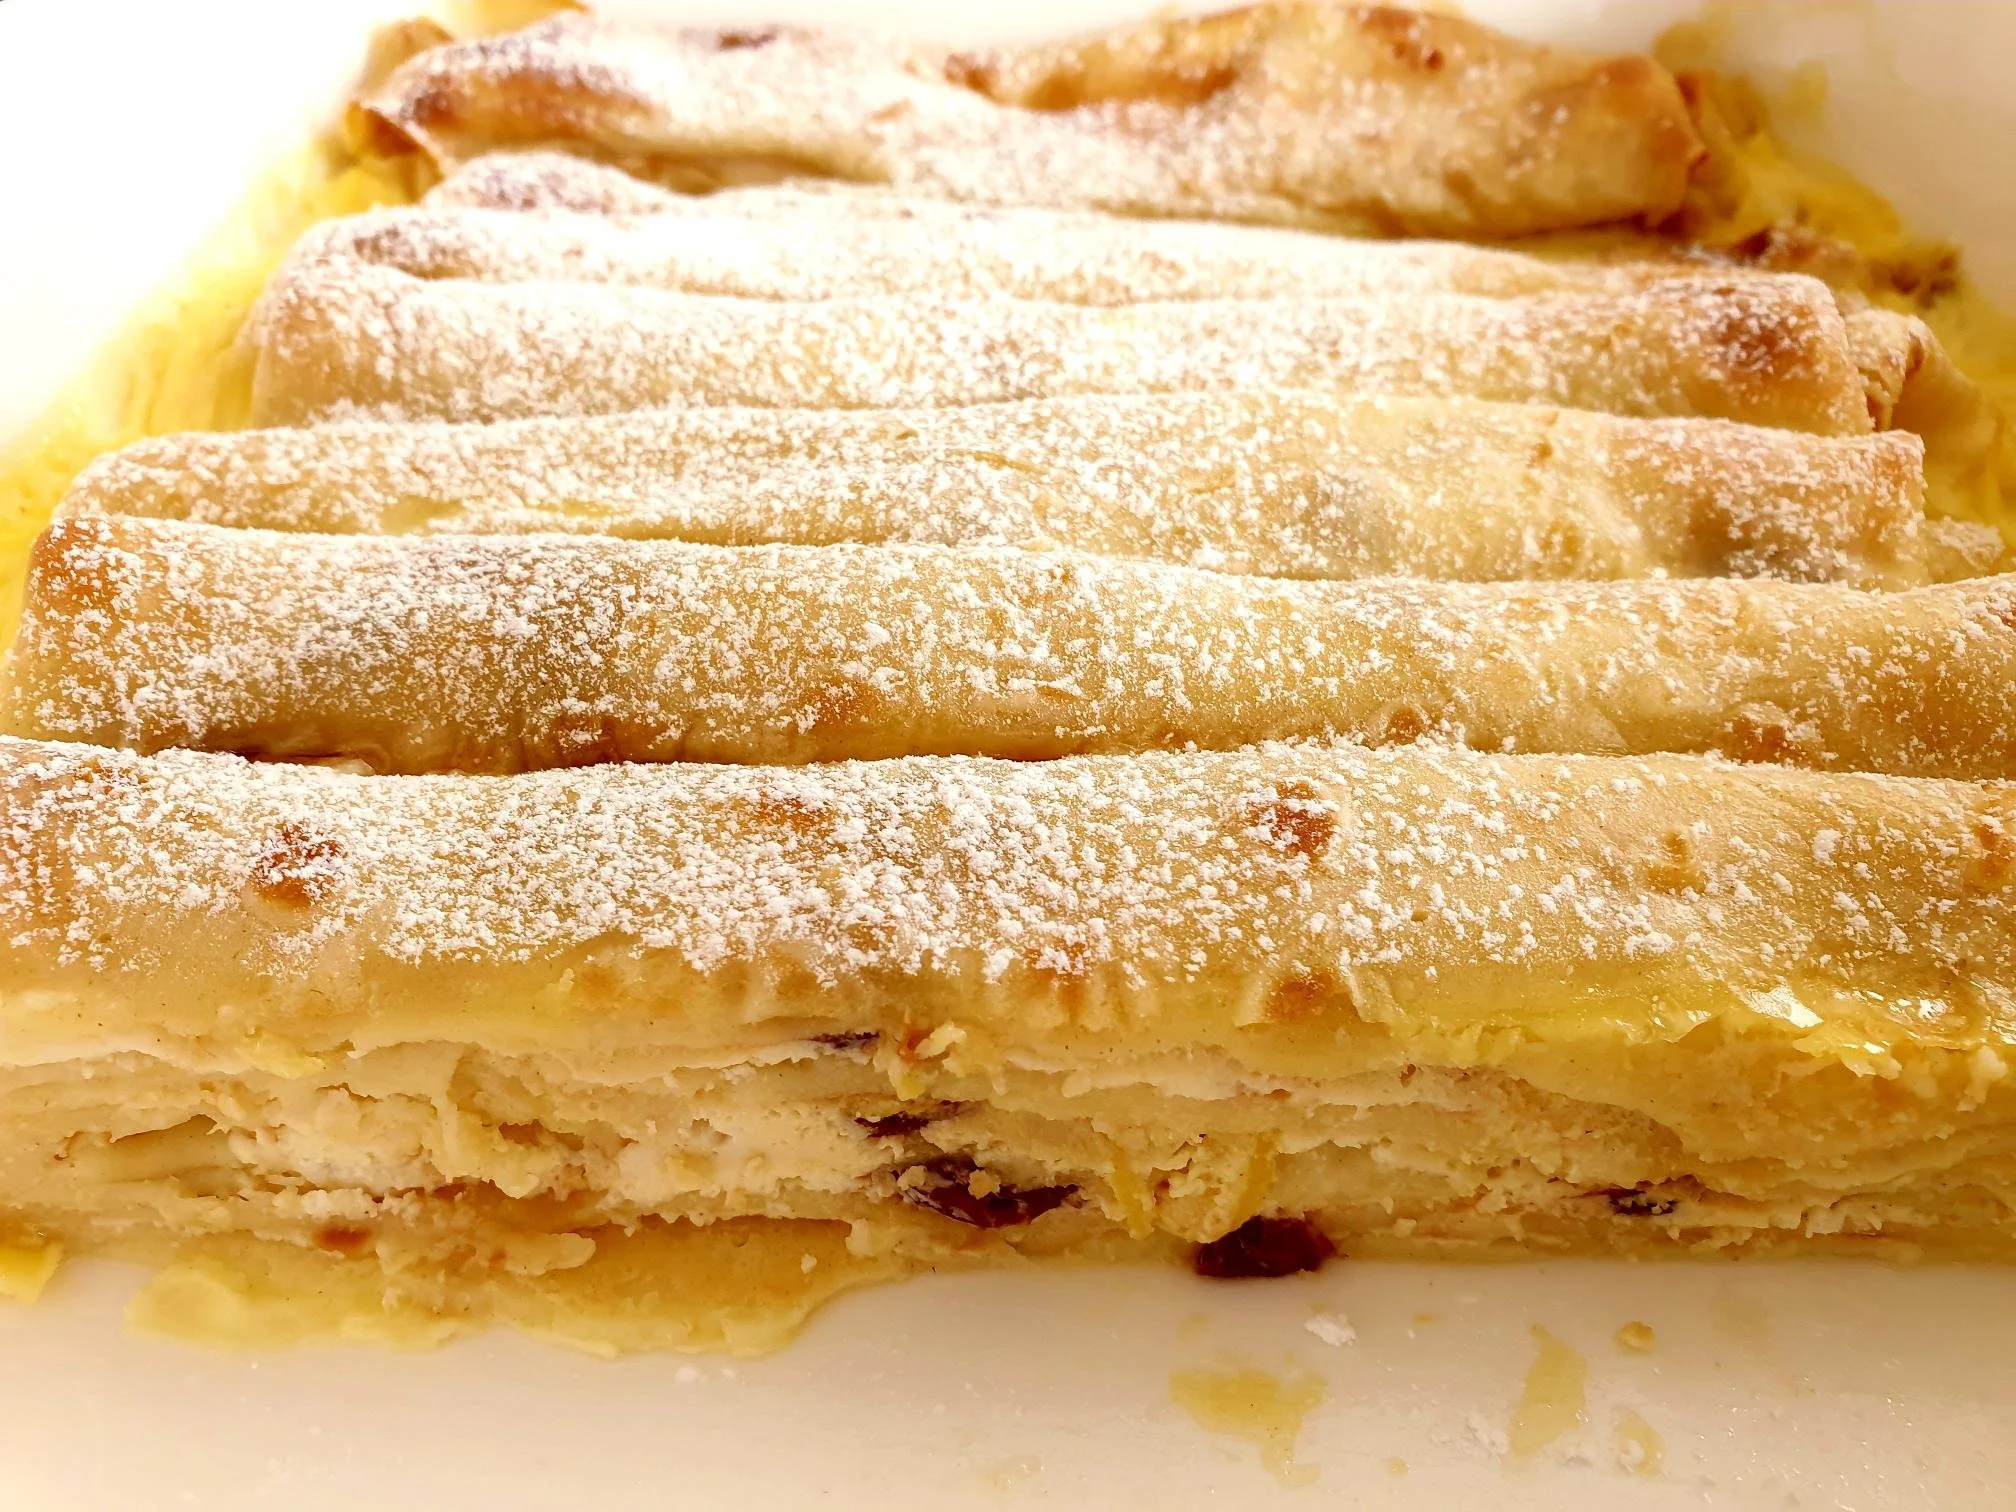
This recipe consists of frying thin pancakes (French style crêpe) and then filling them with sweetened ricotta, or curd cheese, flavoured with lemon and vanilla. The pancakes are then rolled up, placed in a greased baking tray, a custard-like mixture is then poured over them, and the whole dish gets baked in the oven for a bit.
The end result is truly divine, the steps to make this recipe are fairly simple and not at all complicated or lengthy, even though it may appear at first glance.
Usually these filled pancakes are served for breakfast or early dinner, or they make a great rustic style pudding, and can even be offered as a more formal type of dessert. Whichever way you decide to serve this sweet delight, they will most surely bring the smile to anyone having them.
This recipe, with slight variations, has been enjoyed around the world, and there is a very good reason – eating these pancakes hot or cold they are undeniably delicious.

This dish is sometimes refereed as Blintzes (or ricotta or curd cheese Blintzes). The recipe originated in Eastern Europe, and is part of Jewish cuisine, customarily eaten for the Jewish holiday of Shavuot.
The most common filling is curd or farmer's cheese but ricotta, mascarpone, cream cheese, cottage cheese or crème fraiche are also used. What you chose as a filling depends on your preference, but it will also depend on where you are in the world and types of ingredients available to you.
They are very popular and a much-loved dish in all the regions of Slovenia, as this land was ruled by the Austro-Hungarian Empire.
This sweet treat is prepared on a regular basis and is commonly offered in restaurants, and is called palačinke s skuto (word palačinka from German palatschinken).
This recipe is very special to me since it brings a lot of childhood memories that take me right back into my maternal grandmother's kitchen where she would make them quite often.
I am sharing here this much treasured family recipe where curd cheese is replaced by the use of ricotta cheese.
Recipe
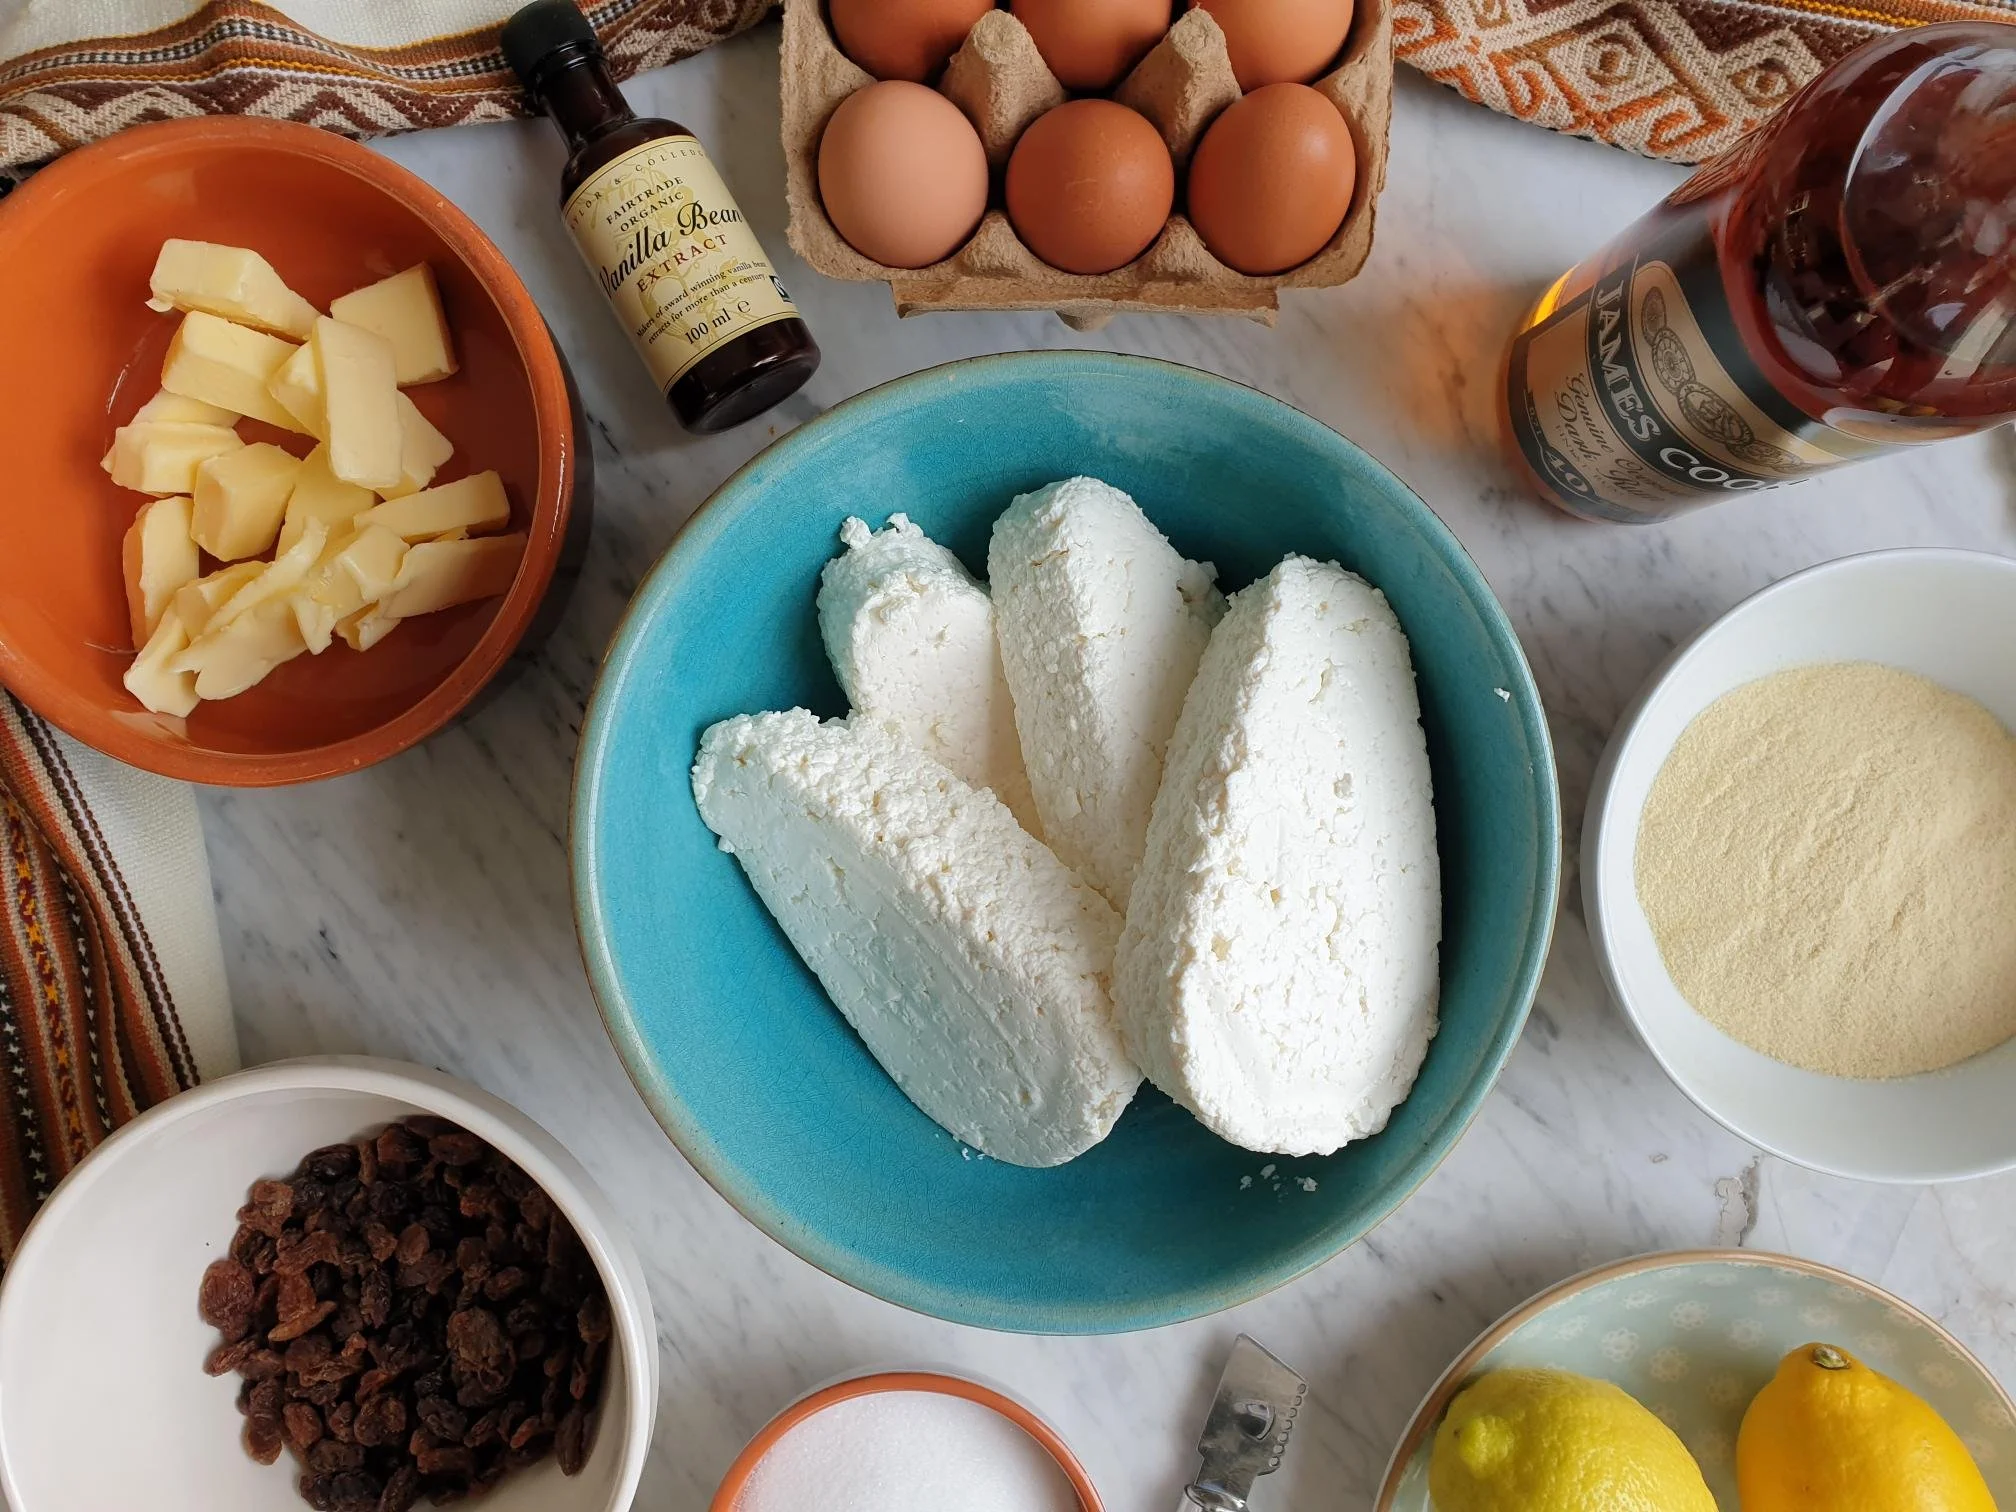
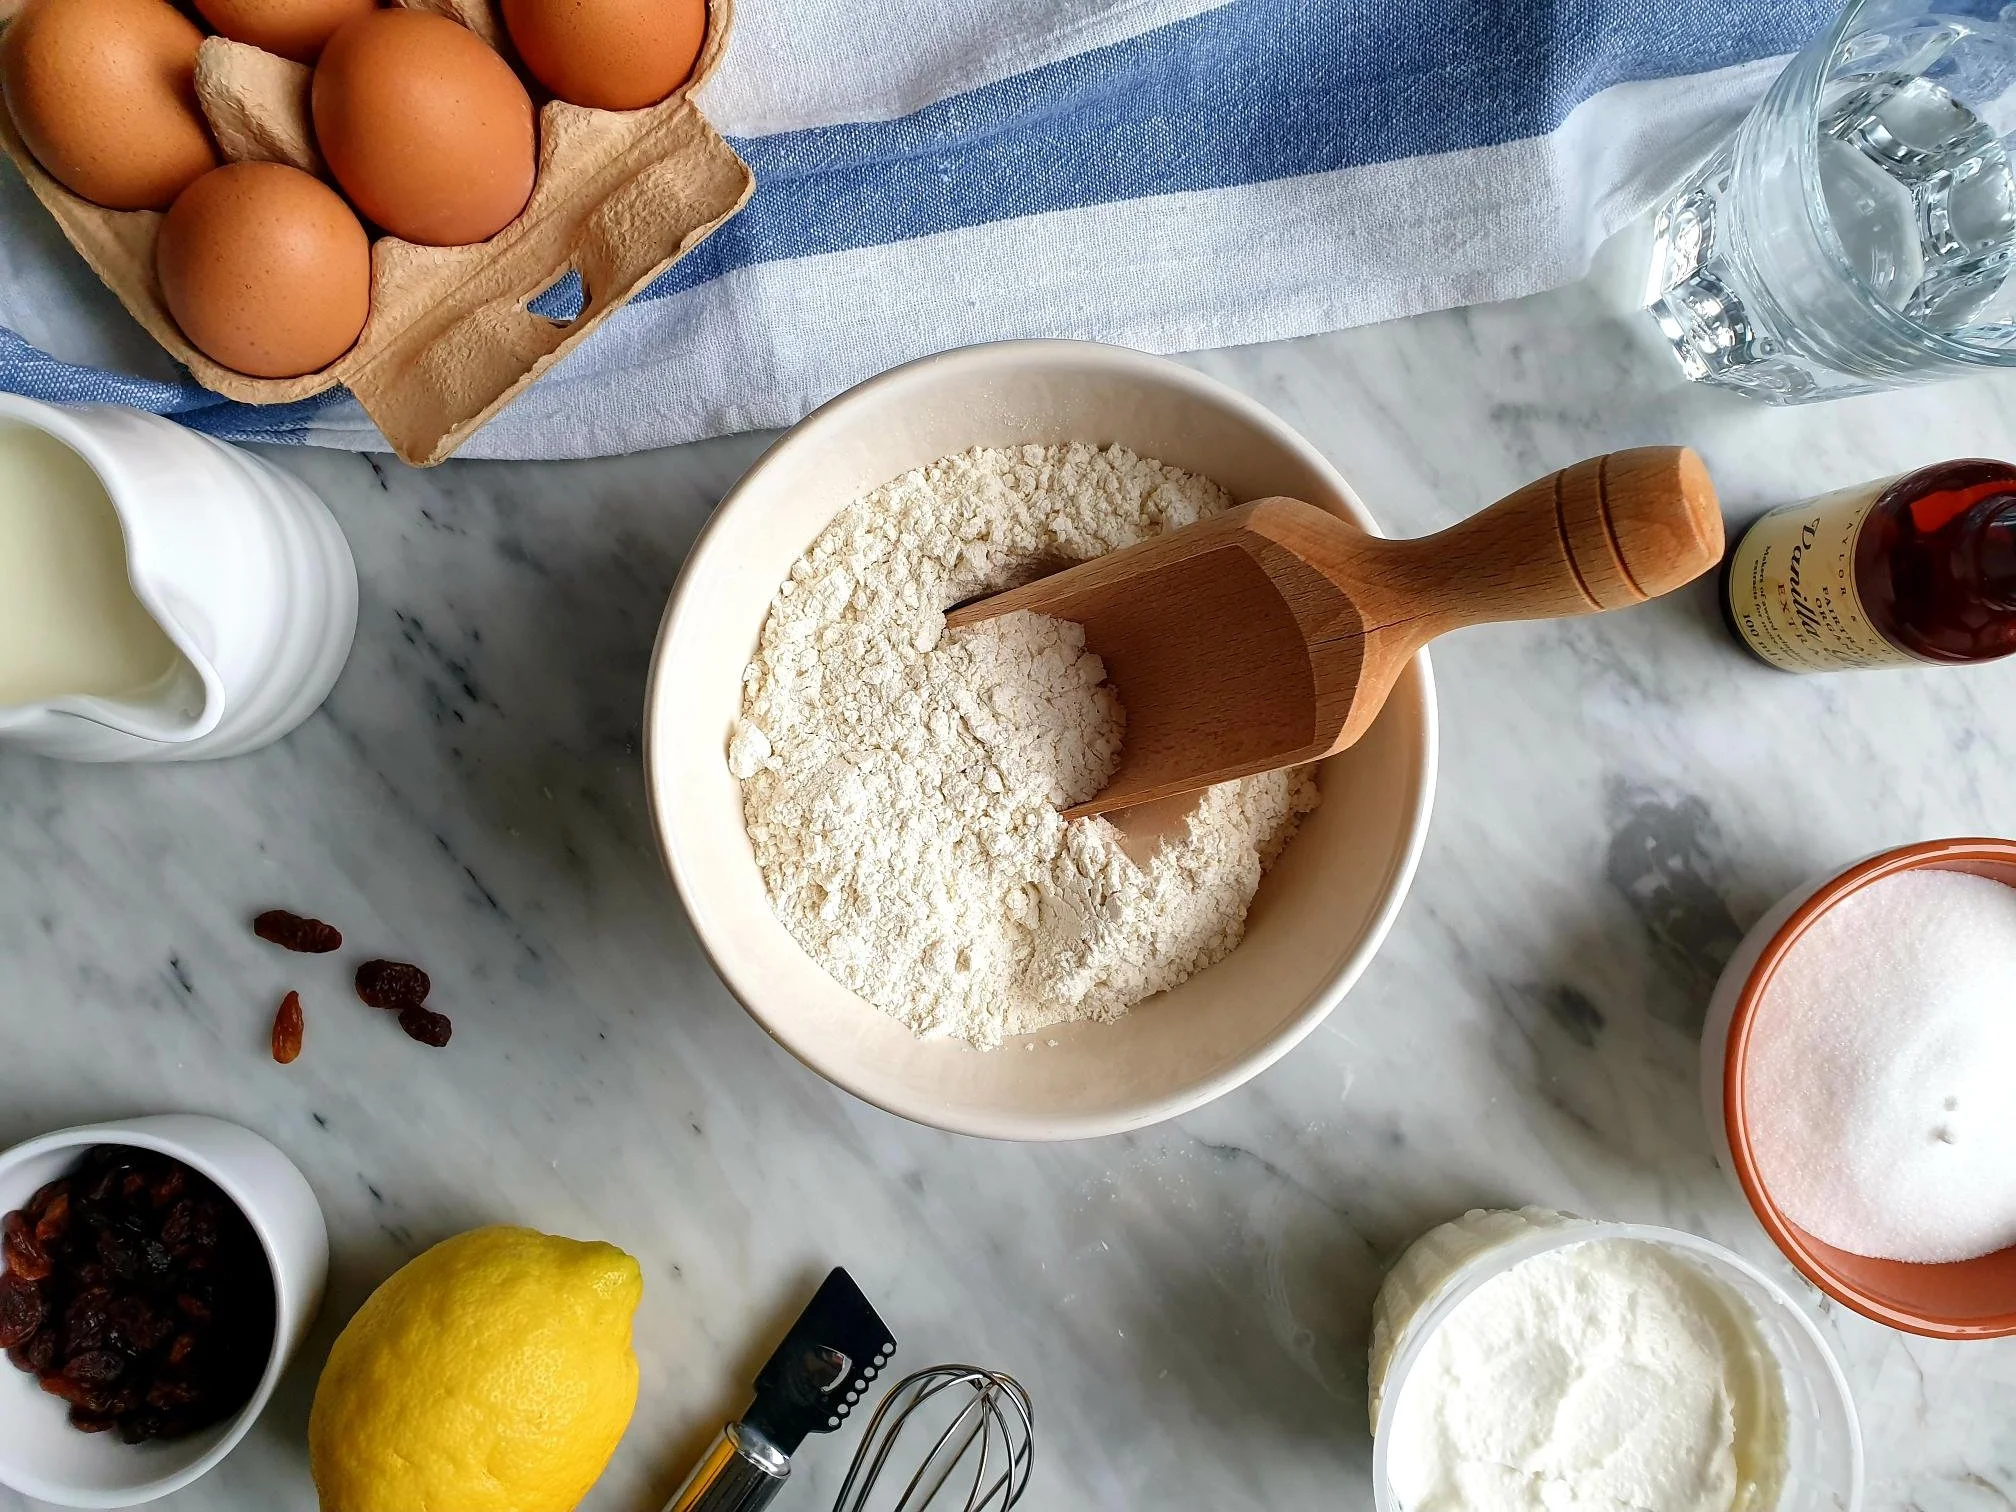
Ingredients
Serves 6-8 people
For the crêpes (will make 10-12 crêpes if using 24cm, 9inch pan)
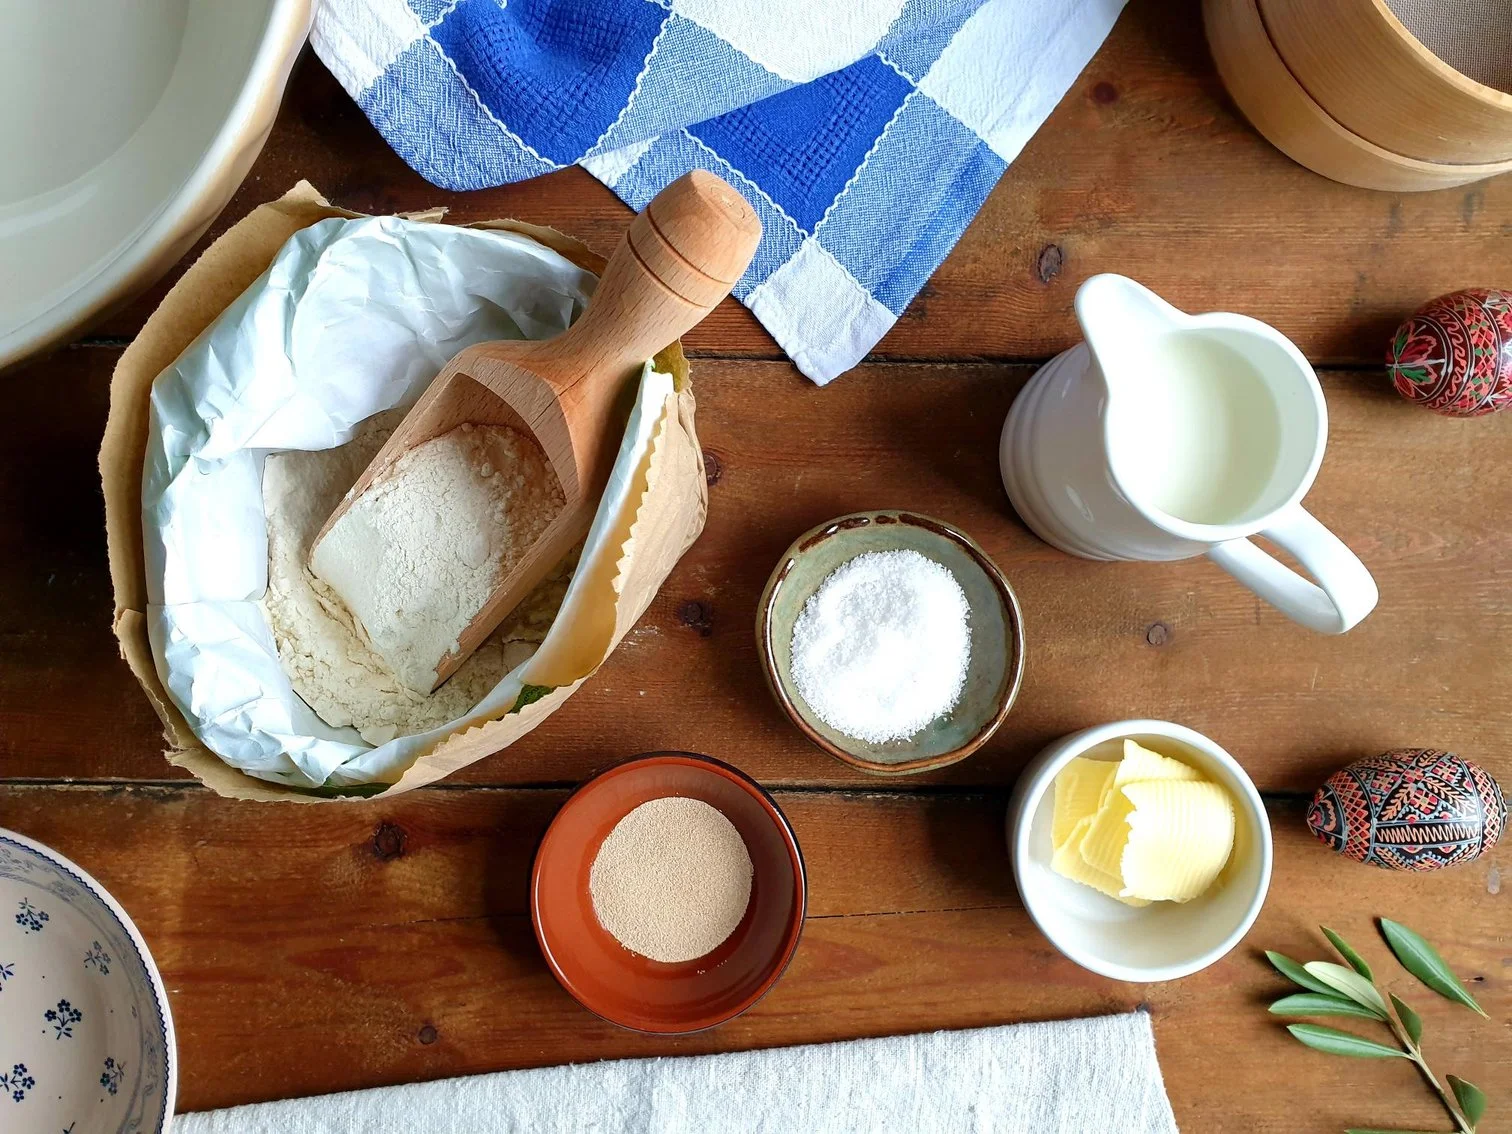
250g white all purpose (plain) flour
350 ml semi skimmed milk
150 ml cold sparkling mineral water (can use regular cold water instead, sparkling water makes very light crêpes)
2 medium eggs
sea salt, a pinch
For the filling
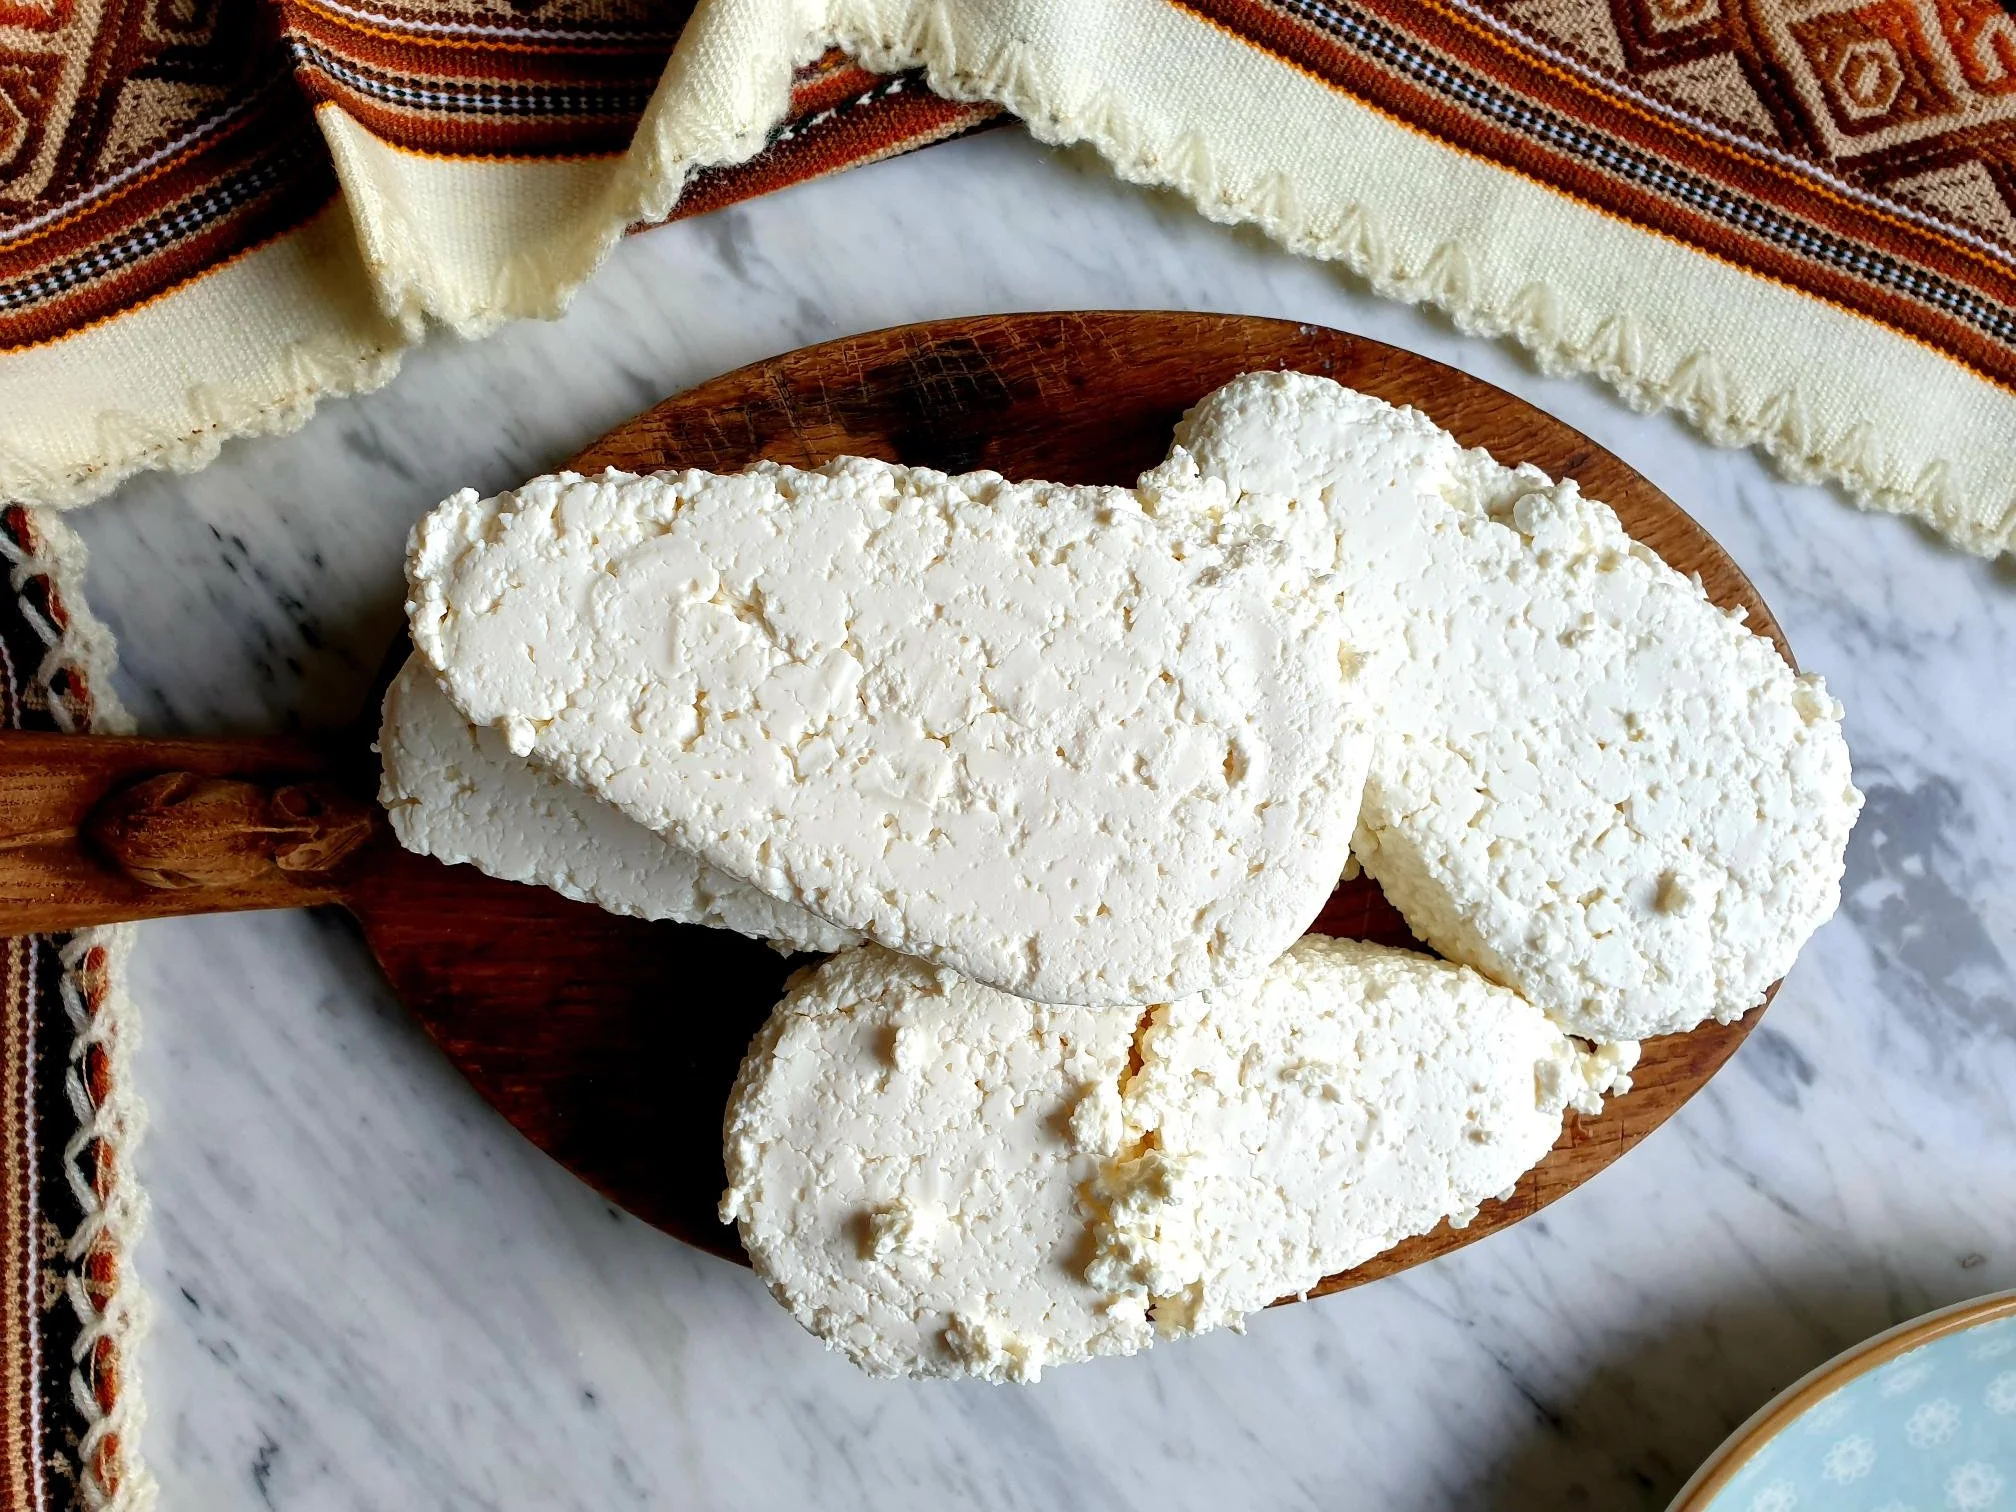
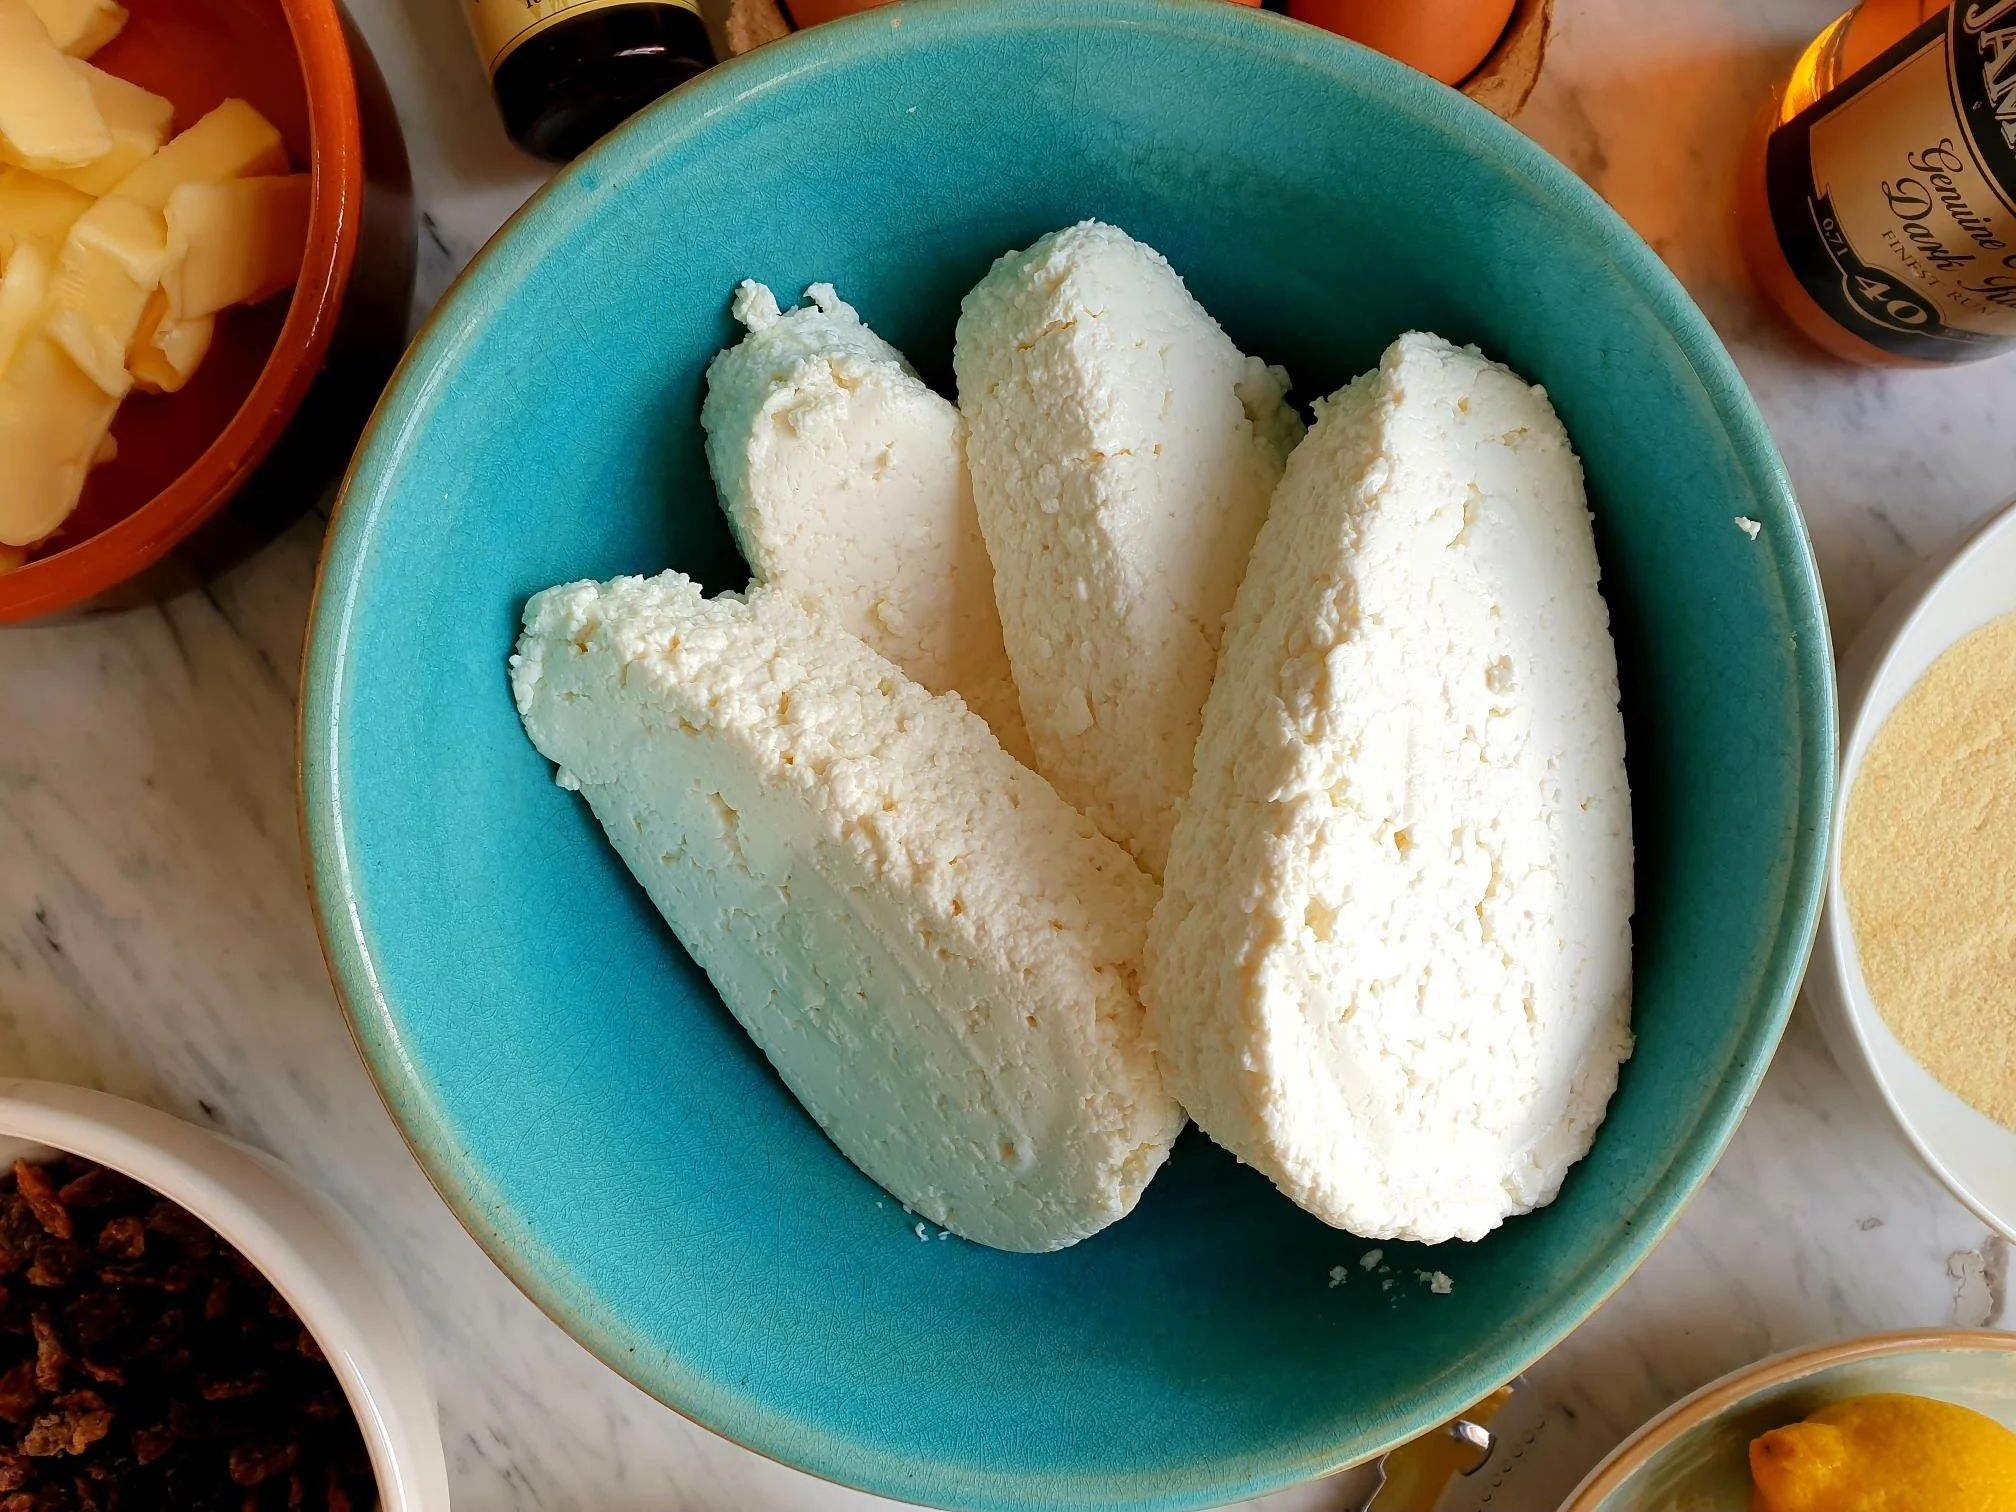
500g ricotta cheese (or curd, farmer's cheese) If using curd cheese increase the amount of sugar to 100g or to your liking as more acidic in taste compared to ricotta.
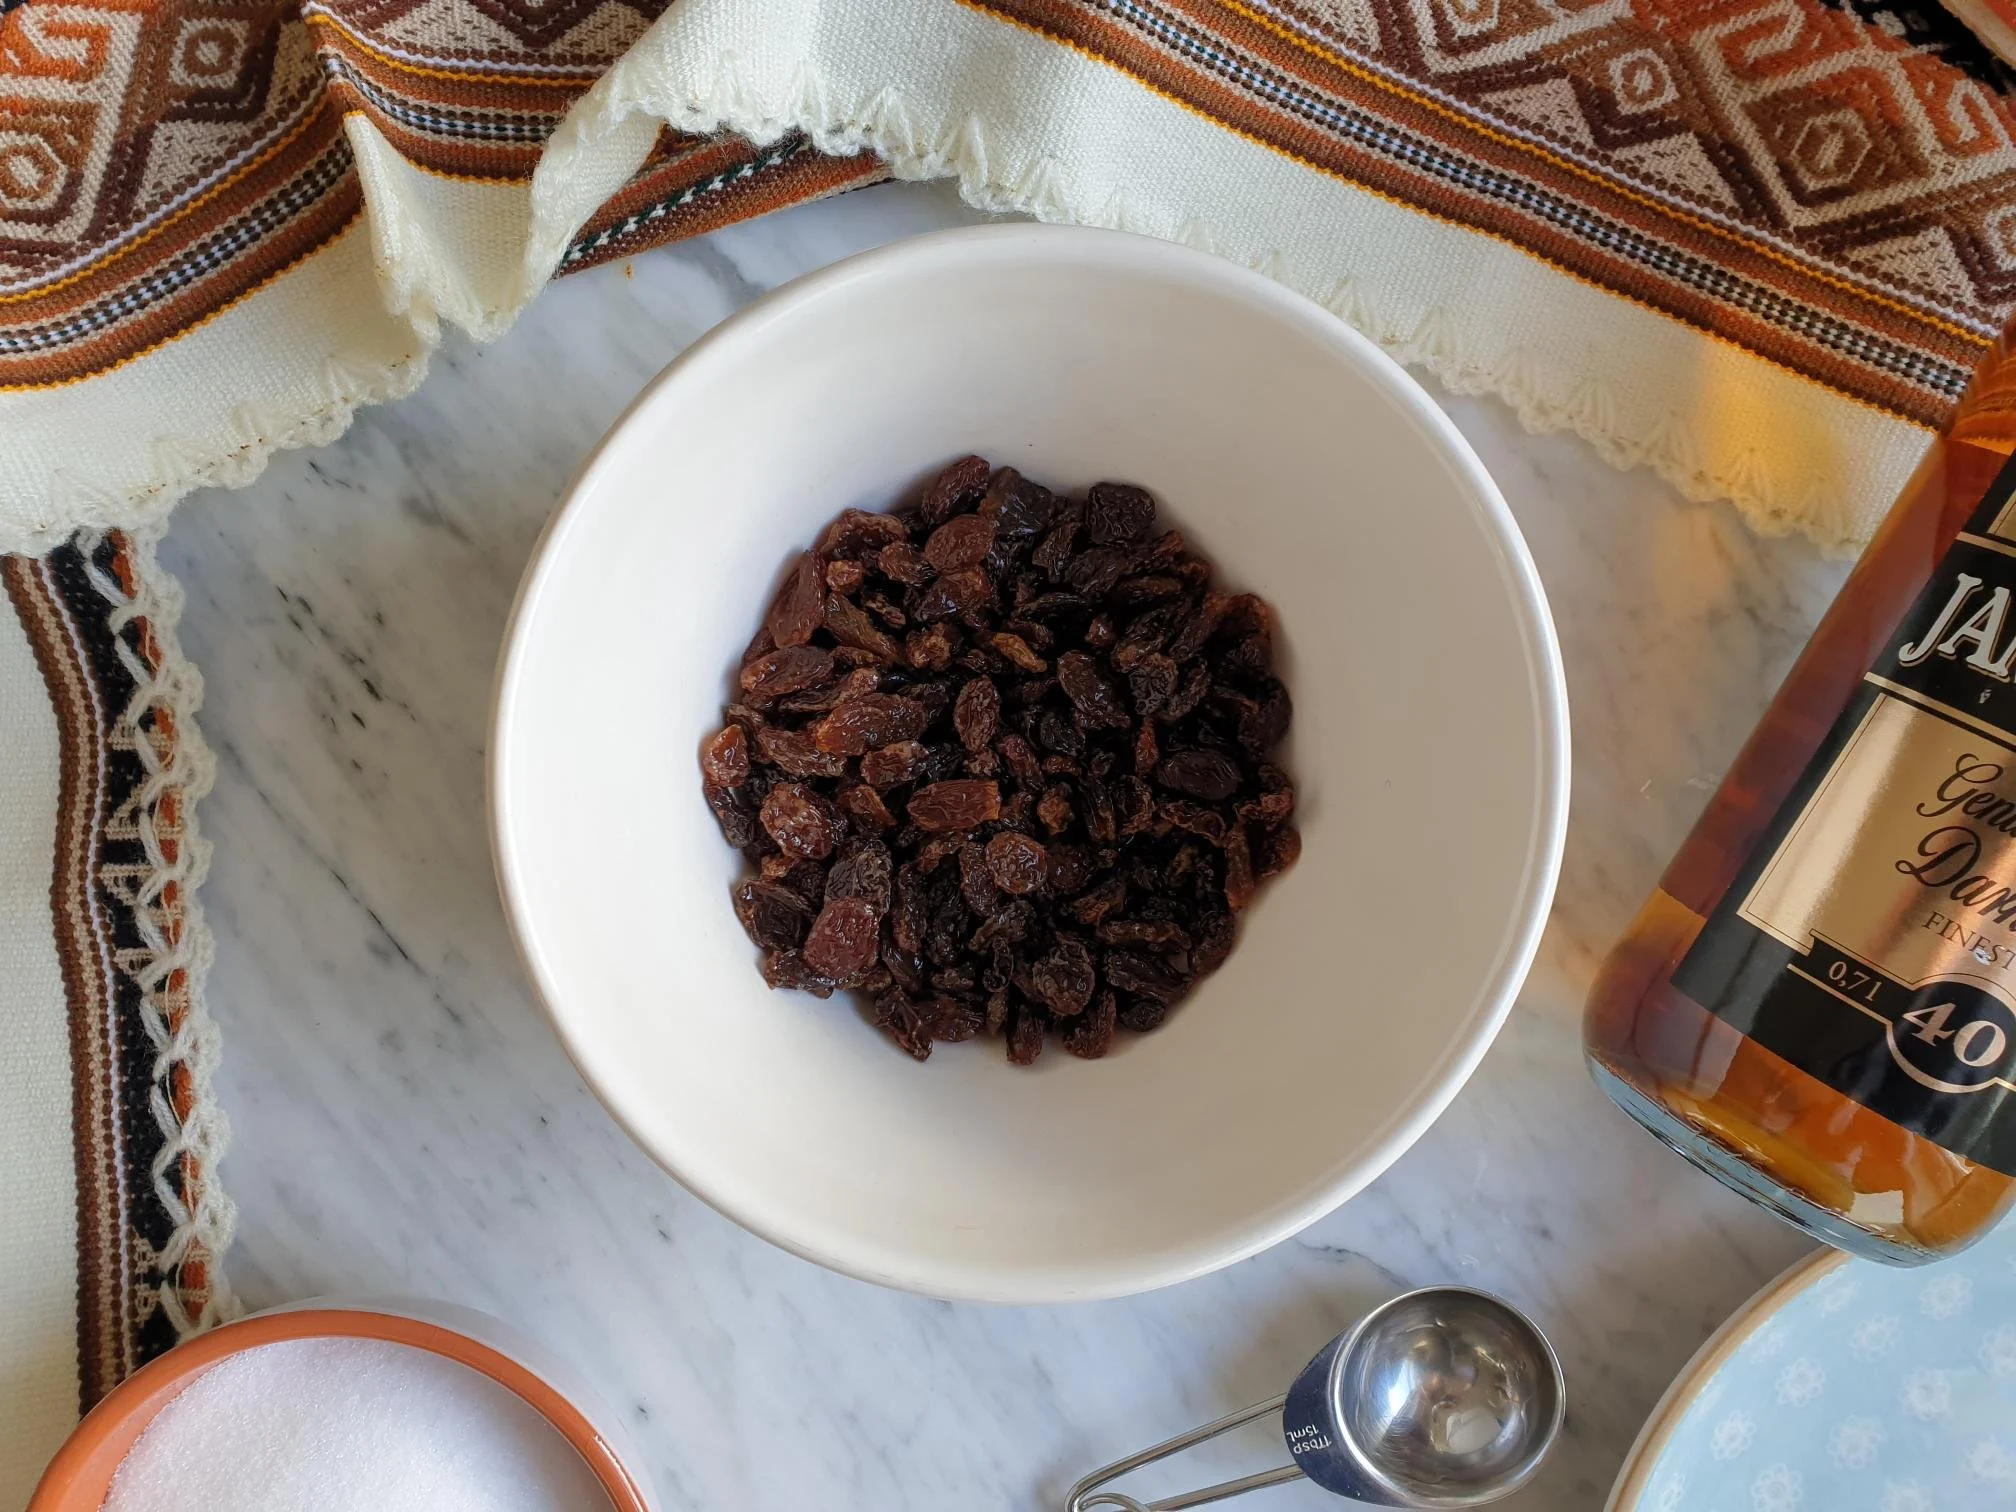
100g raisins or sultanas soaked in lukewarm water or dark rum
1 medium egg
grated lemon zest of one unwaxed lemon
1 Tsp vanilla bean extract
80g sugar
For the custard sauce to pour over the pancakes
250ml full fat milk or single cream (can use half milk and half cream)
1 medium egg
1 Tsp vanilla bean extract
2 Tbsp sugar
Method
Before you start with the recipe, place the raisins or sultanas in a small bowl and cover completely with lukewarm water or dark rum and let them soak, absorb the water, and become plump for at least 20 minutes, or until needed (you can leave them to soak longer).
To make the crêpes
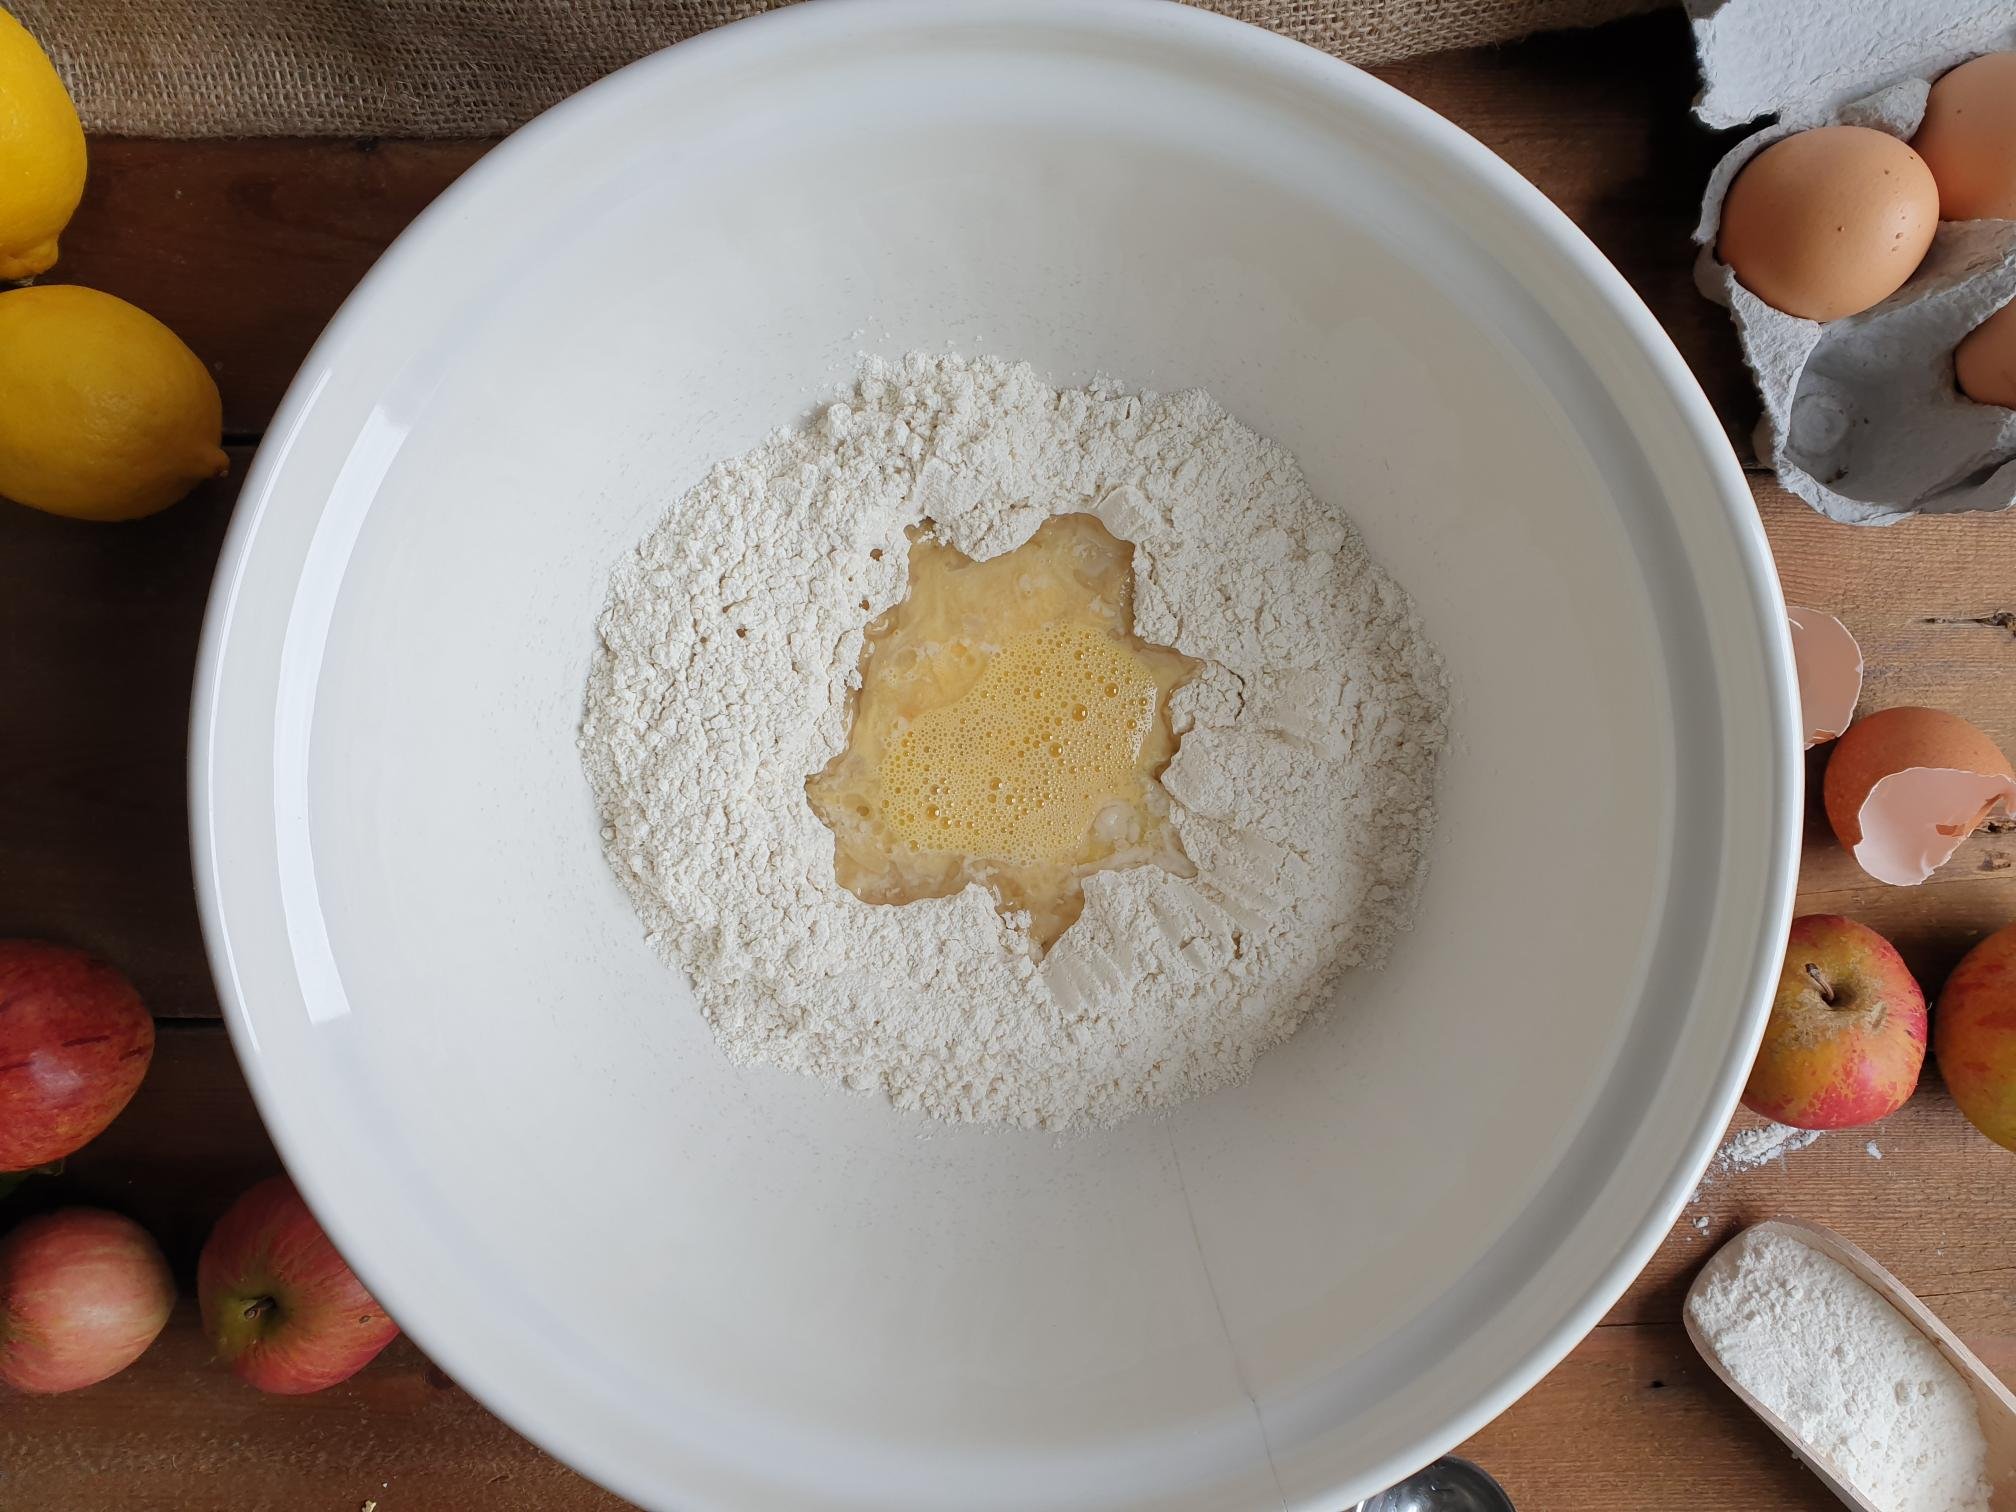
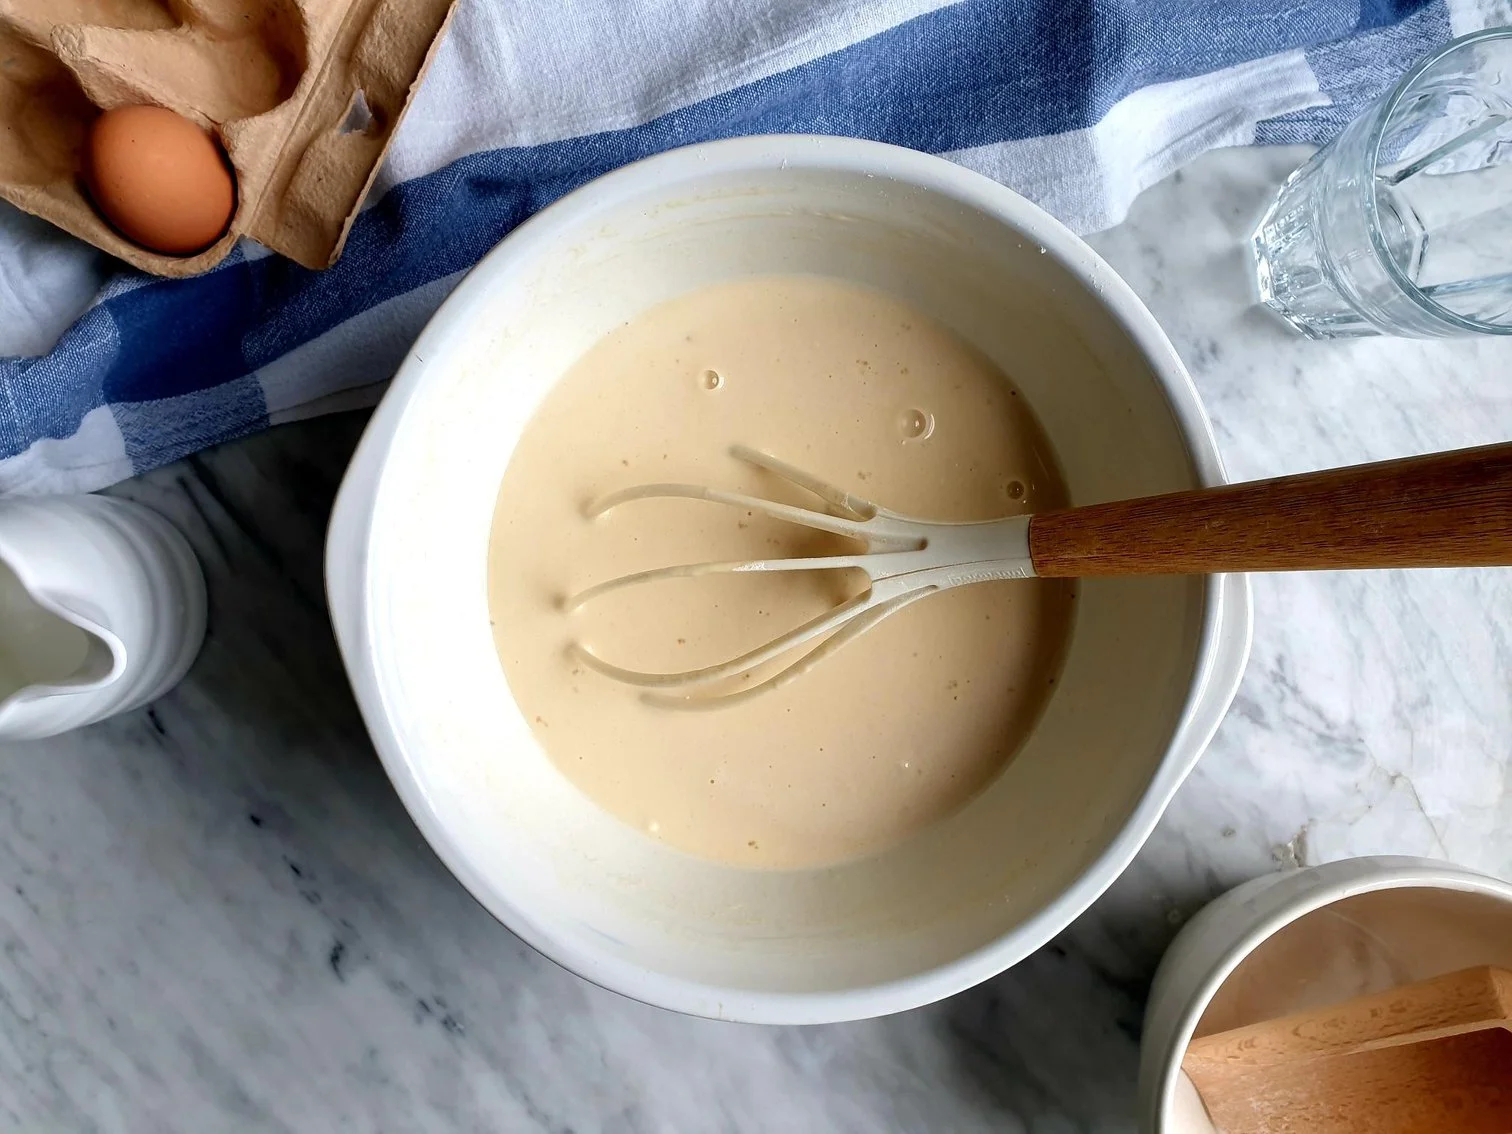
First make the crêpes by putting all the wet ingredients, eggs, milk and mineral sparkling water into a mixing bowl and whisk well until combined.
Start adding the flour, a bit at a time, a pinch of sea salt and whisk thoroughly until the batter is smooth and free of lumps. You can use an electric hand whisker, a food processor or a blender.
Set aside and leave it to rest for at least 15 minutes, ideally 30 minutes.
In a large non-stick frying pan or crêpe pan melt the butter over a medium heat (you can use a drizzle of oil instead).
Tilt the pan so the melted butter (or oil) covers and coats the whole surface of the pan.
Pour or ladle enough batter into the pan, swirling quickly, to thinly cover the base.
Cook for 1-2 minutes, or until golden brown, completely set on the upper part, or until it starts to come away from the sides of the pan.
Check that the pancakes are golden in colour underneath, then flip the pancake over and cook for 1 more minute or until cooked through.
Remove and place on a large plate and cook the rest.
Set aside to cool.
While the crêpes are cooling start making the filling.
To make the filling
Place ricotta or curd cheese in a bowl and stir.
Add the egg, grated lemon zest, sugar and vanilla bean extract and mix well all the ingredients.
Drain the raisins or sultanas, remove excess liquid and add to the mixture.
Set aside.

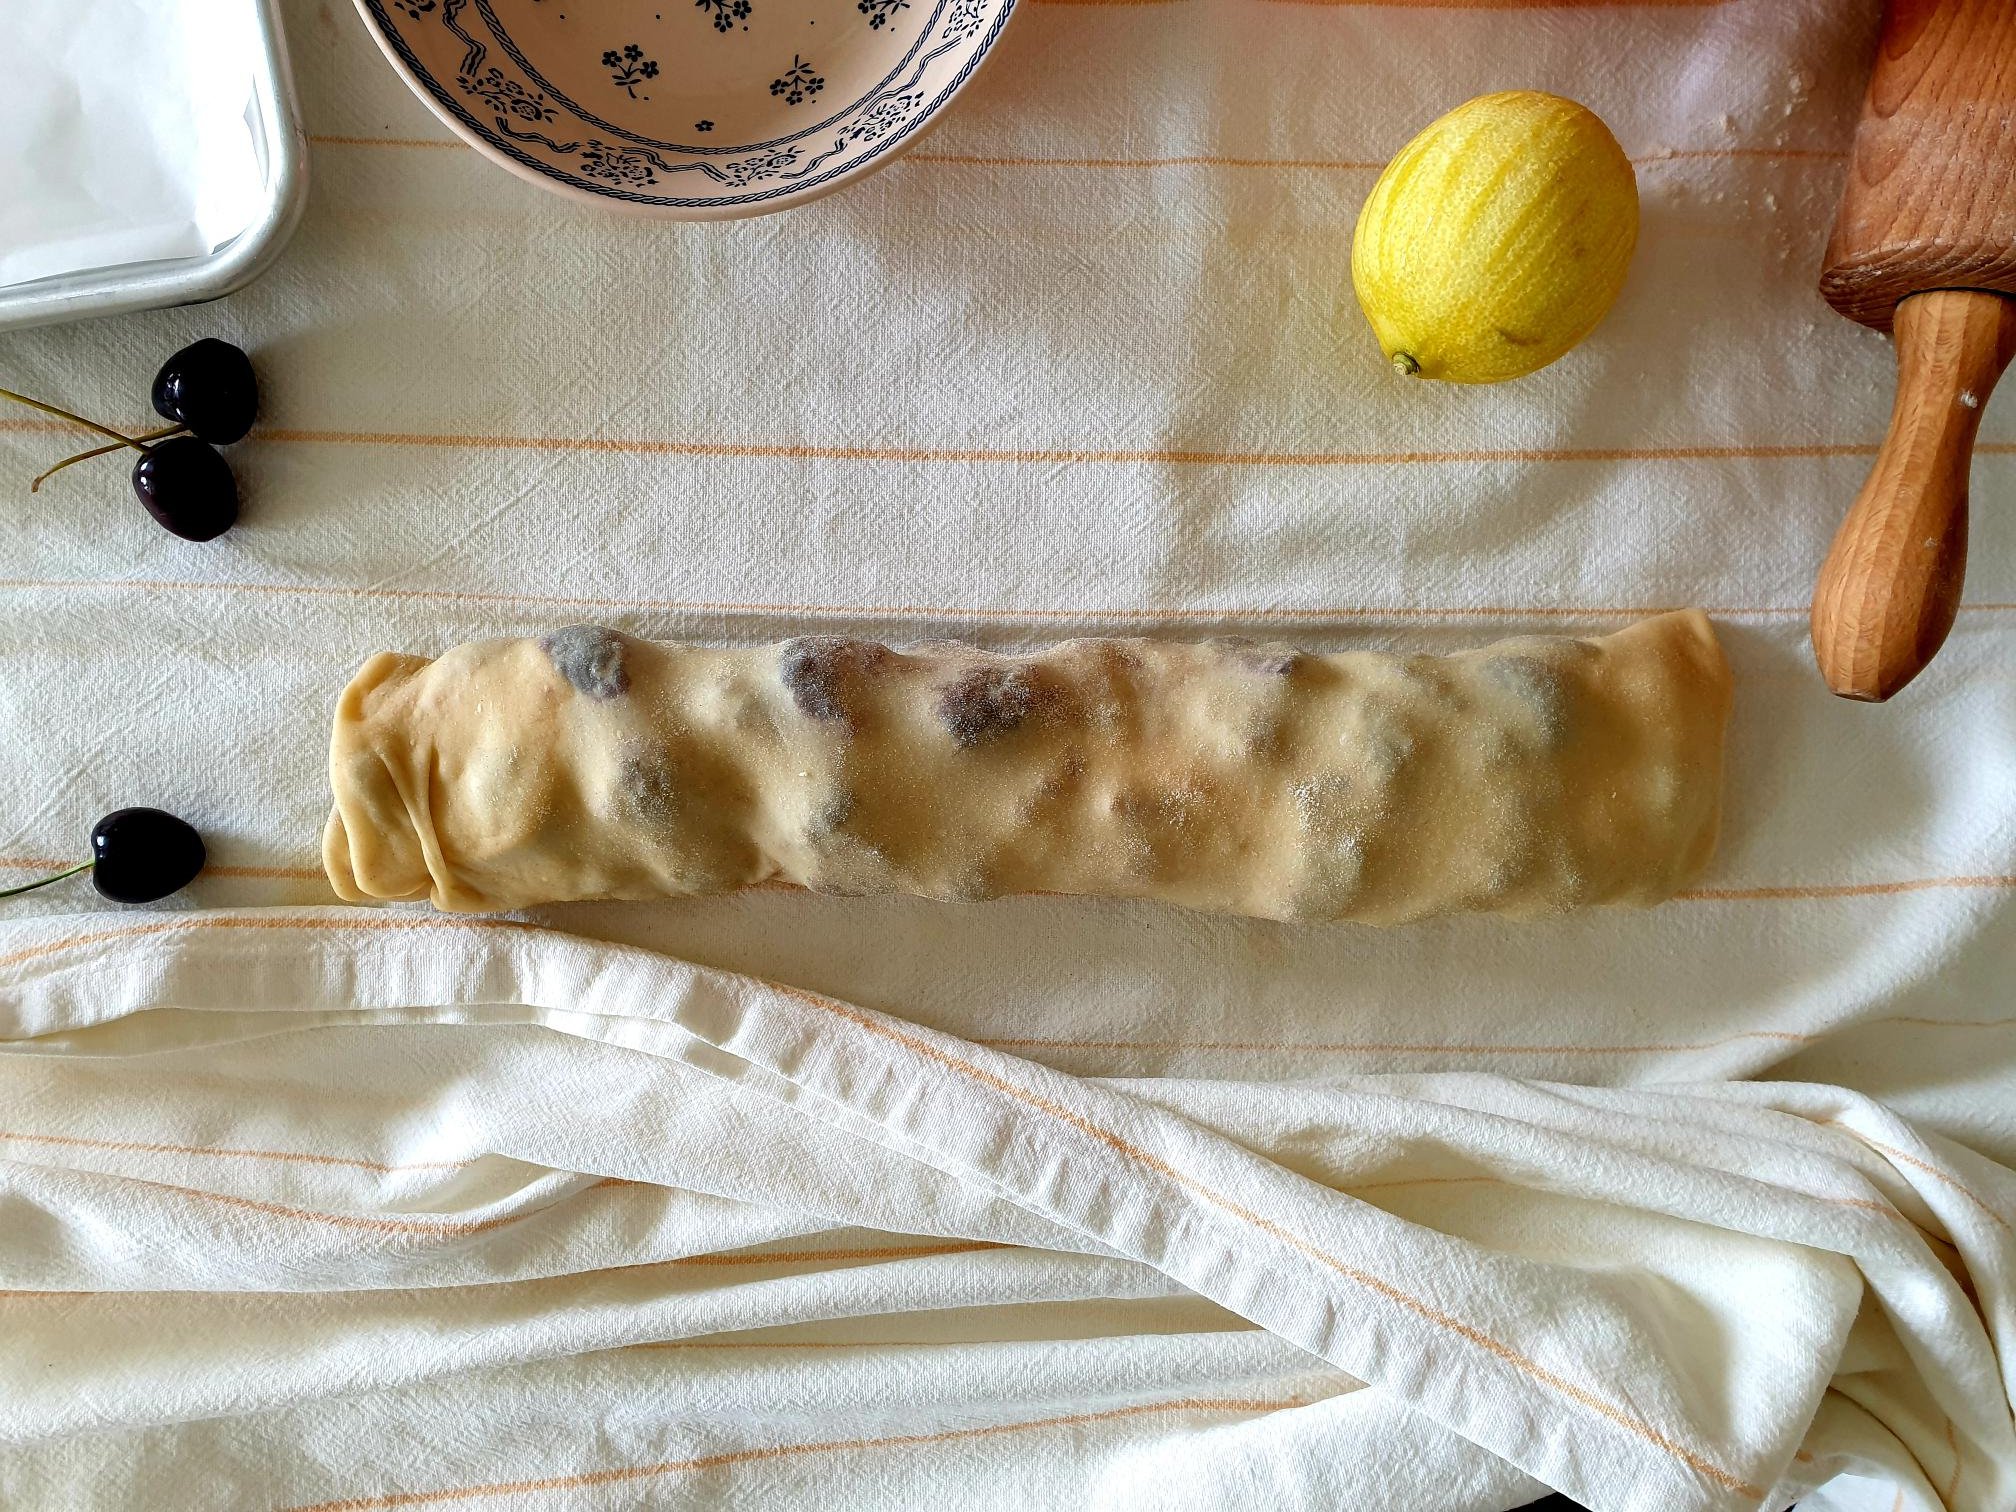
Preheat the oven to 180°C static or equivalent. Place about two tablespoons of ricotta filling in the centre of each crêpe and spoon evenly.


Fold in the side ends of the crêpe to prevent filling coming out during the rolling (if it does, it is not the end of the world).


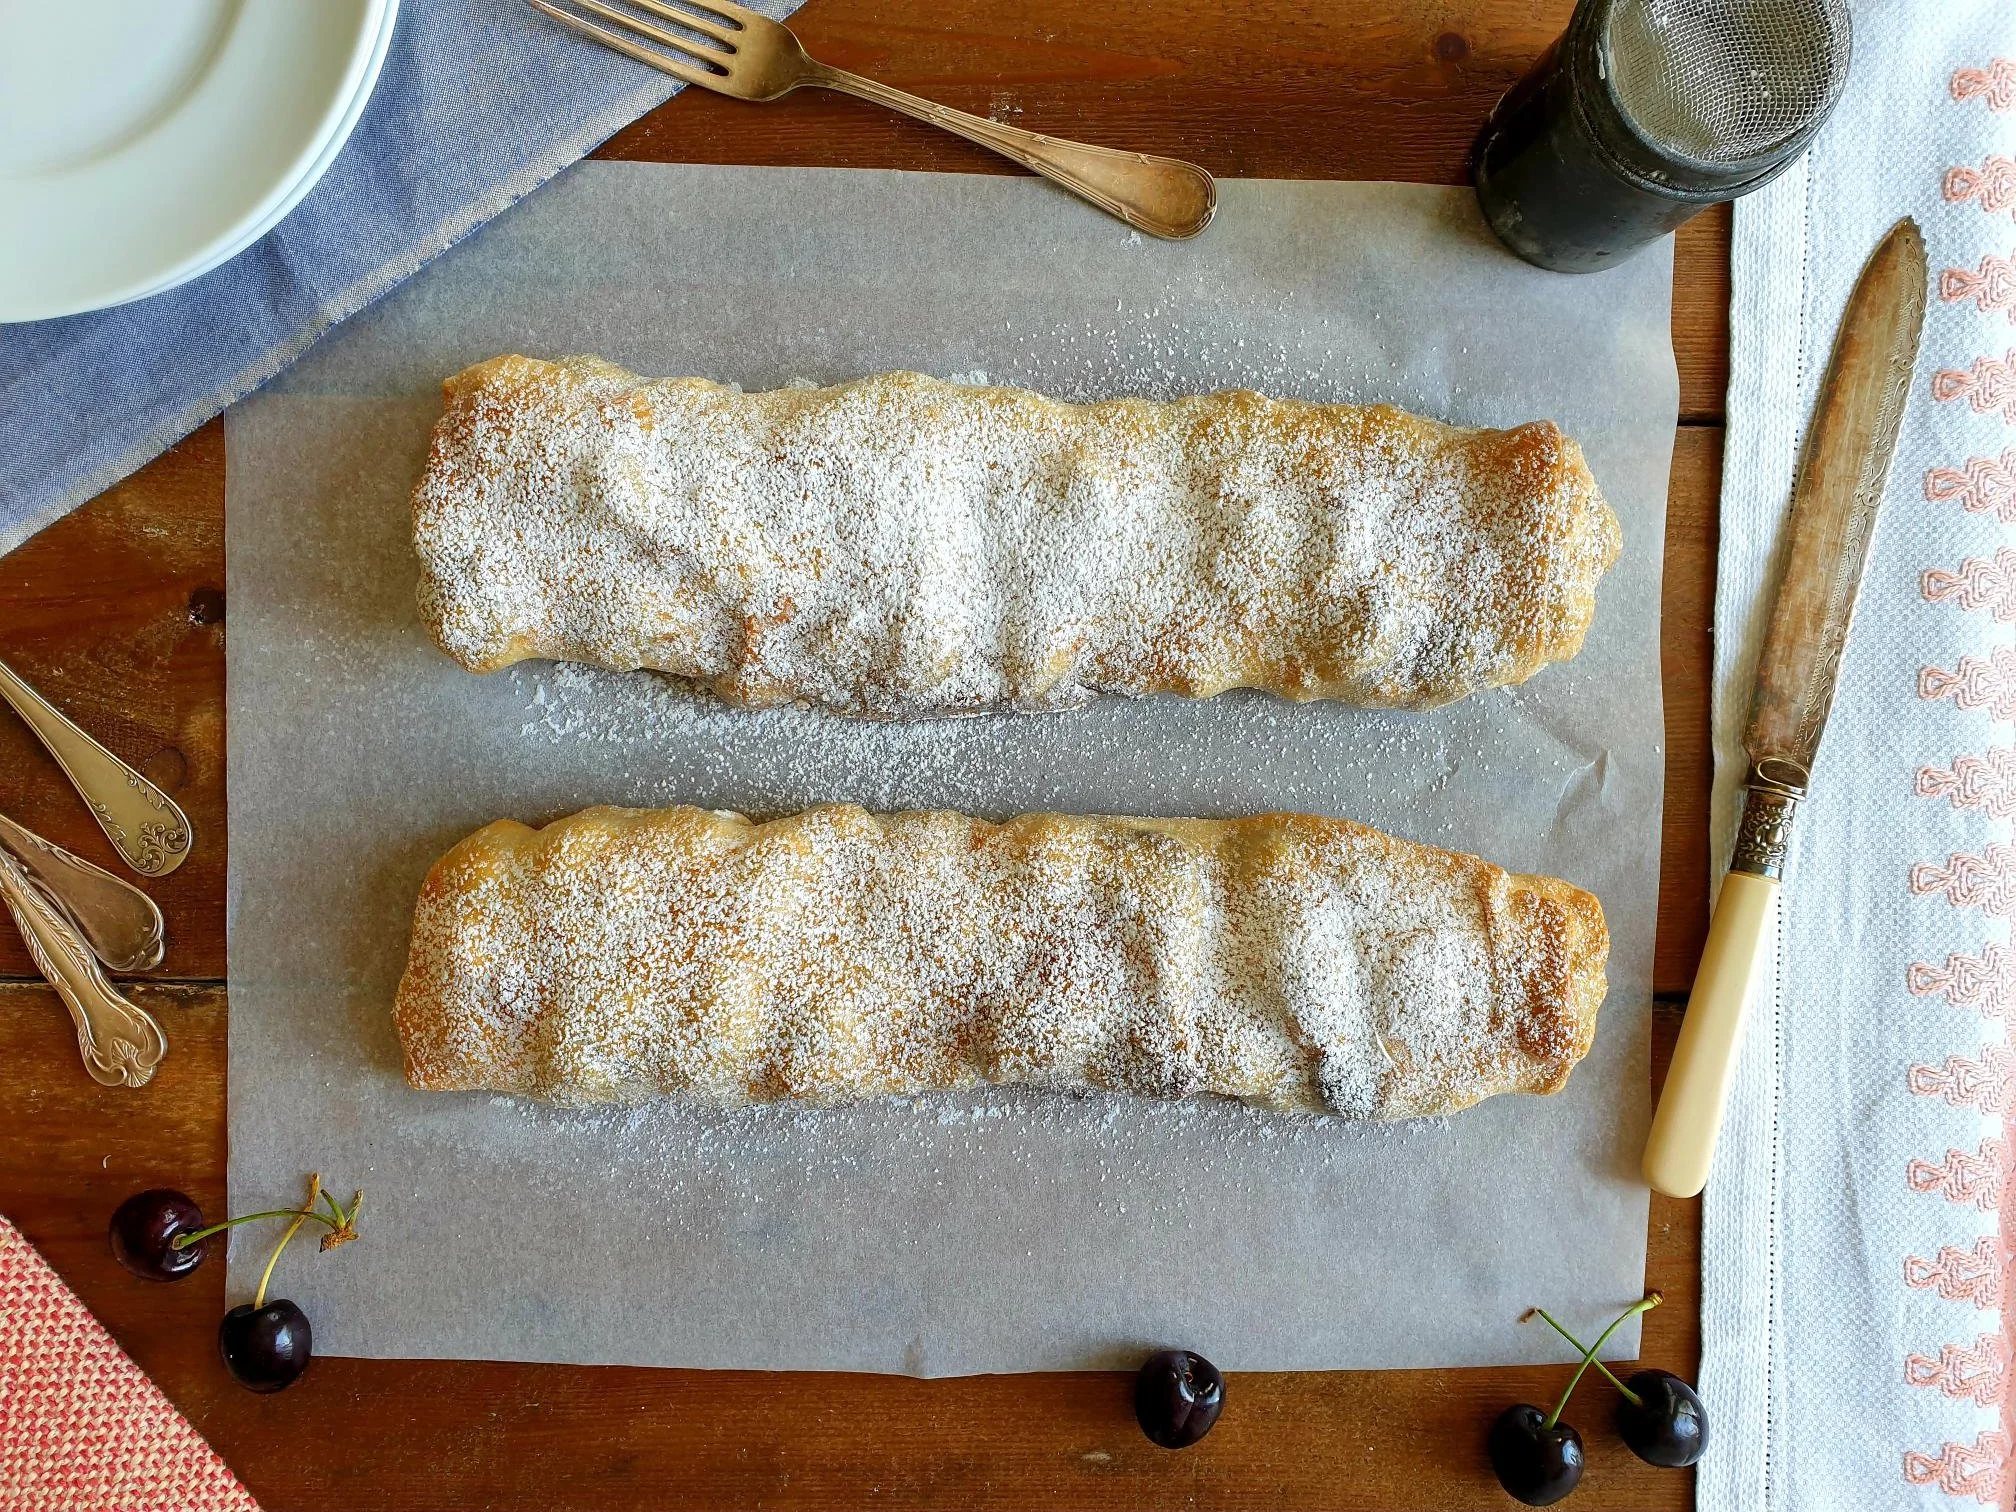
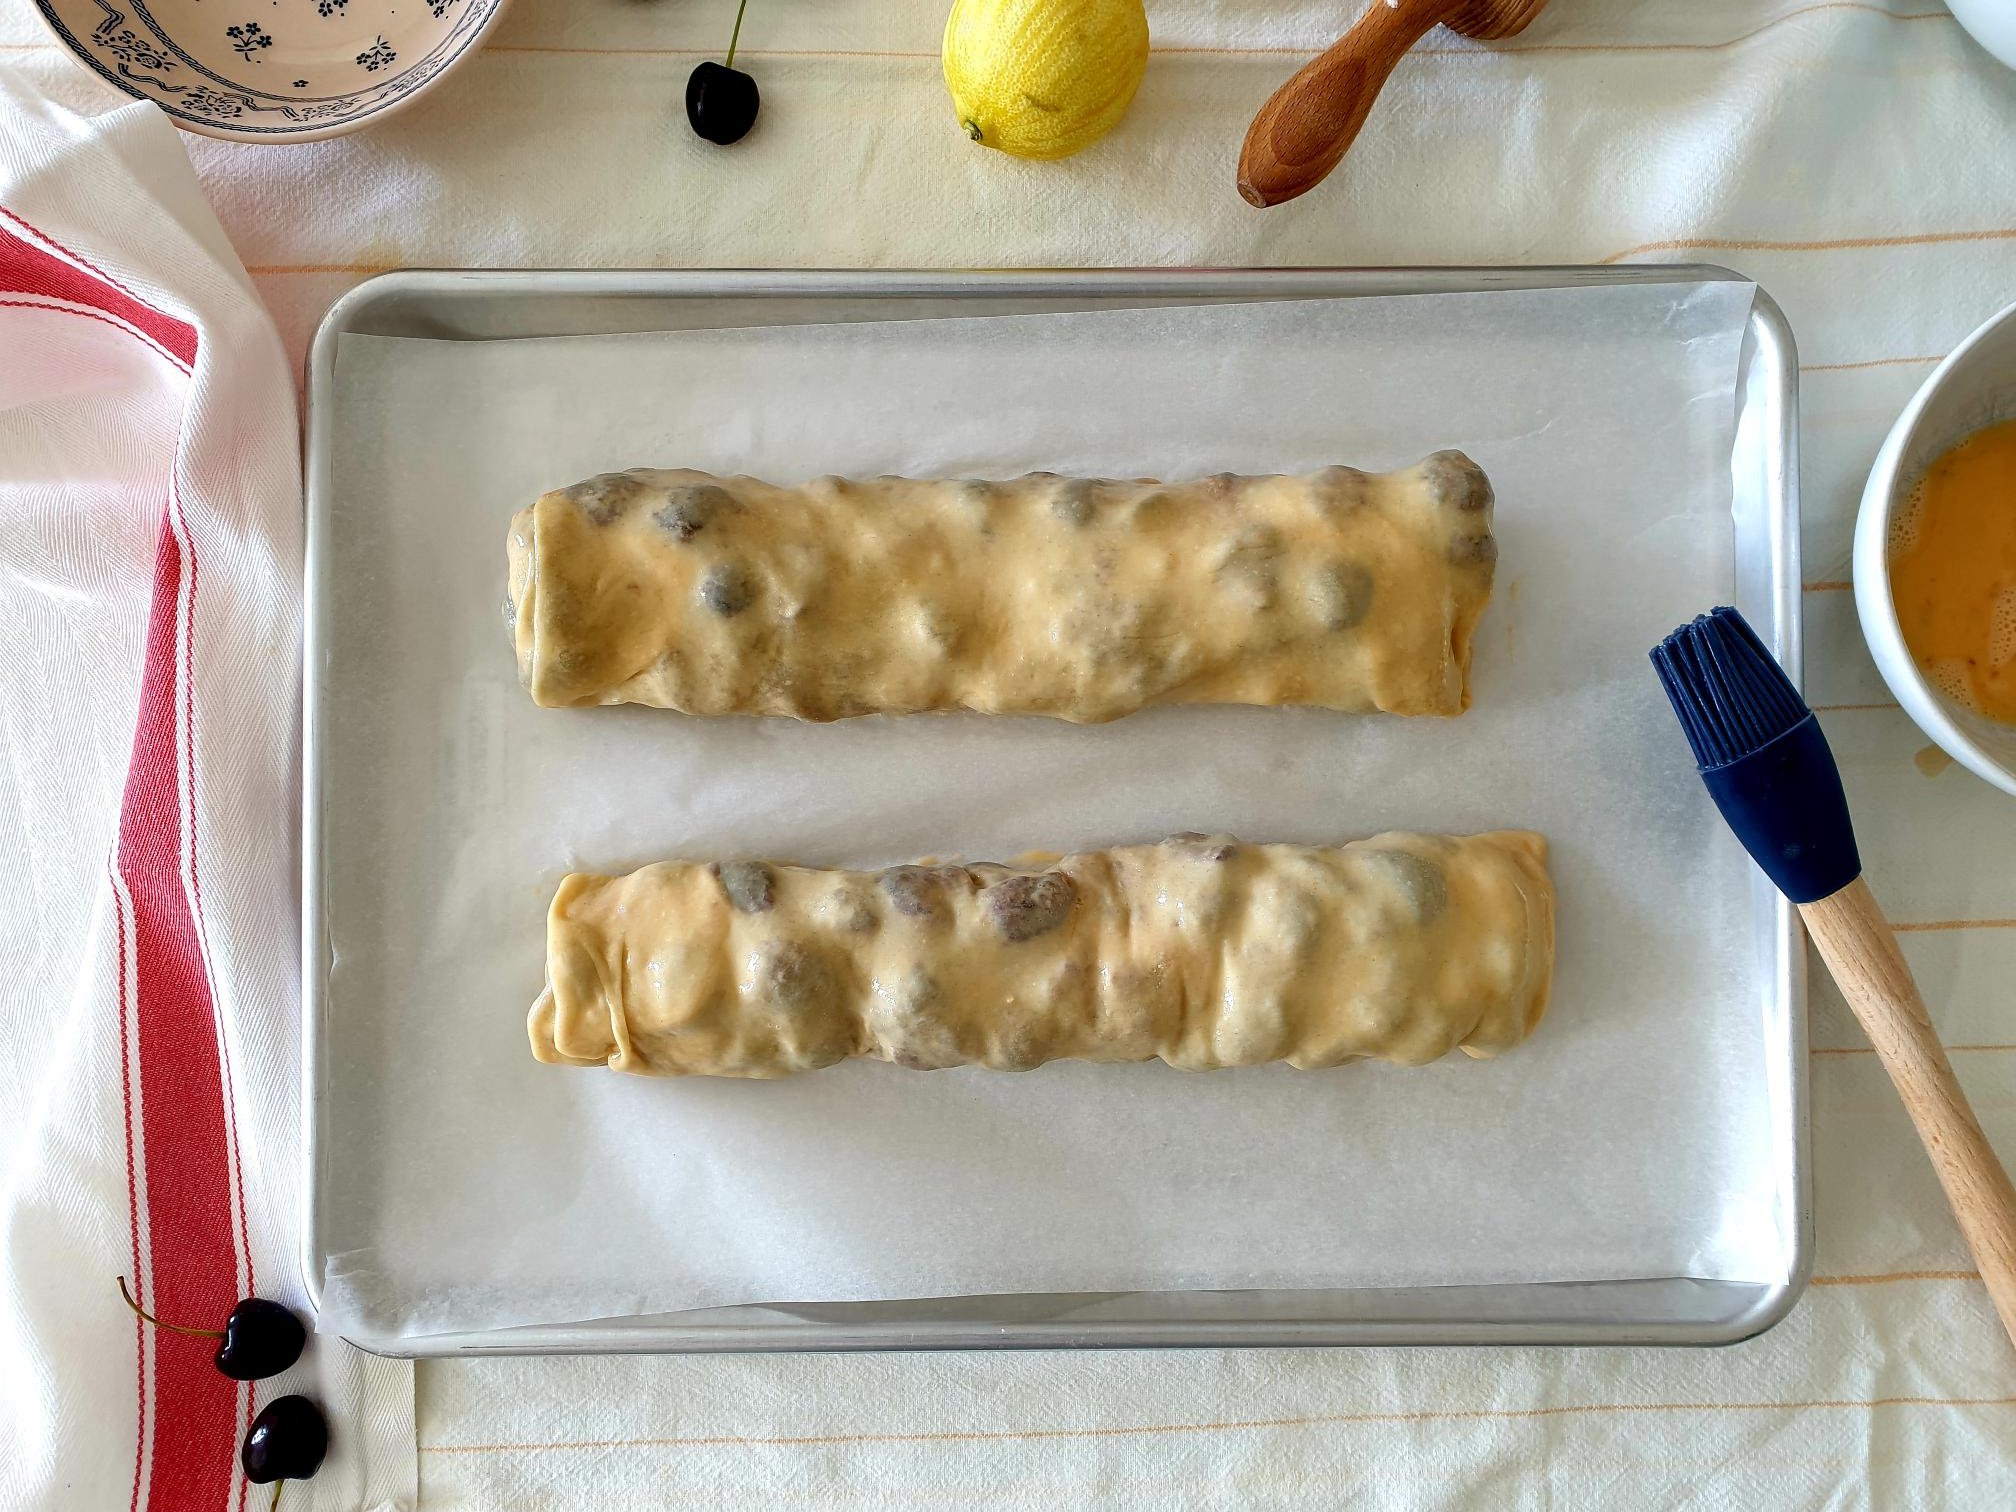
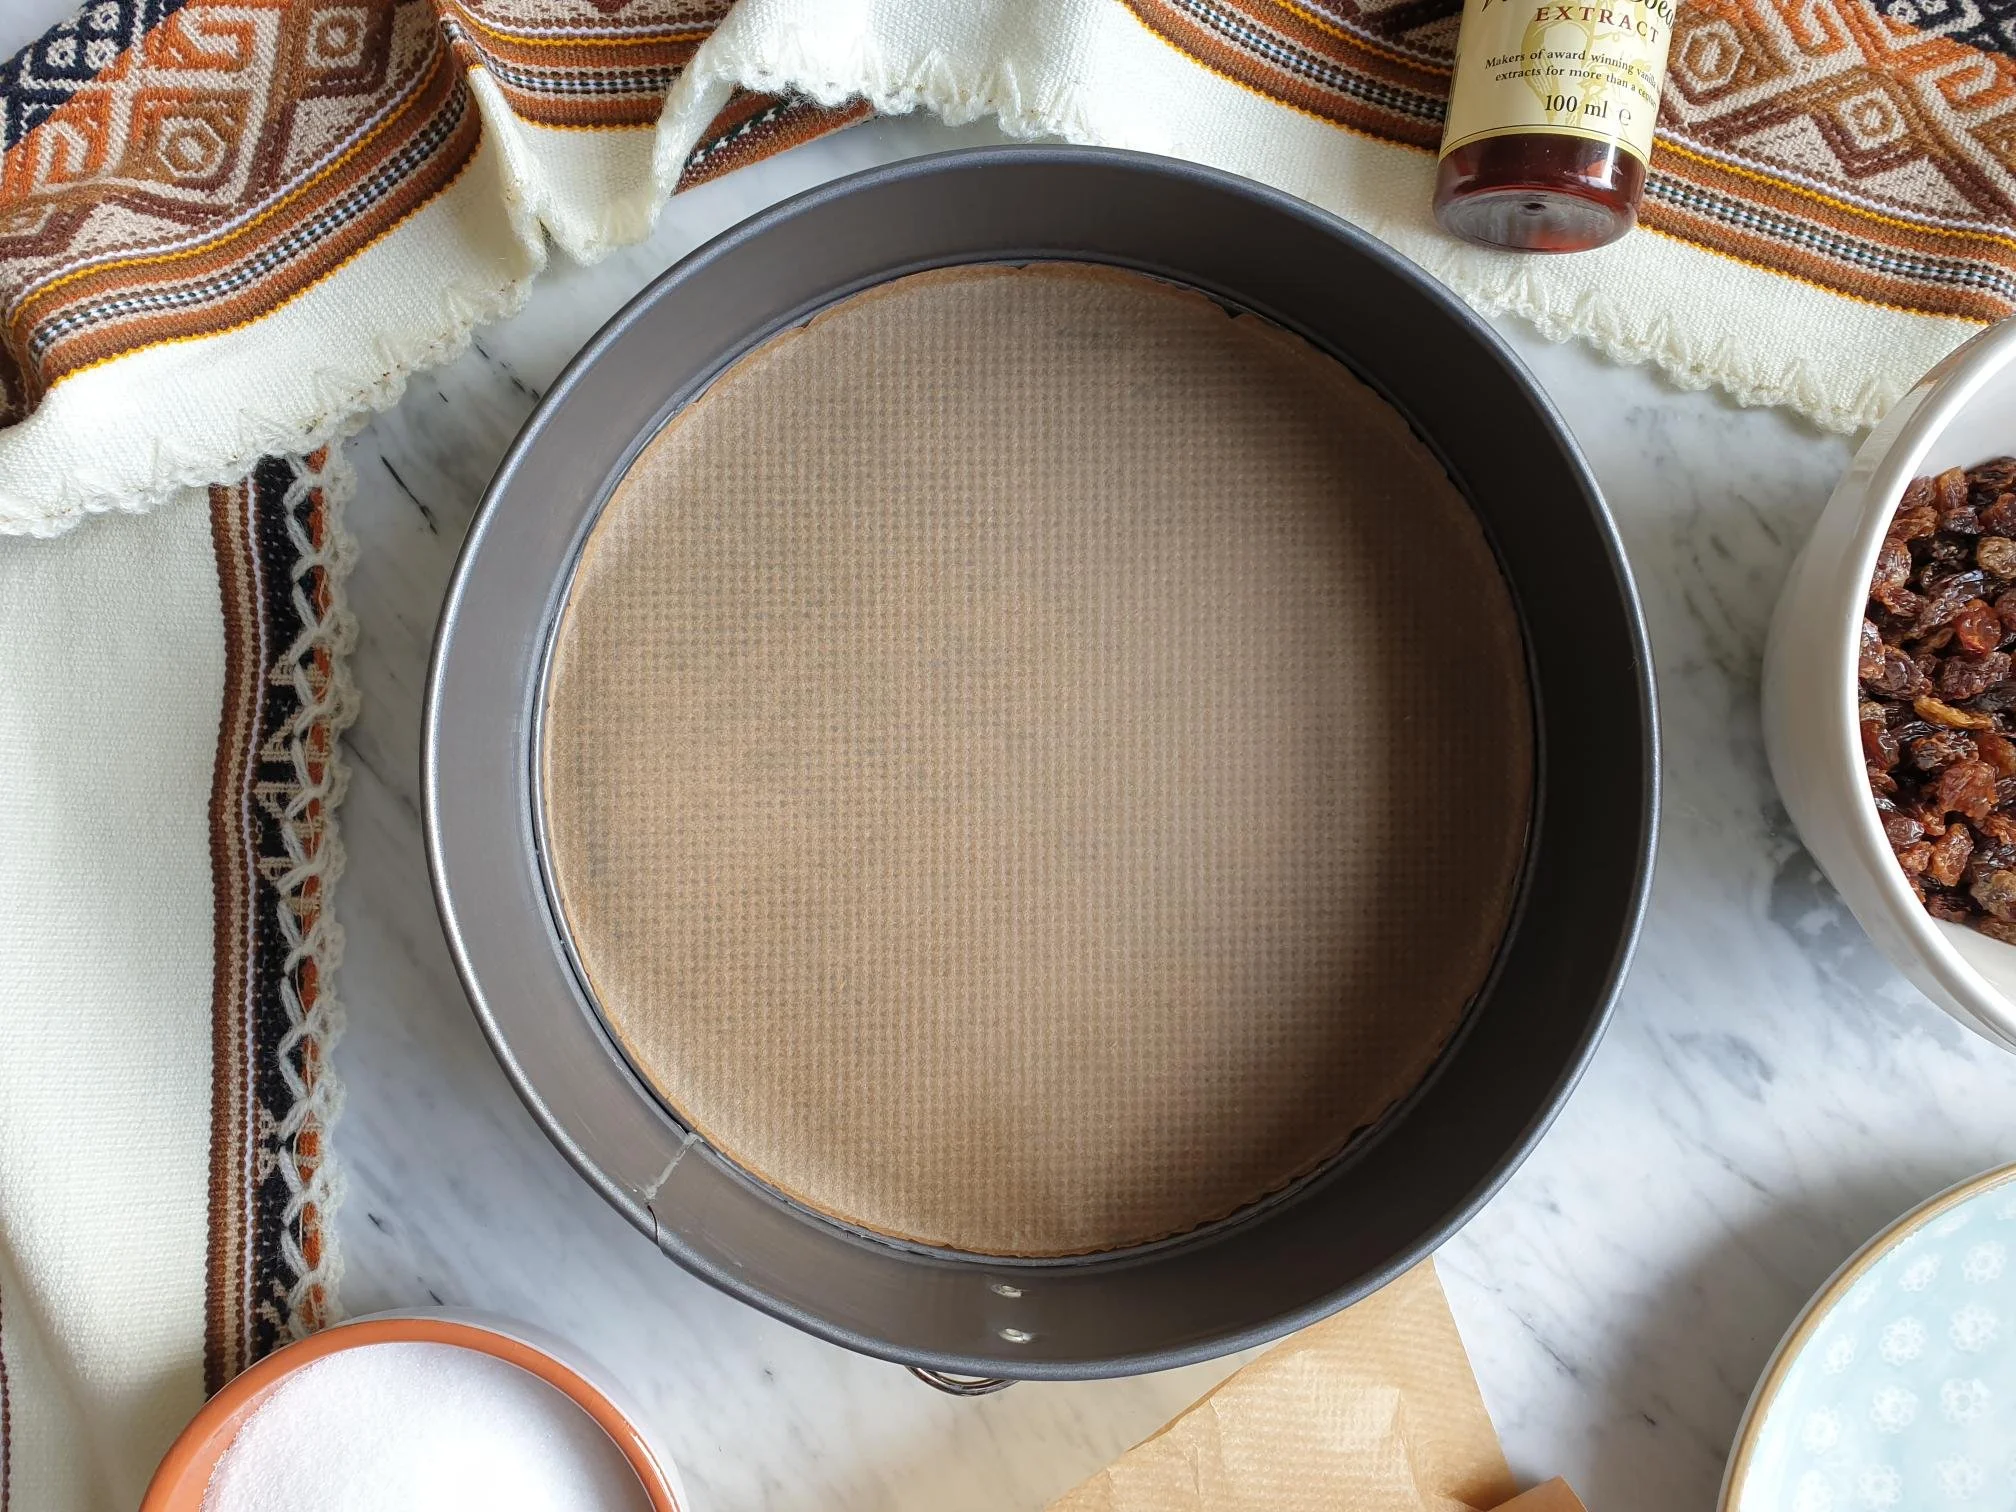
Roll filled crêpe and place it in a greased oven proof dish seam side down in a single layer.
Repeat the process until you use all crêpes and all the filling.


To make custard sauce
Put the milk (or single cream if using), egg, sugar and vanilla bean extract in a jar and whisk well.

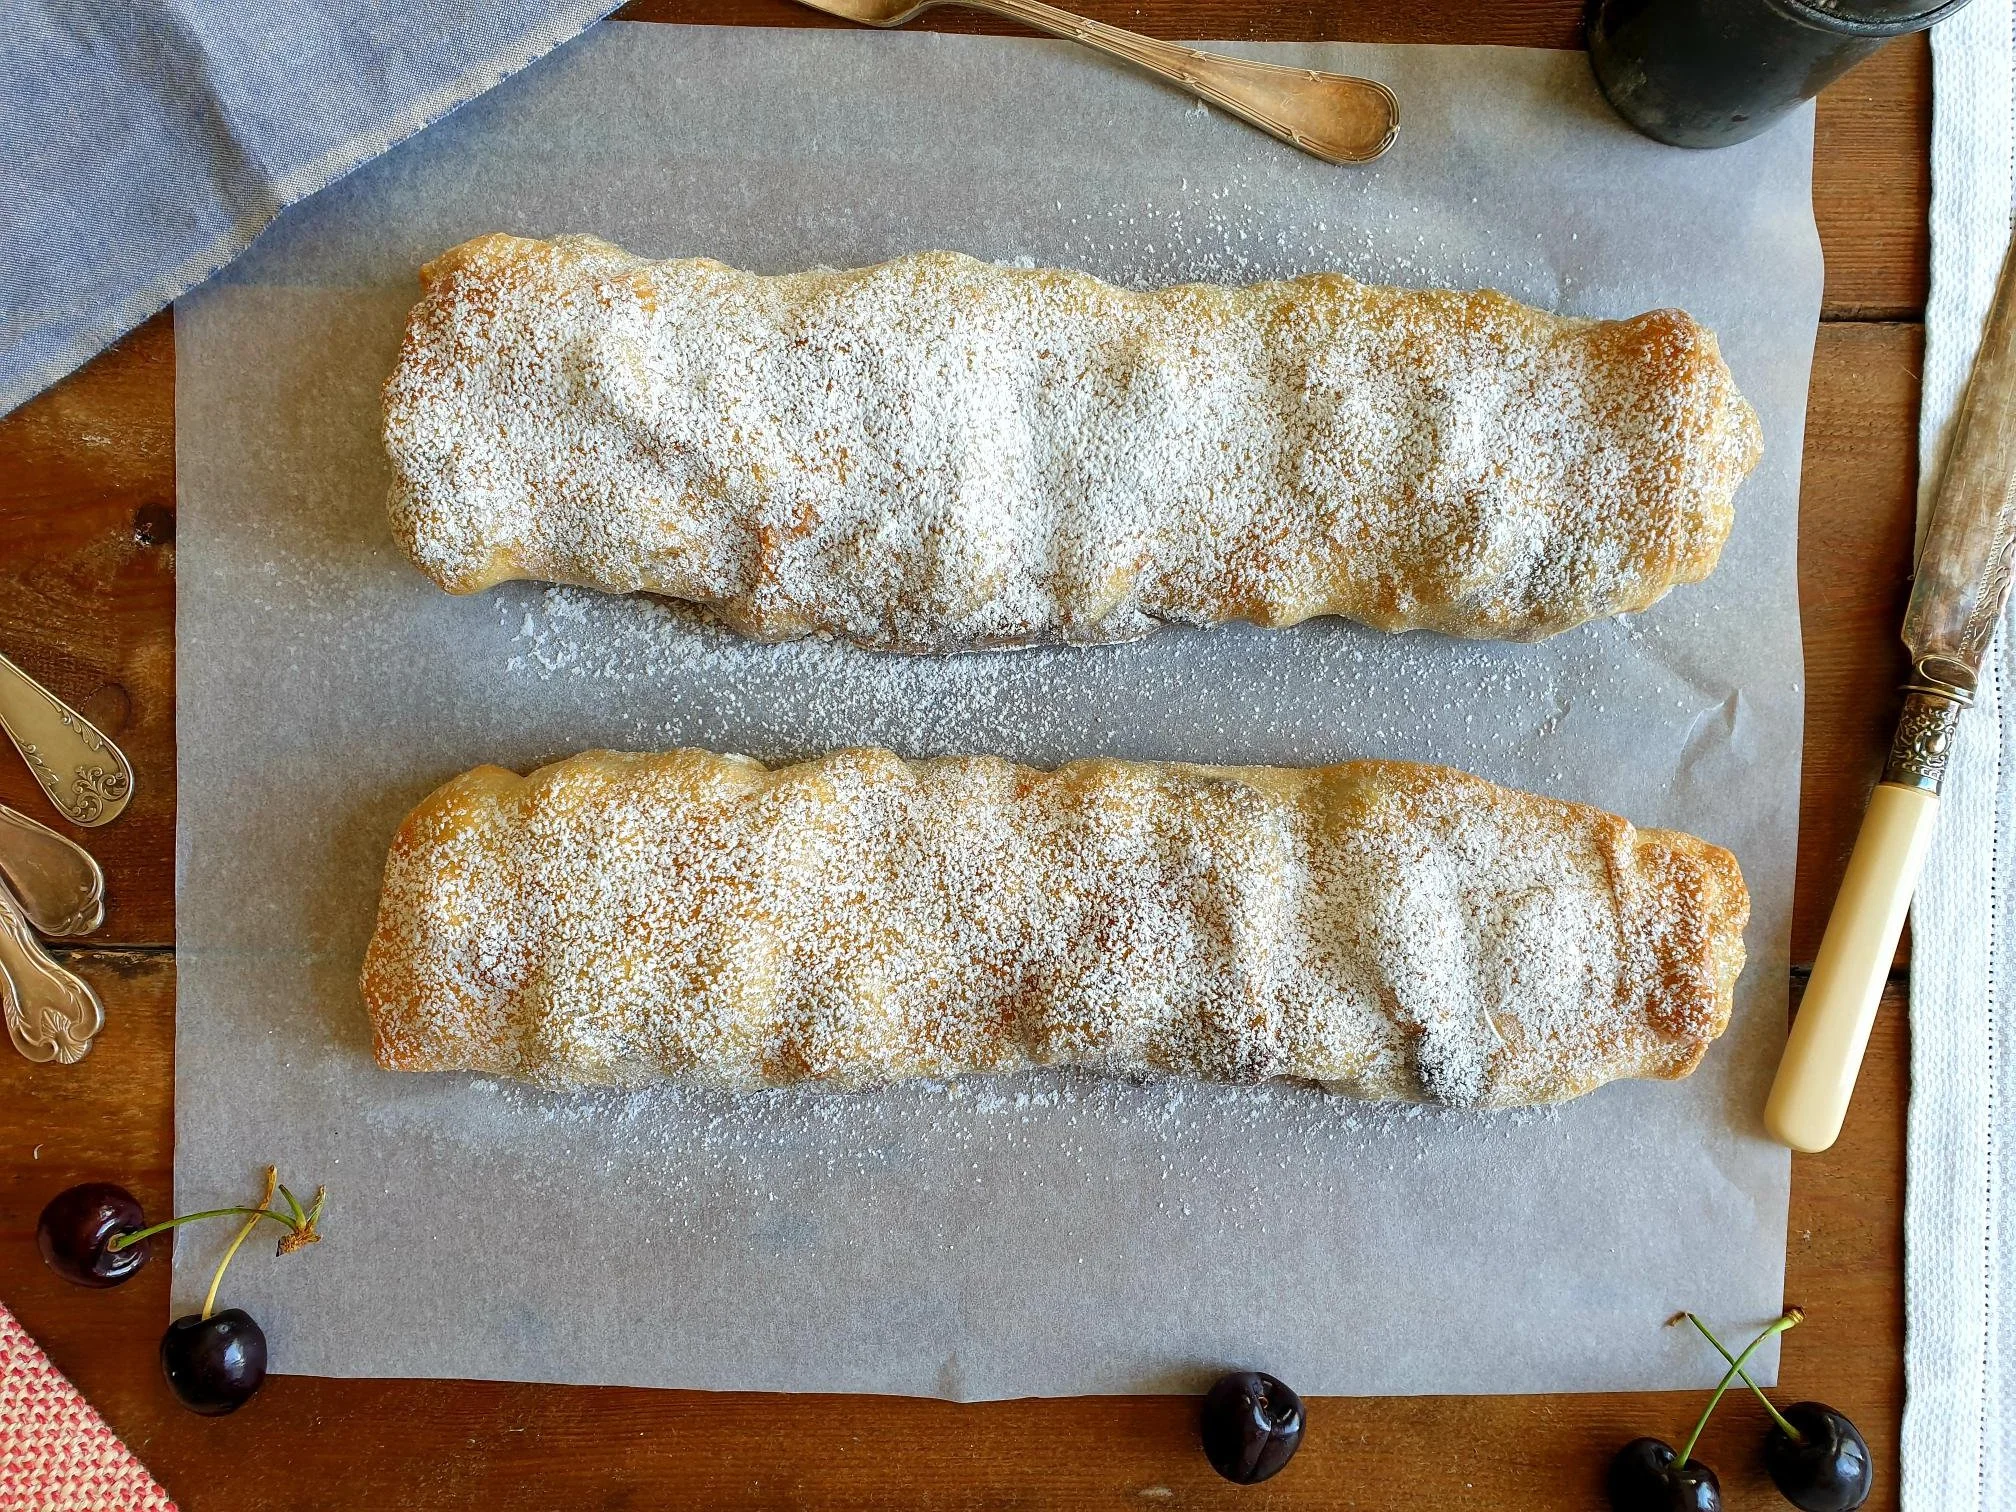
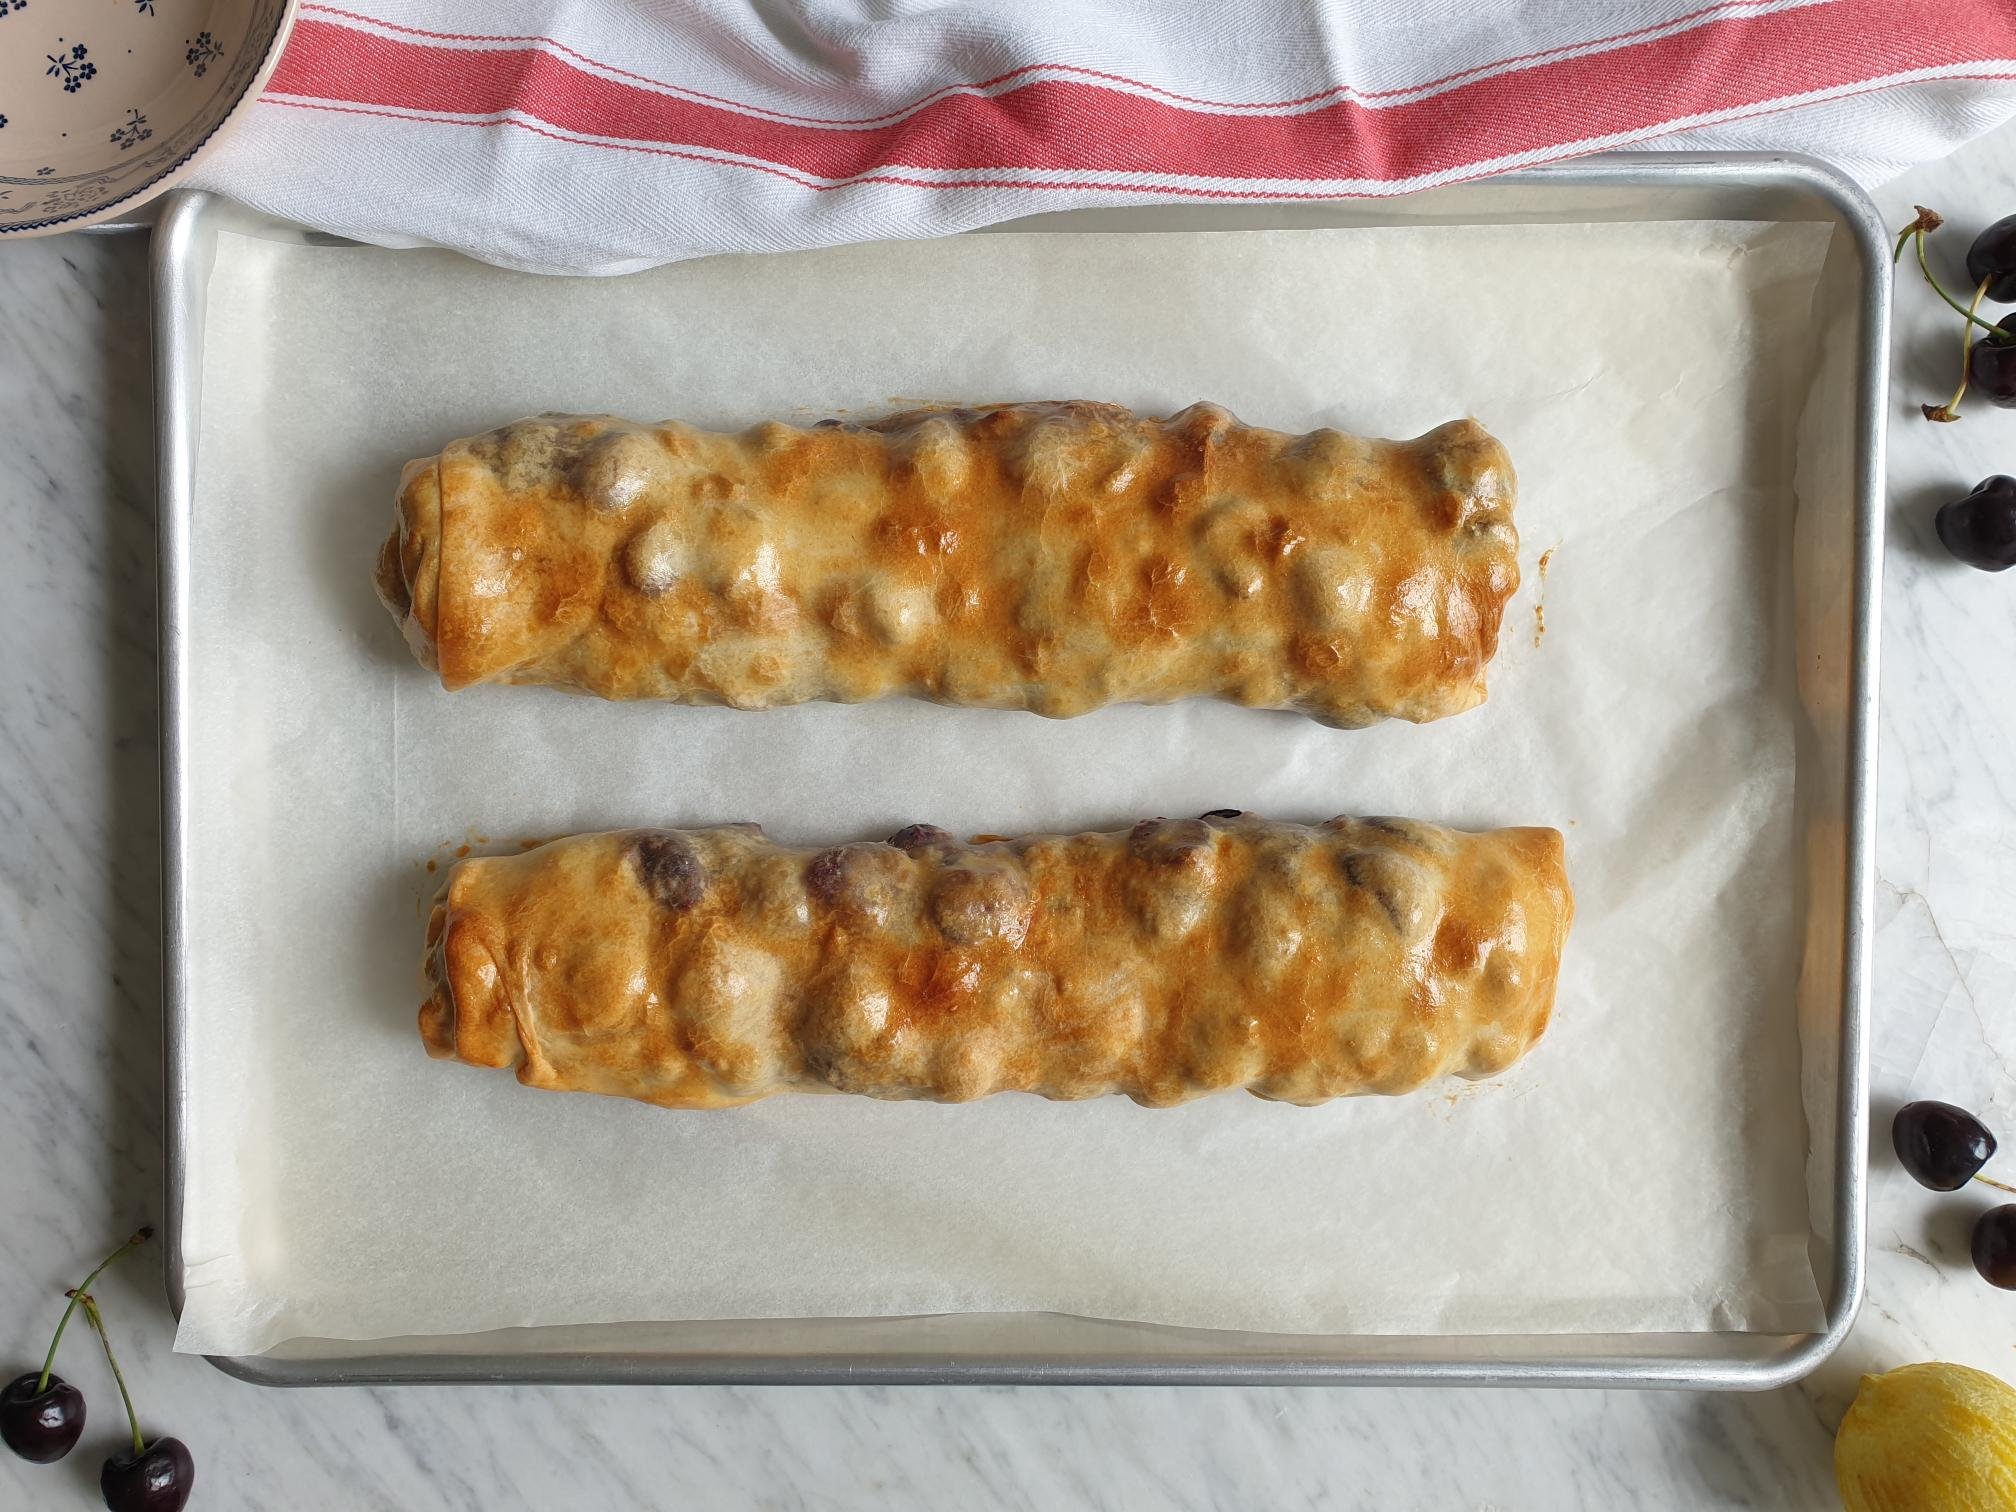
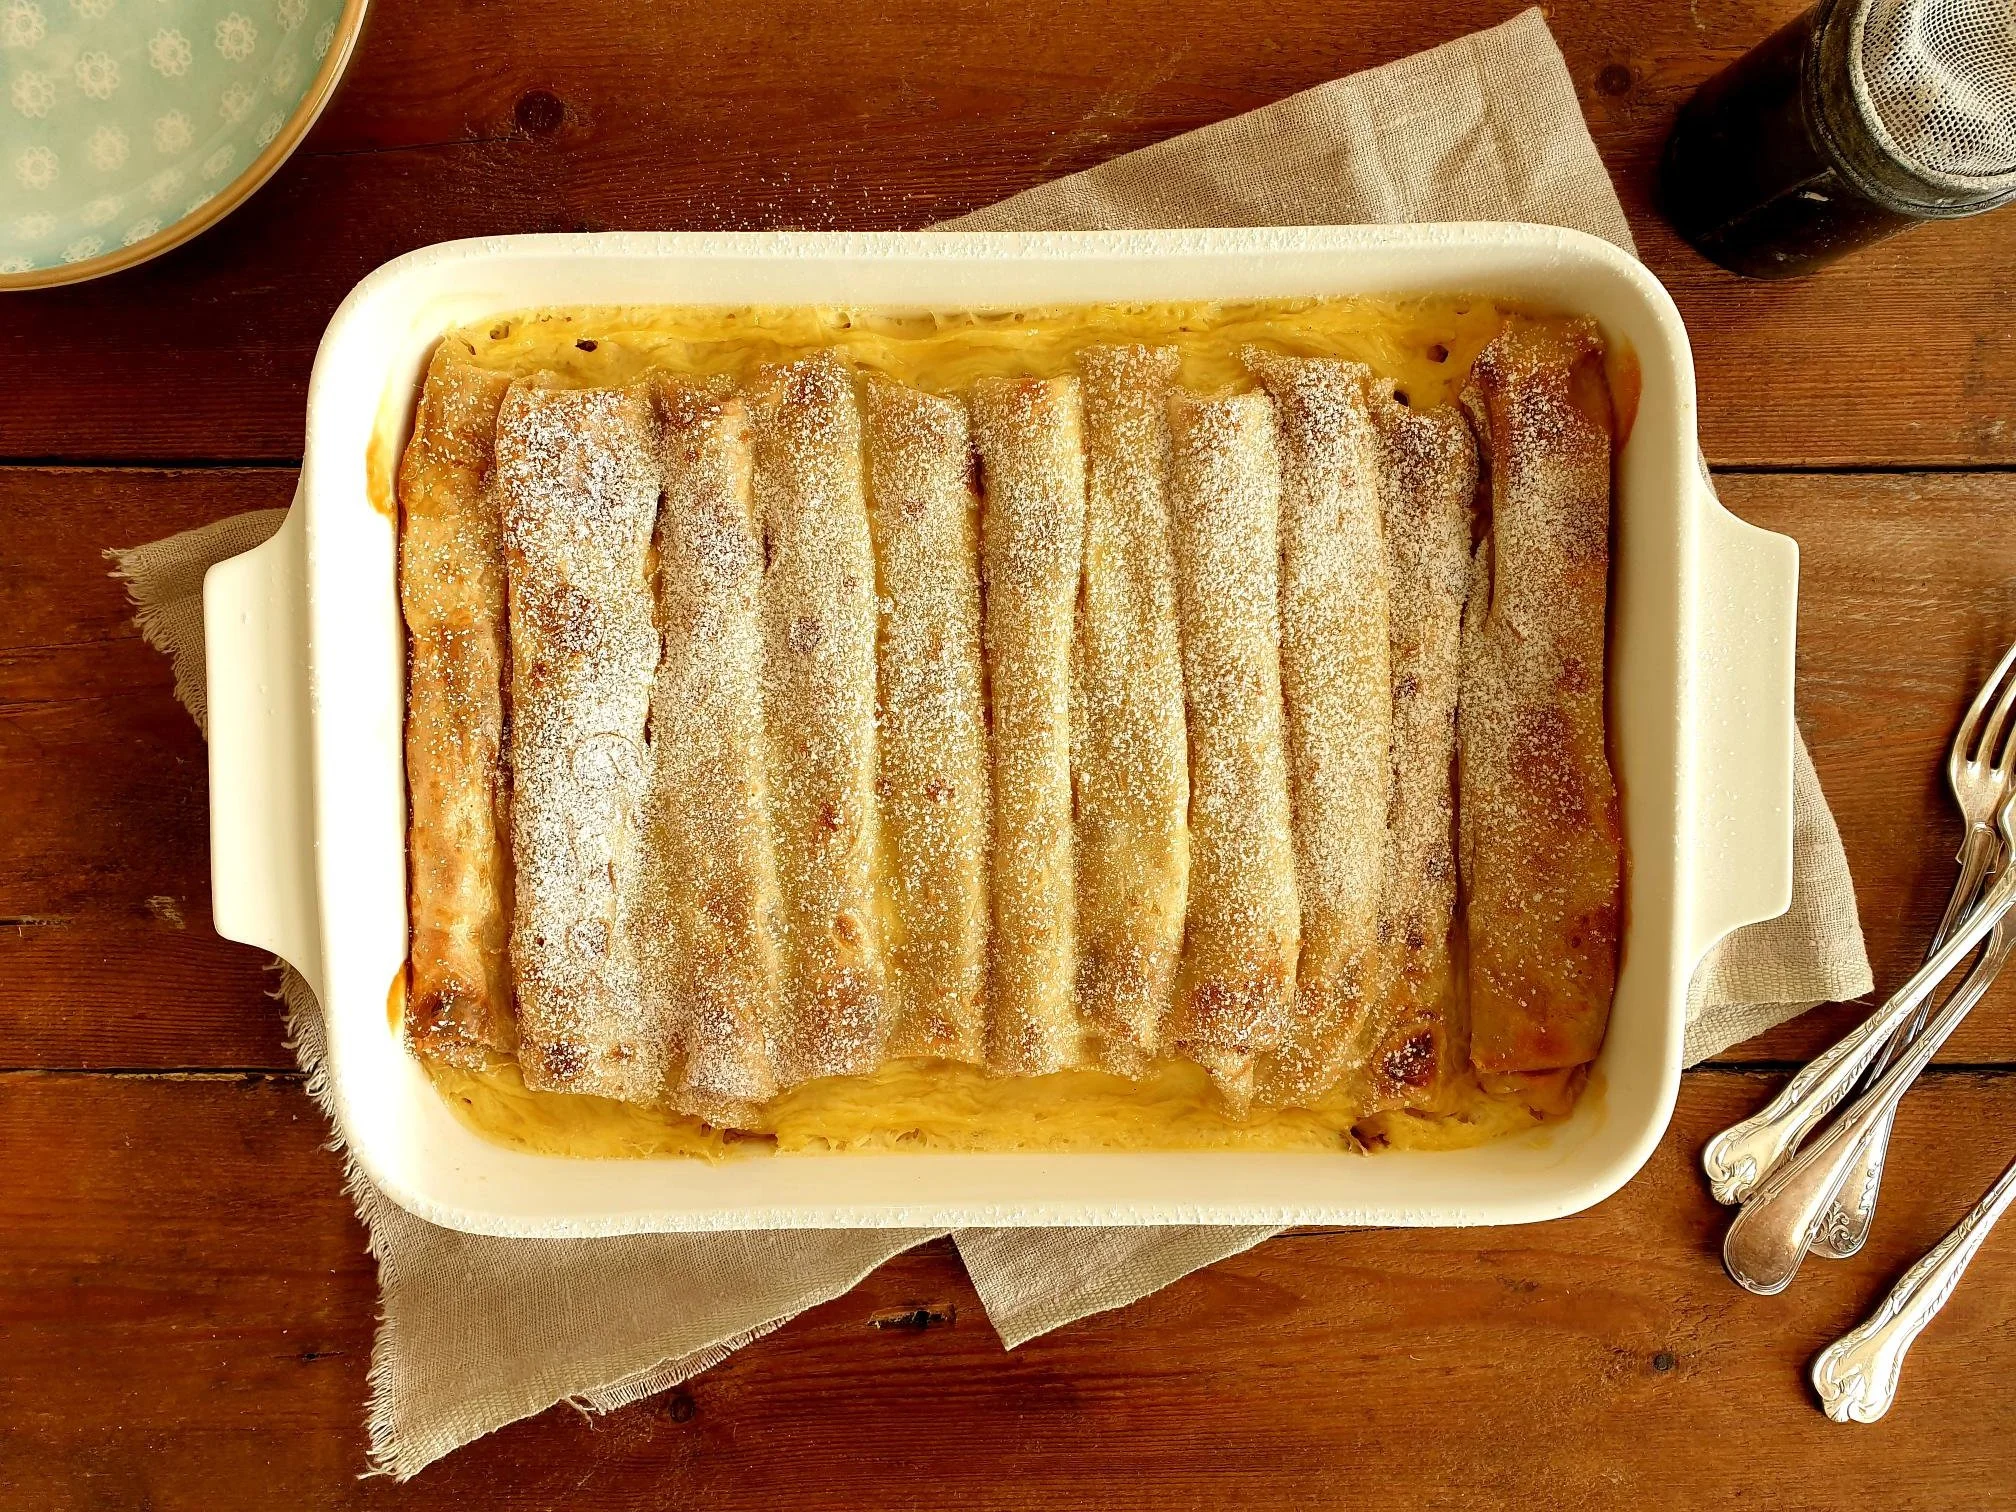
Pour the custard mixture over the filled crêpes until they are covered.Bake in the preheated oven for about 20 minutes.


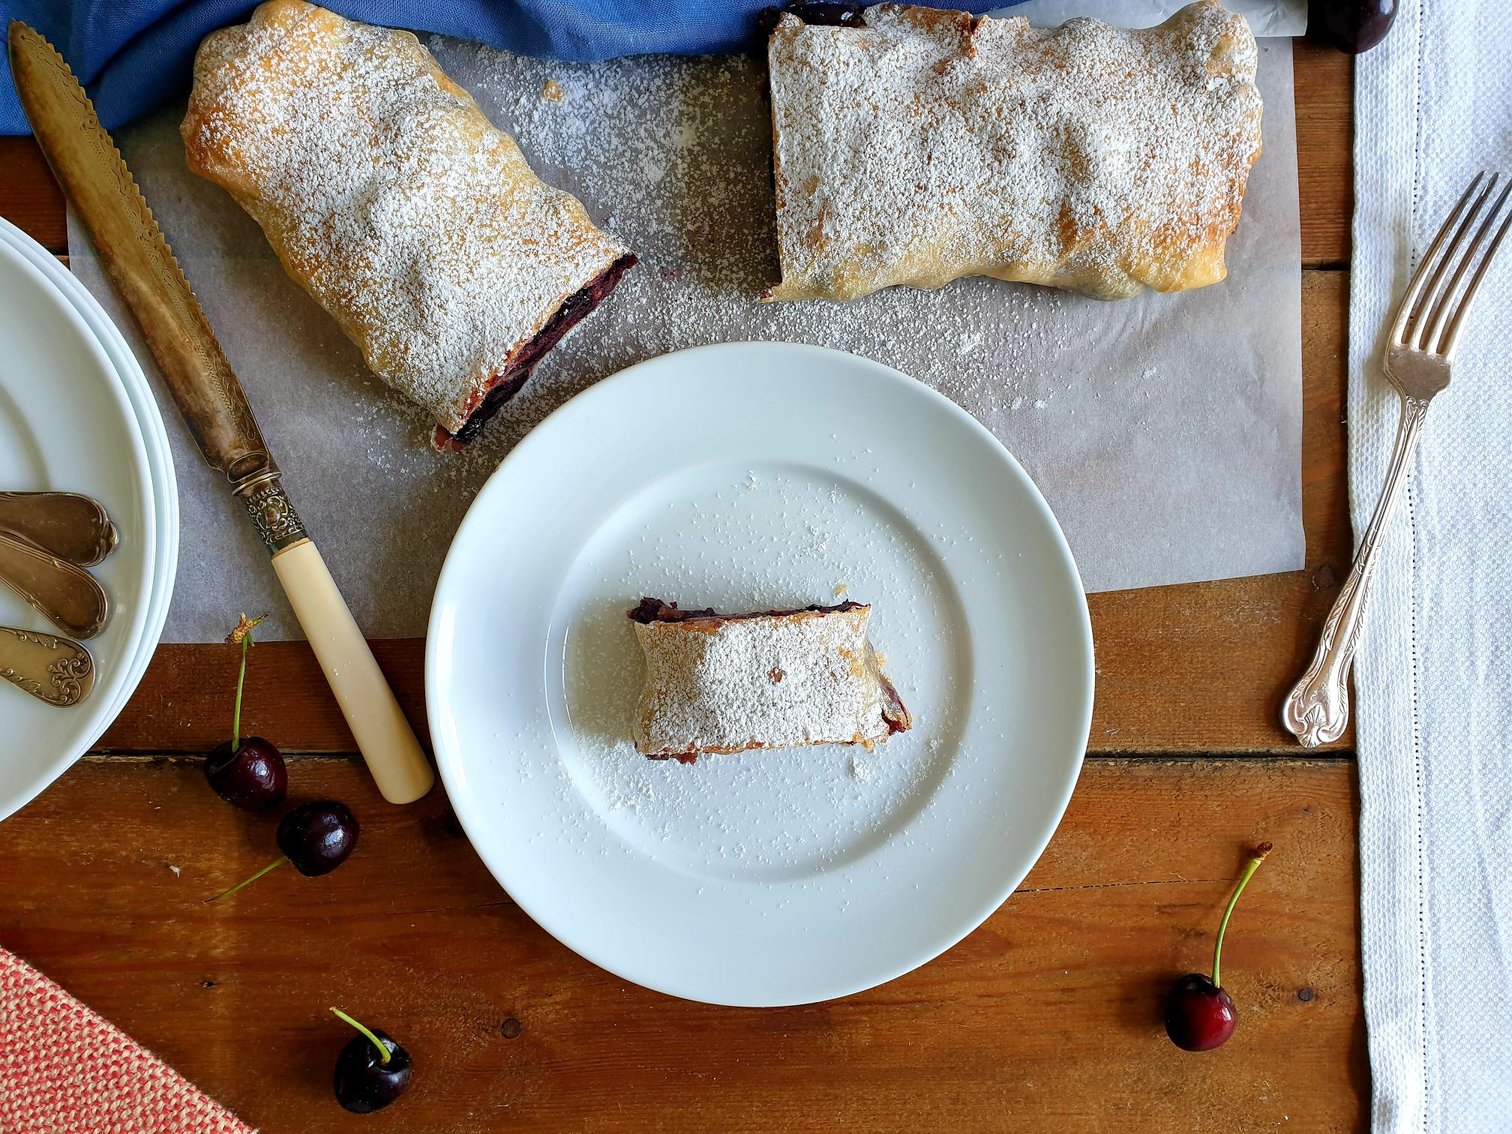
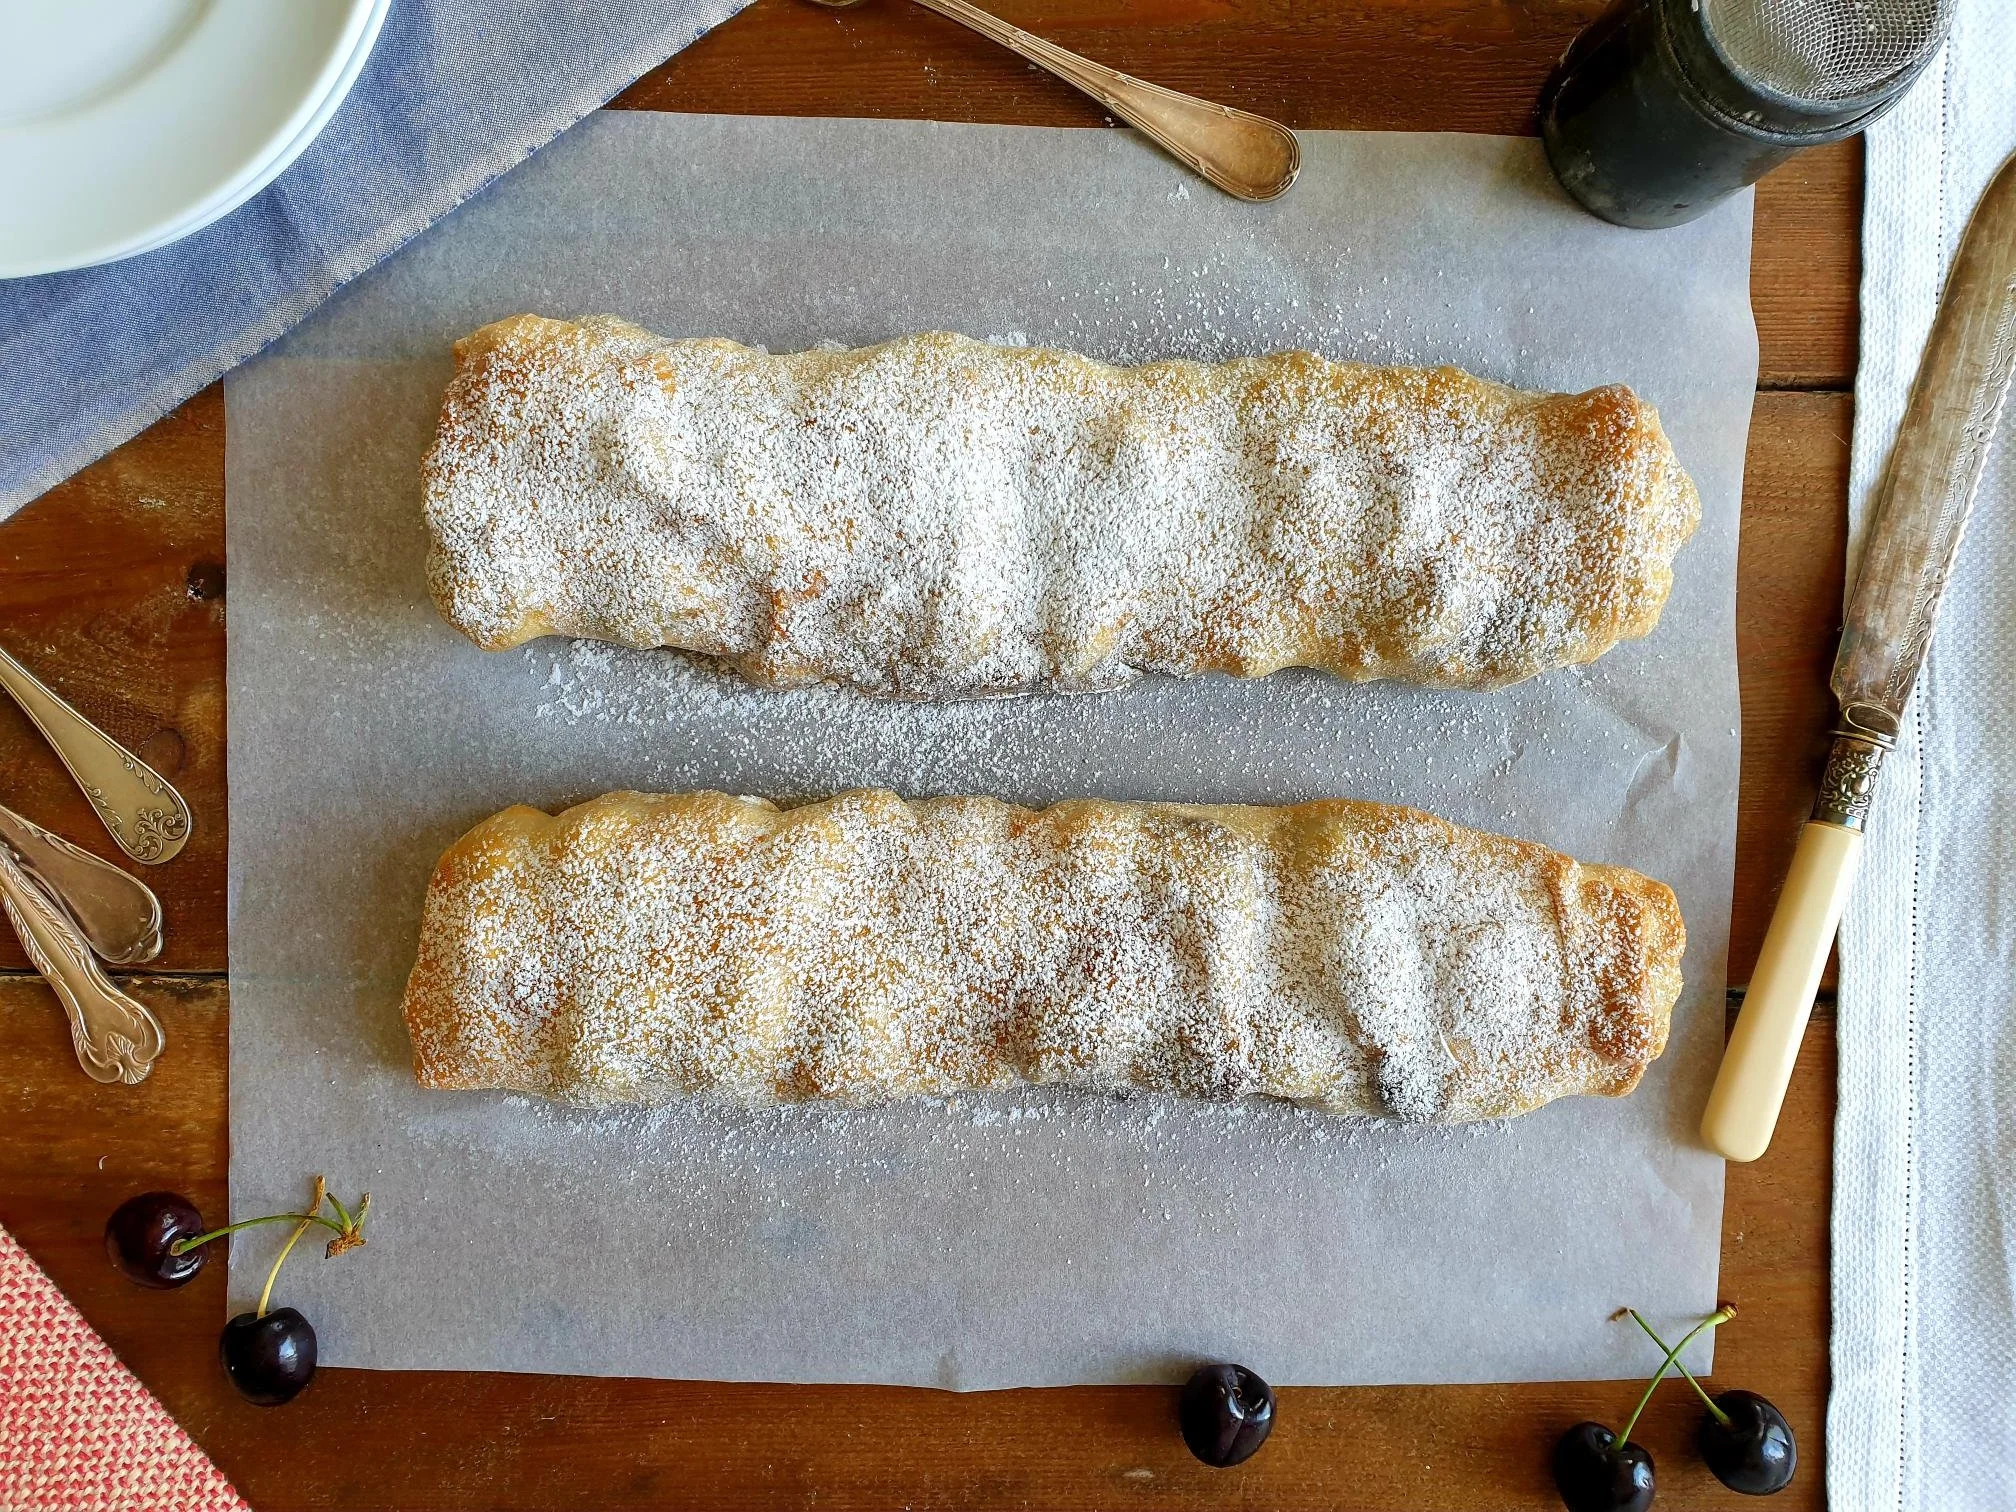
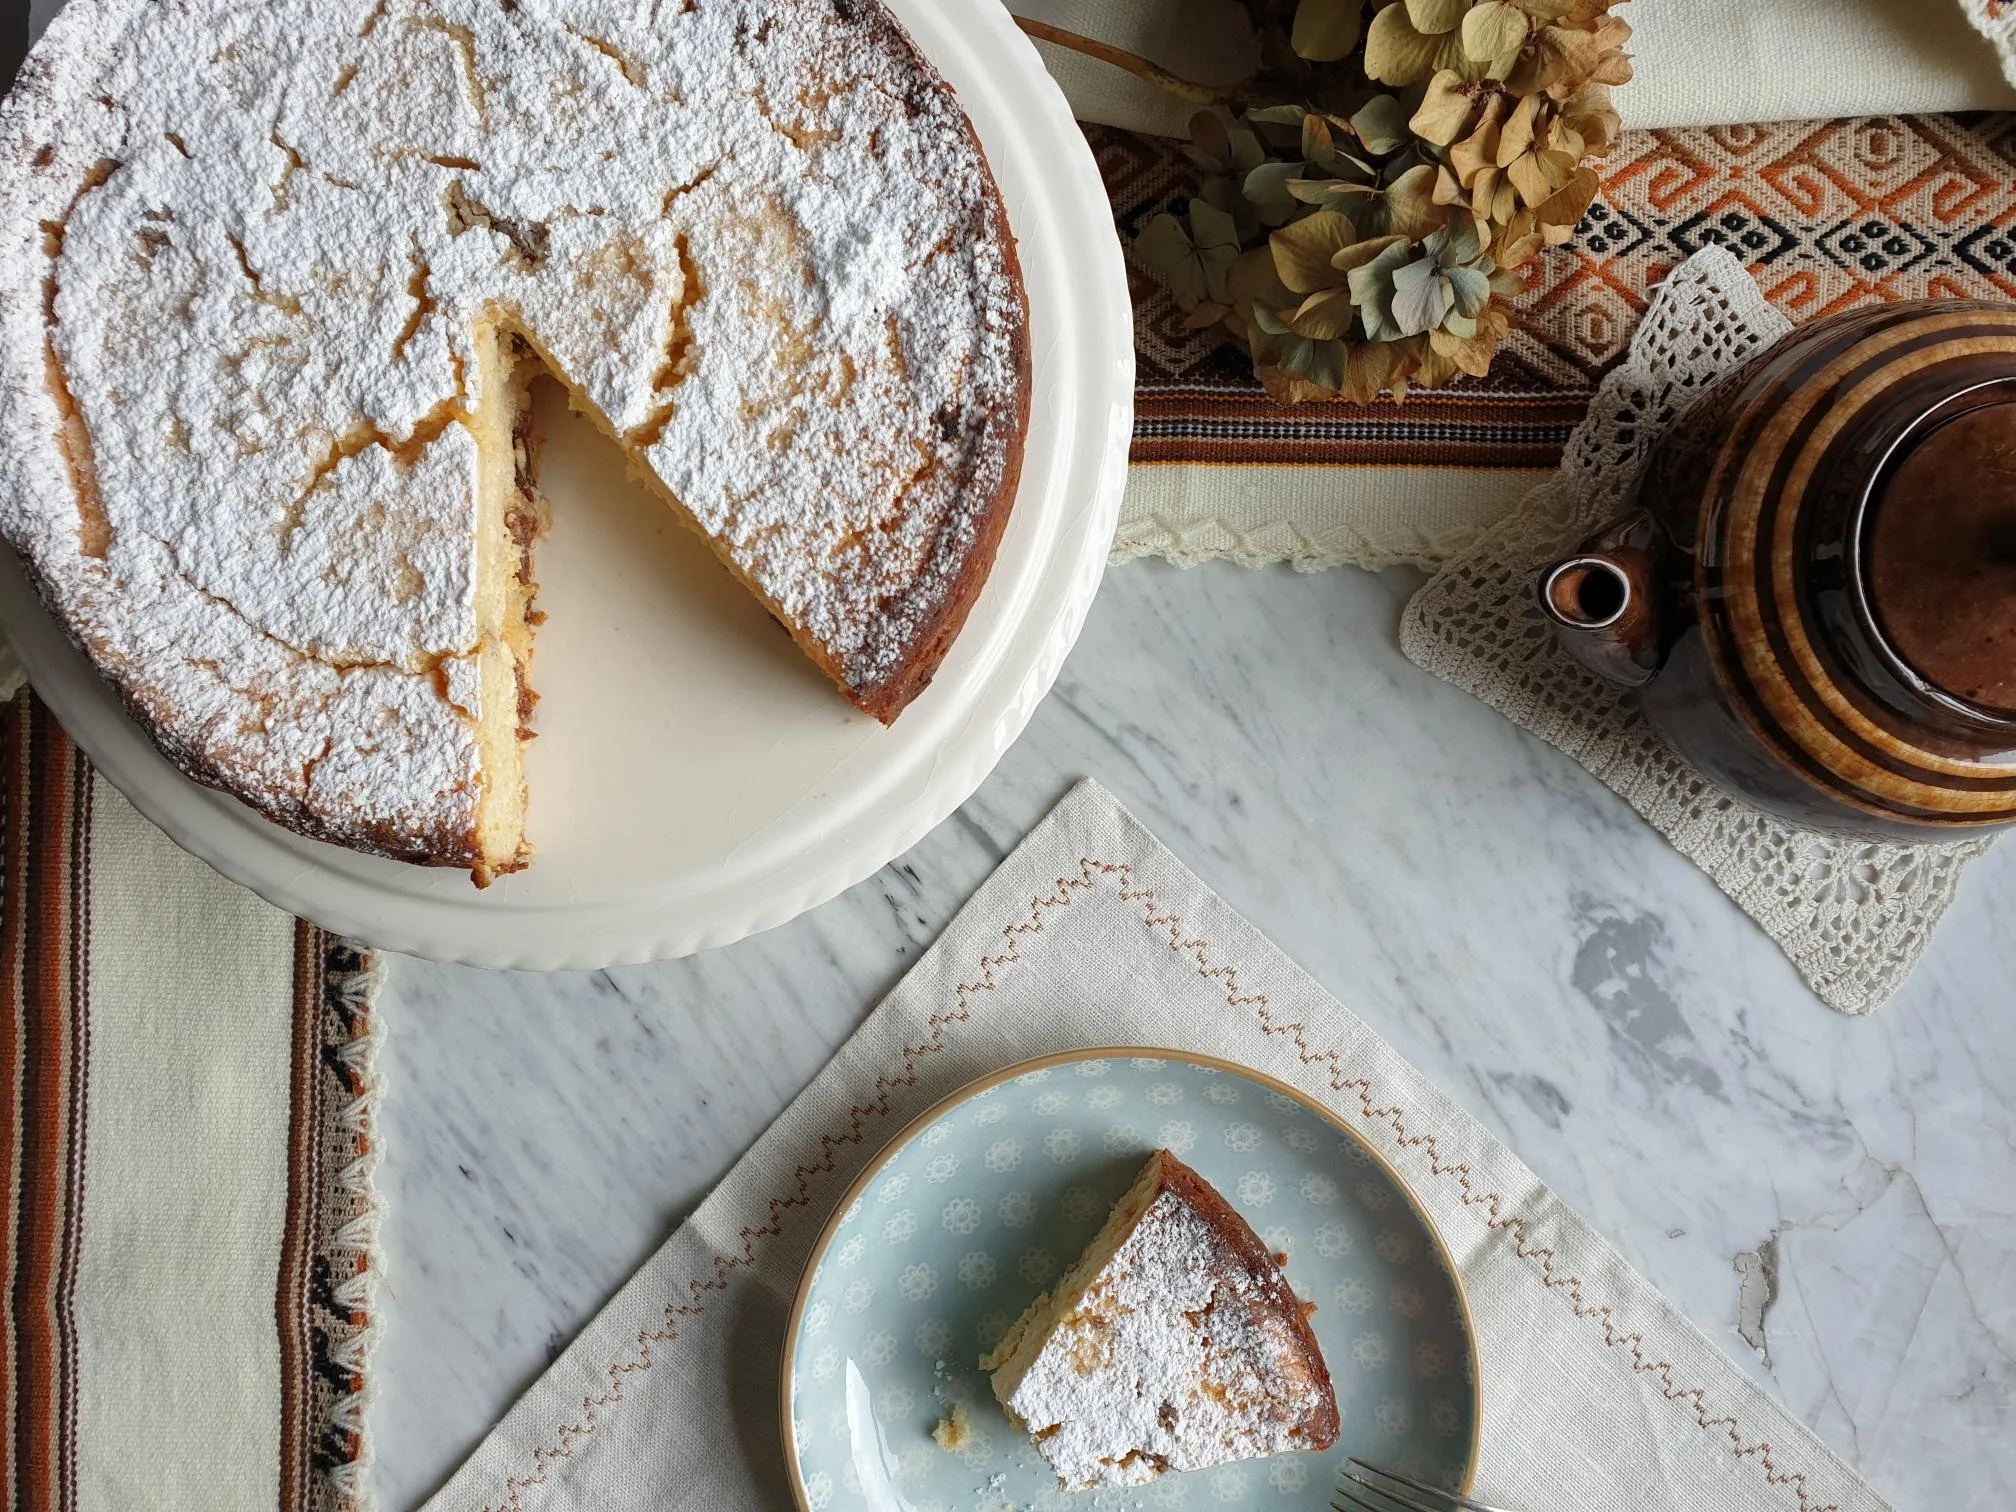
Serve hot, warm or cold with a light dusting of sifted vanilla flavoured or regular icing sugar.
Just a thought
Ricotta filled crêpes can be assembled several hours in advance and baked just before serving.