Sweet Dough Yeasted Rings (Busolai) Recipe
Busolai (also spelled Bussolai or Buzolai) are sweet treats that originate in the region of Veneto in north-east Italy. They are characteristic of Venice, and in particular on the fishermen island of Burano, hence these baked delights are also called Buranei (Burano buiscuits).
They are known as biscuits as they have the consistency of a biscuit, the dough does not contain the yeast, and it can be shaped into a ring or like the letter “S” (not a coincidence, since the S-shaped form of the biscuits makes it easier to dunk into milk or sweet wines).
They used to be only prepared and enjoyed during Easter festivities but nowadays almost every bakery on the island of Burano and in Venice sells them all year round.
Apparently, the letter from the Government of Venice, which still exists, has been found in the national archives of Italy, warning the nuns of the convent of St. Matthew on an island in the Venetian Lagoon that they should cut the number of Bussolai enjoyed during Easter festivities or otherwise they would encounter financial troubles.

The recipe for these biscuits, however, travelled further east, through the region of Friuli, and reached the city of Trieste (in Italy), and the land of Slovenian Istria across the “border”, where the recipe took a slightly different turn
The yeast was added to the dough making these baked goodies resemble more like soft doughnuts than the cookies, in fact, in the area they are described by the locals as sweet bread rings (obročki iz sladkega kruha).
As soon as they were freshly baked, it was a custom of some locals to spoon a bit of rum or grappa over them and sprinkle them with extra sugar.
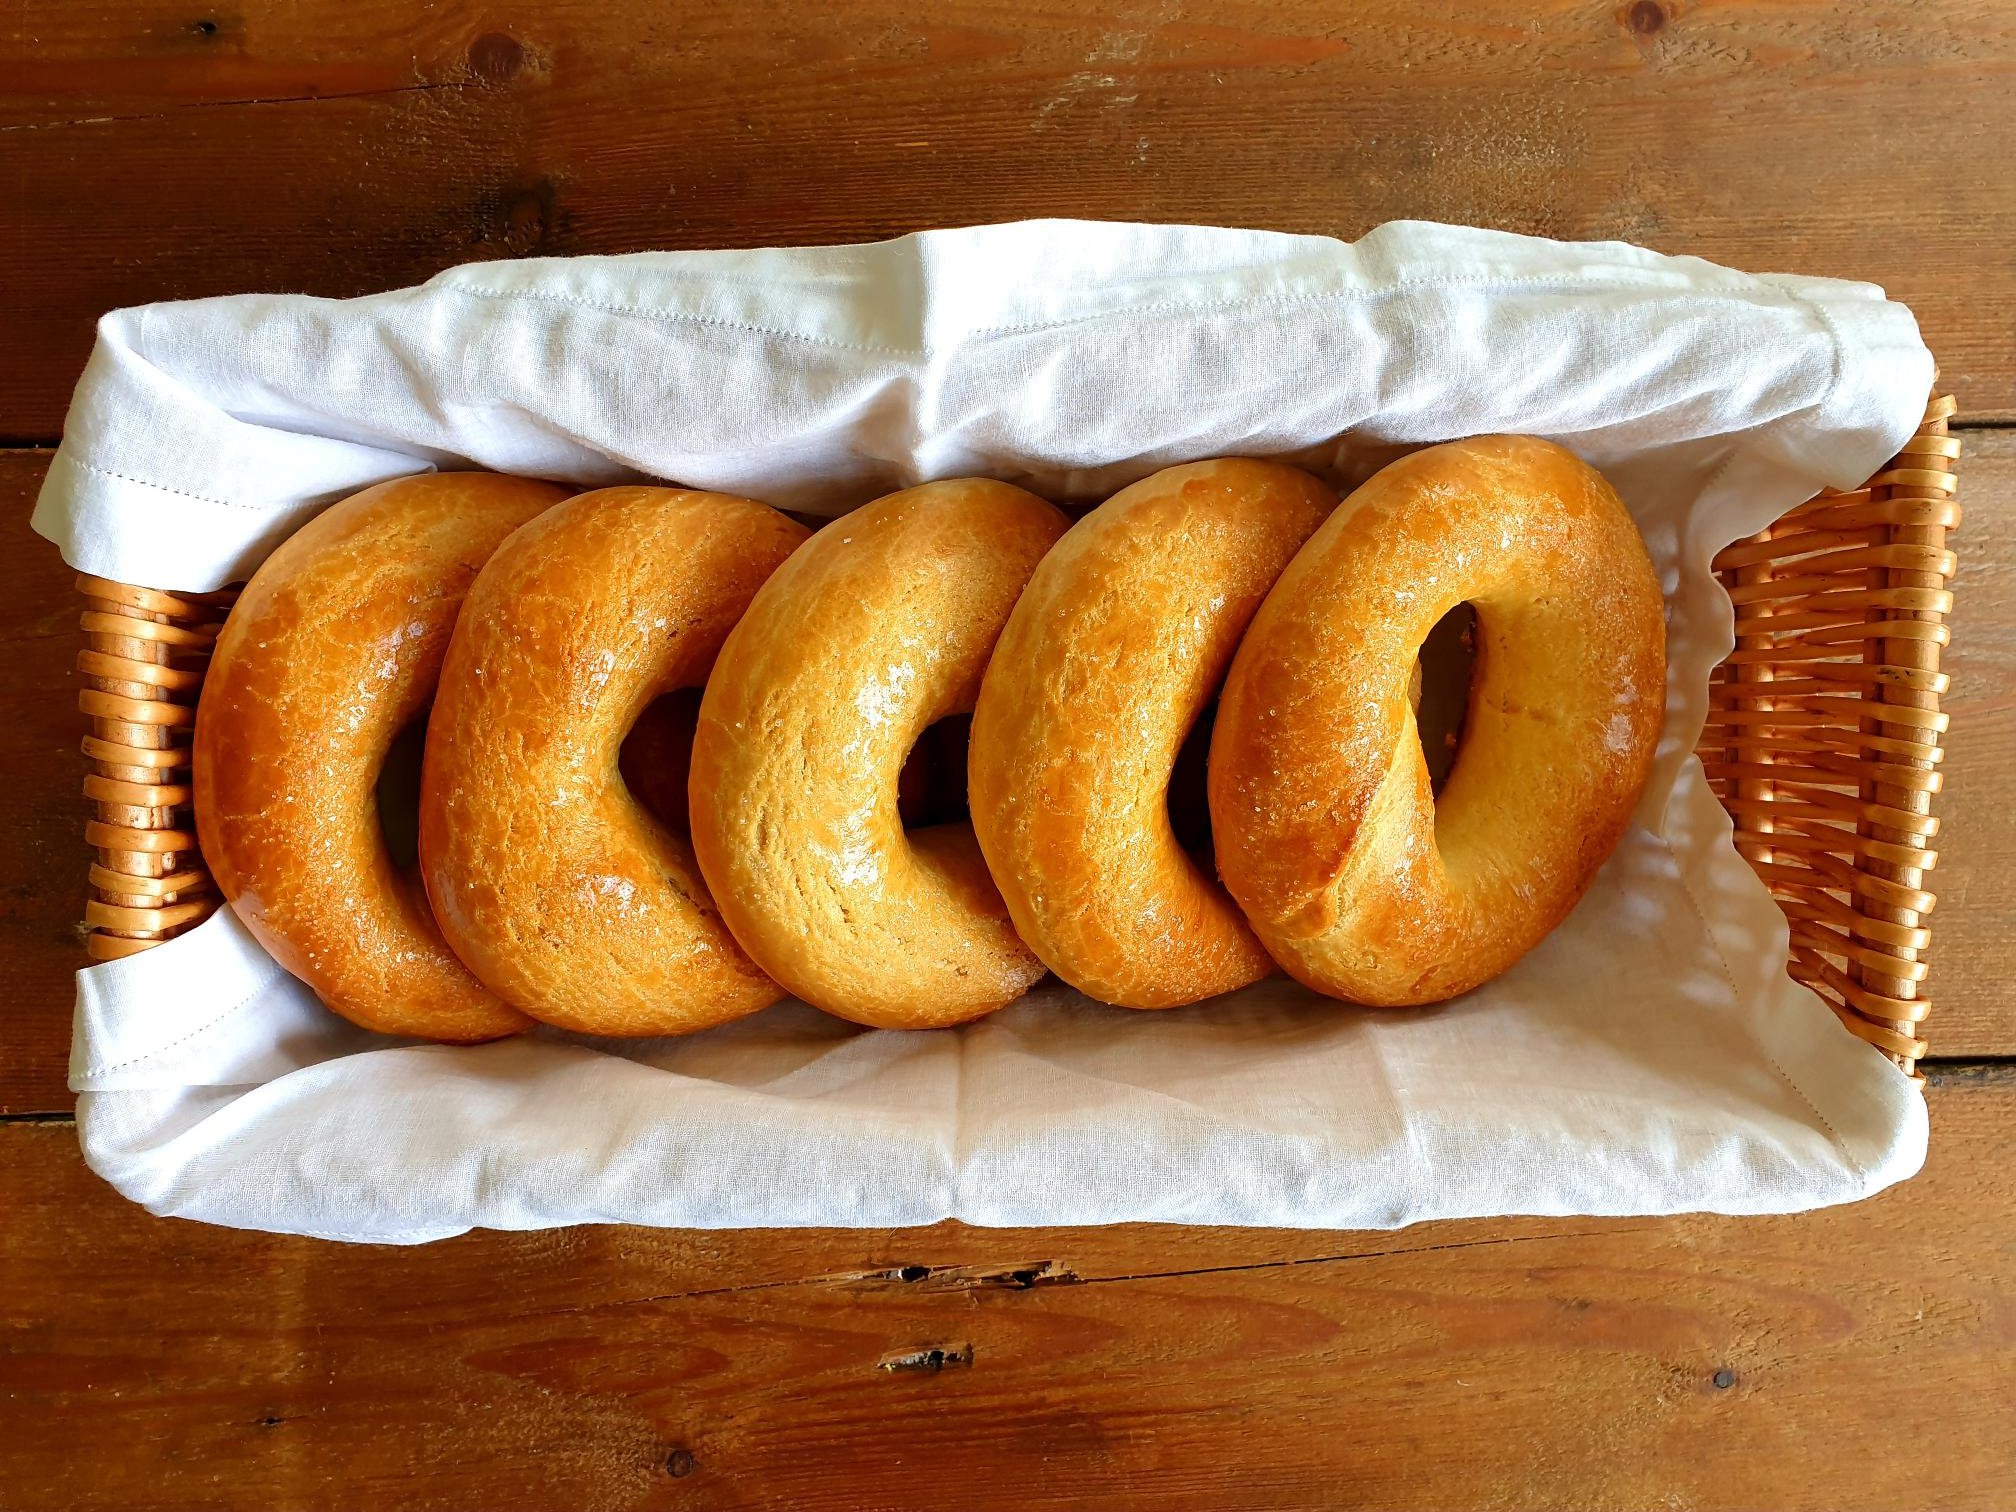
Being like biscuits or doughnuts, they have one unmistakable characteristic in common, they have a hole in the centre, called “busa” in Venetian dialect”, hence their name, Busolai.
To make things more confusing in terms of naming this sweet treat, busolai are sometimes known as “kolach”, name originated from Old Slavonic word kolo meaning “wheel” or “circle”.
Once again, they were baked during festivities, especially during Easter since a great percentage of eggs are used in the recipe (egg representing the symbol of rebirth and resurrection).

These sweet baked rings were traditionally very popular during Confirmation (a rite in the Christian Church, at which baptized persons affirm their Christian belief, and are admitted as a full member of the Church).
Busolai were made into a garland with the use of a simple string and the godfather would gift these to his god child. This is described by a very well know and famous proverb in local dialect “Chi ga santoli ga buzzolai” (only the one who has a godfather will get busolai).
This tradition would be furthermore highlighted by another proverb in the local dialect “Bezi, basi e bussolai no i xe boni se no I xe assai,” which translates in standard Italian as (Soldi, baci e bussolai non sono buoni se non sono assai), and in English means that money, kisses and bussolai are no good if not given in abundance.
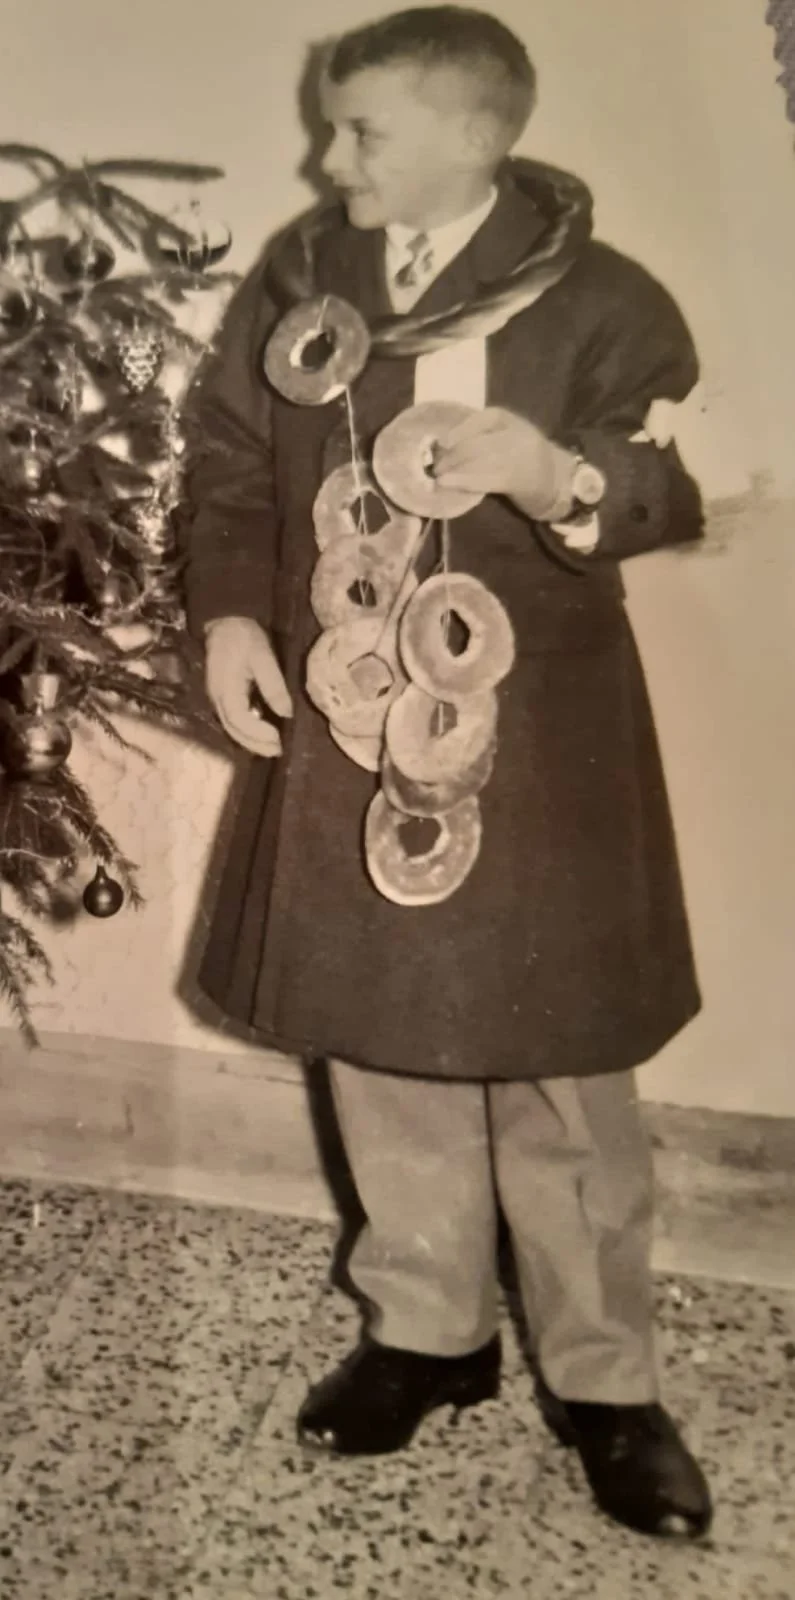
My husband’s uncle (known as zio Livio) with a garland of bussolai received on his Confirmation day by his godfather
This custom used to be very popular in Slovenian Istra, and almost each village would have a slightly different recipe for it. I am sharing with you my nona's recipe from the village of Marezige, a few kilometres from a coastal town of Koper where there used to be only one baker in town, at the time when my nona was a little girl, selling busolai, run by a family of Venetian origin.
Very sadly, there are no bakers selling busolai anymore, moreover, the custom of godfathers gifting the children with busolai has completely died out, and younger generations have never seen or heard of busolai.
Only a bunch of elderly people still alive today will tell you, with nostalgic voices and tearful eyes, with touching and emotional stories about their Confirmation Day, and they very much anticipated sugar coated busola, the only gift they received, if they were lucky enough.
Recipe
Ingredients
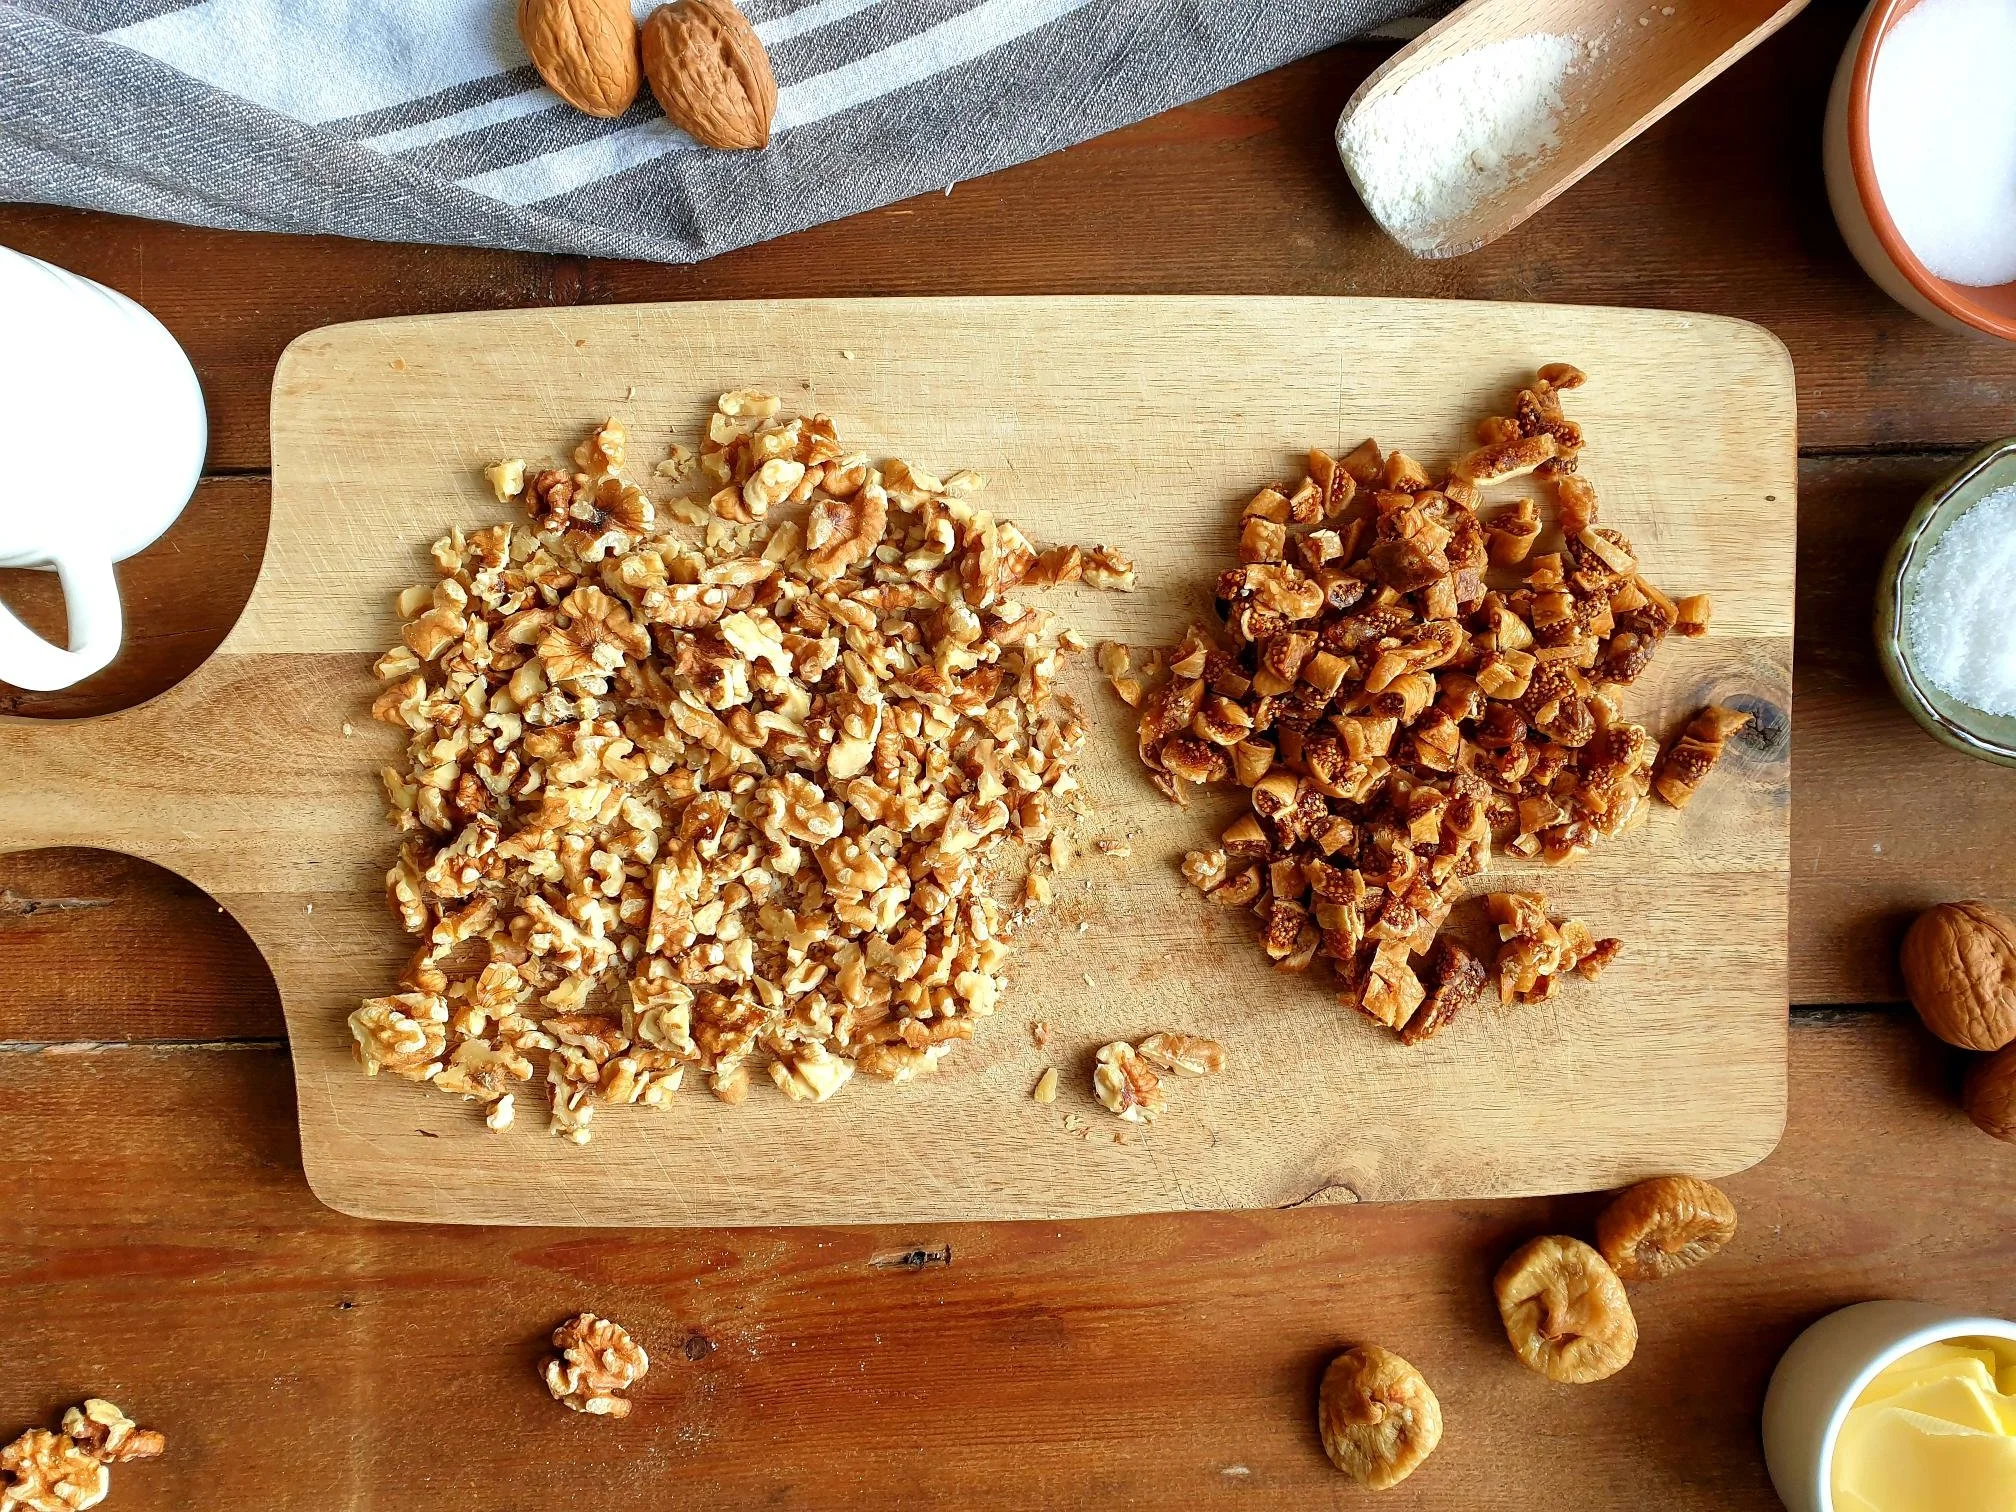
500g regular plain flour
1 cube of fresh (brewer's) yeast 42g or 14g of dry yeast
100g unsalted butter, melted
150g sugar
2 medium eggs, lightly beaten
2 egg yolks, lightly beaten
100ml tepid lukewarm milk (semi skimmed or full fat)
2 Tbsp dark rum or grappa (alcoholic, fragrant grape-based pomace brandy of Italian origin)
finely grated lemon zest of 1 unwaxed lemon
pinch of sea salt
1 small egg, lightly beaten, for glazing (can use lightly beaten egg whites, the busolai will result lighter in colour after baking)
Method
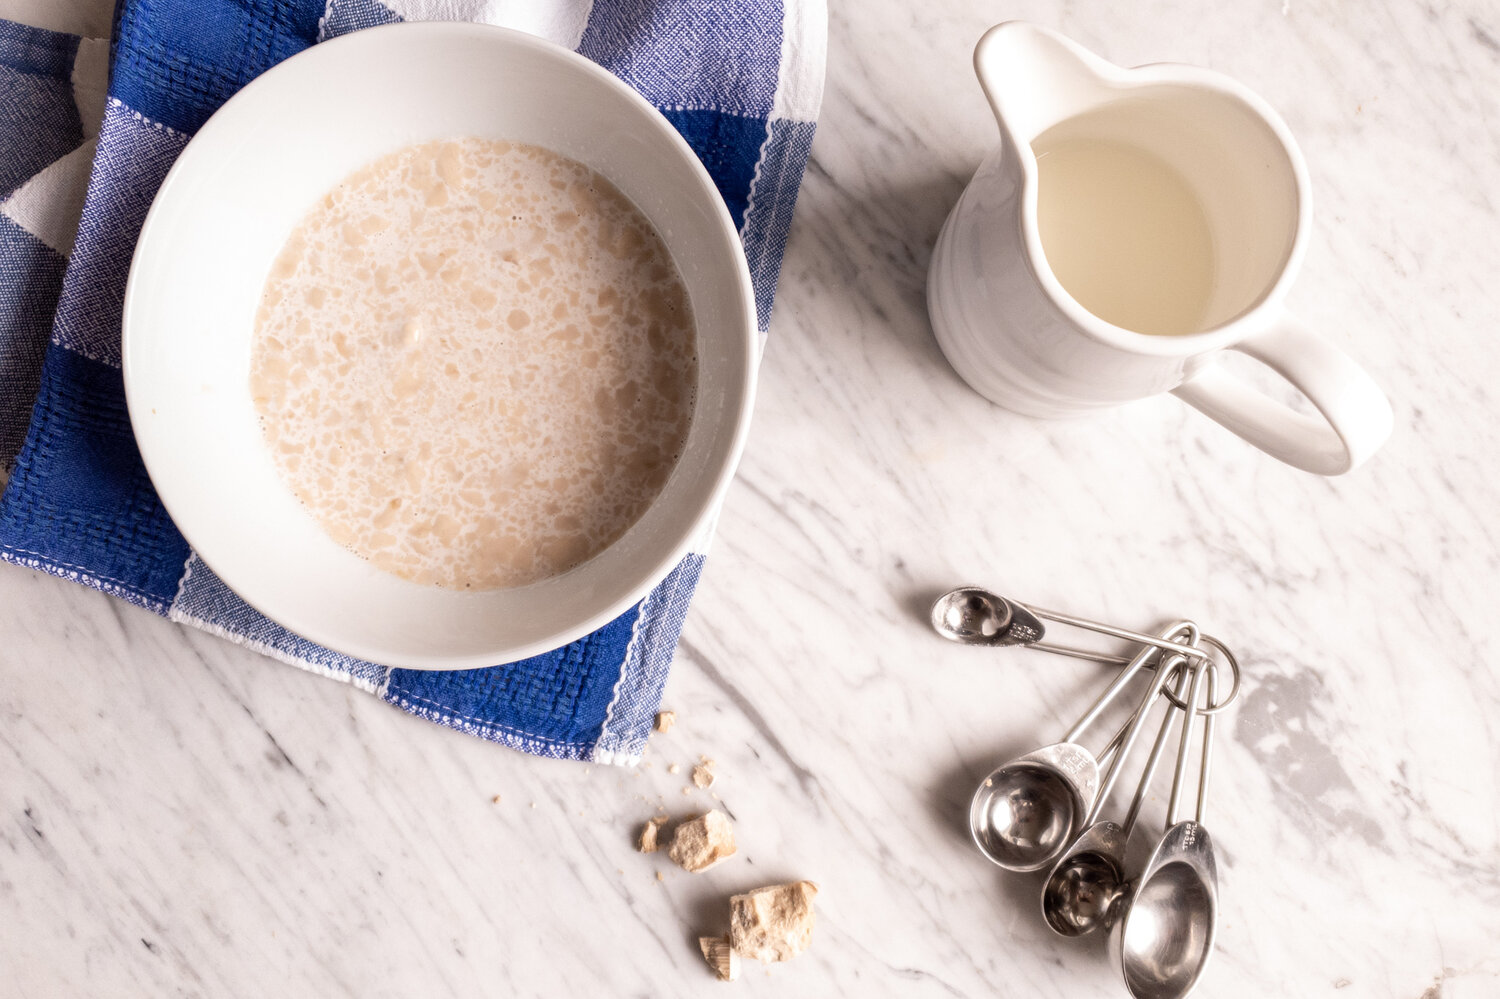
In a small bowl place dry or fresh yeast (if using fresh yeast slightly brake it down into smaller pieces with your fingers).
Add 100ml of lukewarm milk and ¼ tsp of caster sugar.
Gently stir and leave for about 20 minutes or until gentle bubbles form on the surface.
In a separate mixing bowl put the eggs, egg yolks and beat them gently.
Add melted butter, sugar, rum or grappa, grated lemon zest and a pinch of sea salt, and with the fork mix well all the ingredients.
In a large mixing bowl put the flour, add egg mixture and the yeast mixture.
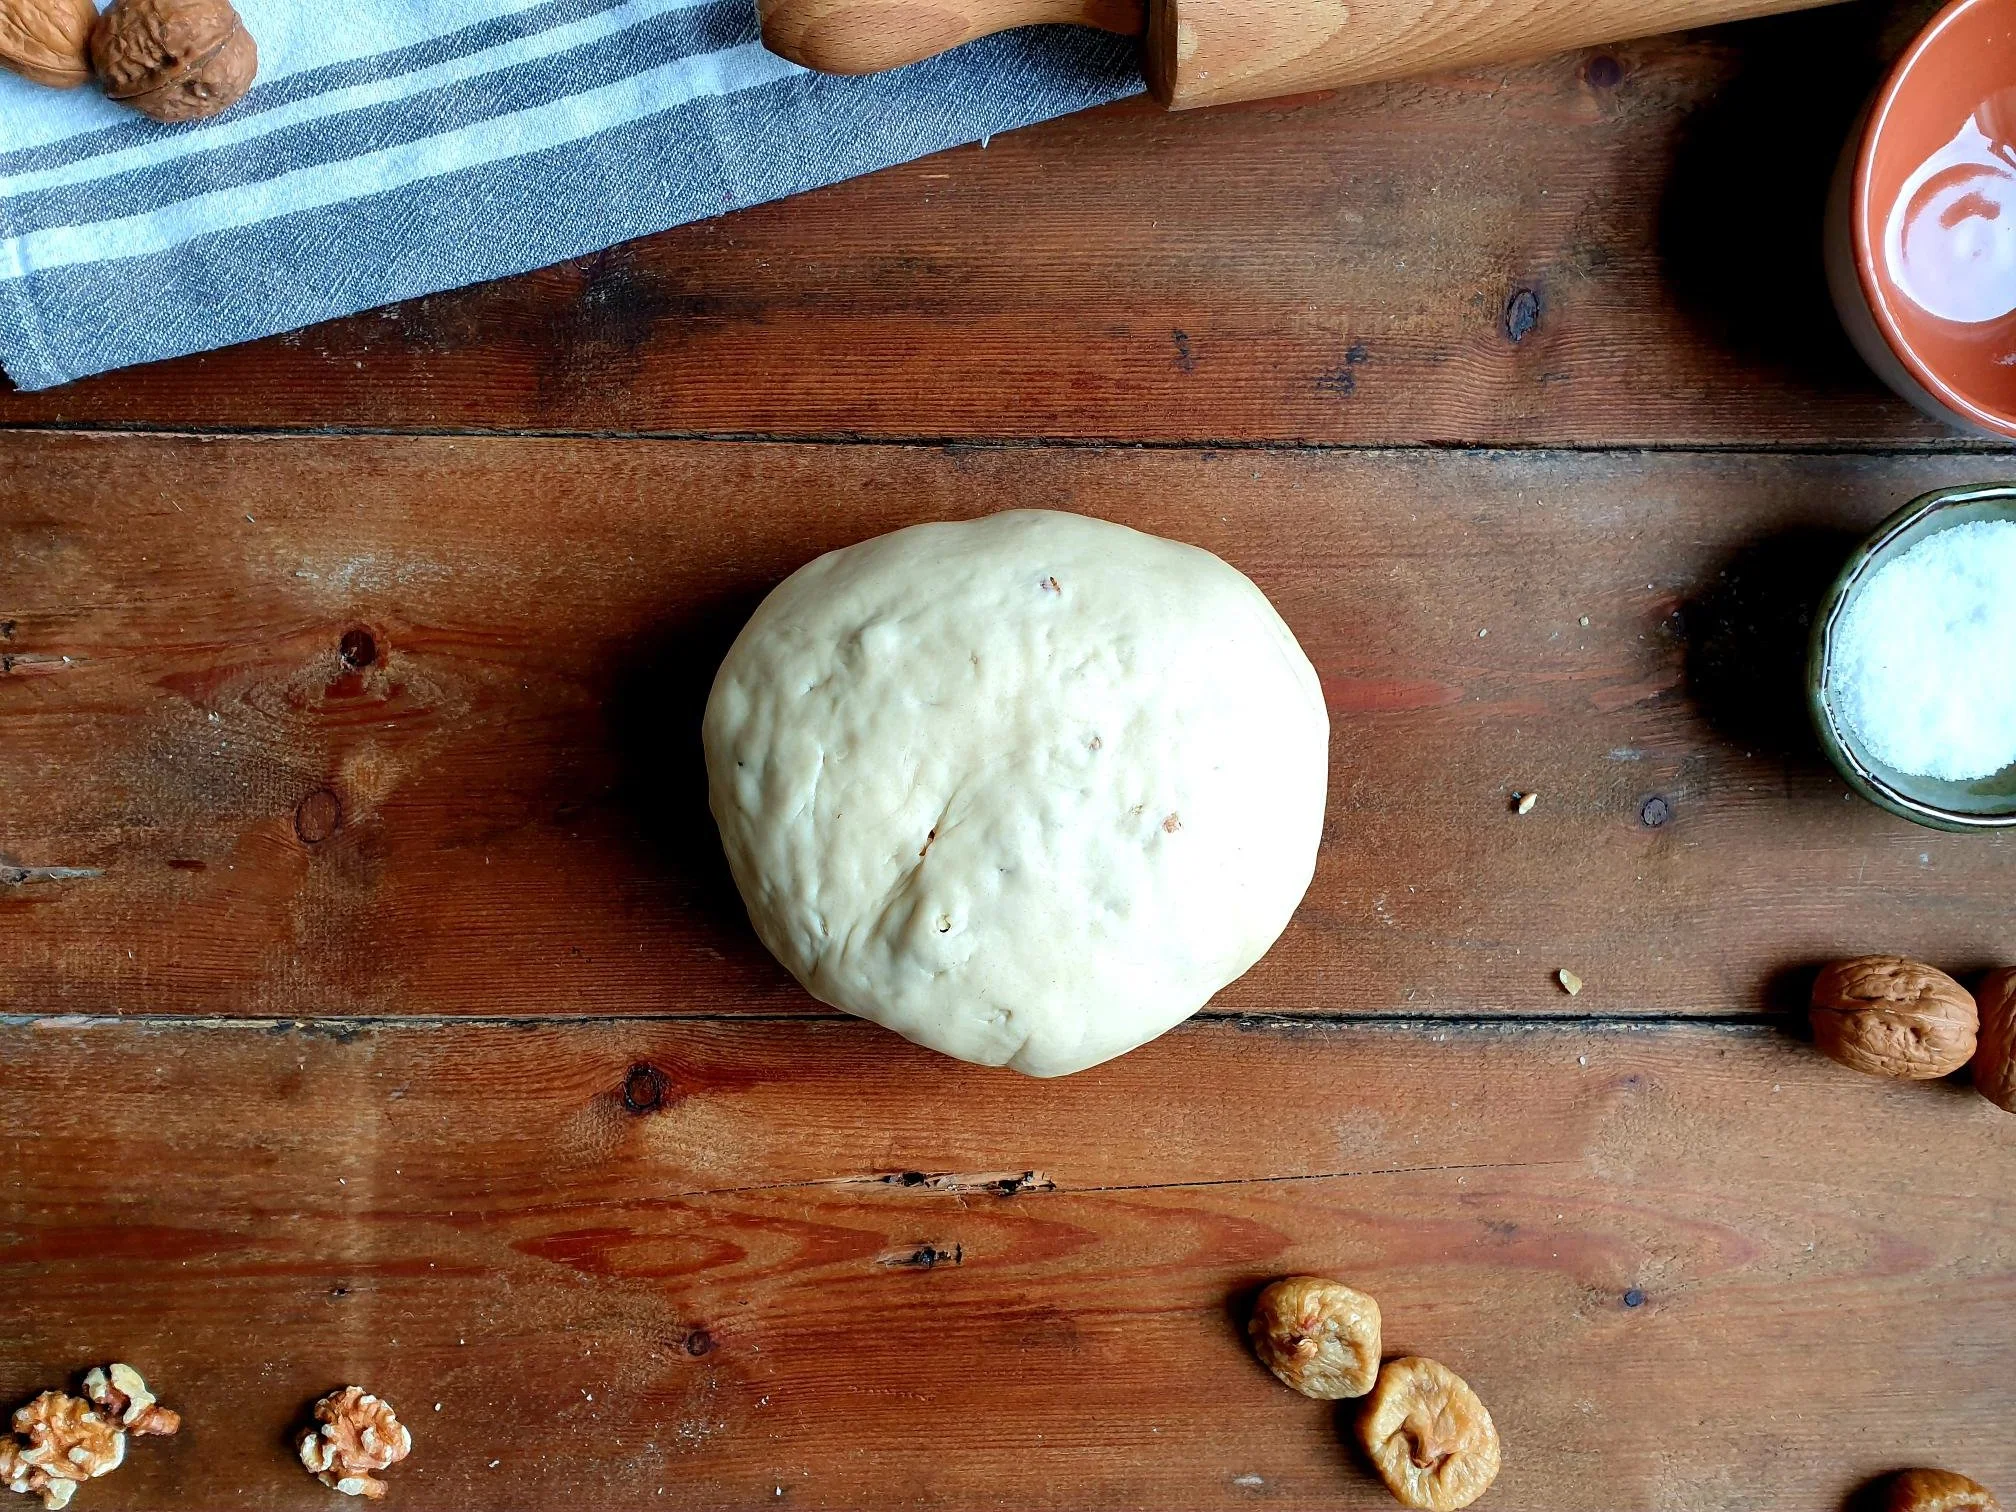
Combine well all the ingredients with the wooden spoon or spatula to start with. When all the ingredients are well combined transfer the mixture onto a clean, floured surface.
Work with your hands and knead the dough for about 10-15 minutes, stretching it and folding it, adding a little flour at the time if the dough is too sticky.
Knead the dough until it becomes smooth, soft, shiny and elastic (the dough should not stick to the surface or your hands).
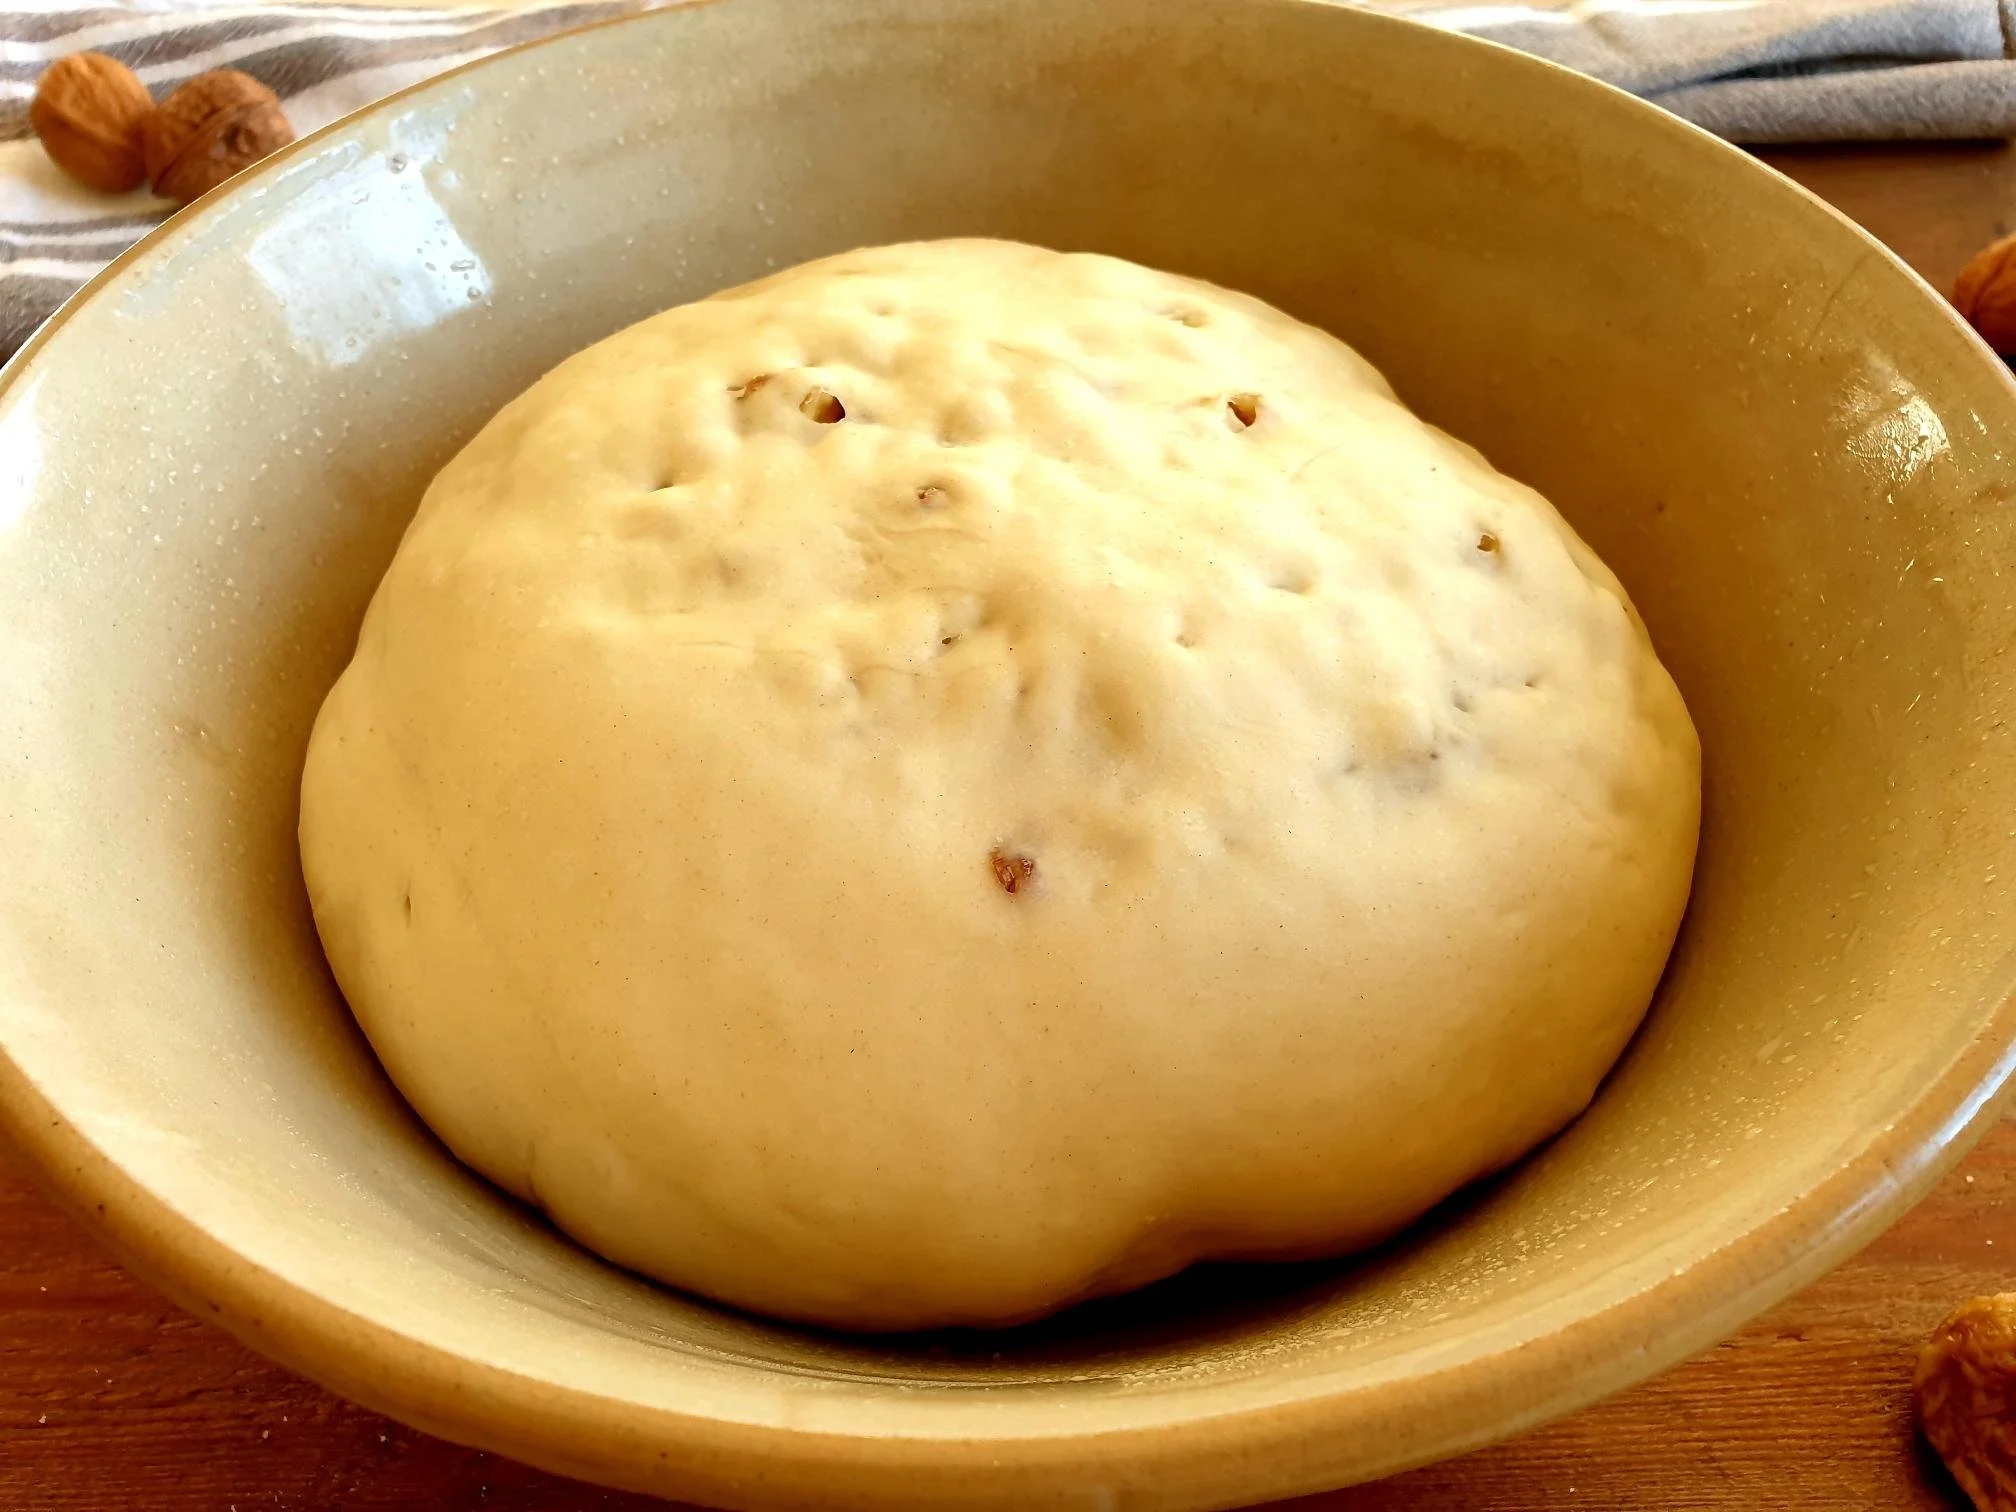
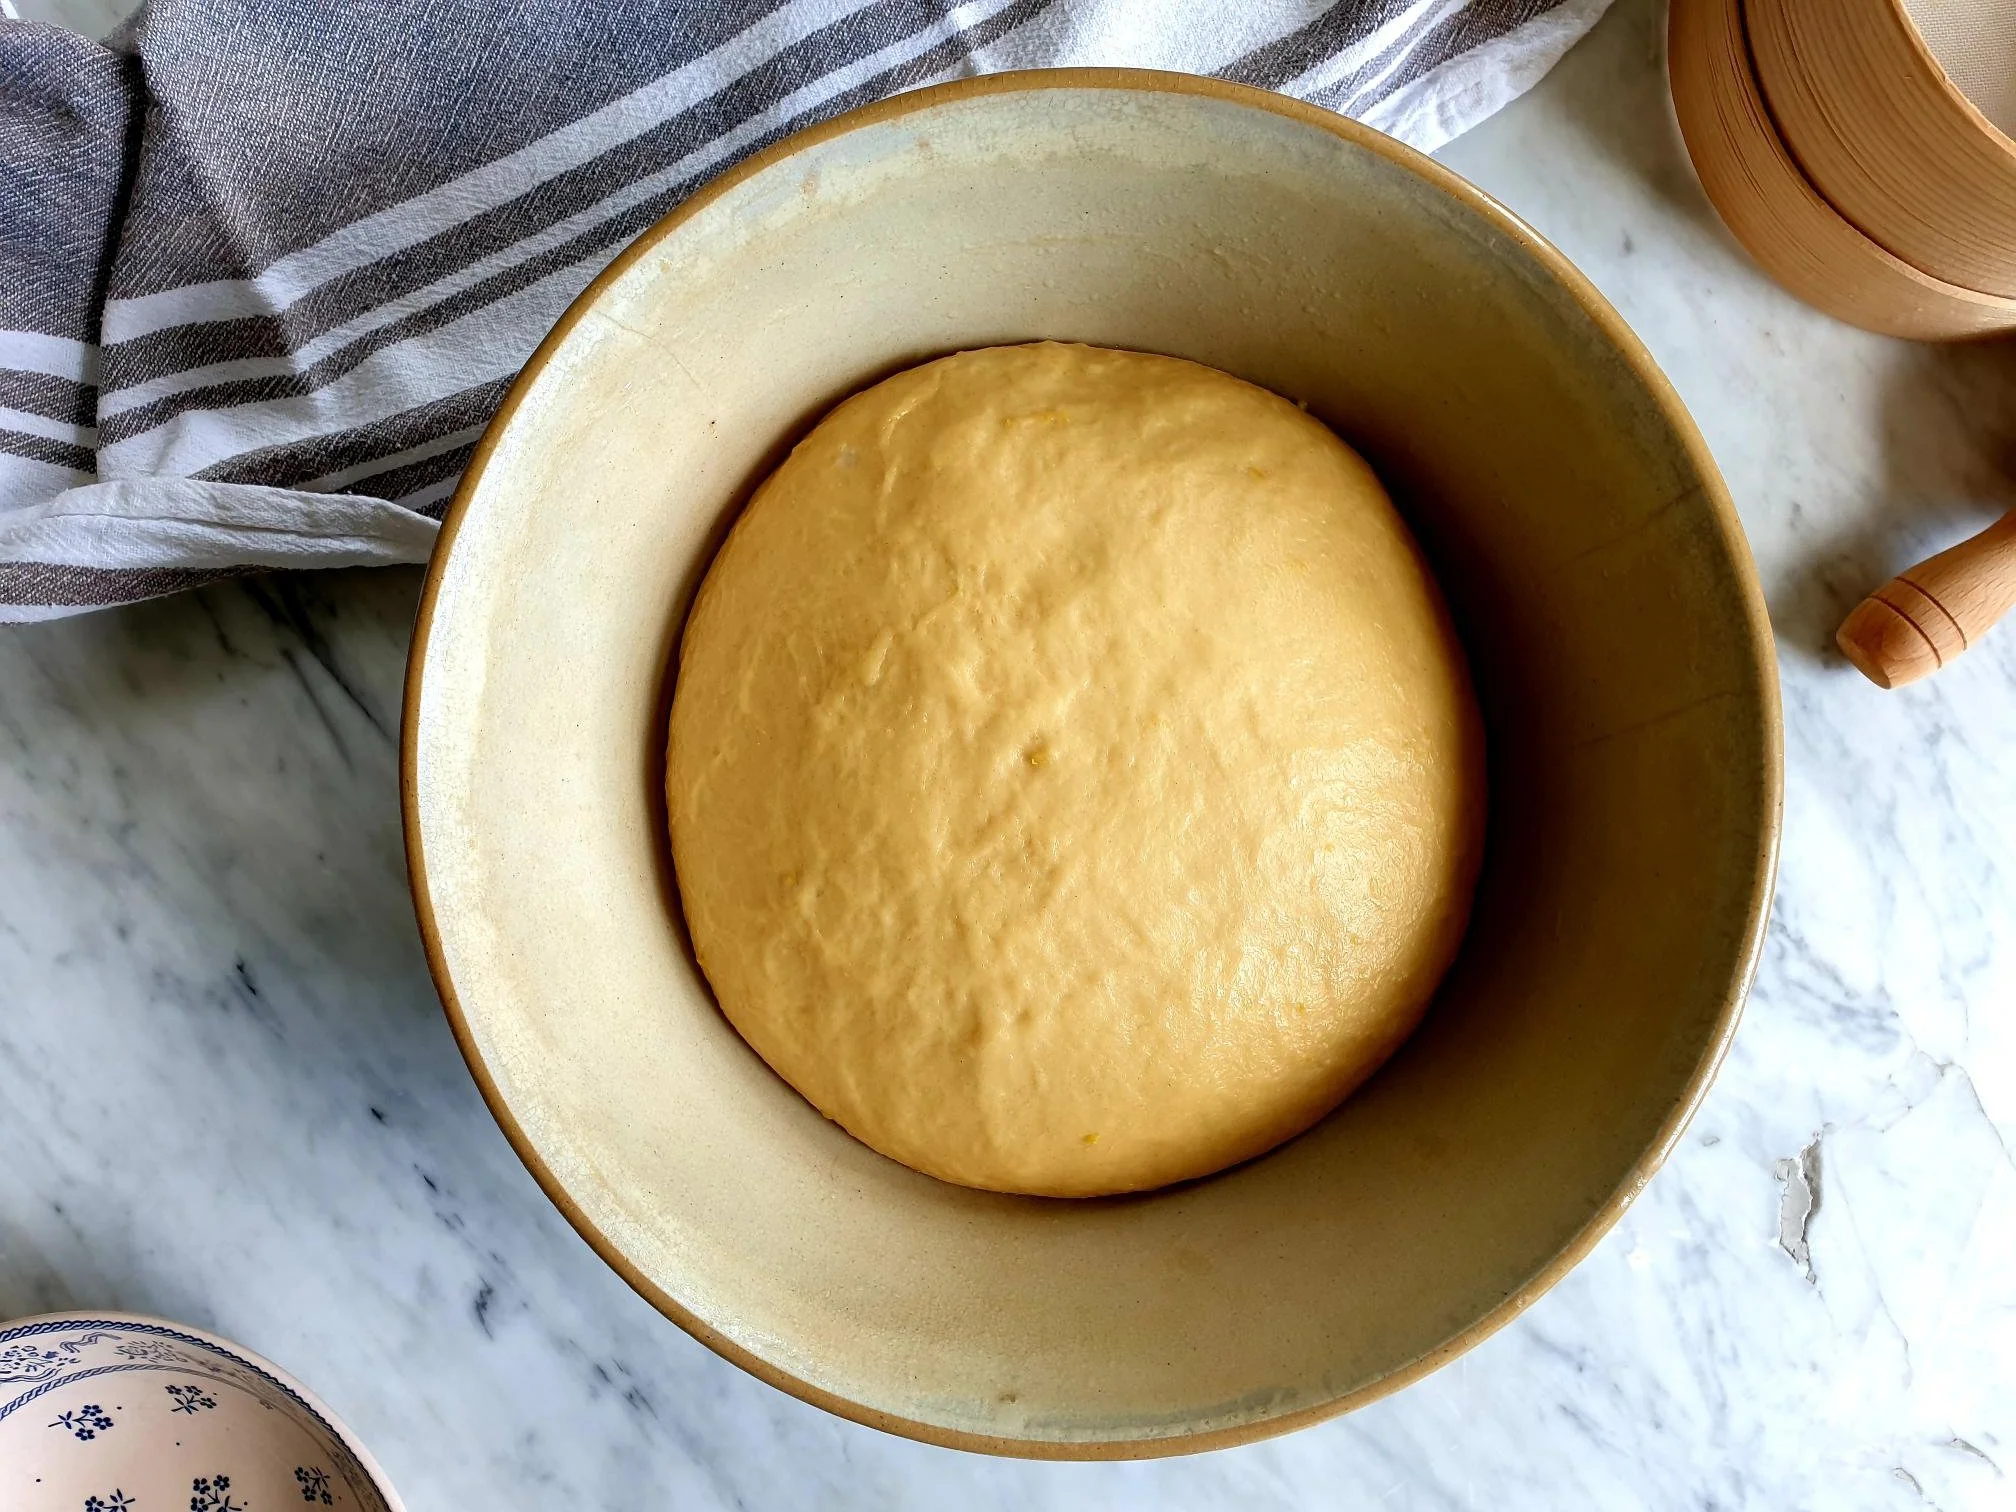
Shape the dough in a ball, place it back into a previously oiled mixing bowl.
Cover tightly with cling film, leave to rest and prove in a draft free space at a room temperature for 3 hours.
After this time your dough should be at least double in size.
Line 2 large flat baking trays with baking parchment.
Take the dough out of the mixing bowl, place it on a working surface, knock the air out of the dough and shape it into a log.


Divide the dough into more or less equal parts (10-12 parts each weighting roughly 100g).
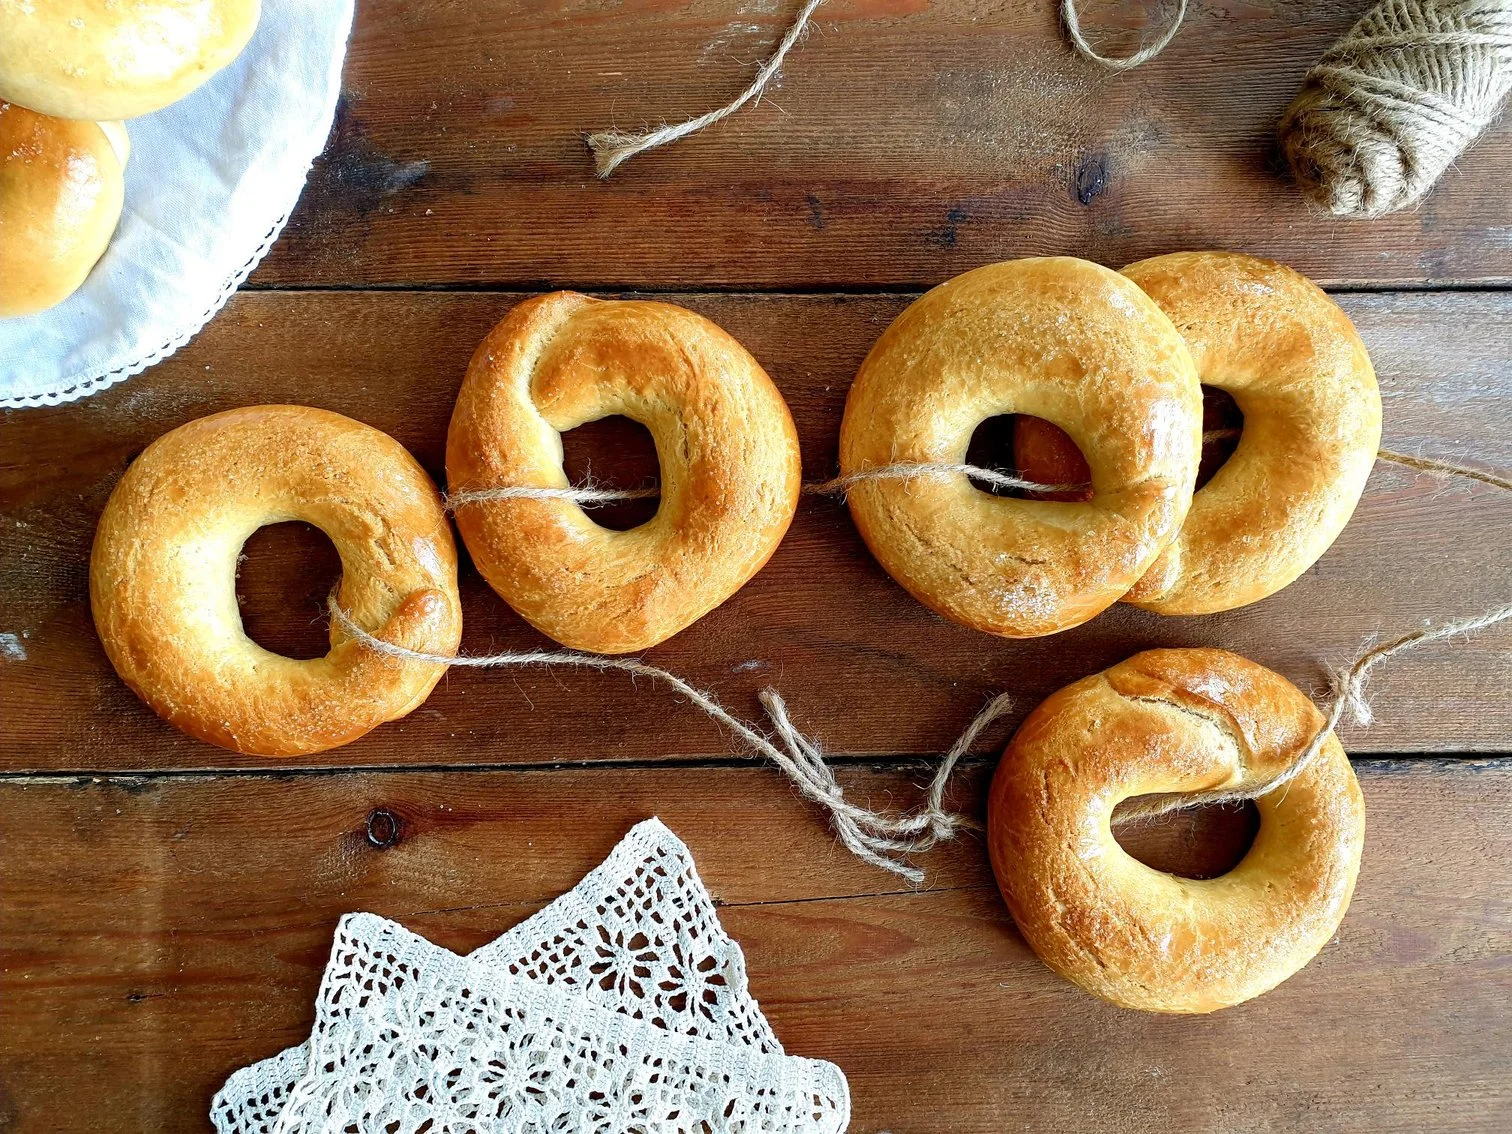
Shape each piece of the dough into a sausage and form a ring, pinching the ends together (make sure you are generous with the size of the ring, during the baking the busalai rise and stretch quite a bit, if the whole is too small, after the baking you will end up with busolai that have almost a non-existing hole, not that this is really a problem).


Place your ring-shaped sweet dough onto a tray.
Cover with clean tea towel and leave to prove for the second time for about 30 minutes.
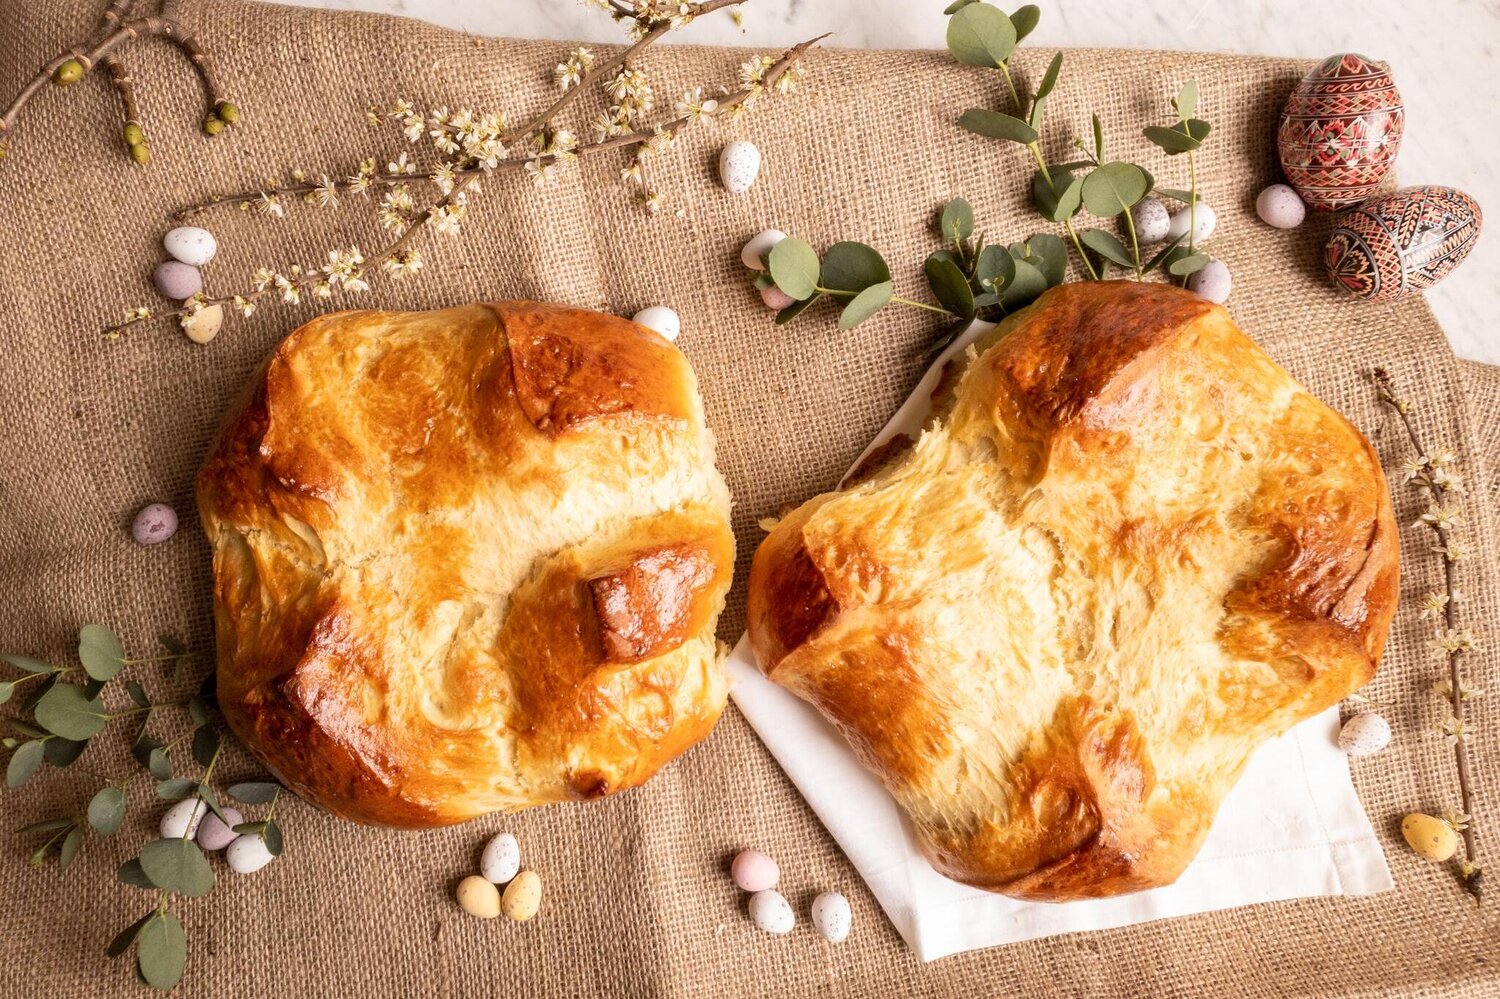
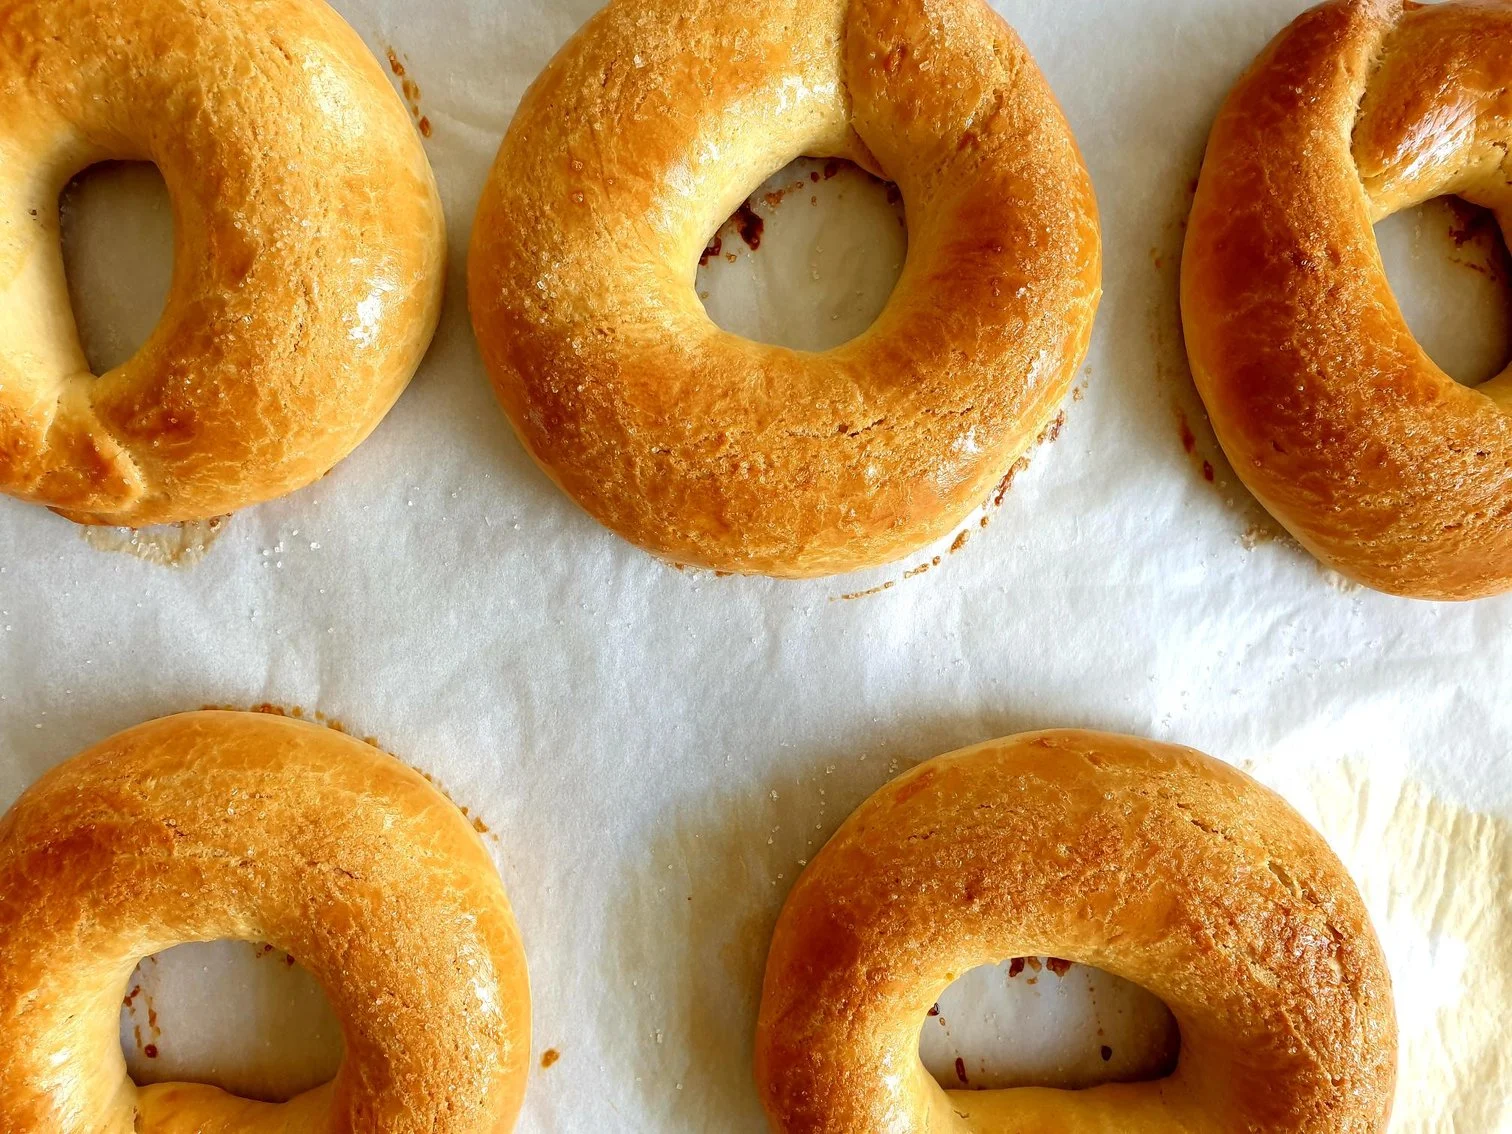
Gently brush the sweet dough rings with lightly beaten egg or egg whites and sprinkle the top of the rings with sugar.


Preheat the oven to 180°C and bake for 20 to25 minutes or until well risen and deep golden brown (they will be slightly lighter in colour if you brush them with egg whites).

Remove from the oven and transfer the busolai to a wire rack to cool completely.

Busolai are best eaten within a few hours.
You can easily freeze them, just make sure you freeze them as soon as they are completely cool.