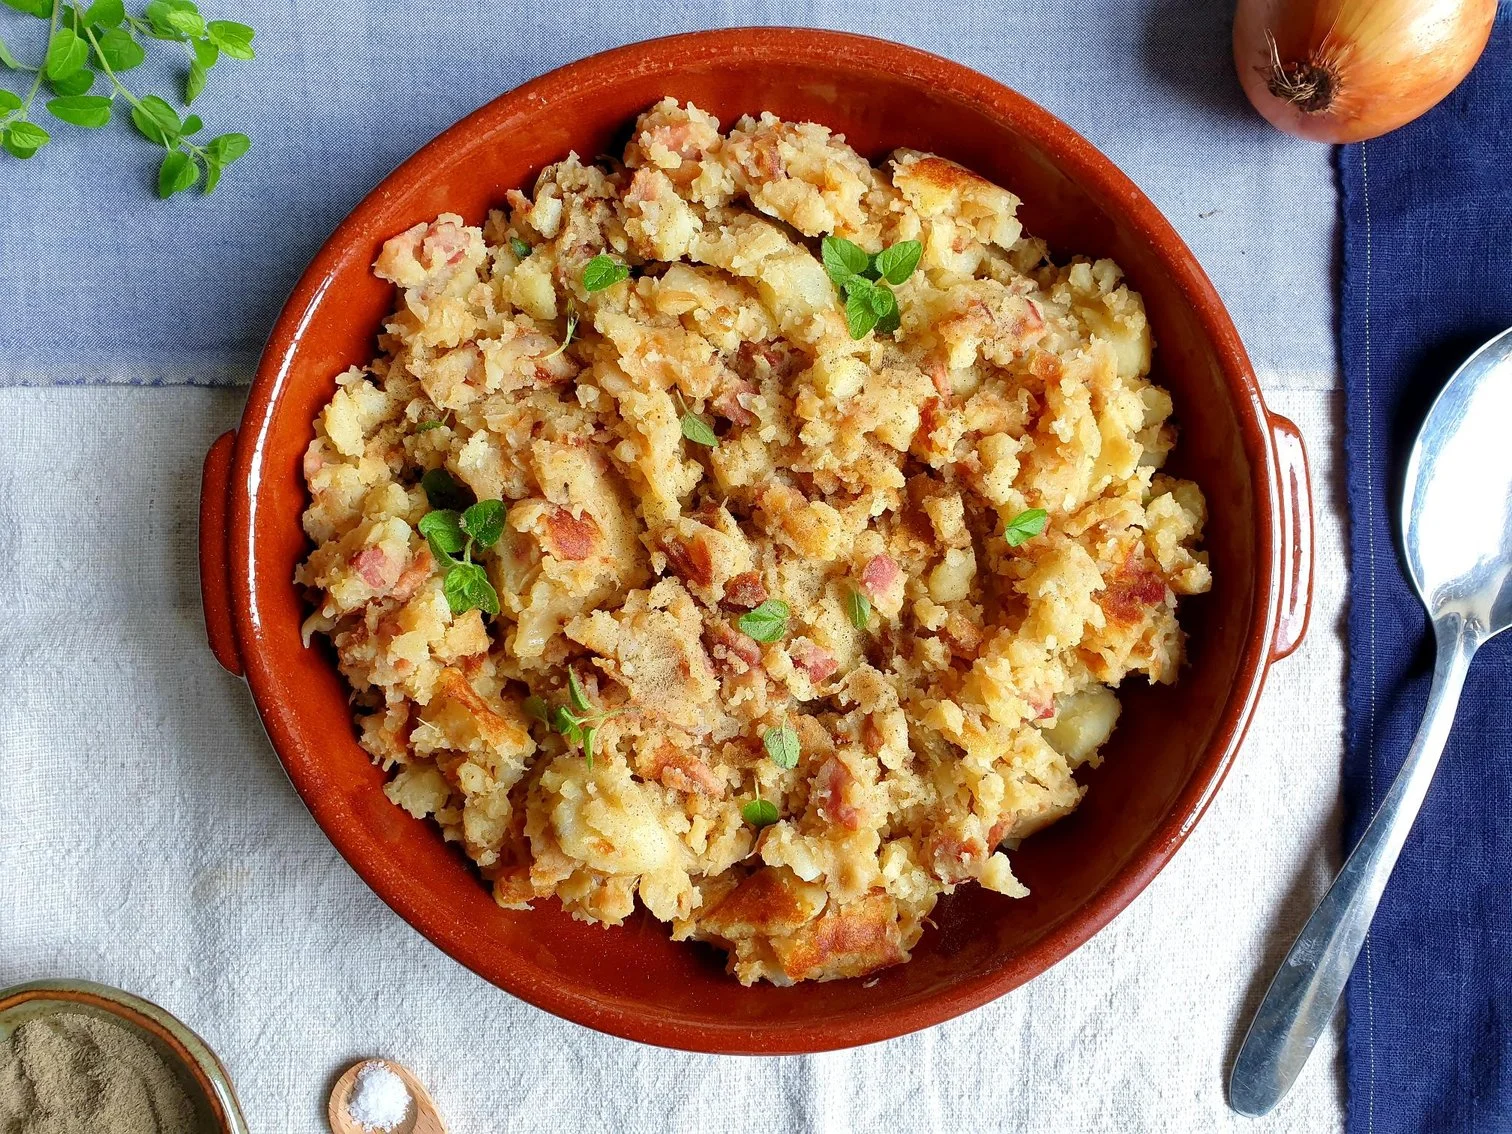
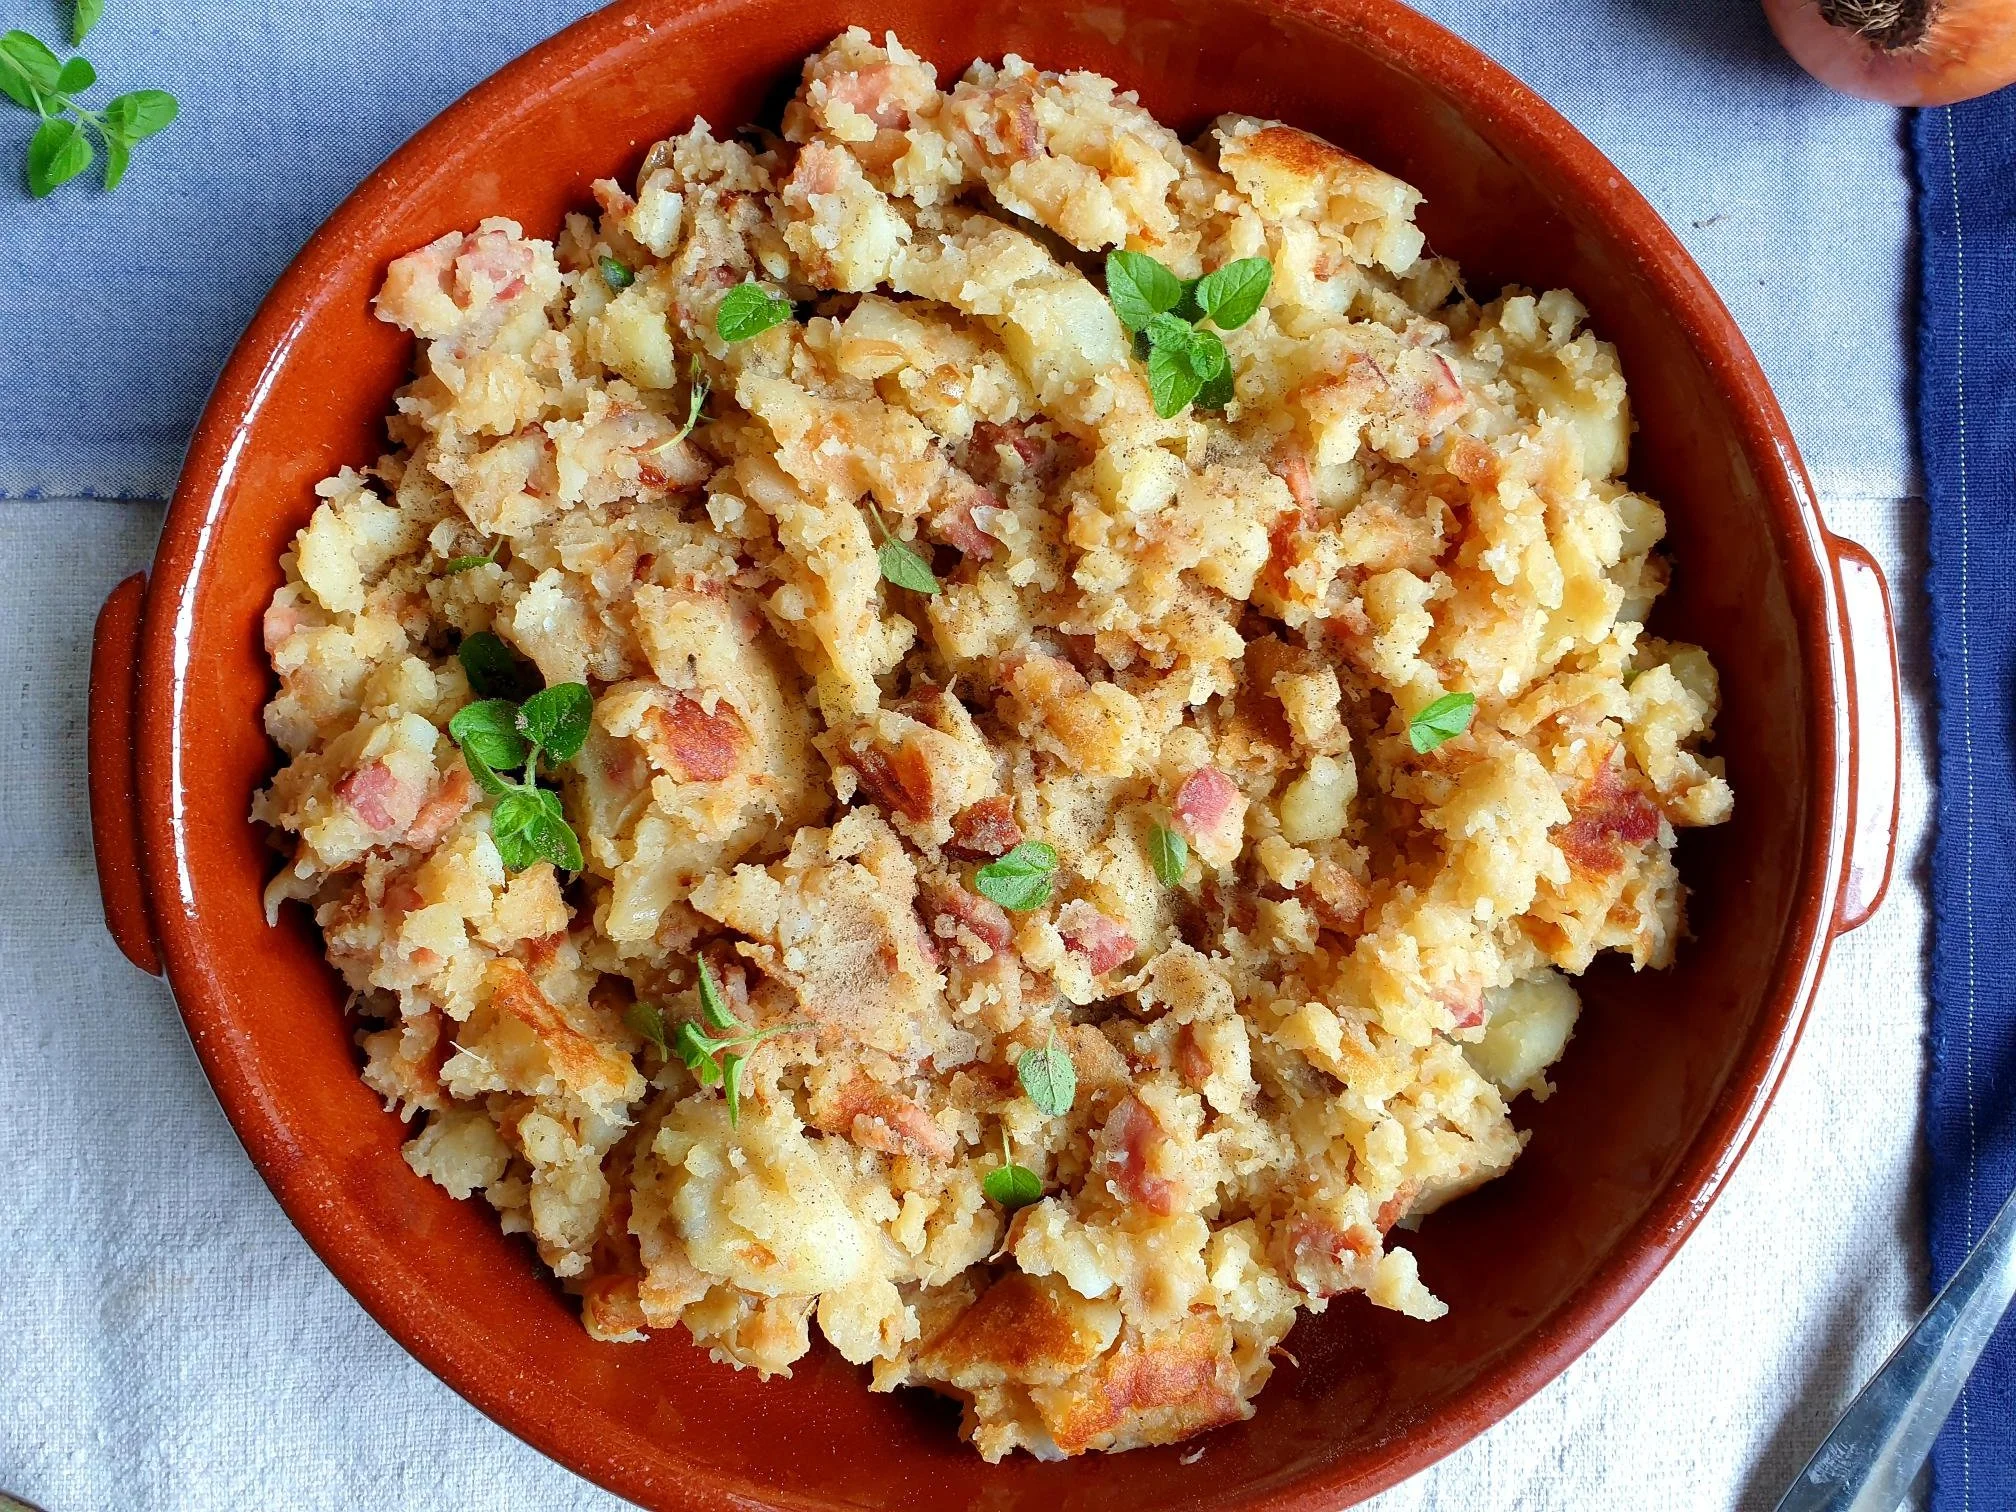
Pan-fried potatoes with onions and pancetta Istrian Recipe
If you are searching for a slightly different potato side dish from the usual and delicious mashed or roast potatoes, look no further.
This modest, simple and humble, but hearty and scrumptious potato side dish, pairs perfectly with just about anything, but it is the most loyal companion to meat or vegetable based dishes.
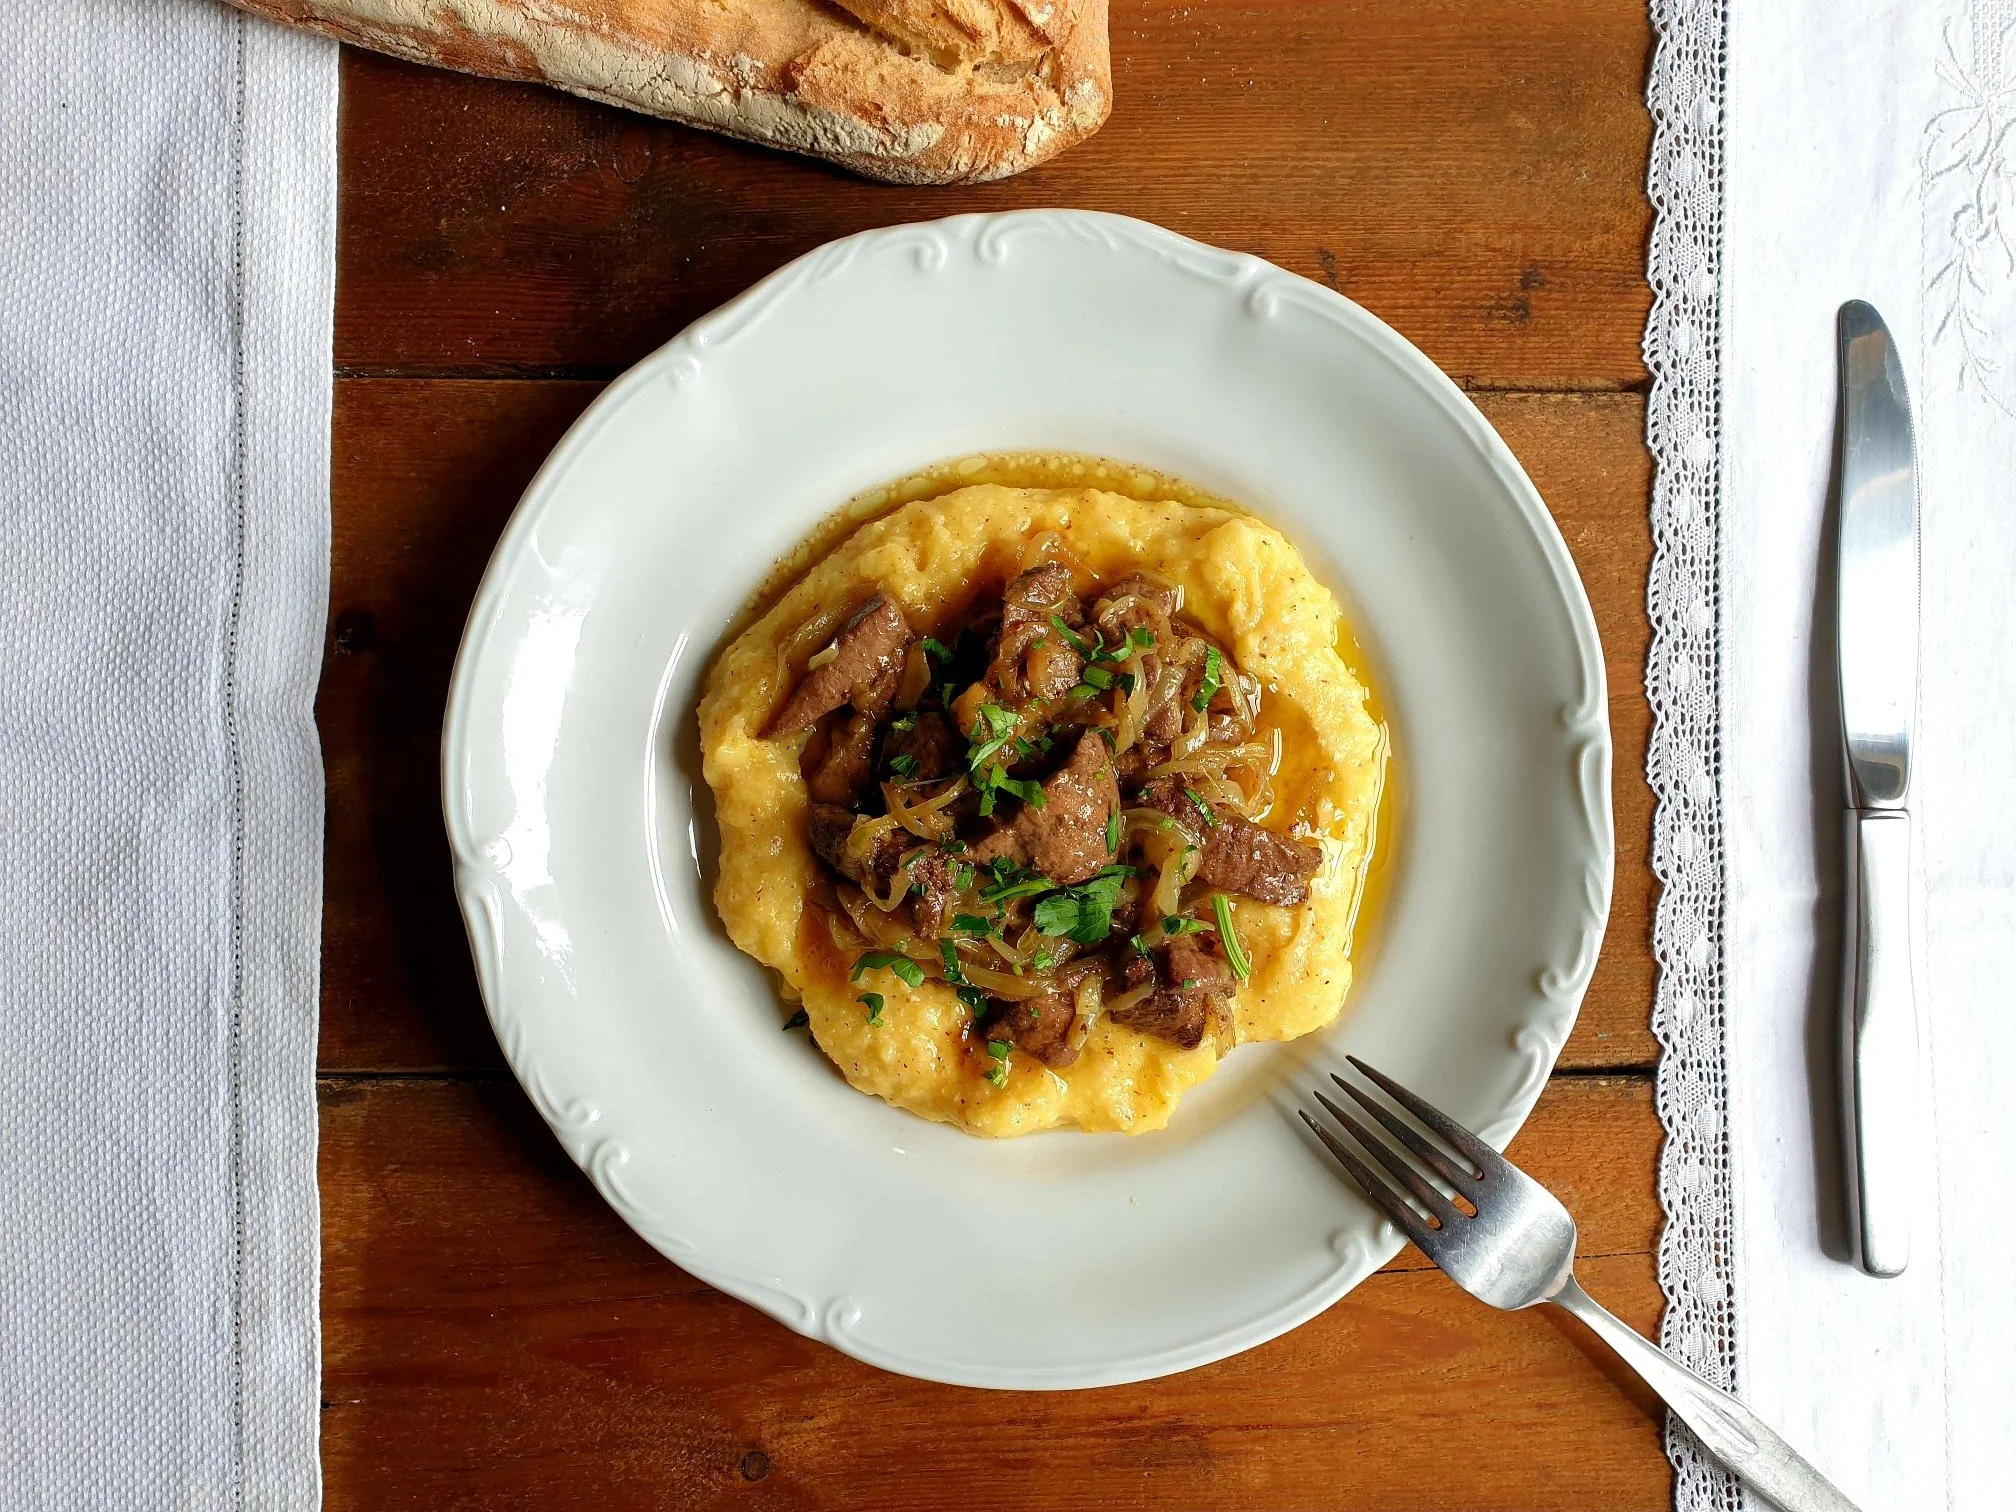
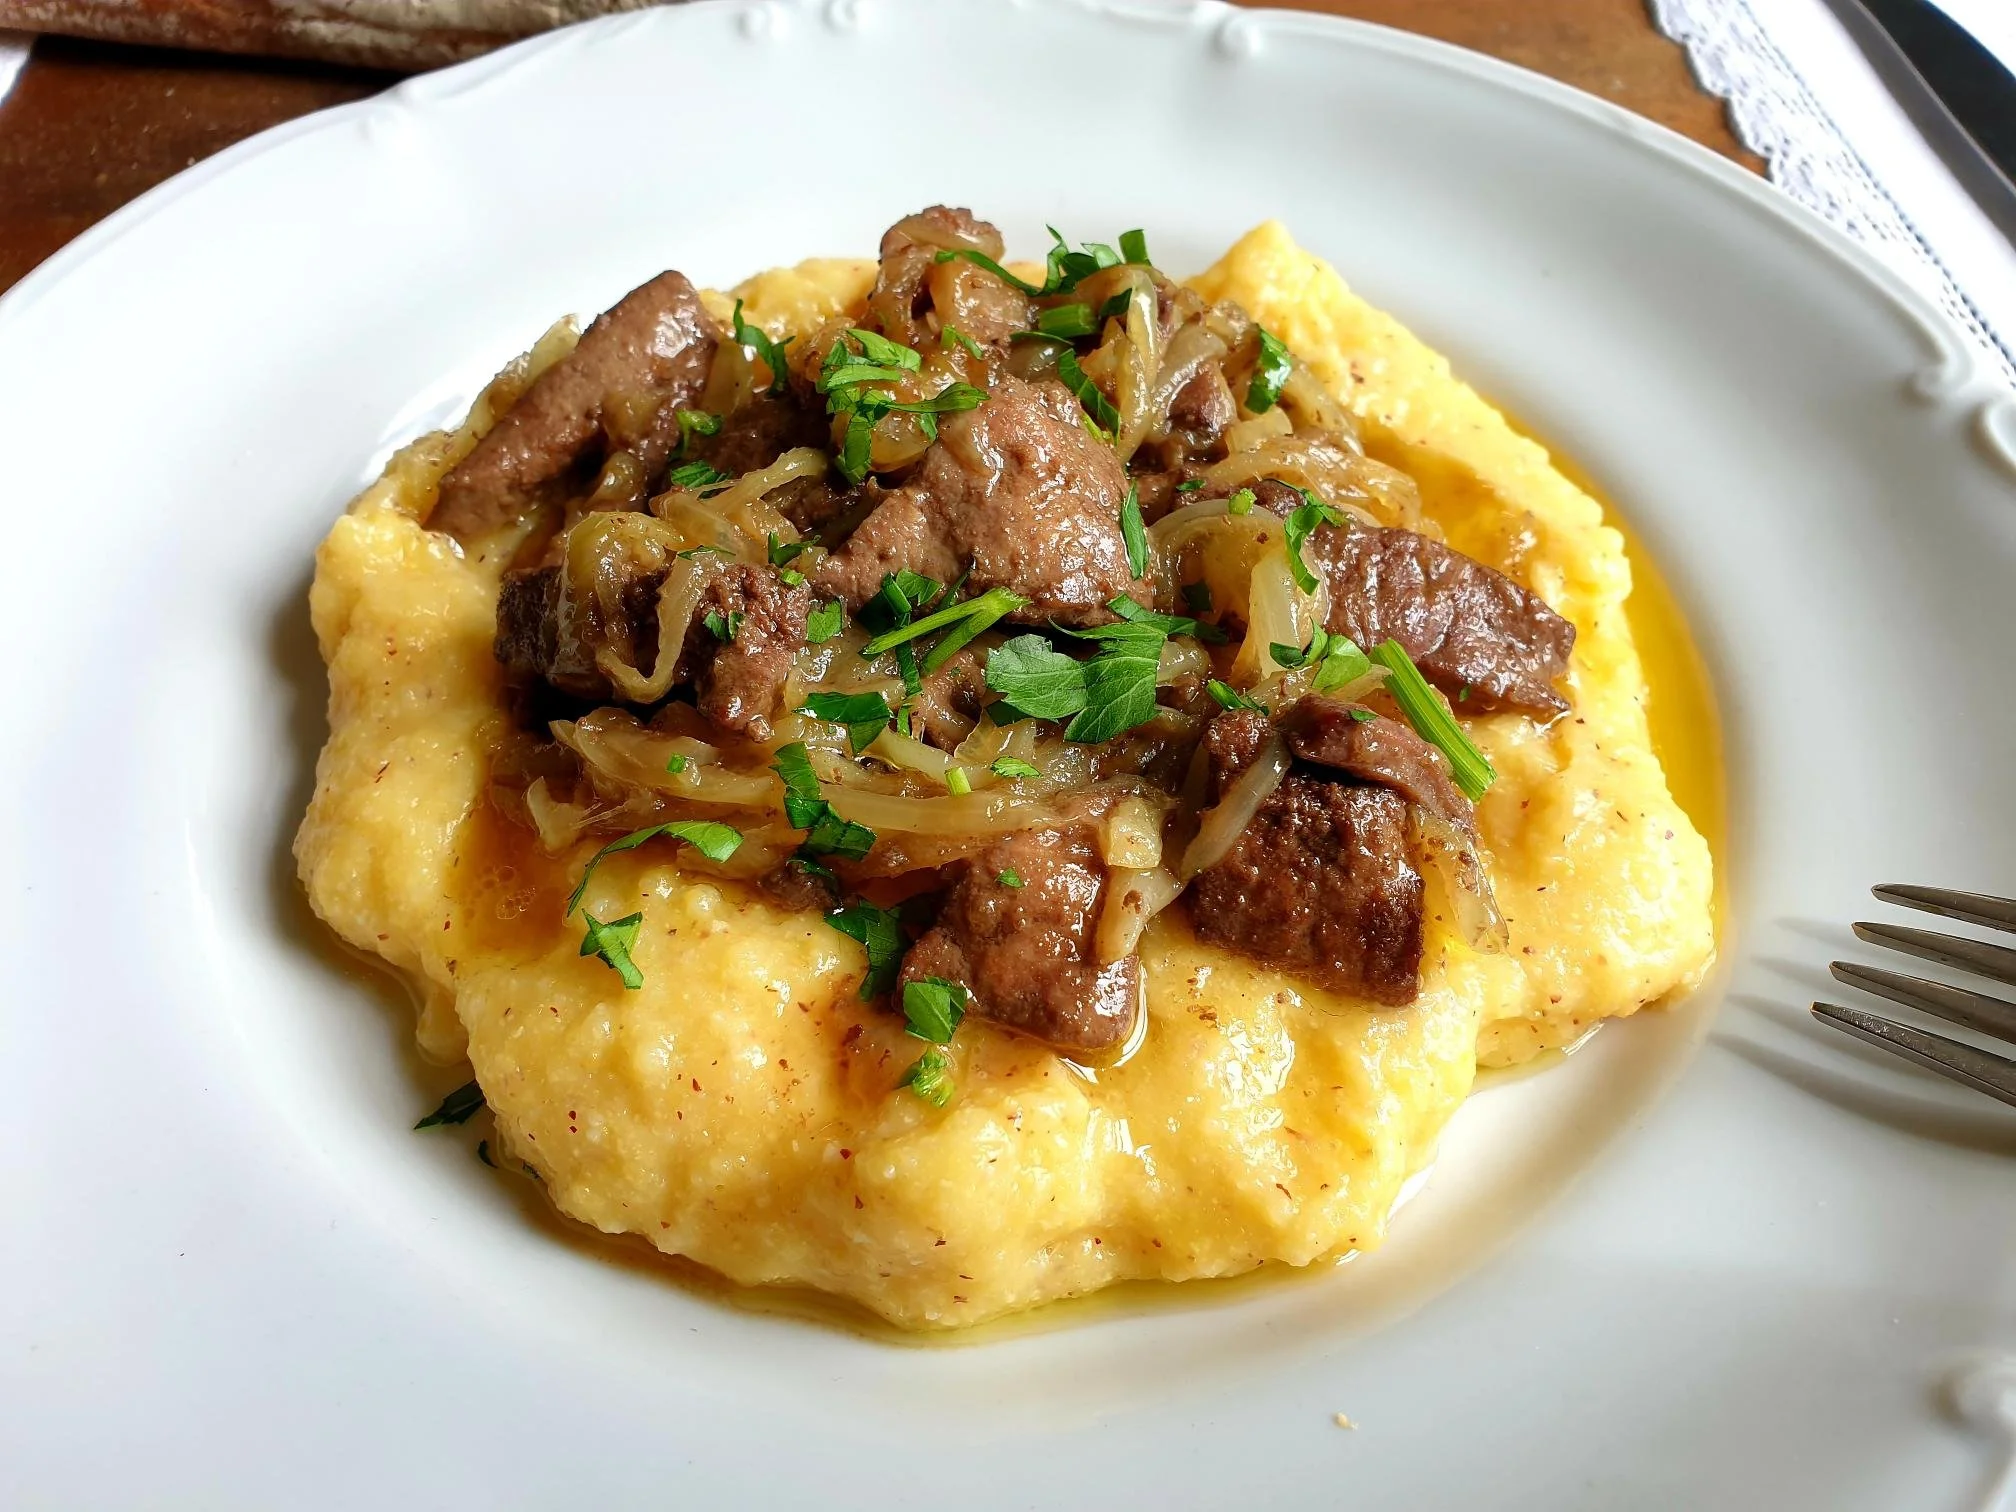
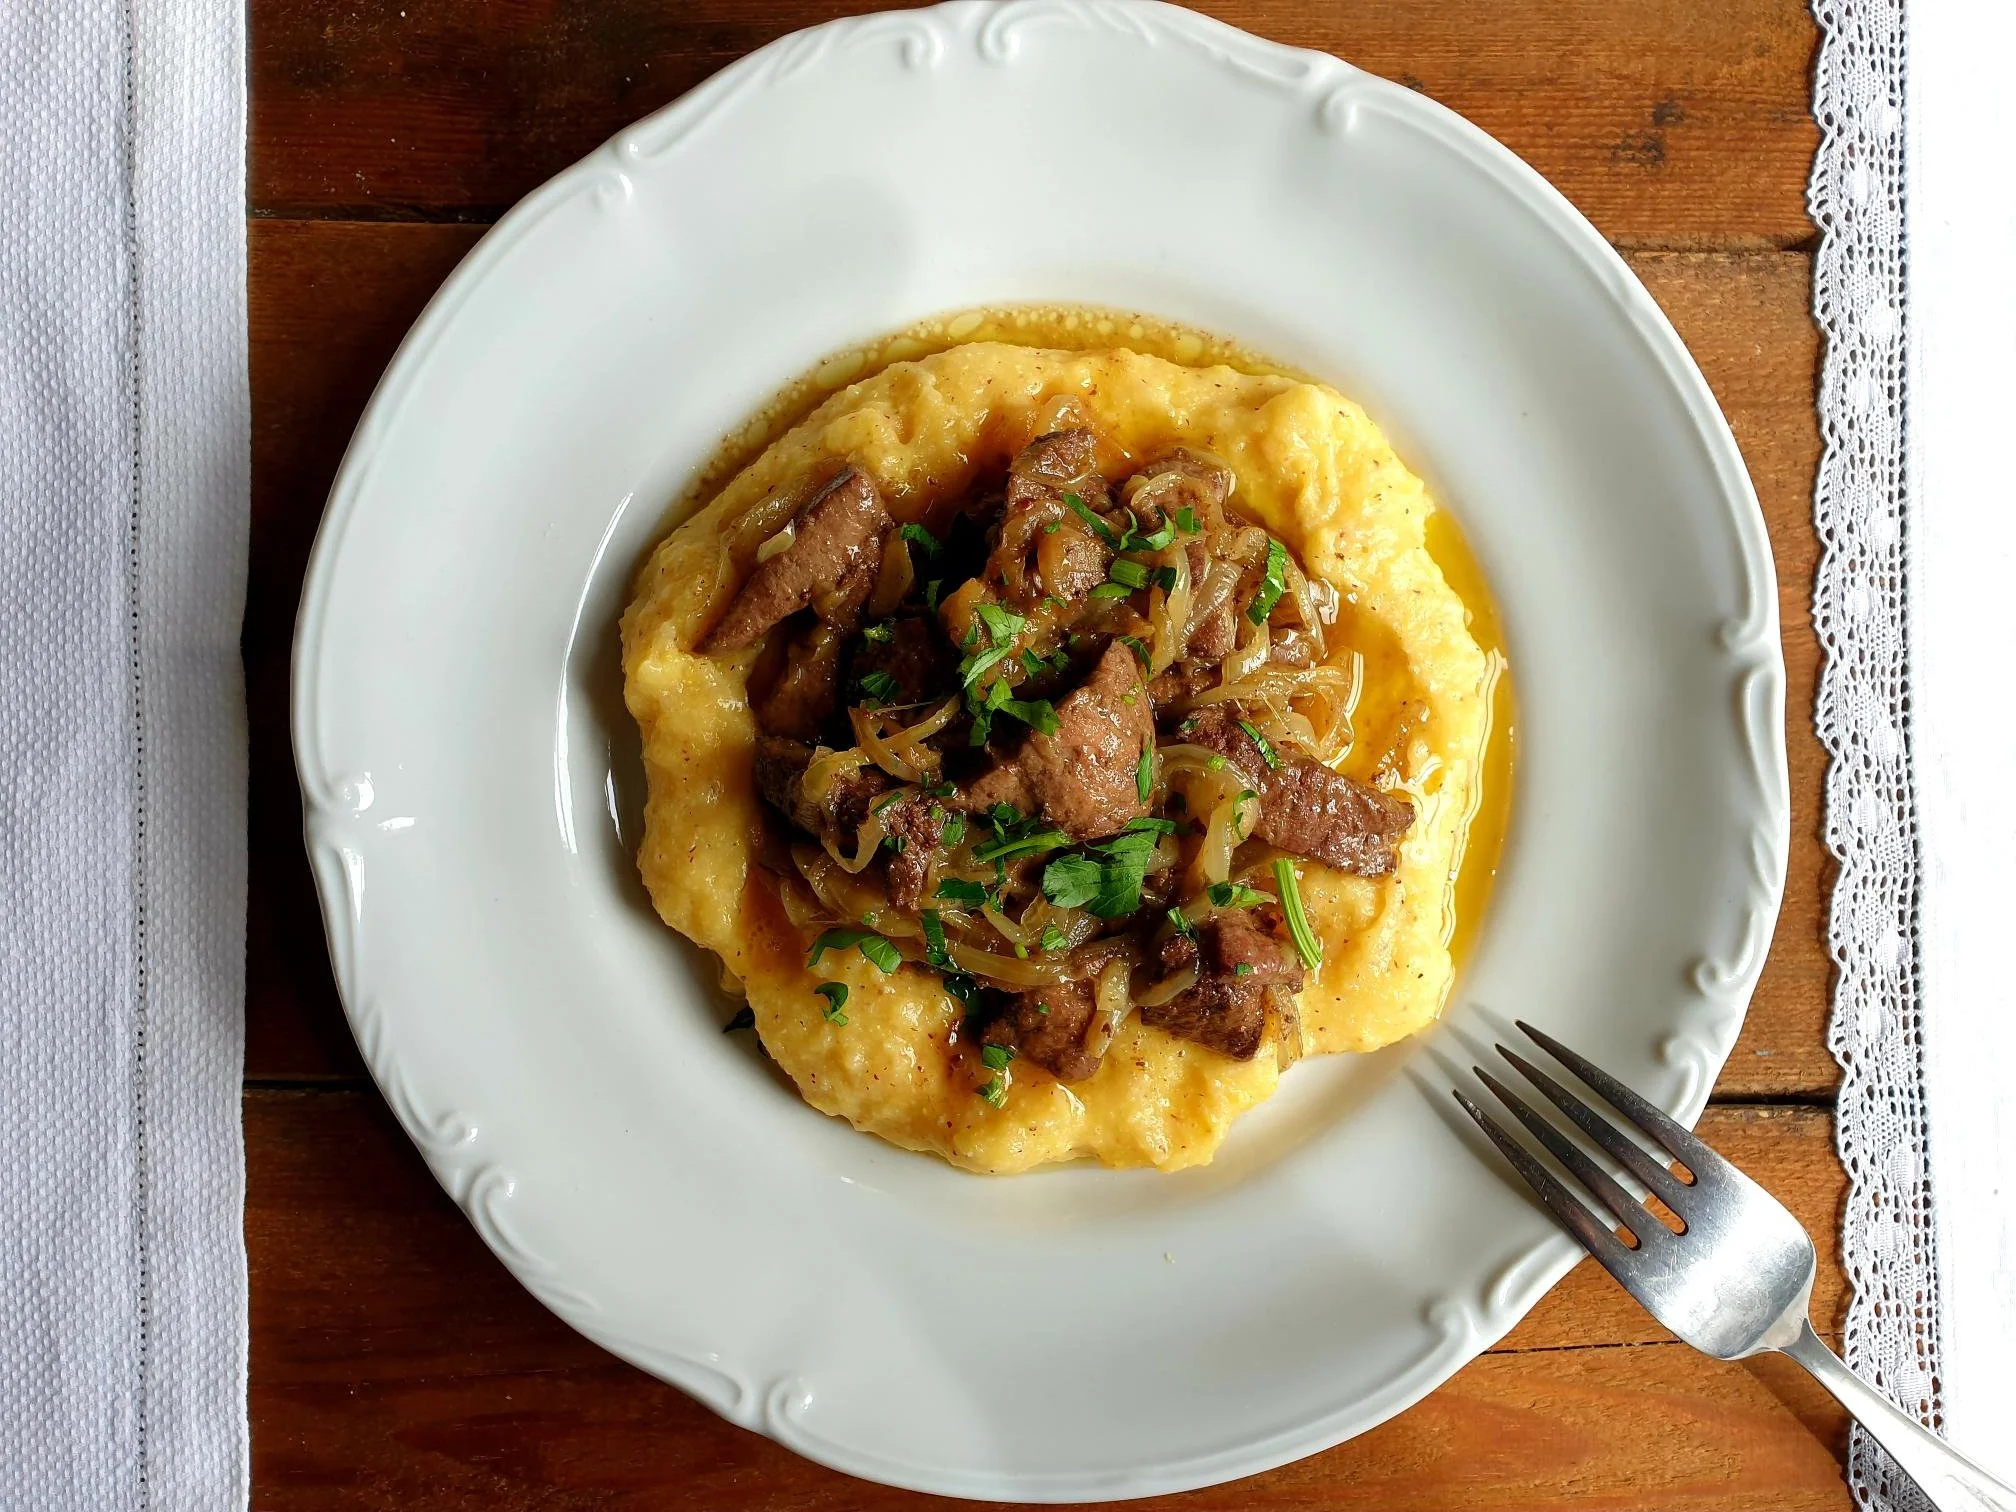
This recipe consists of boiling the potatoes, then cutting them into small pieces and pan-fry them together with salty and crispy bits of pancetta and caramelised, sweet and mellow onions. During this process the light crust will form at the bottom of the pan and when the mixture gets broken into pieces and mixed, you end up with the combination of smooth, creamy potatoes and brown crispy pieces of potato crust, heavenly texture! During this pan-frying phase, the stock gets gradually added for extra flavour and moisture.

You really cannot find a more Slovenian dish than this. It is cooked recurrently in every household and found regularly on the menus (Pražen krompir) in a family run restaurants, nurseries and school canteens up and down the country. Traditionally it is served with roasted meats, sausages and sauerkraut, boiled sheen of beef cooked in broth or simply eaten on its own with a salad or fried eggs.
I grew up with this dish and I am sharing with you my mum's recipe, a variation developed on the coastal part of Slovenia (Kromper v teći, Patate in tecia) where pancetta and olive oil is used instead of lard and pork cracklings, still a very popular choice, but most commonly perhaps ingredients used in inland Slovenia.
This potato dish really unites all the regions of Slovenia, it is a part of very strong gastronomic culture in Istria and Dalmatia (in Croatia) and stretches across and beyond the “borders” with Italy.
This very popular and very much loved potato side dish is traditional in the whole region of Friuli- Venezia Giulia in Italy, where the city of Trieste with its inhabitants particularly prides itself for exceptionally good Patate in tecia.
It is in the dialect of this region and the Veneto region that the word tecia has a double meaning; it can indicate a type of a pan that would normally be used to cook this dish and it can refer to a method of slow cooking on a fairly low heat.
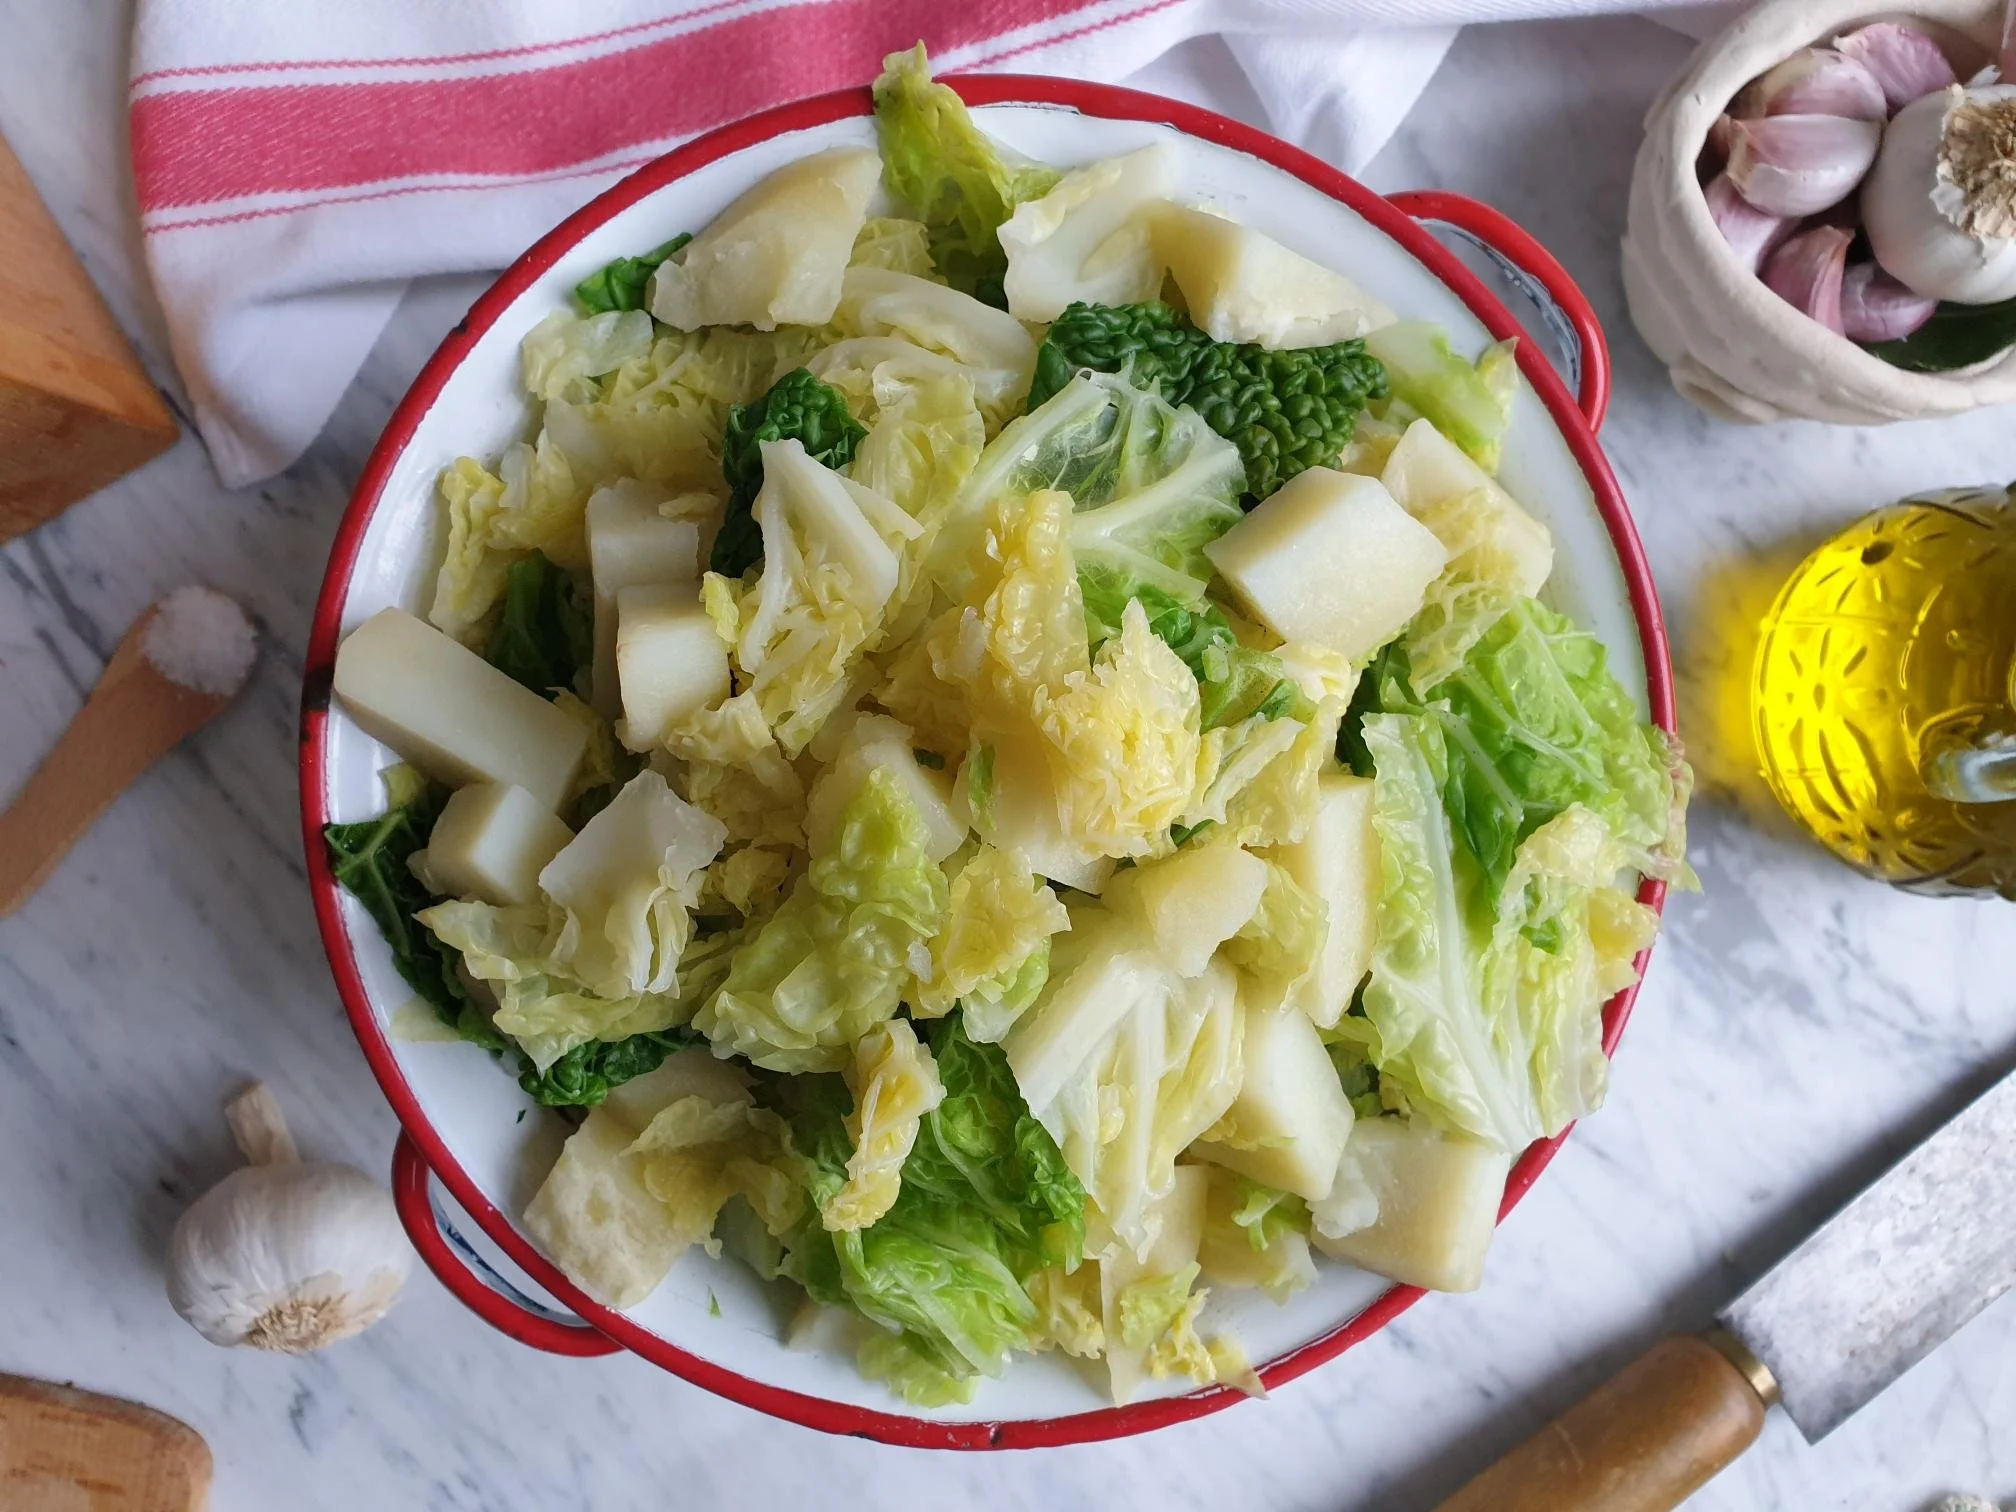
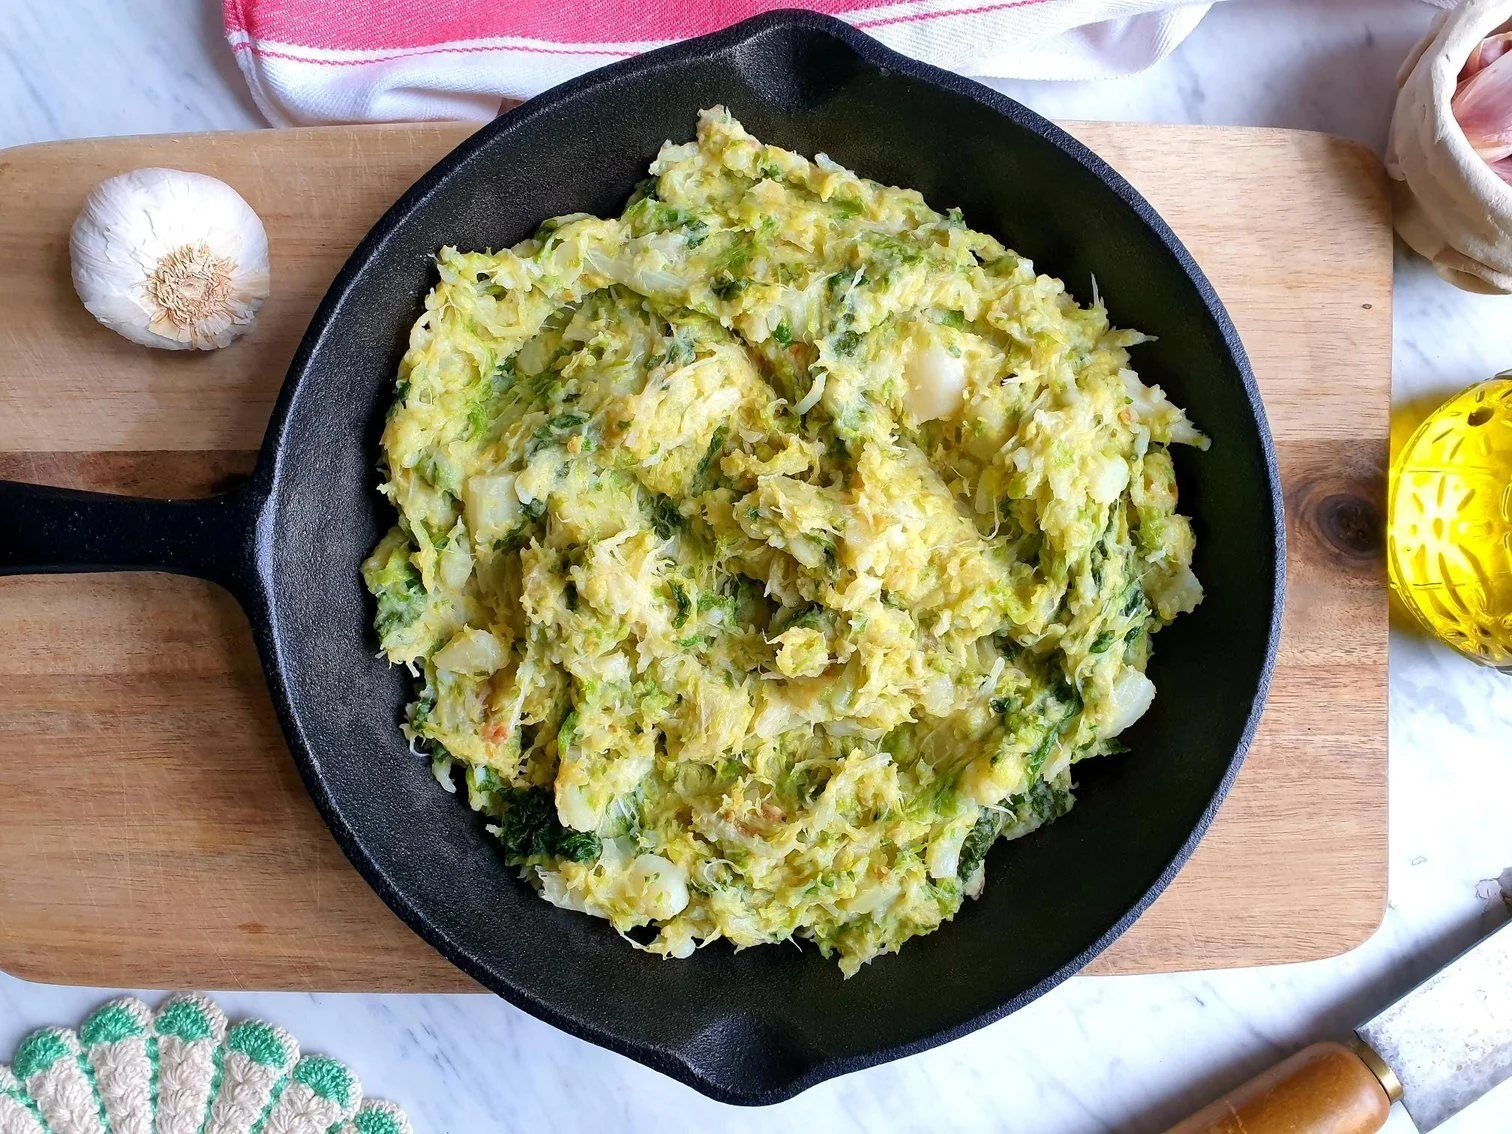
Other recipes and dishes can have a word tecia in them, so for example you can have Zucchine in tecia (Pan- fried courgettes) or Verze in tecia (Pan-fried Savoy cabbage) etc.
This dish, made from scratch, is incredible in its simplicity, but it is also made and can be prepared using leftover boiled potatoes and no vegetarian or vegan friend or family member will be excluded from the dinner table as you can cook this dish by omitting the meaty element and using vegetable broth or stock.
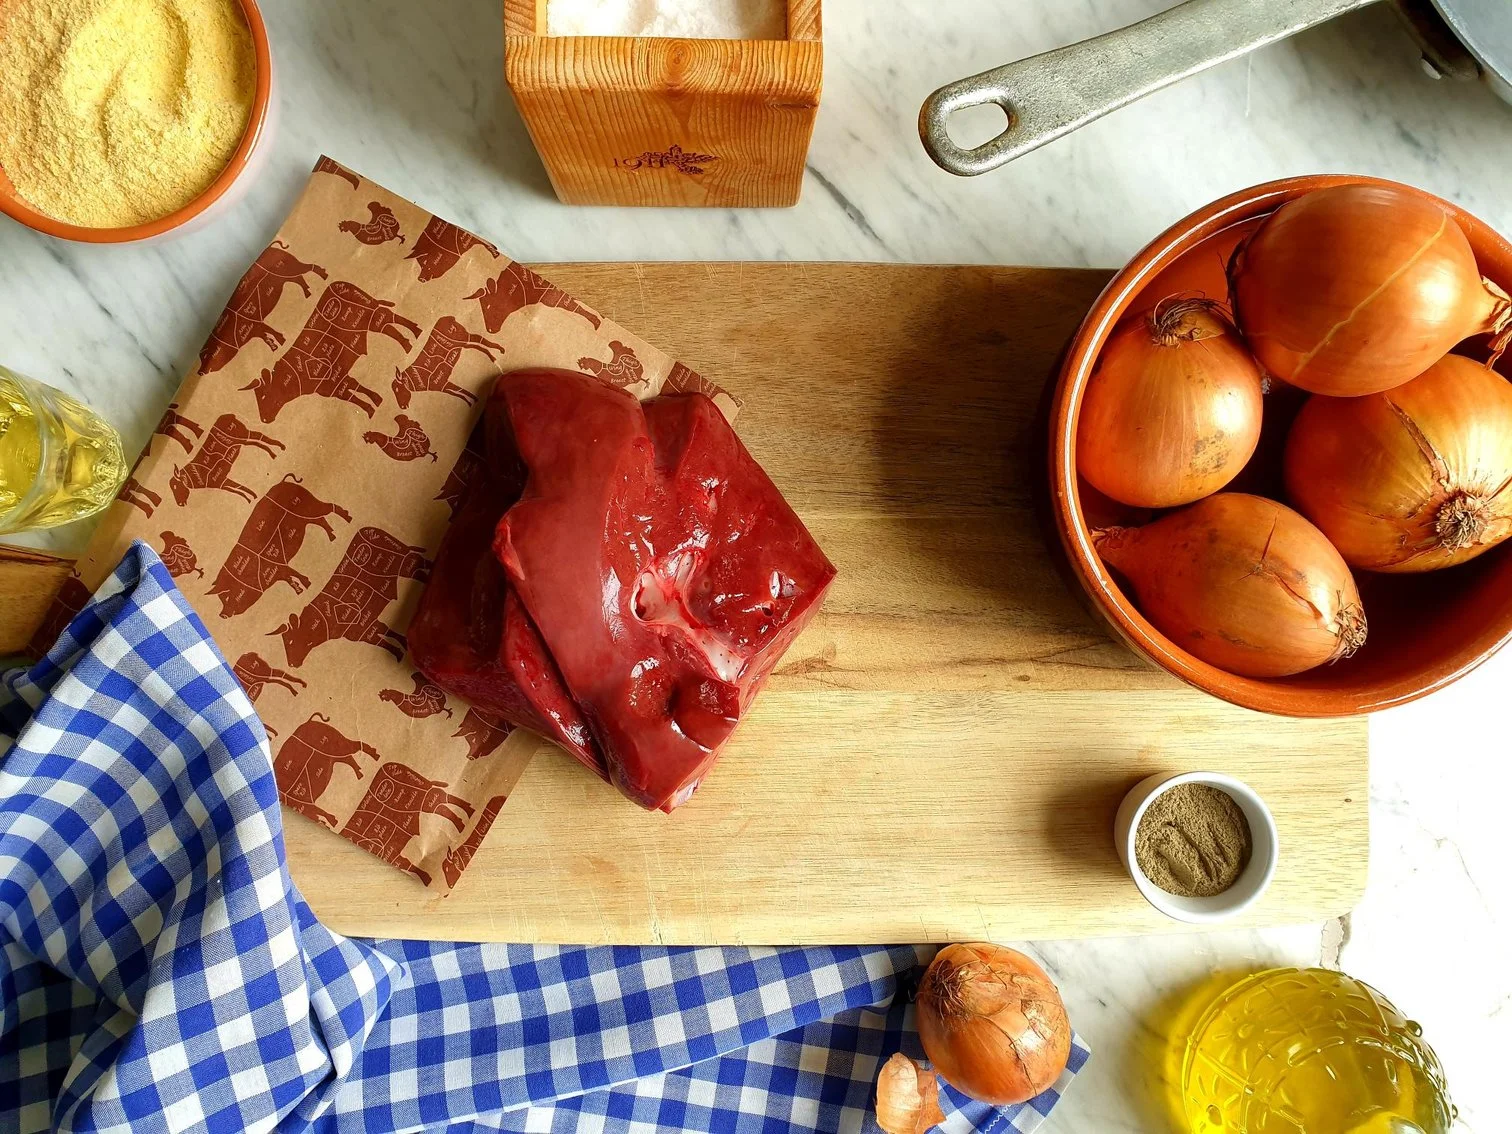
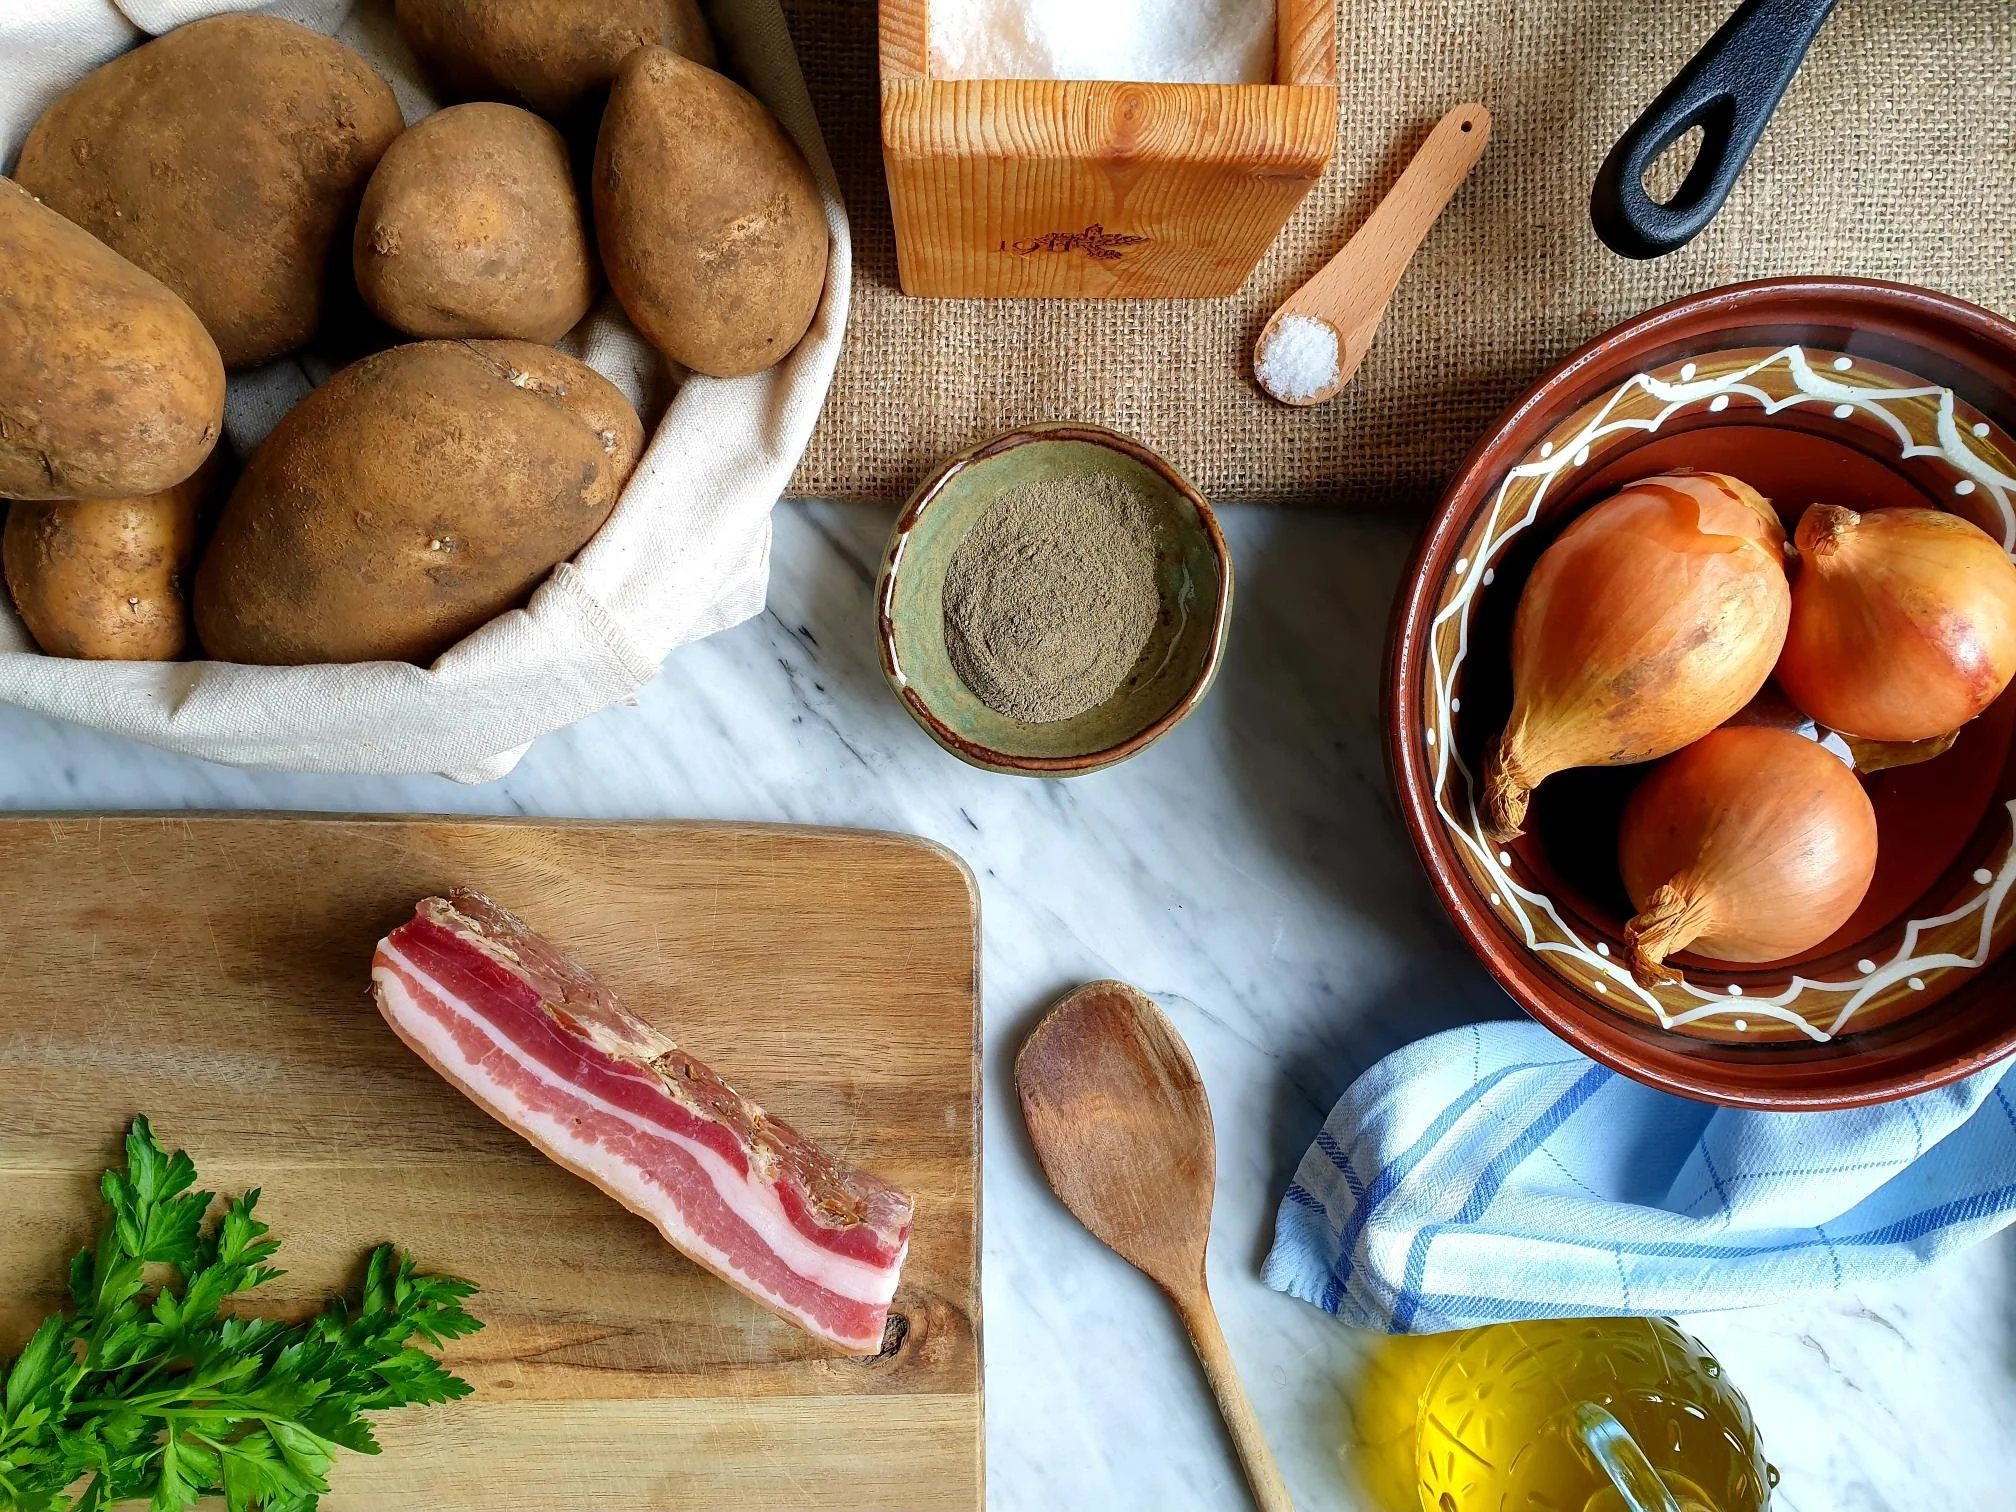
Ingredients
Serves 4
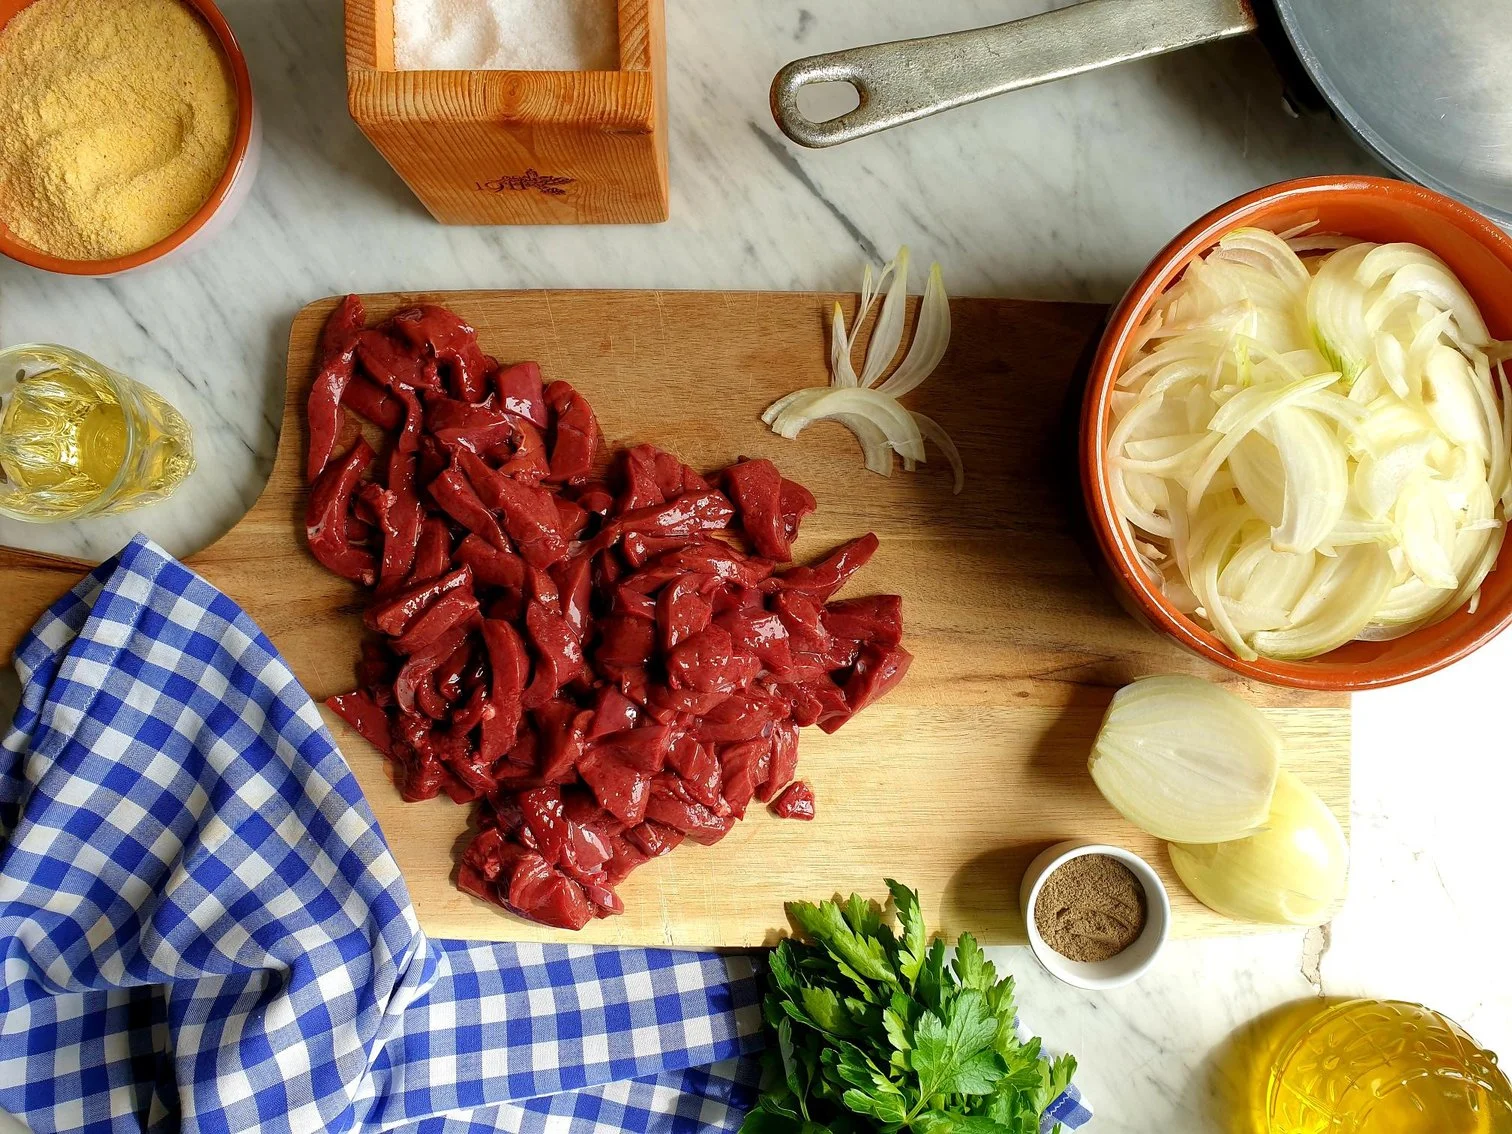
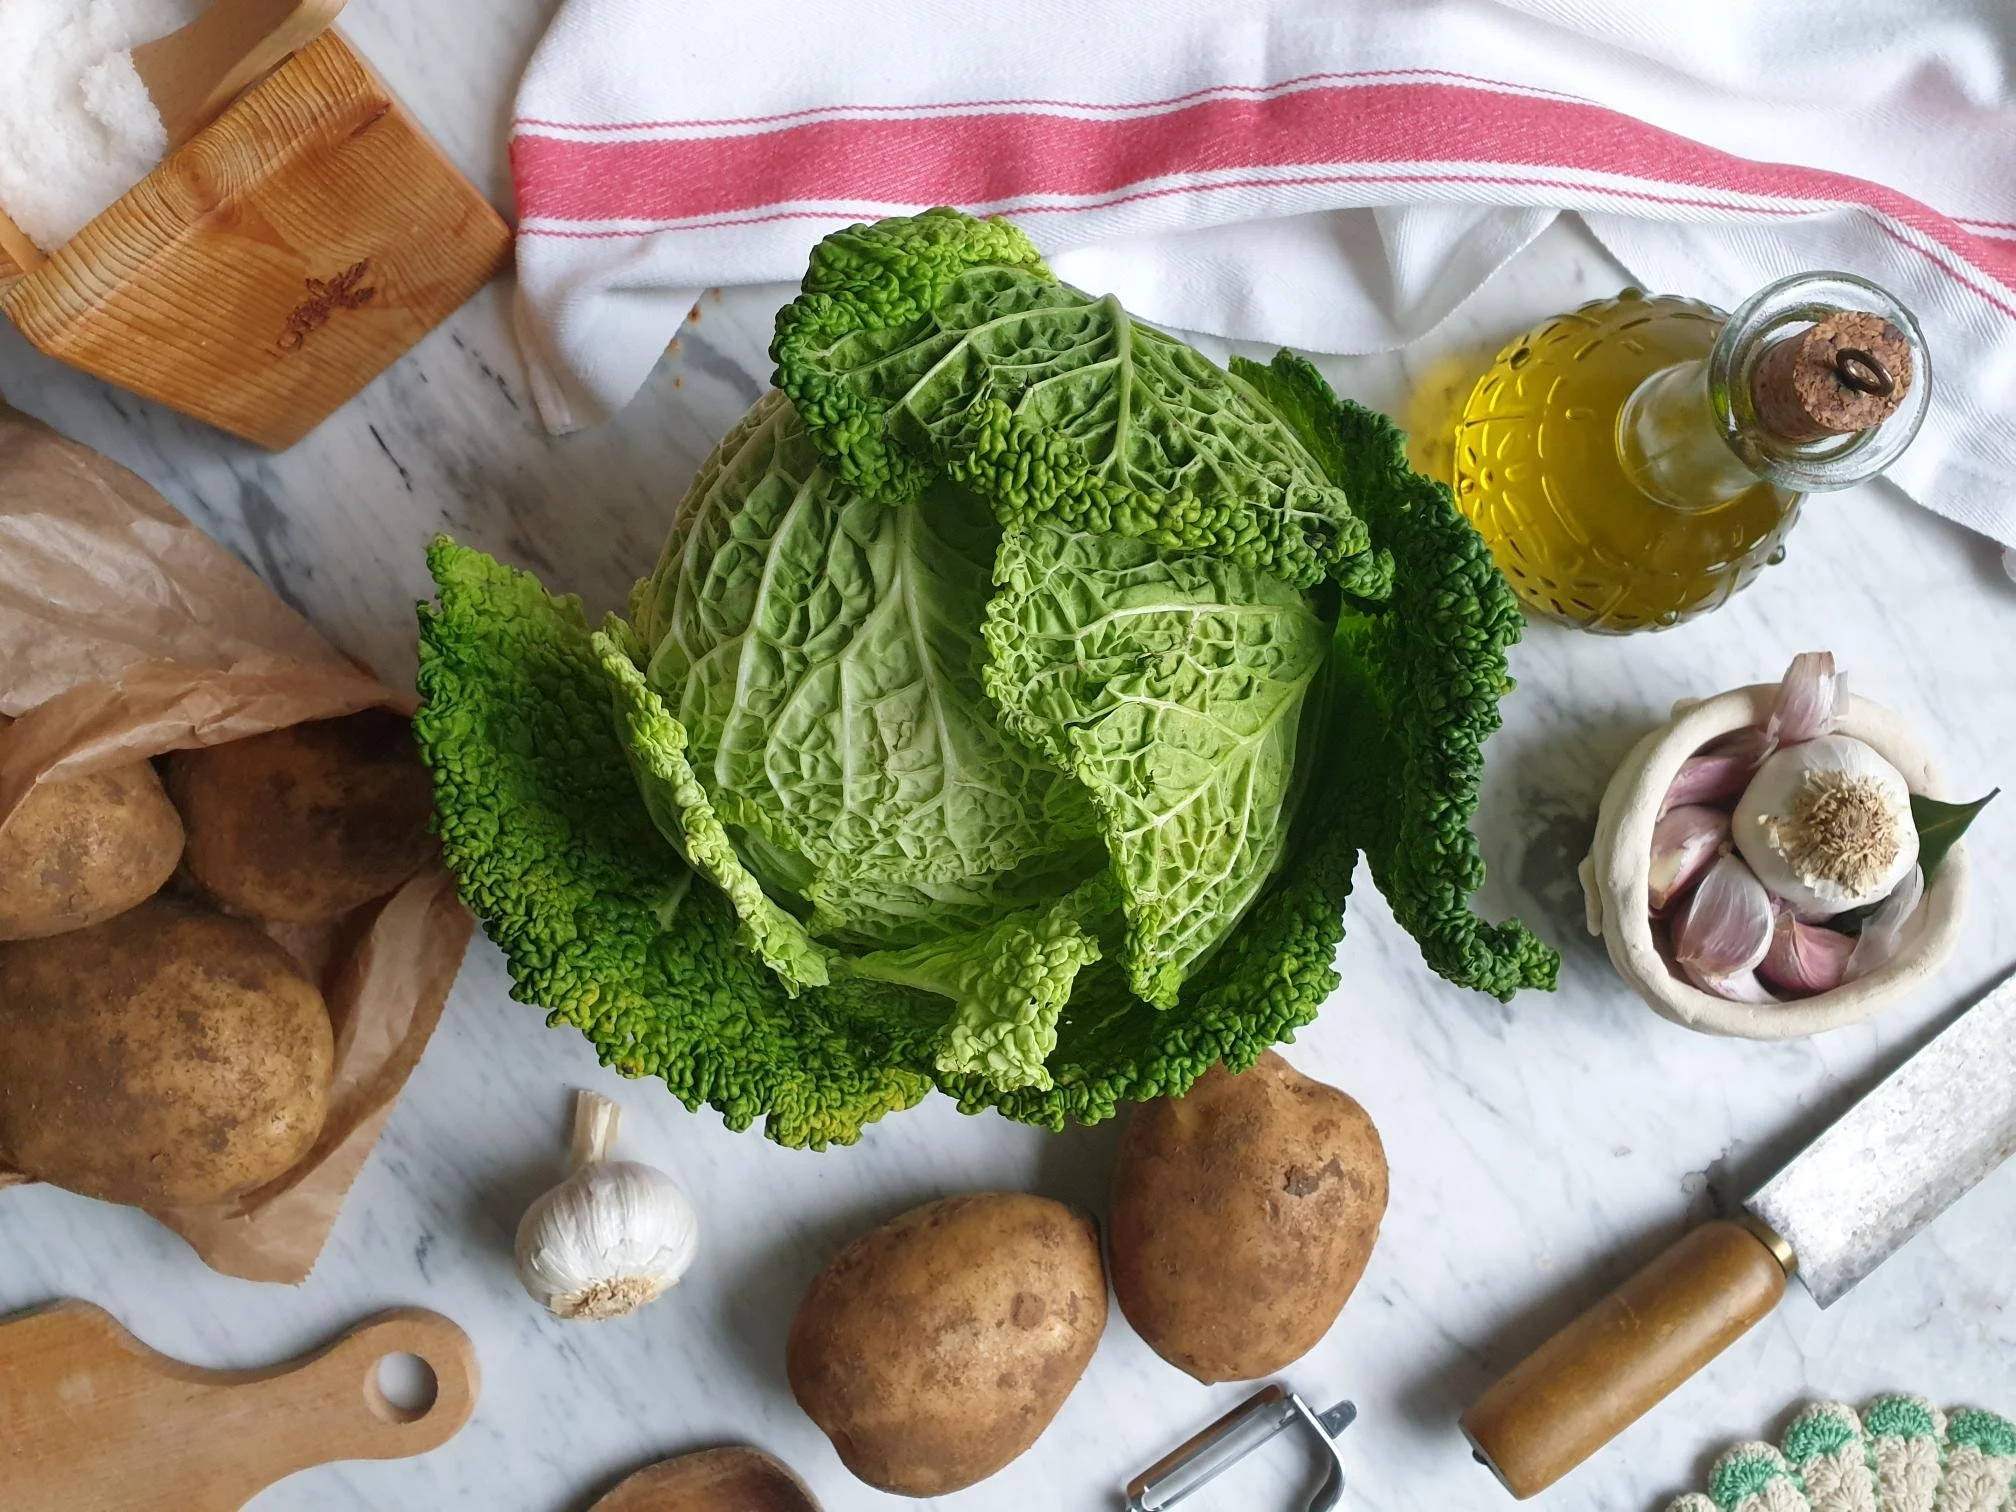
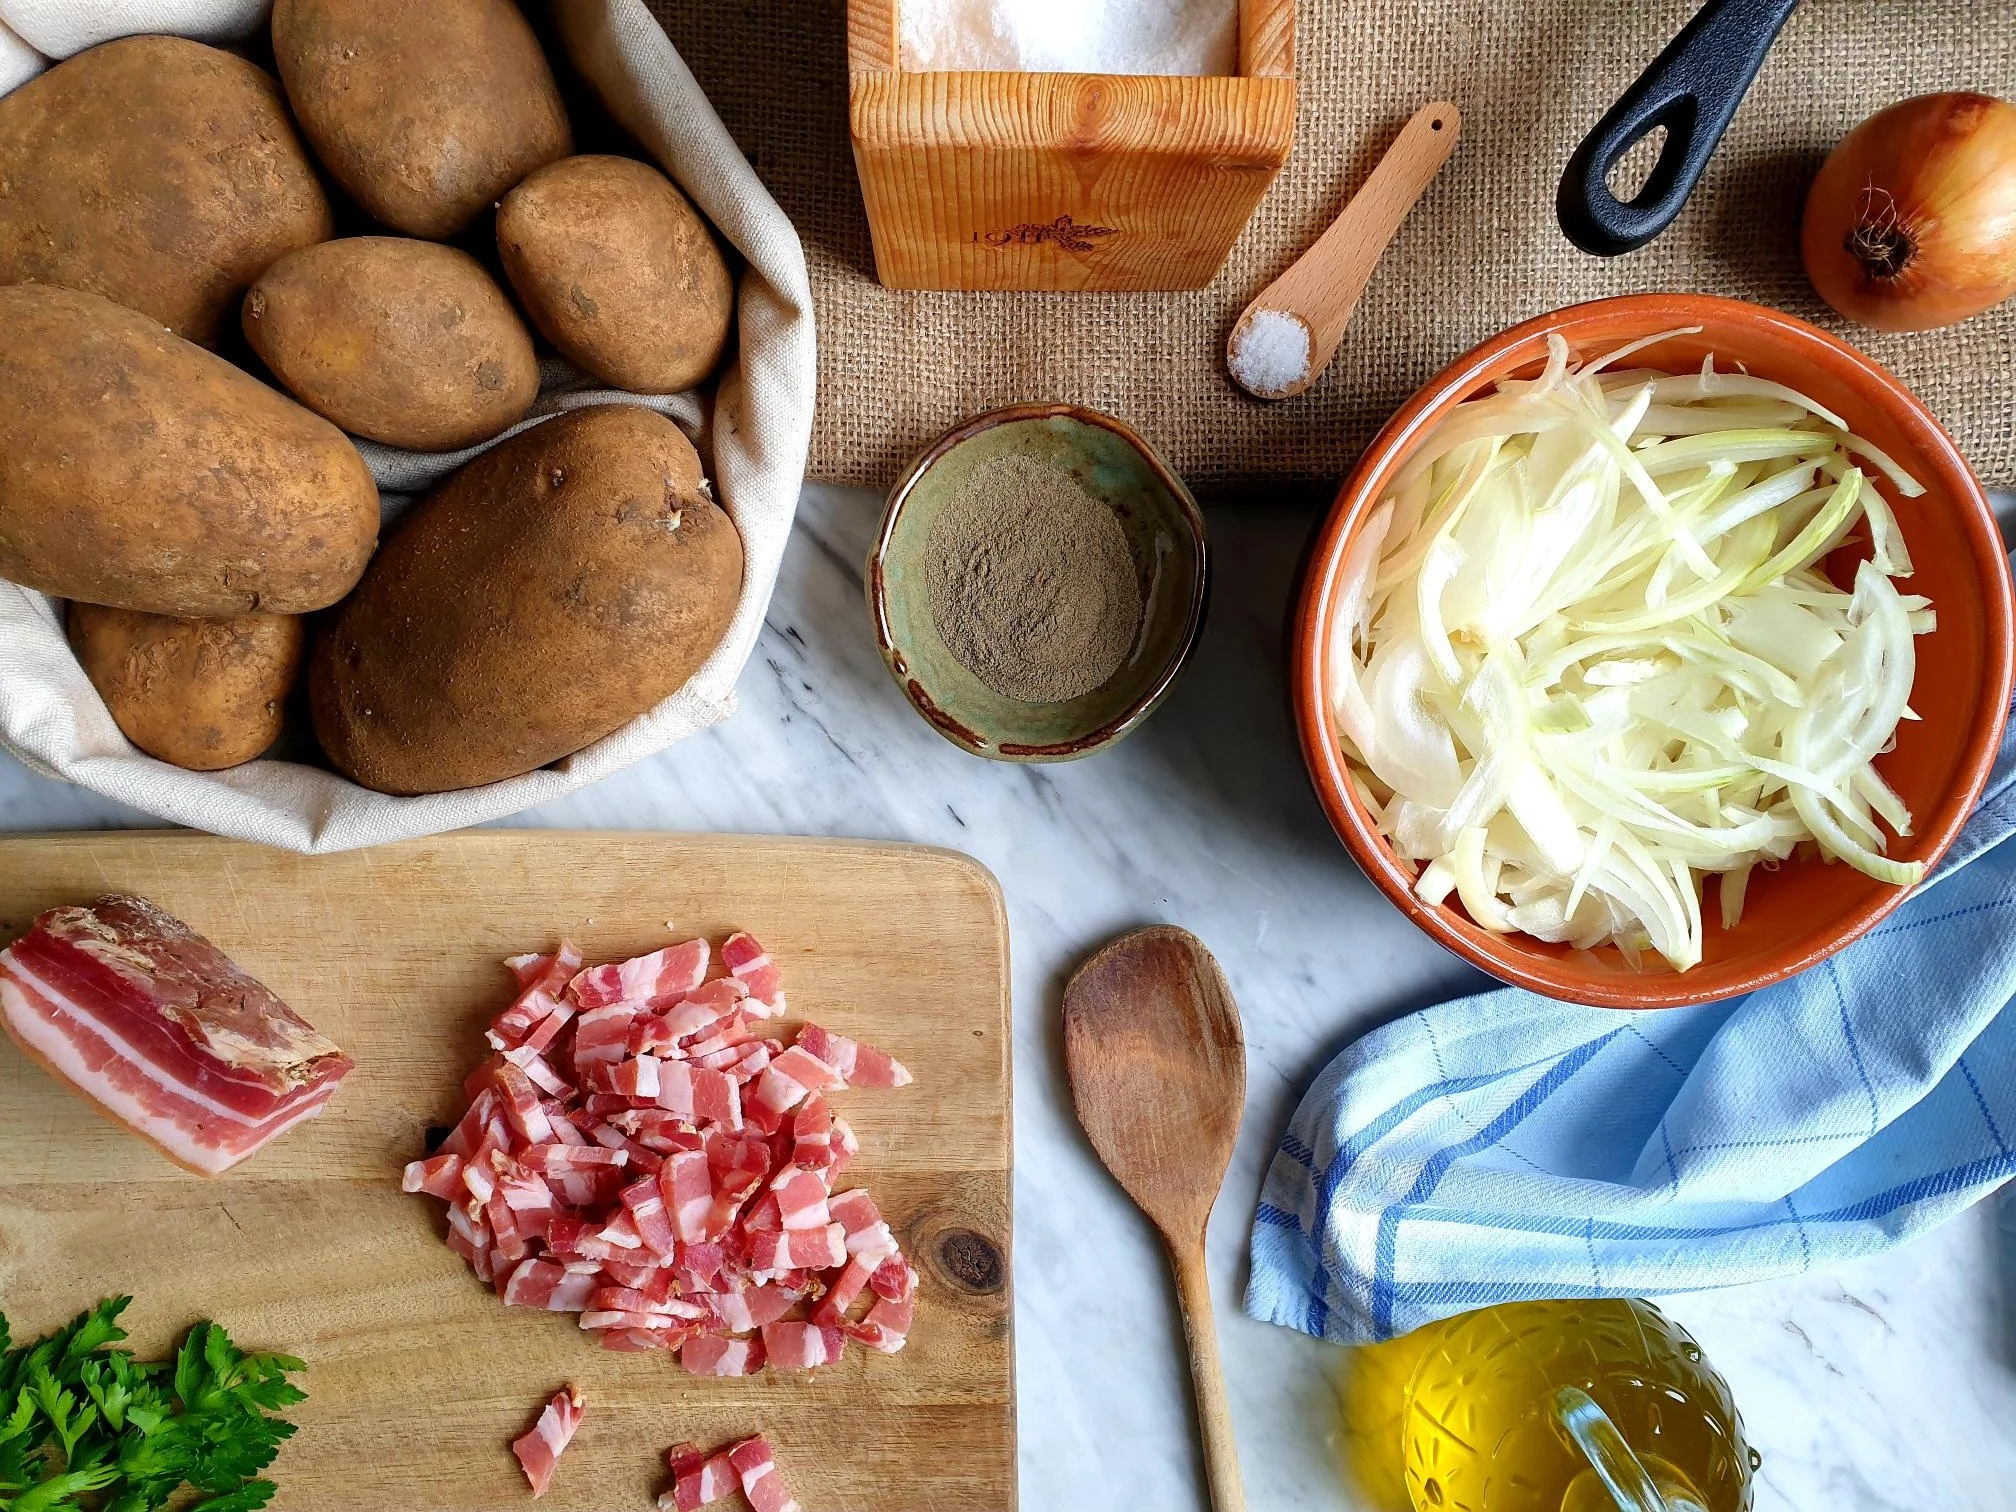
1kg of potatoes
100g unsmoked pancetta or bacon, cut into small strips or finely diced, bacon lardons or pork cracklings
onions (about 240g), peeled and finely sliced
2 Tbsp extra virgin olive oil or lard
sea salt
black pepper
200ml meat or vegetable broth or stock (you can make a simple stock using a good quality instant vegetable or meat stock powder)
flat leaf parsley, roughly chopped, for garnish
Method
Wash whole unpeeled potatoes under the cold running water and put them in a big pot of boiling water.
Add sea salt and gently boil the potatoes until fully cooked, this will depend on the size of the potatoes you are using.
Drain cooked potatoes and allow to cool.
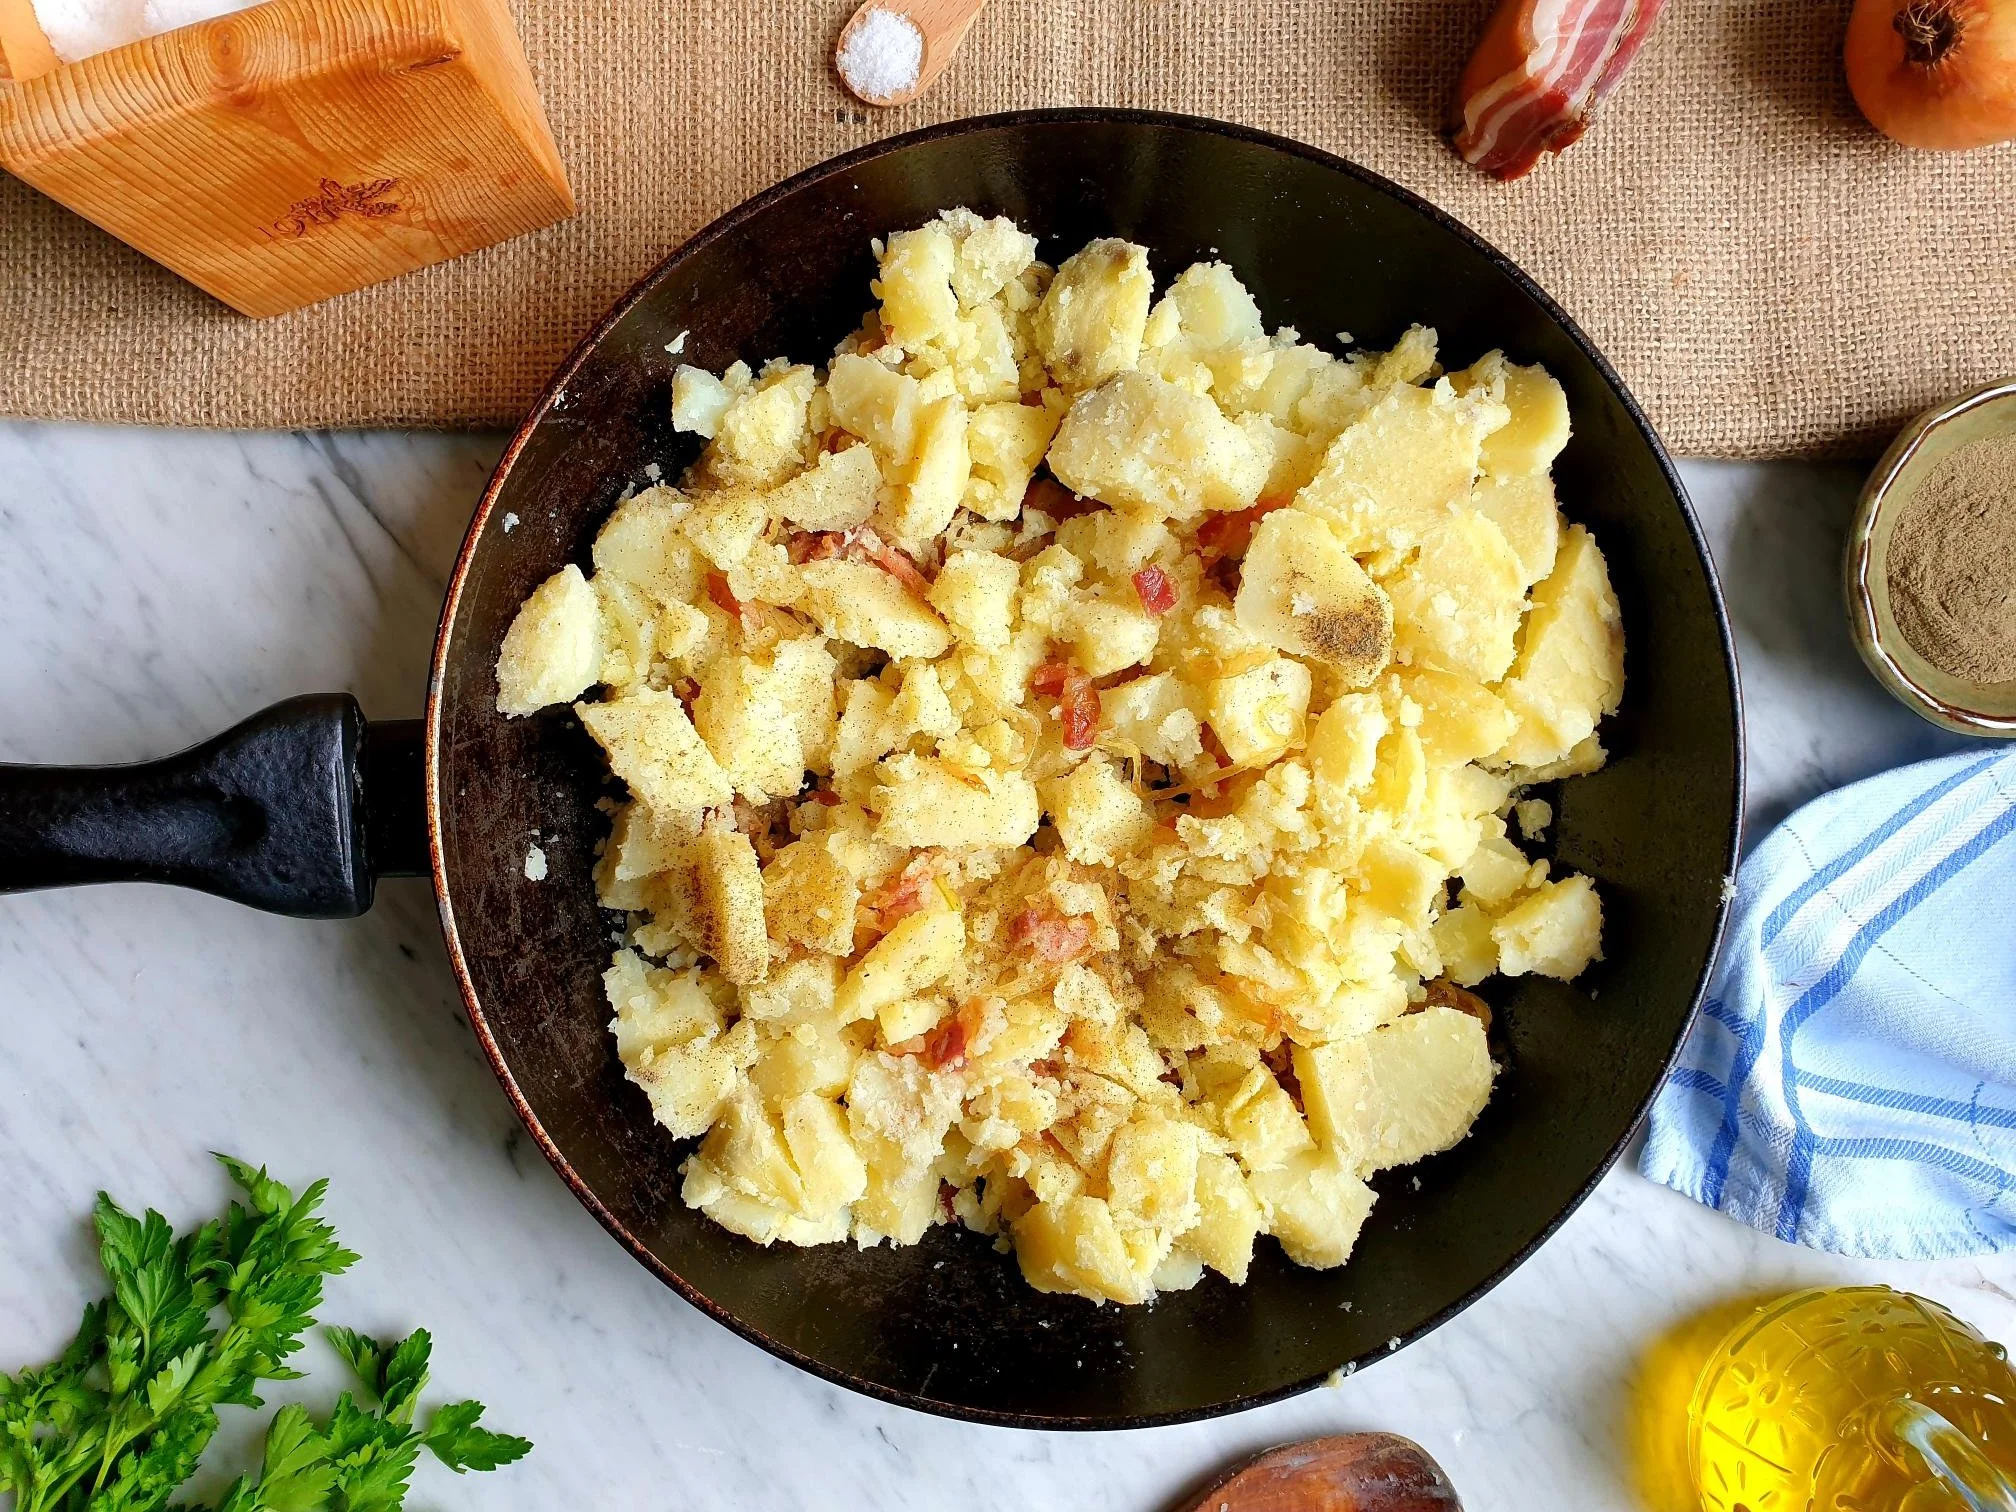
Peel the potatoes and slice or cut them into irregular shape smaller chunks, set aside.
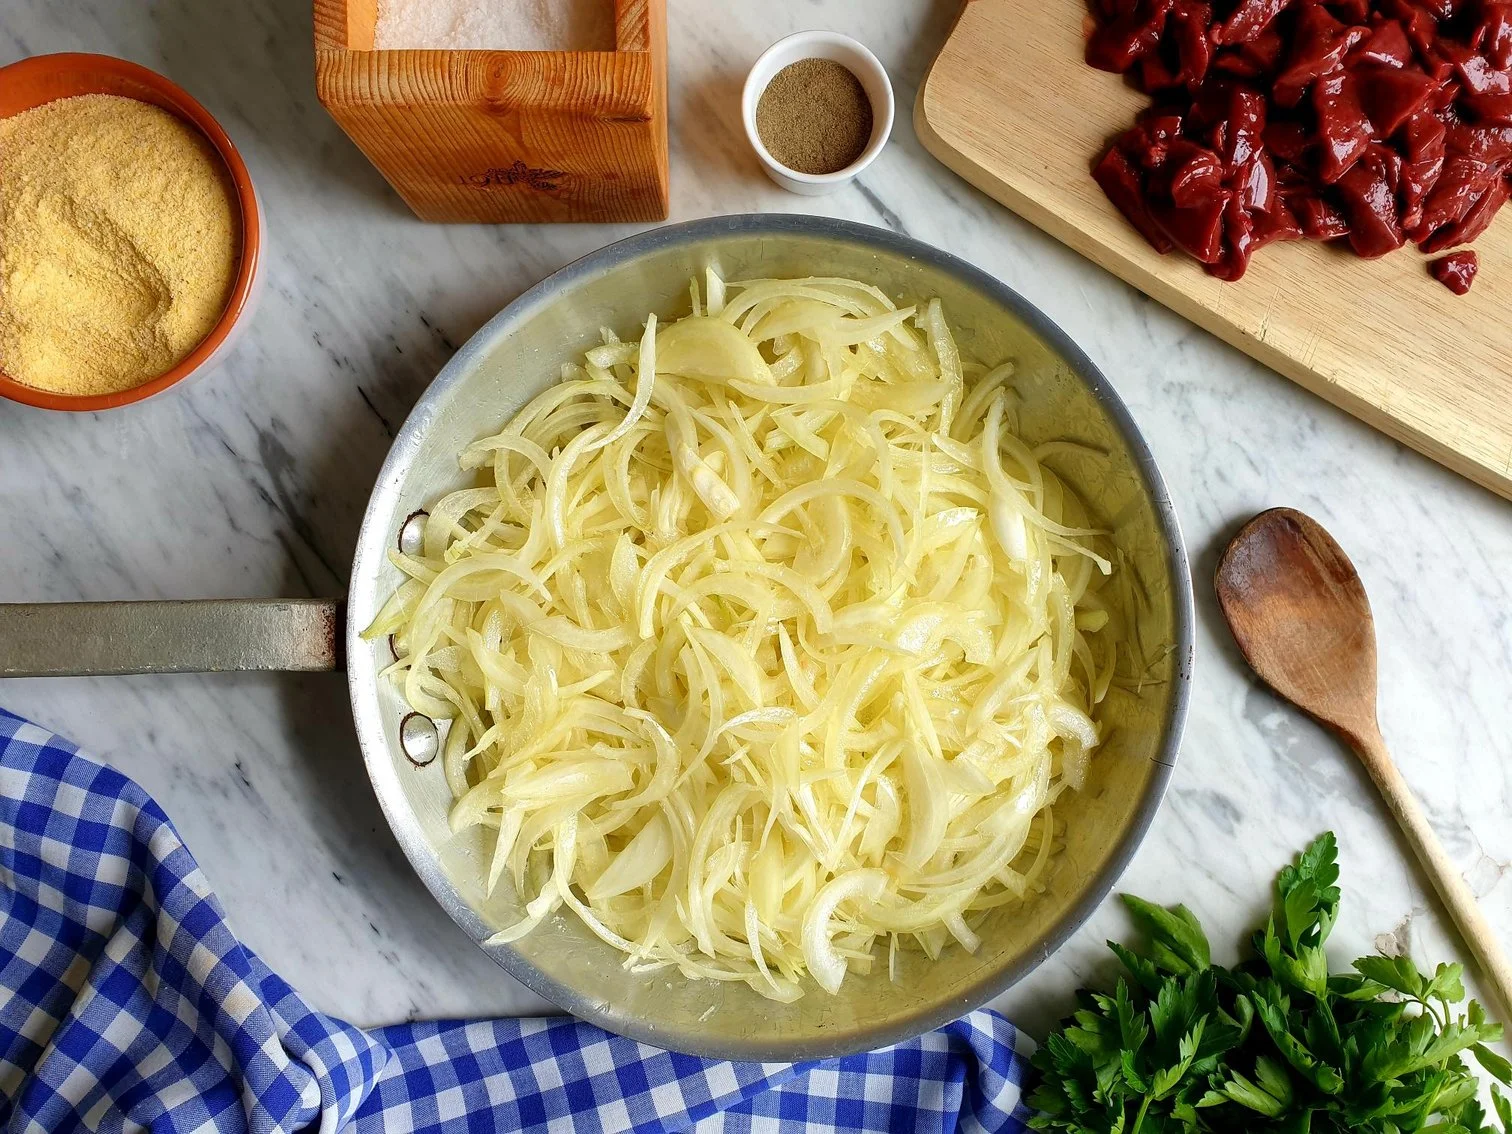
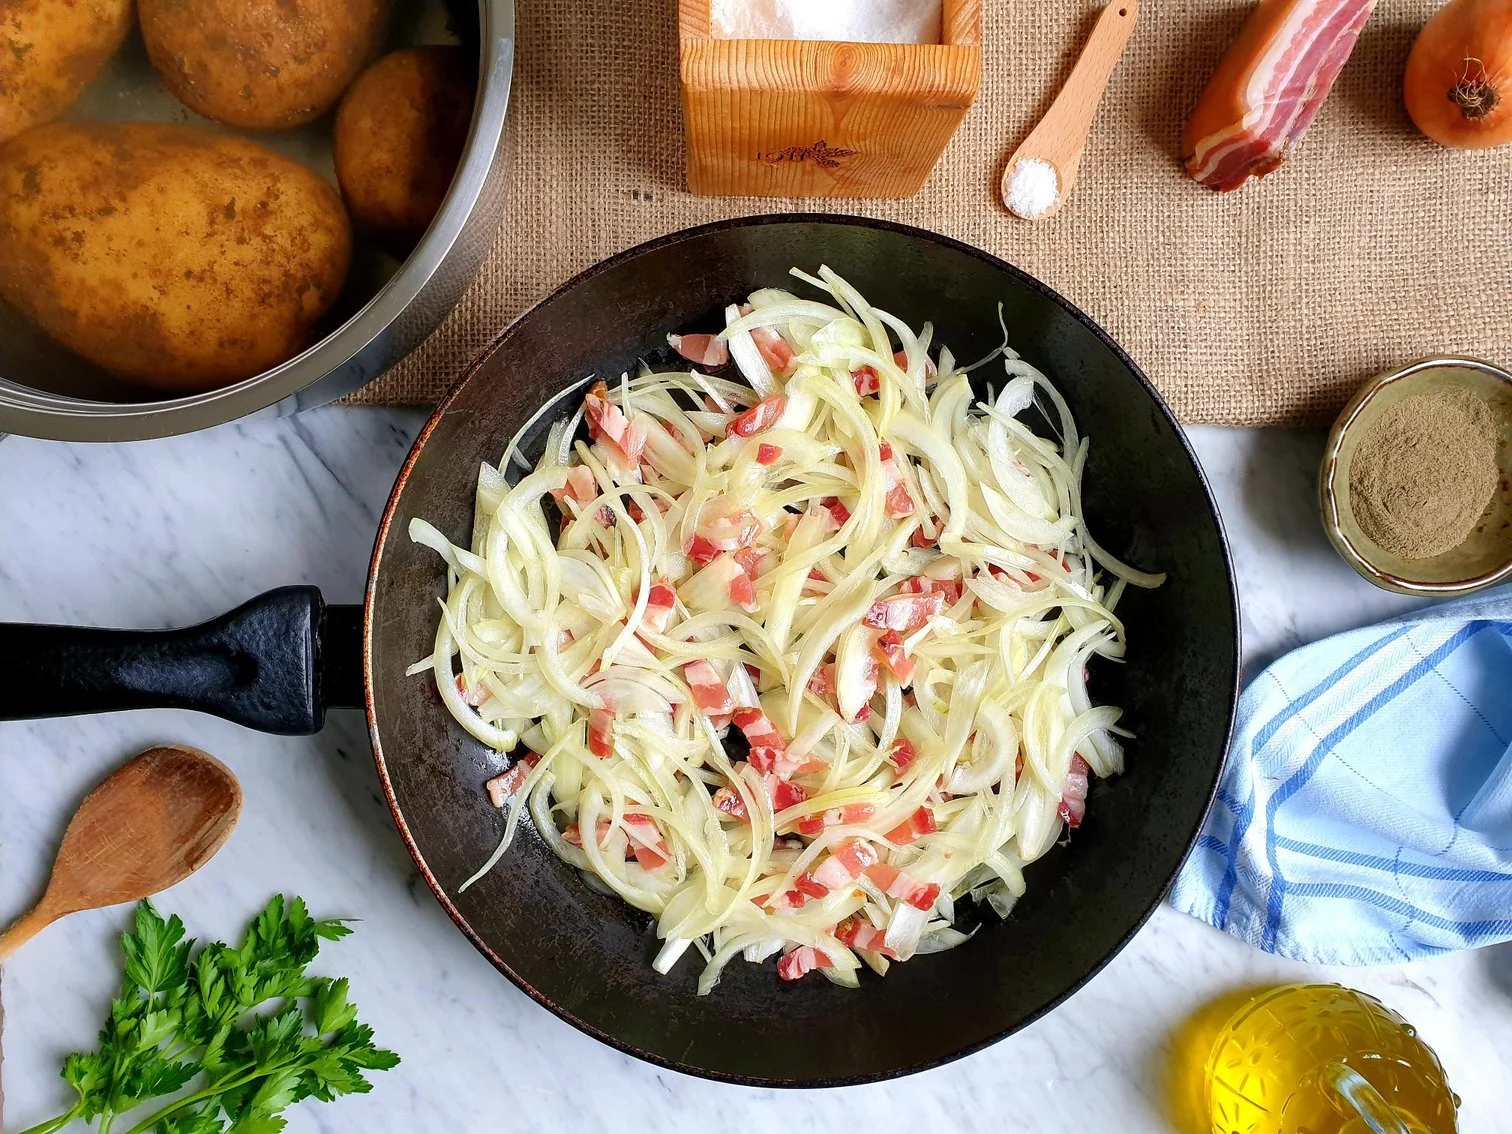
Put the olive oil or lard, if using, in a fairly large frying pan.
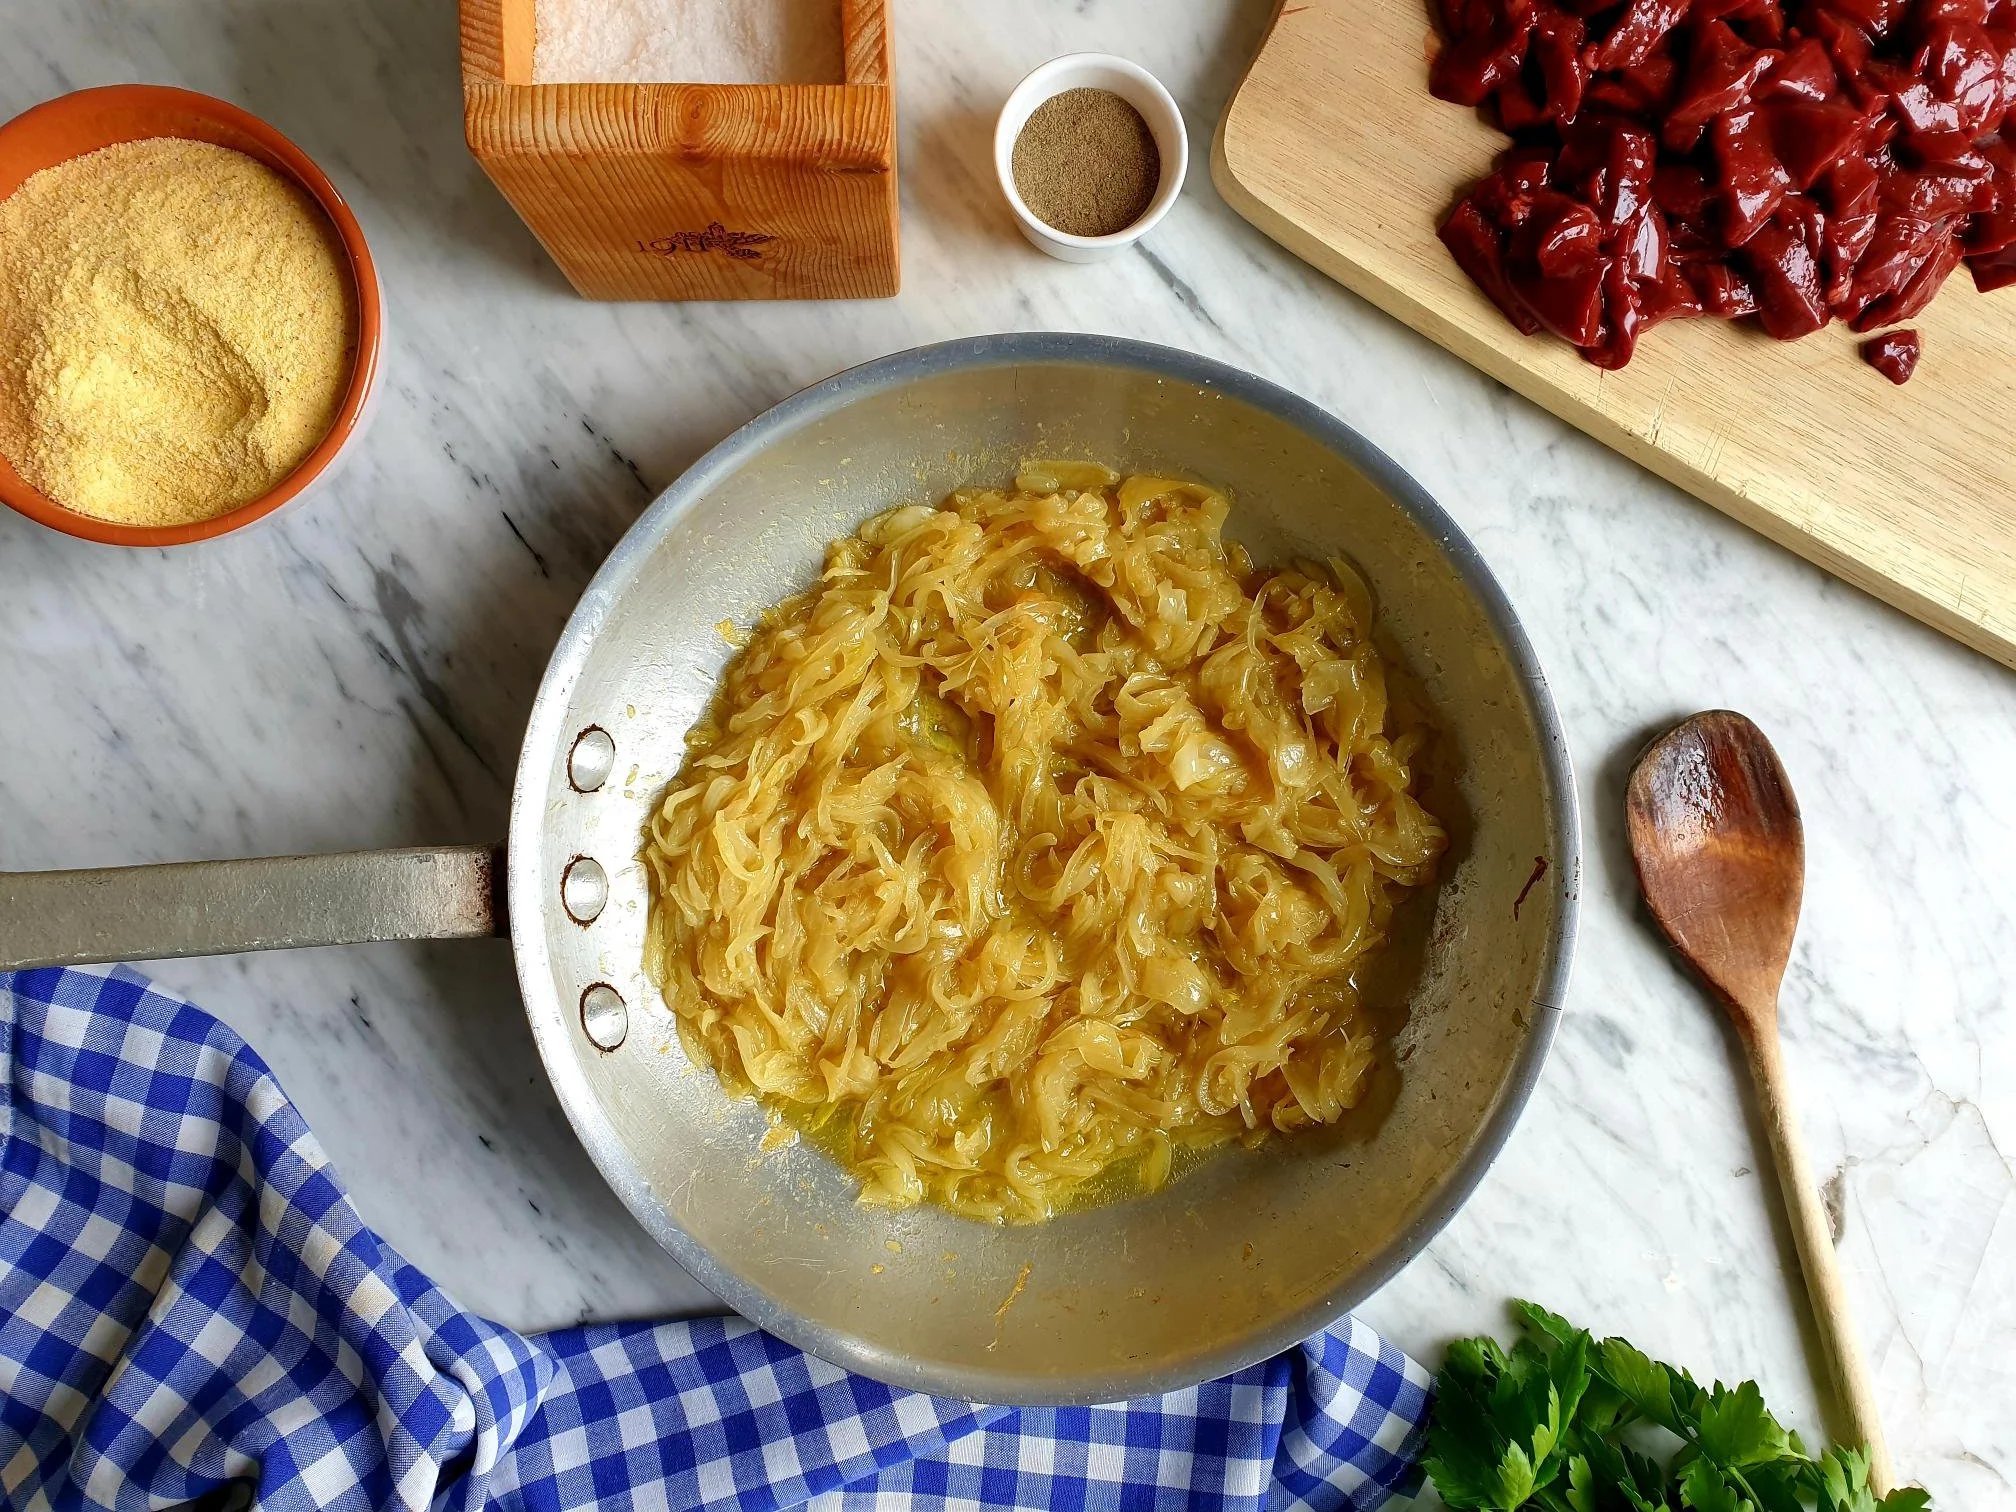
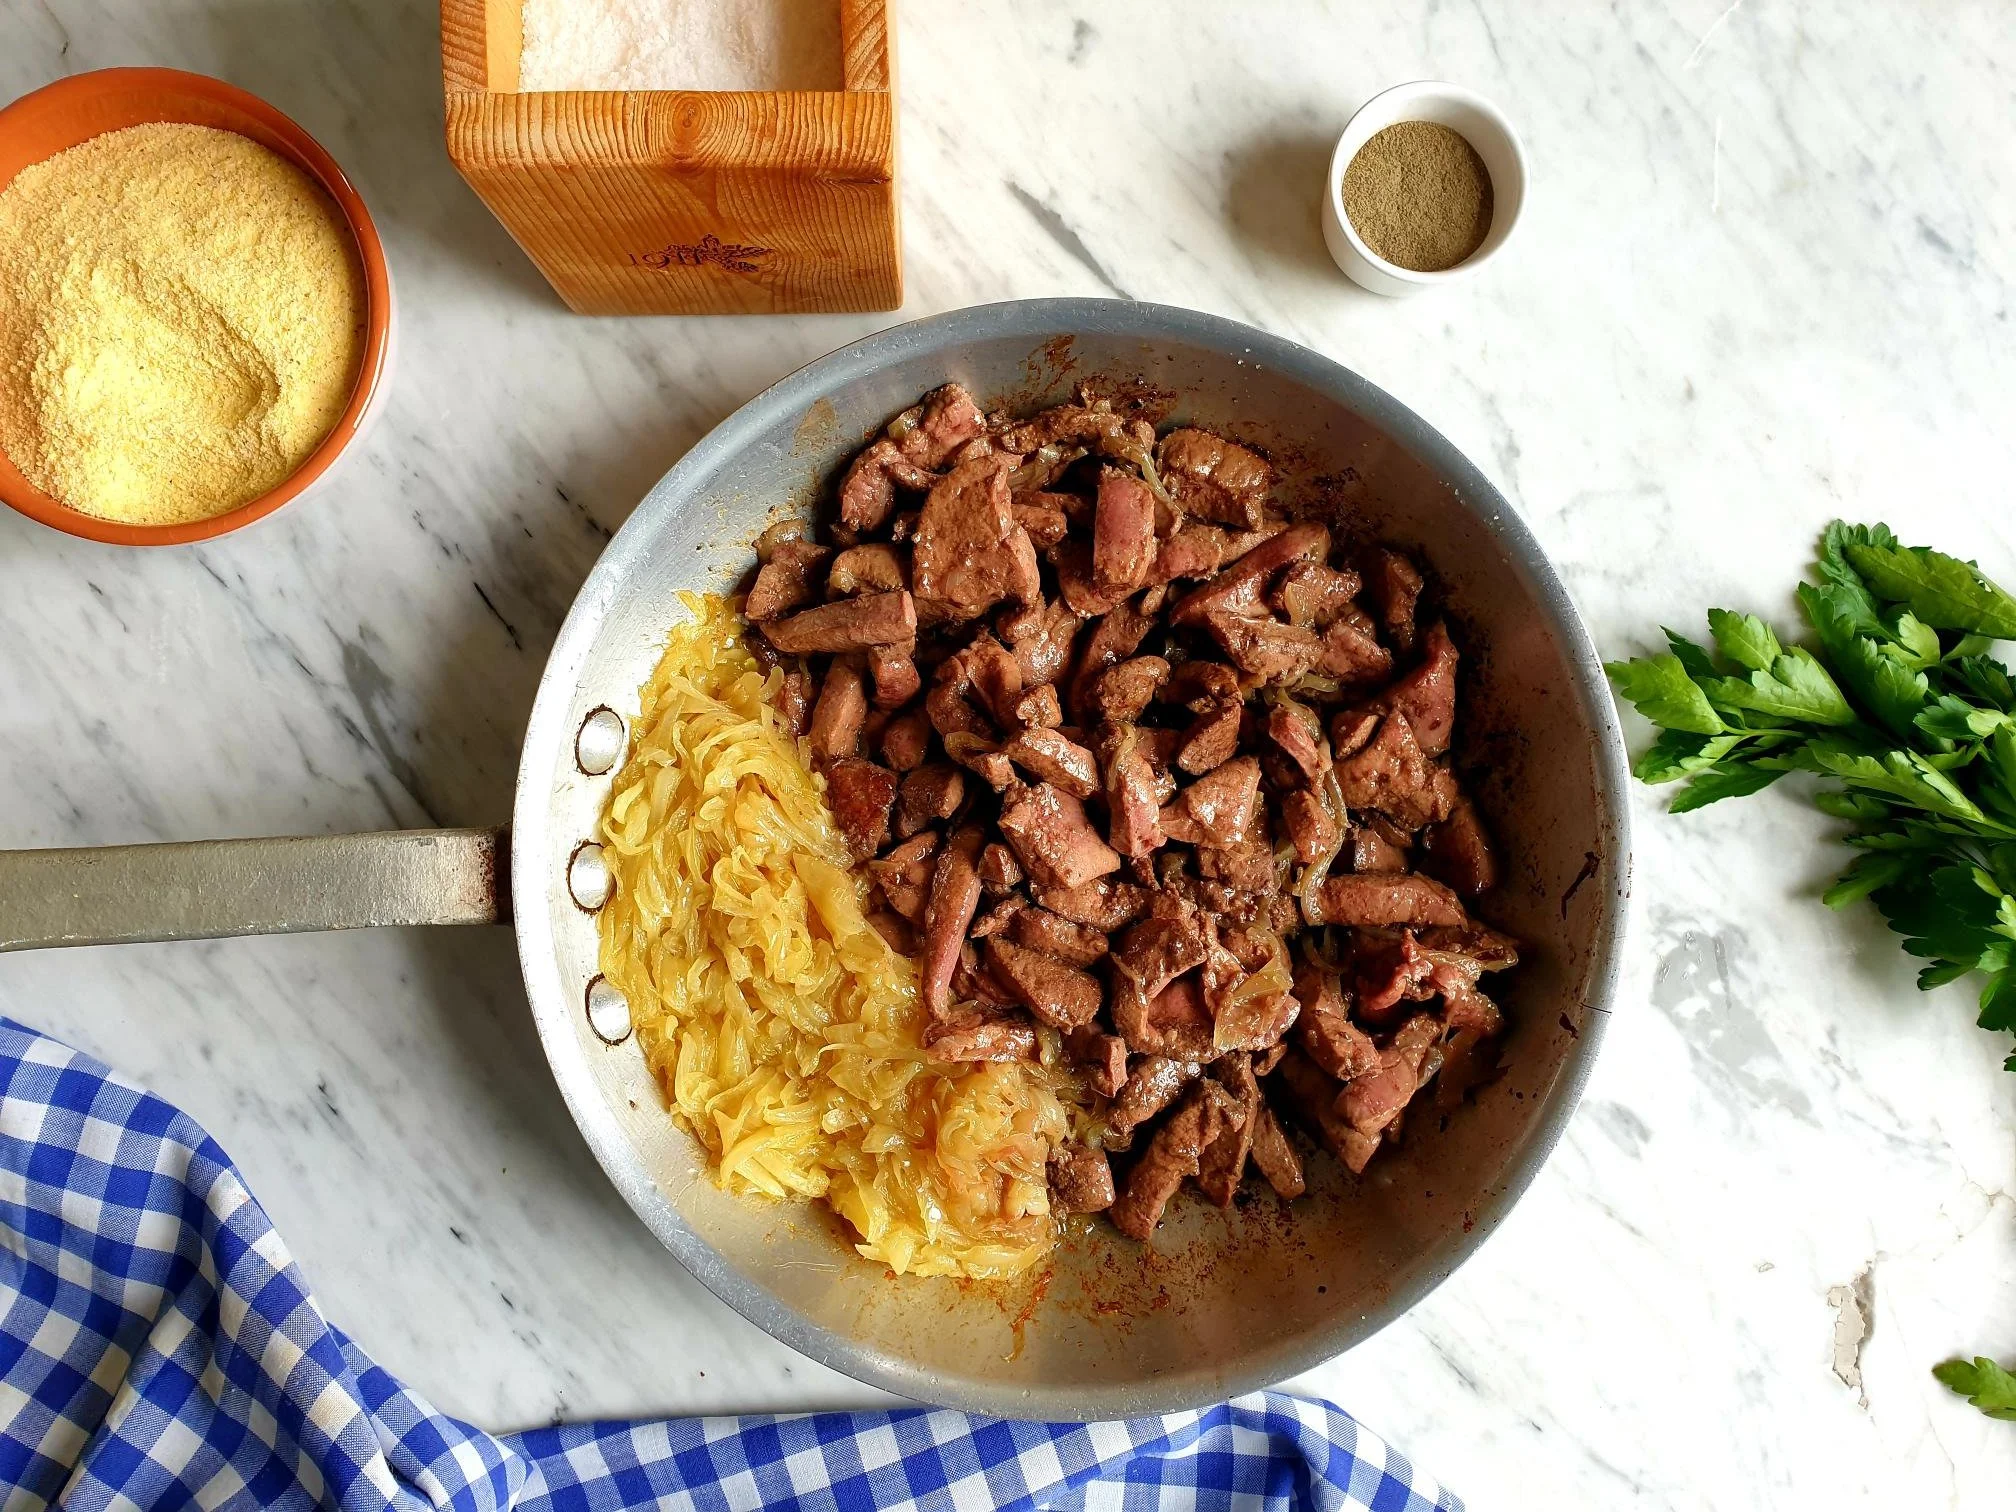
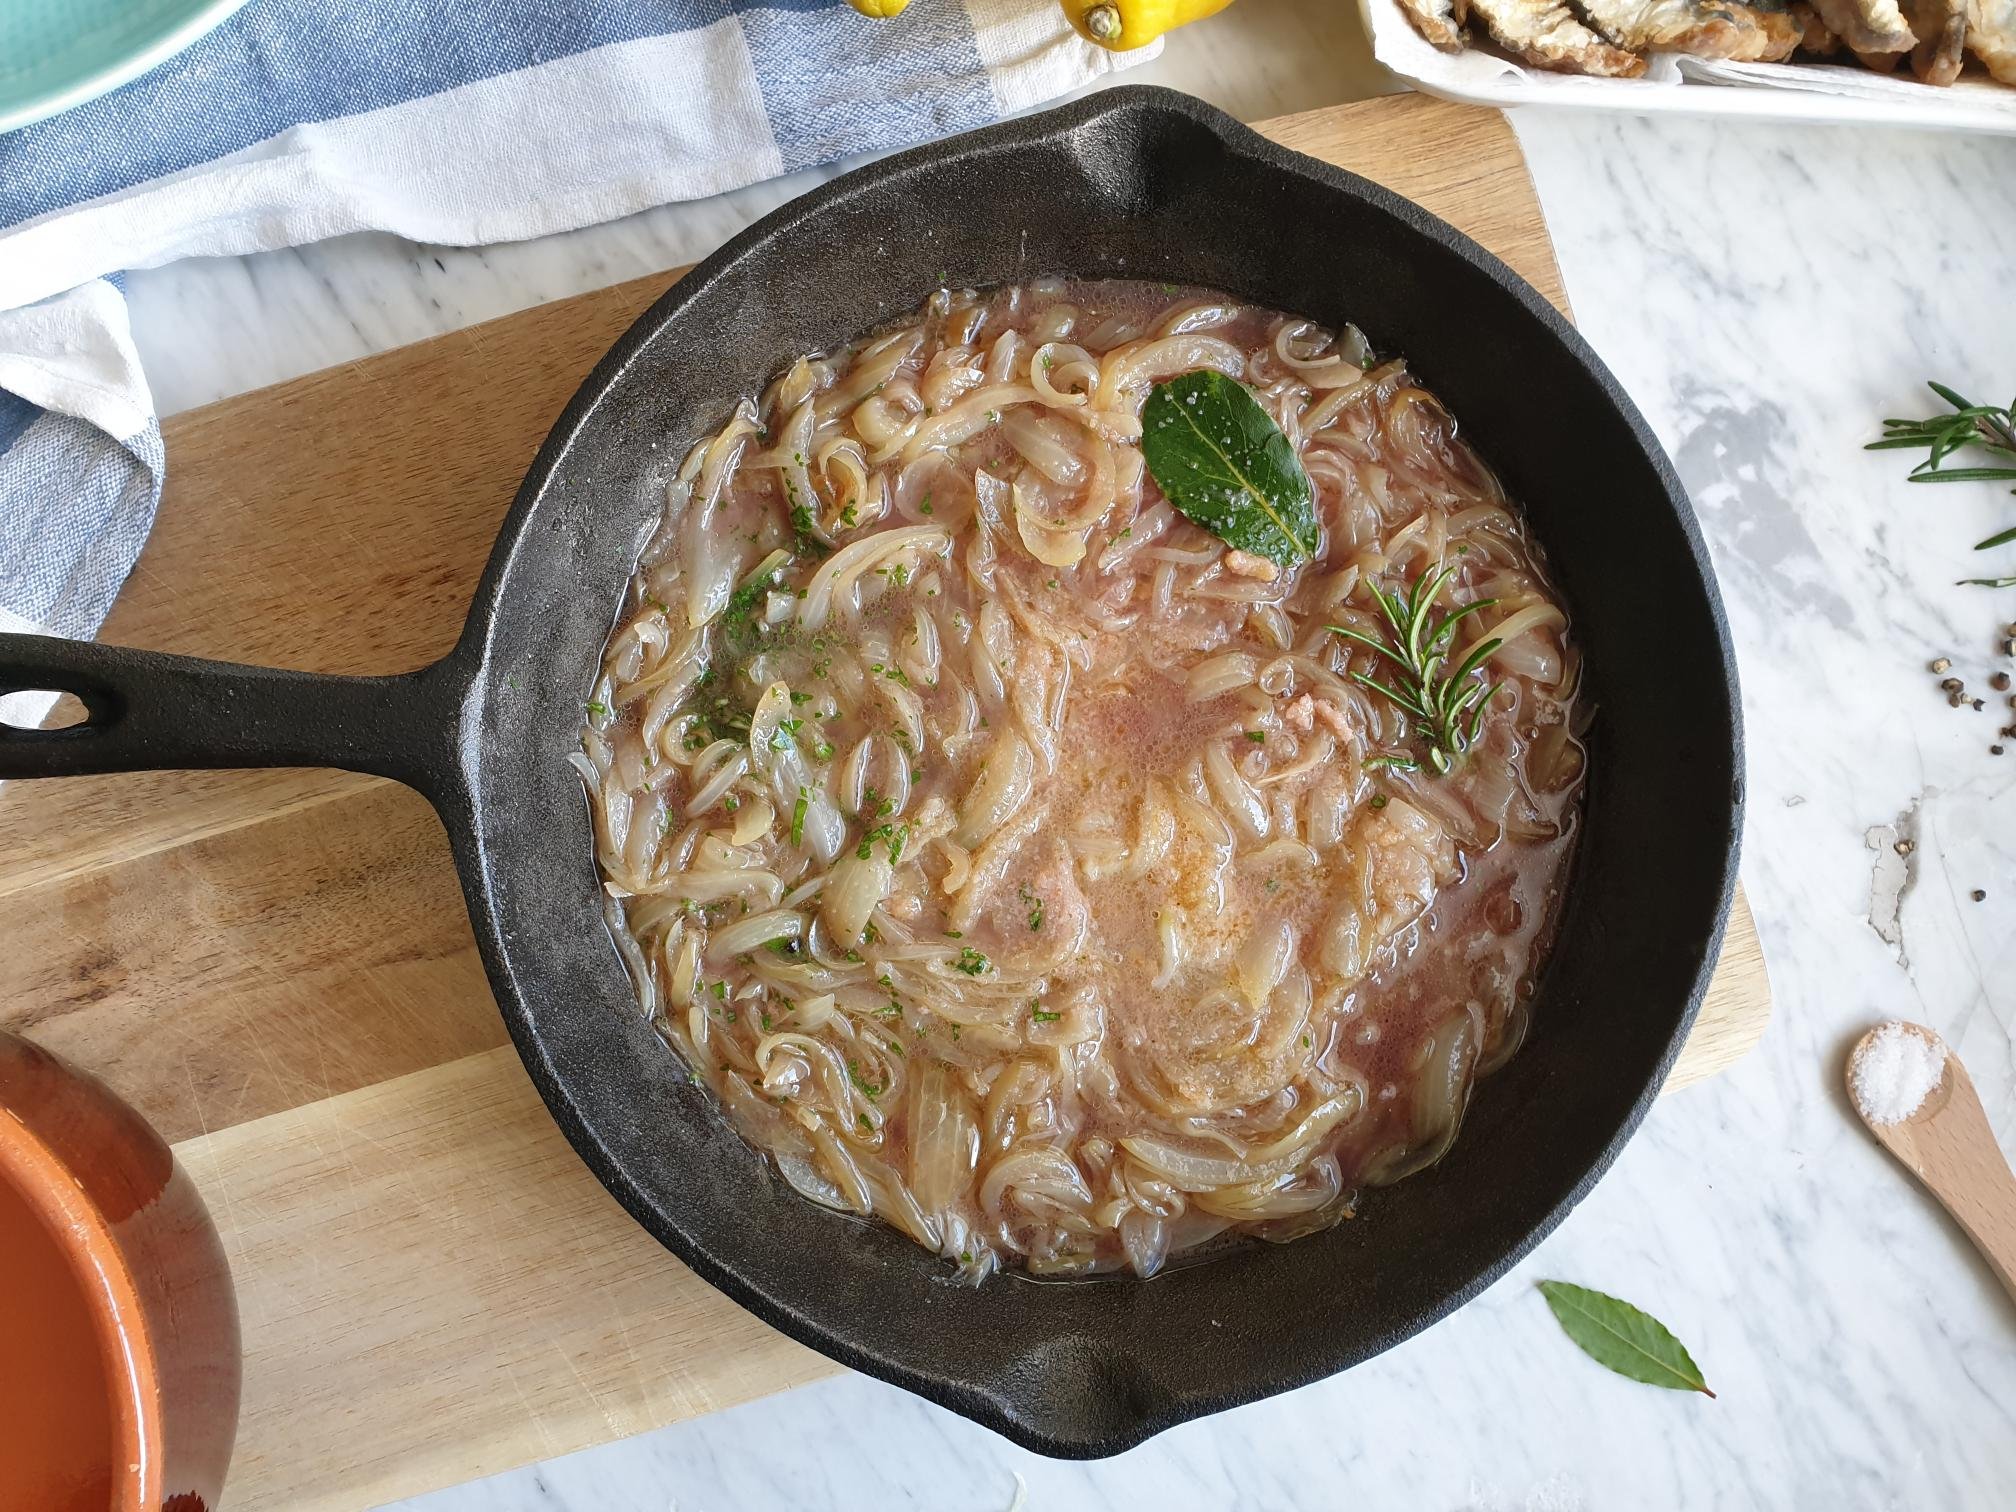
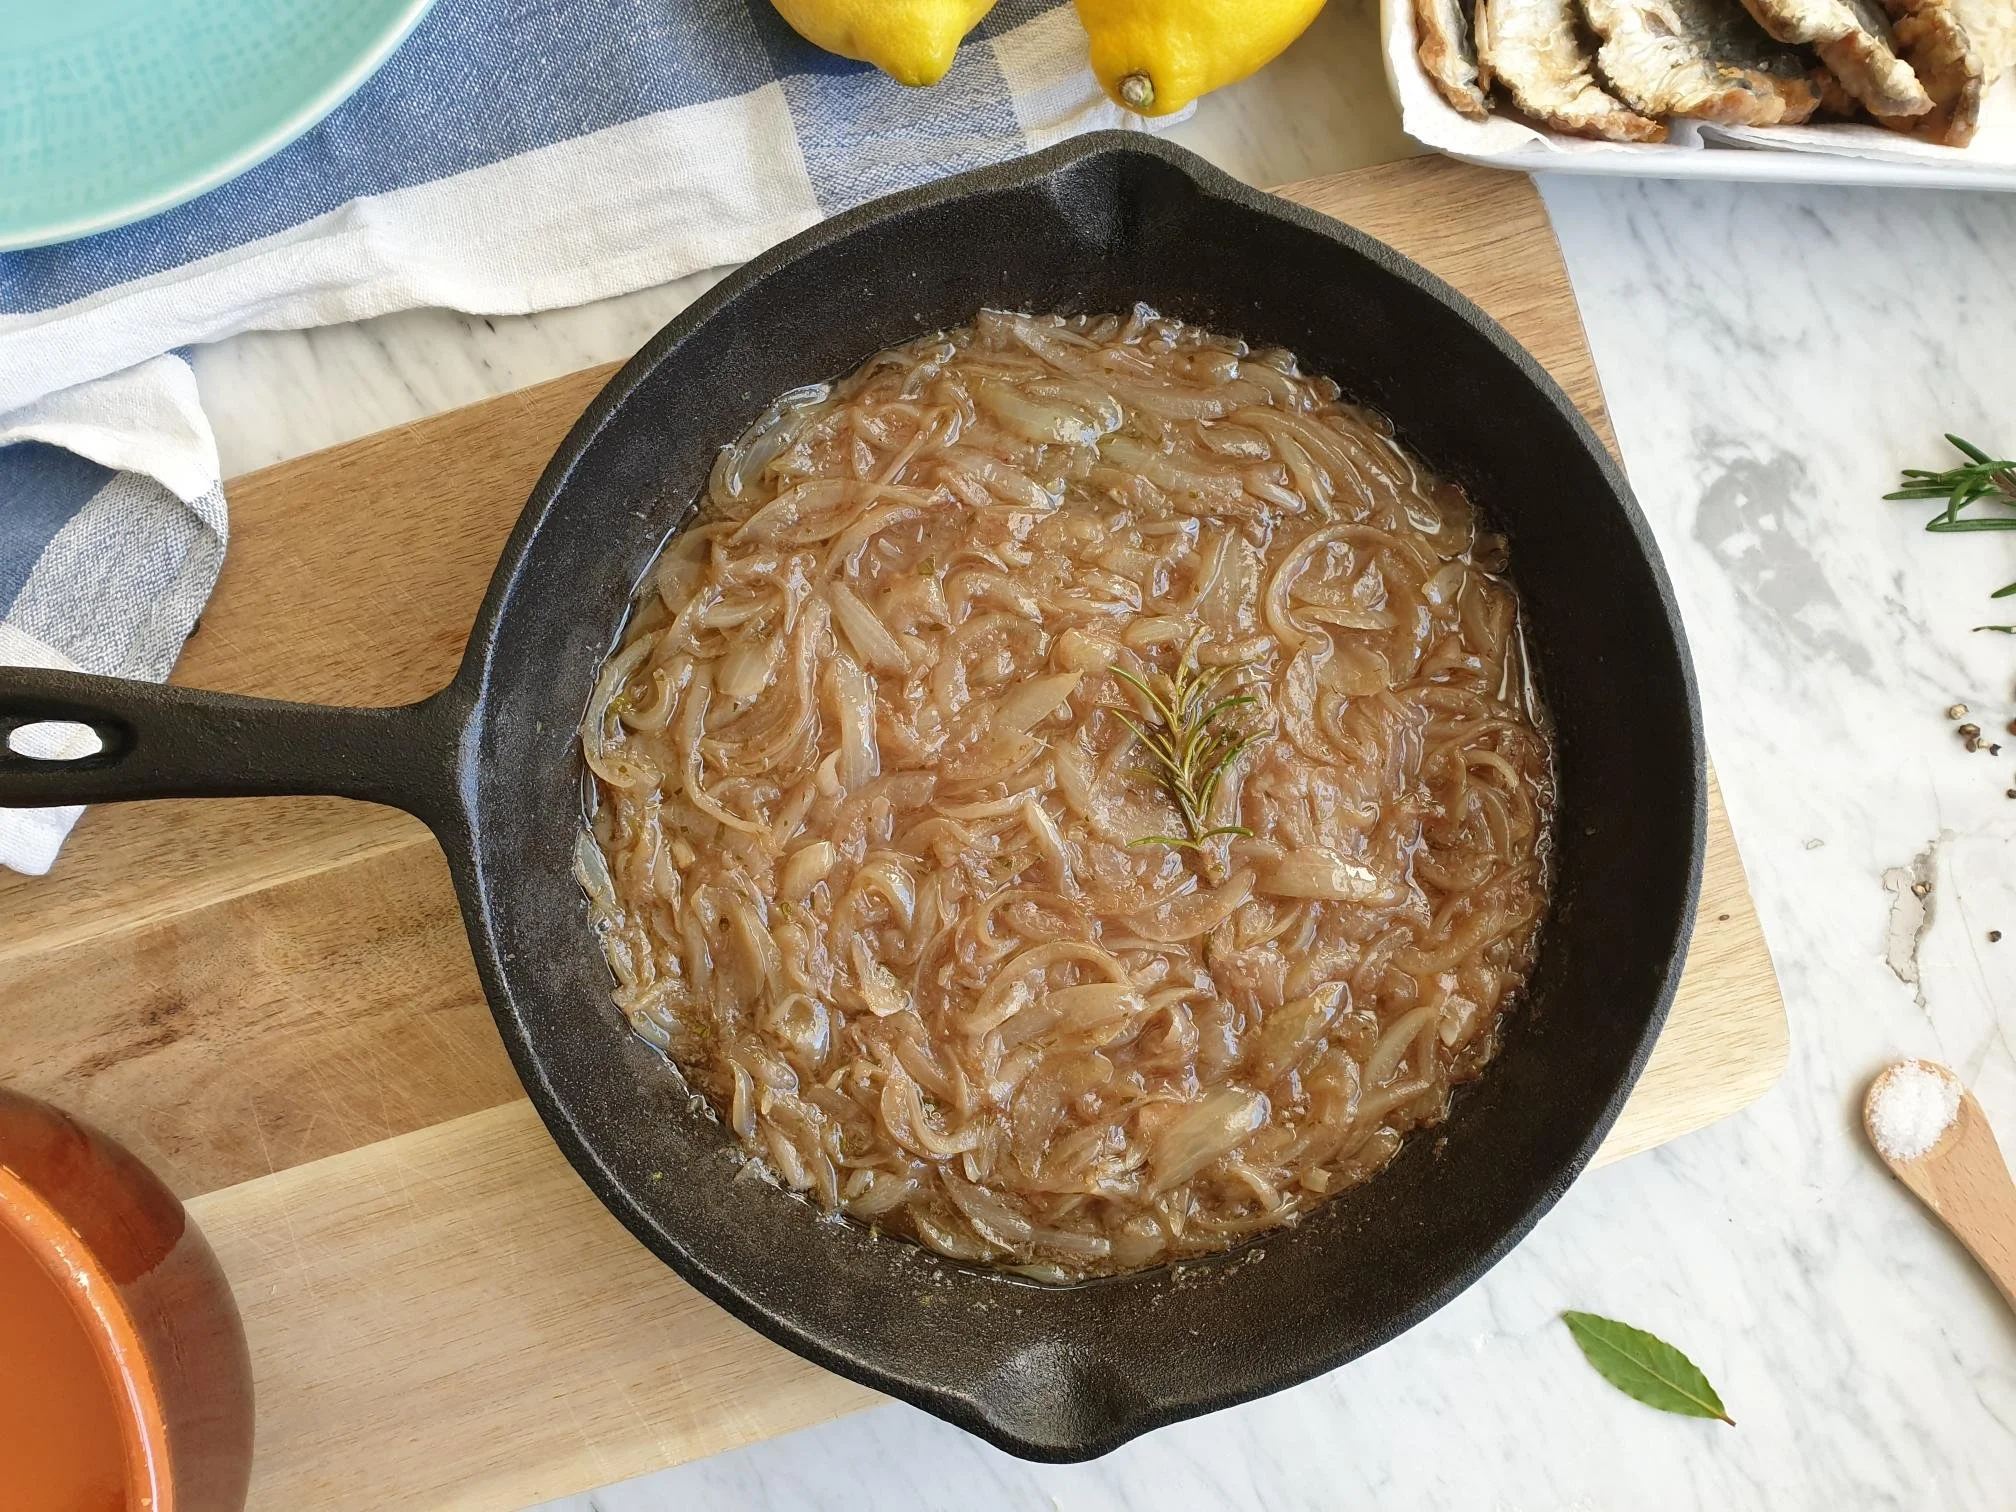
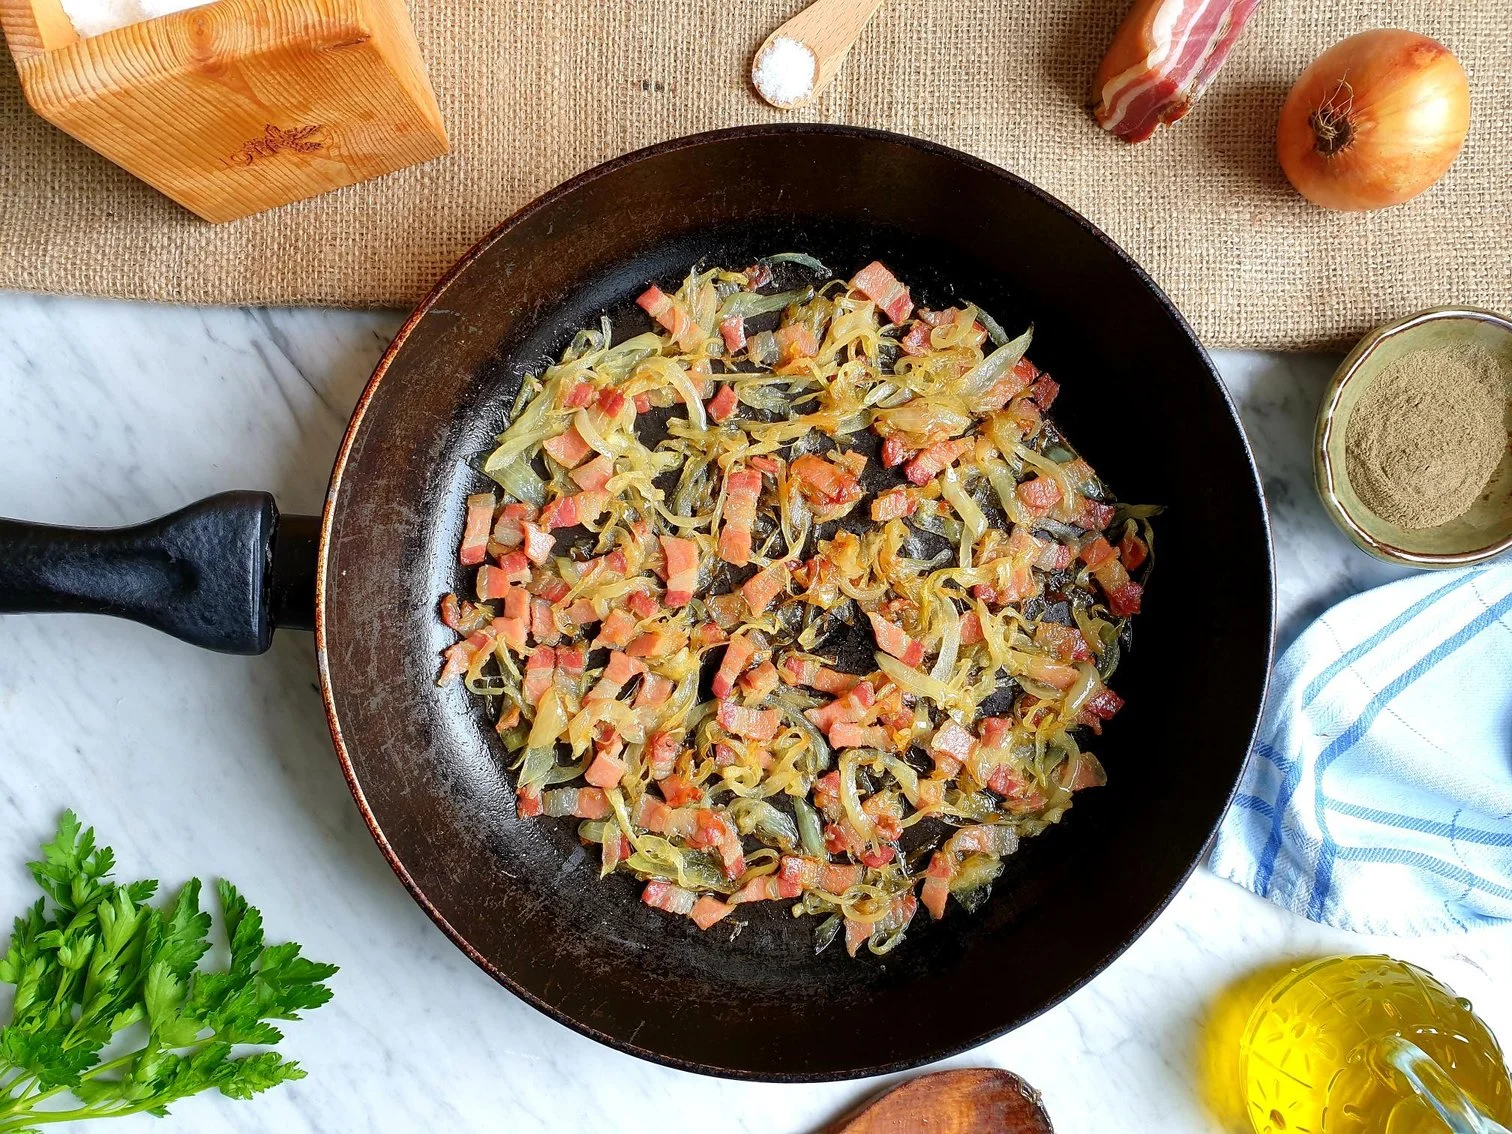
Add finely sliced onions and pancetta and gently fry on a fairly low heat until the onions become golden brown in colour, soft and caramelised, and pancetta fully cooked and slightly crisp. This might take around 40 minutes but it is important not to rush this phase of the recipe as the onions might not get as sweet.
Turn the heat up a bit, add pieces of potatoes and season with sea salt and black pepper (bear in mind that the use of pancetta and broth in this recipe, will partially provide the seasoning).
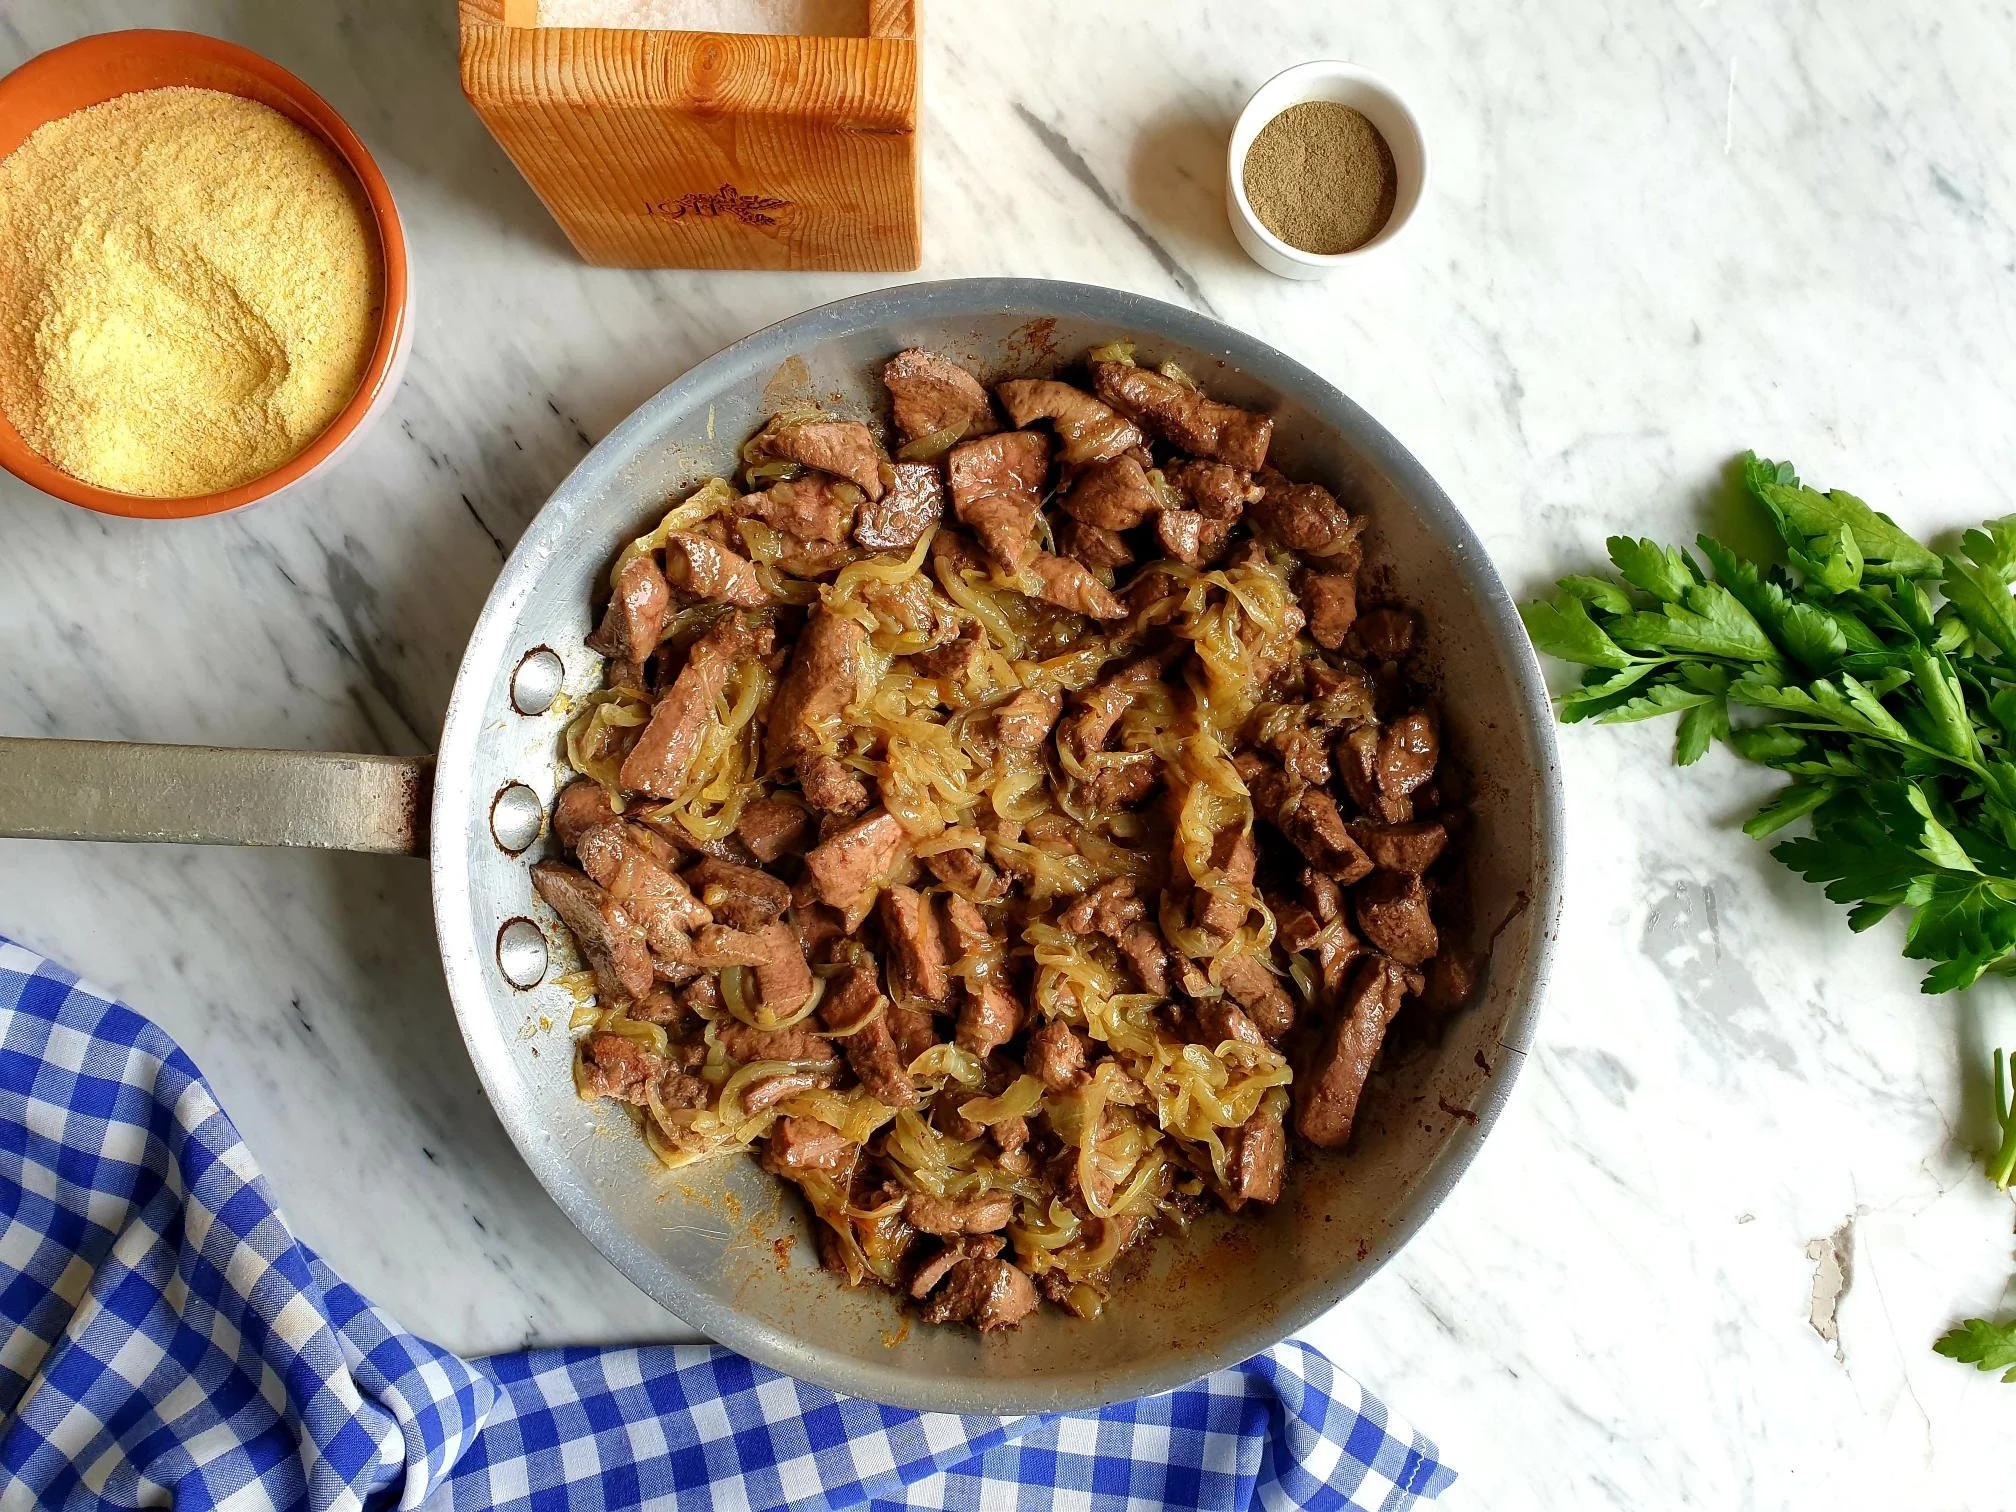
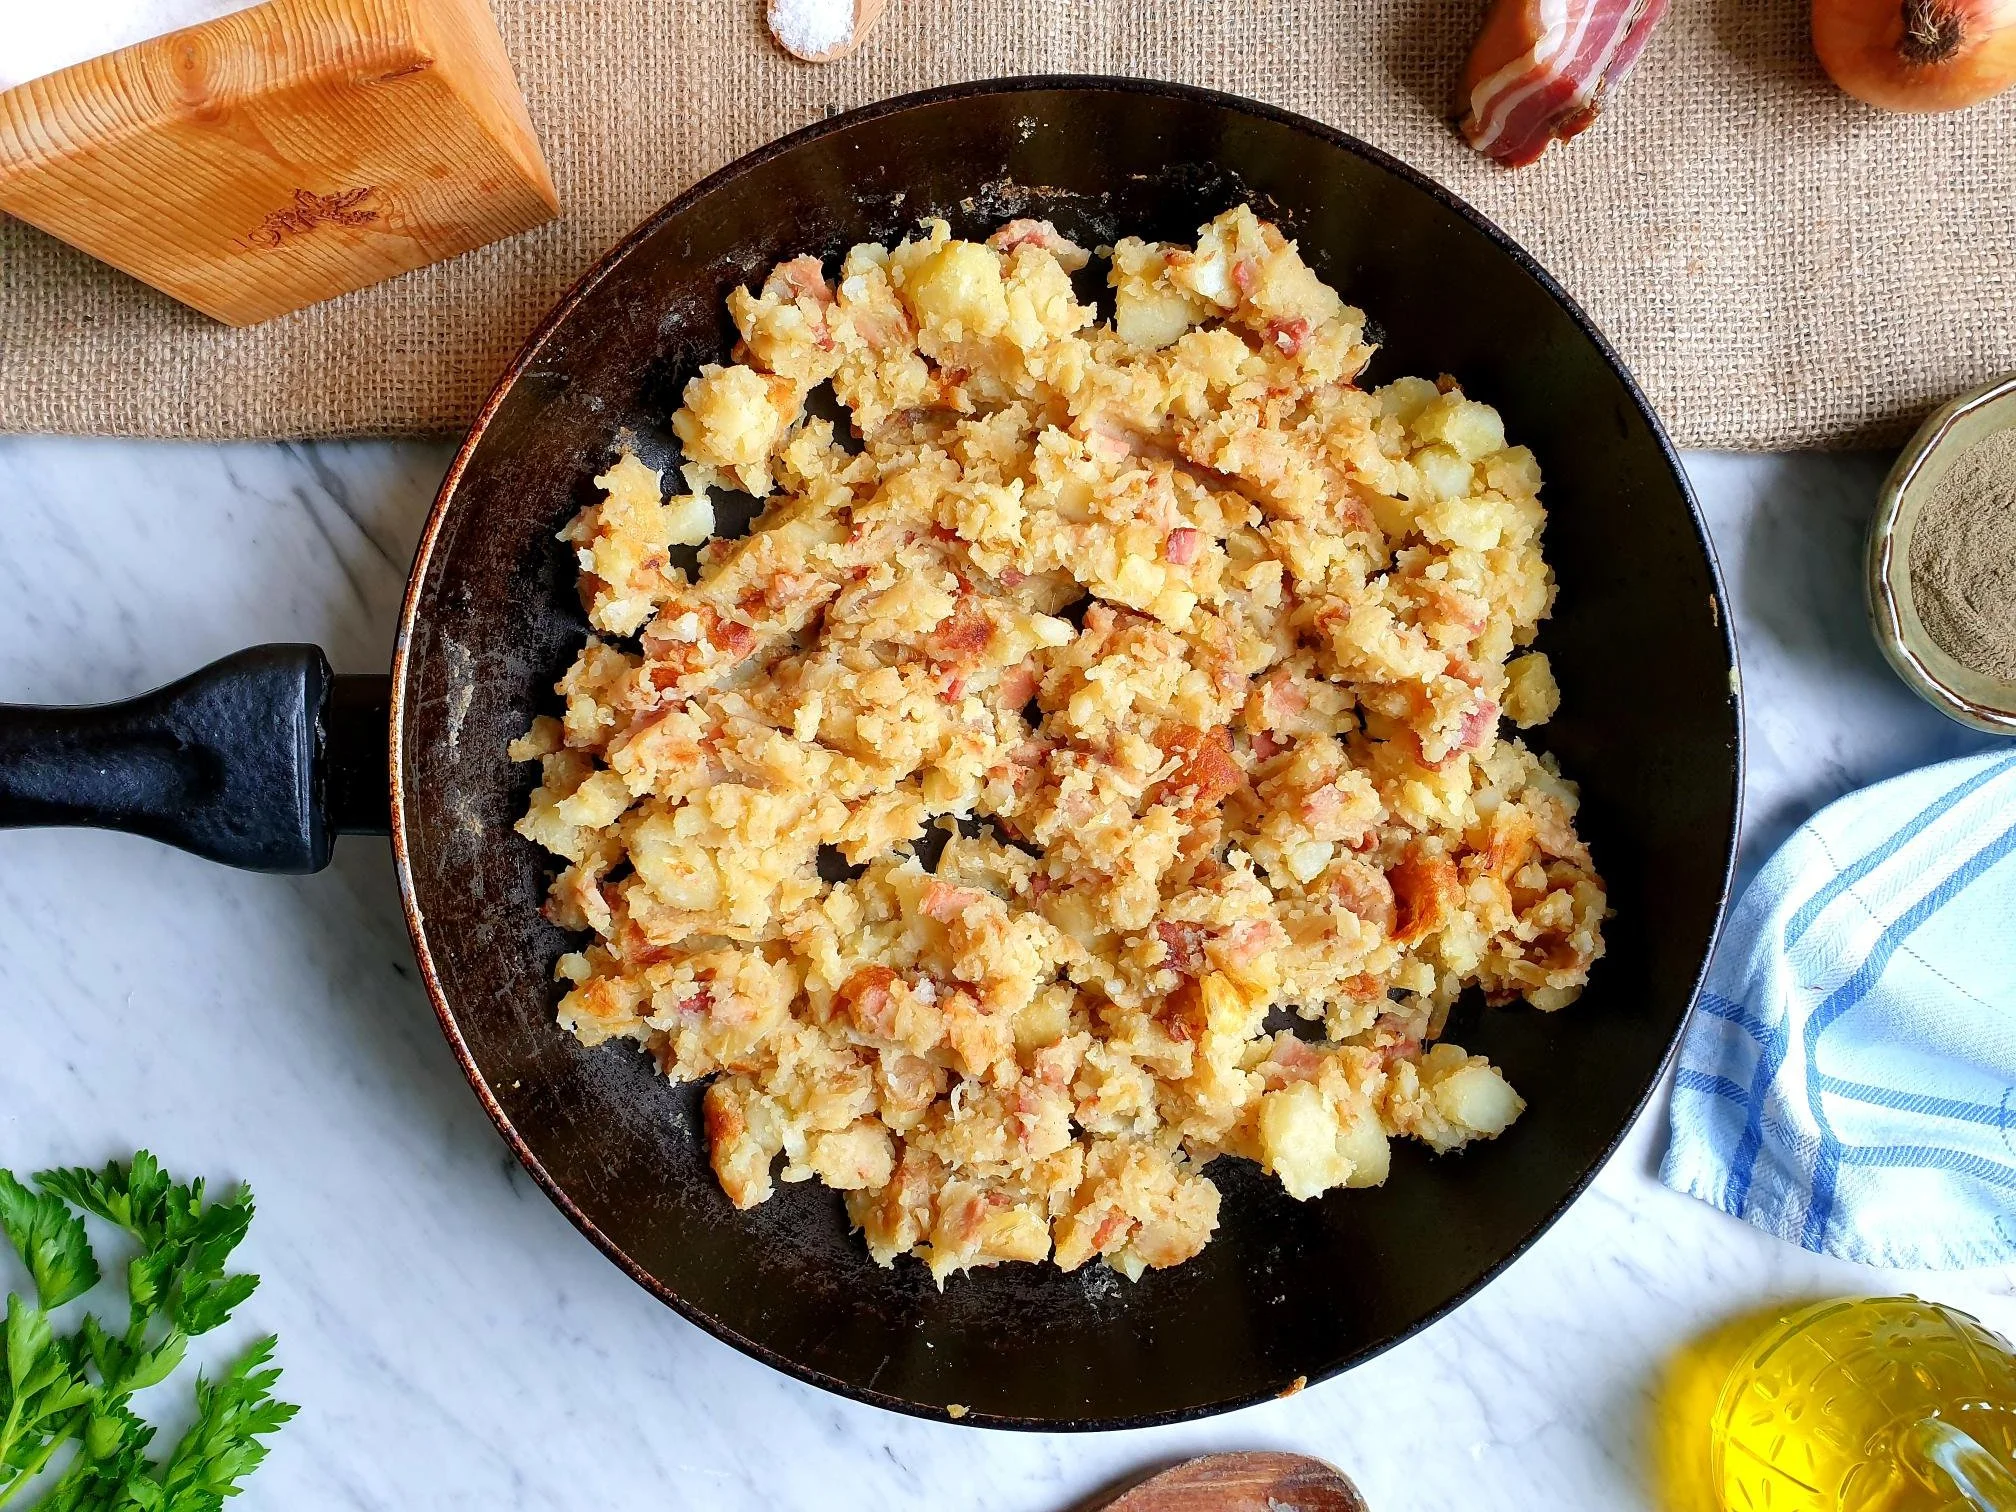
Cook the potatoes with the onion and pancetta mixture and break down a bit bigger pieces of potatoes with the back of the wooden spoon or or a fork, avoiding to end up with mashed potatoes, you still want bits of potatoes in the texture.
Cook for a few minutes allowing the mixture to catch a bit at the bottom of the pan forming a light crust, but try and avoid to get it burnt (although if it does burn slightly it is not the end of the world).
Scrape the layer of golden brown bits and break the crust with the wooden spoon, stir the mixture.
Cook further for a few minutes until the crust forms again, break it and stir.
Repeat the process a few times adding small amounts of broth or stock to avoid potatoes getting too dry.
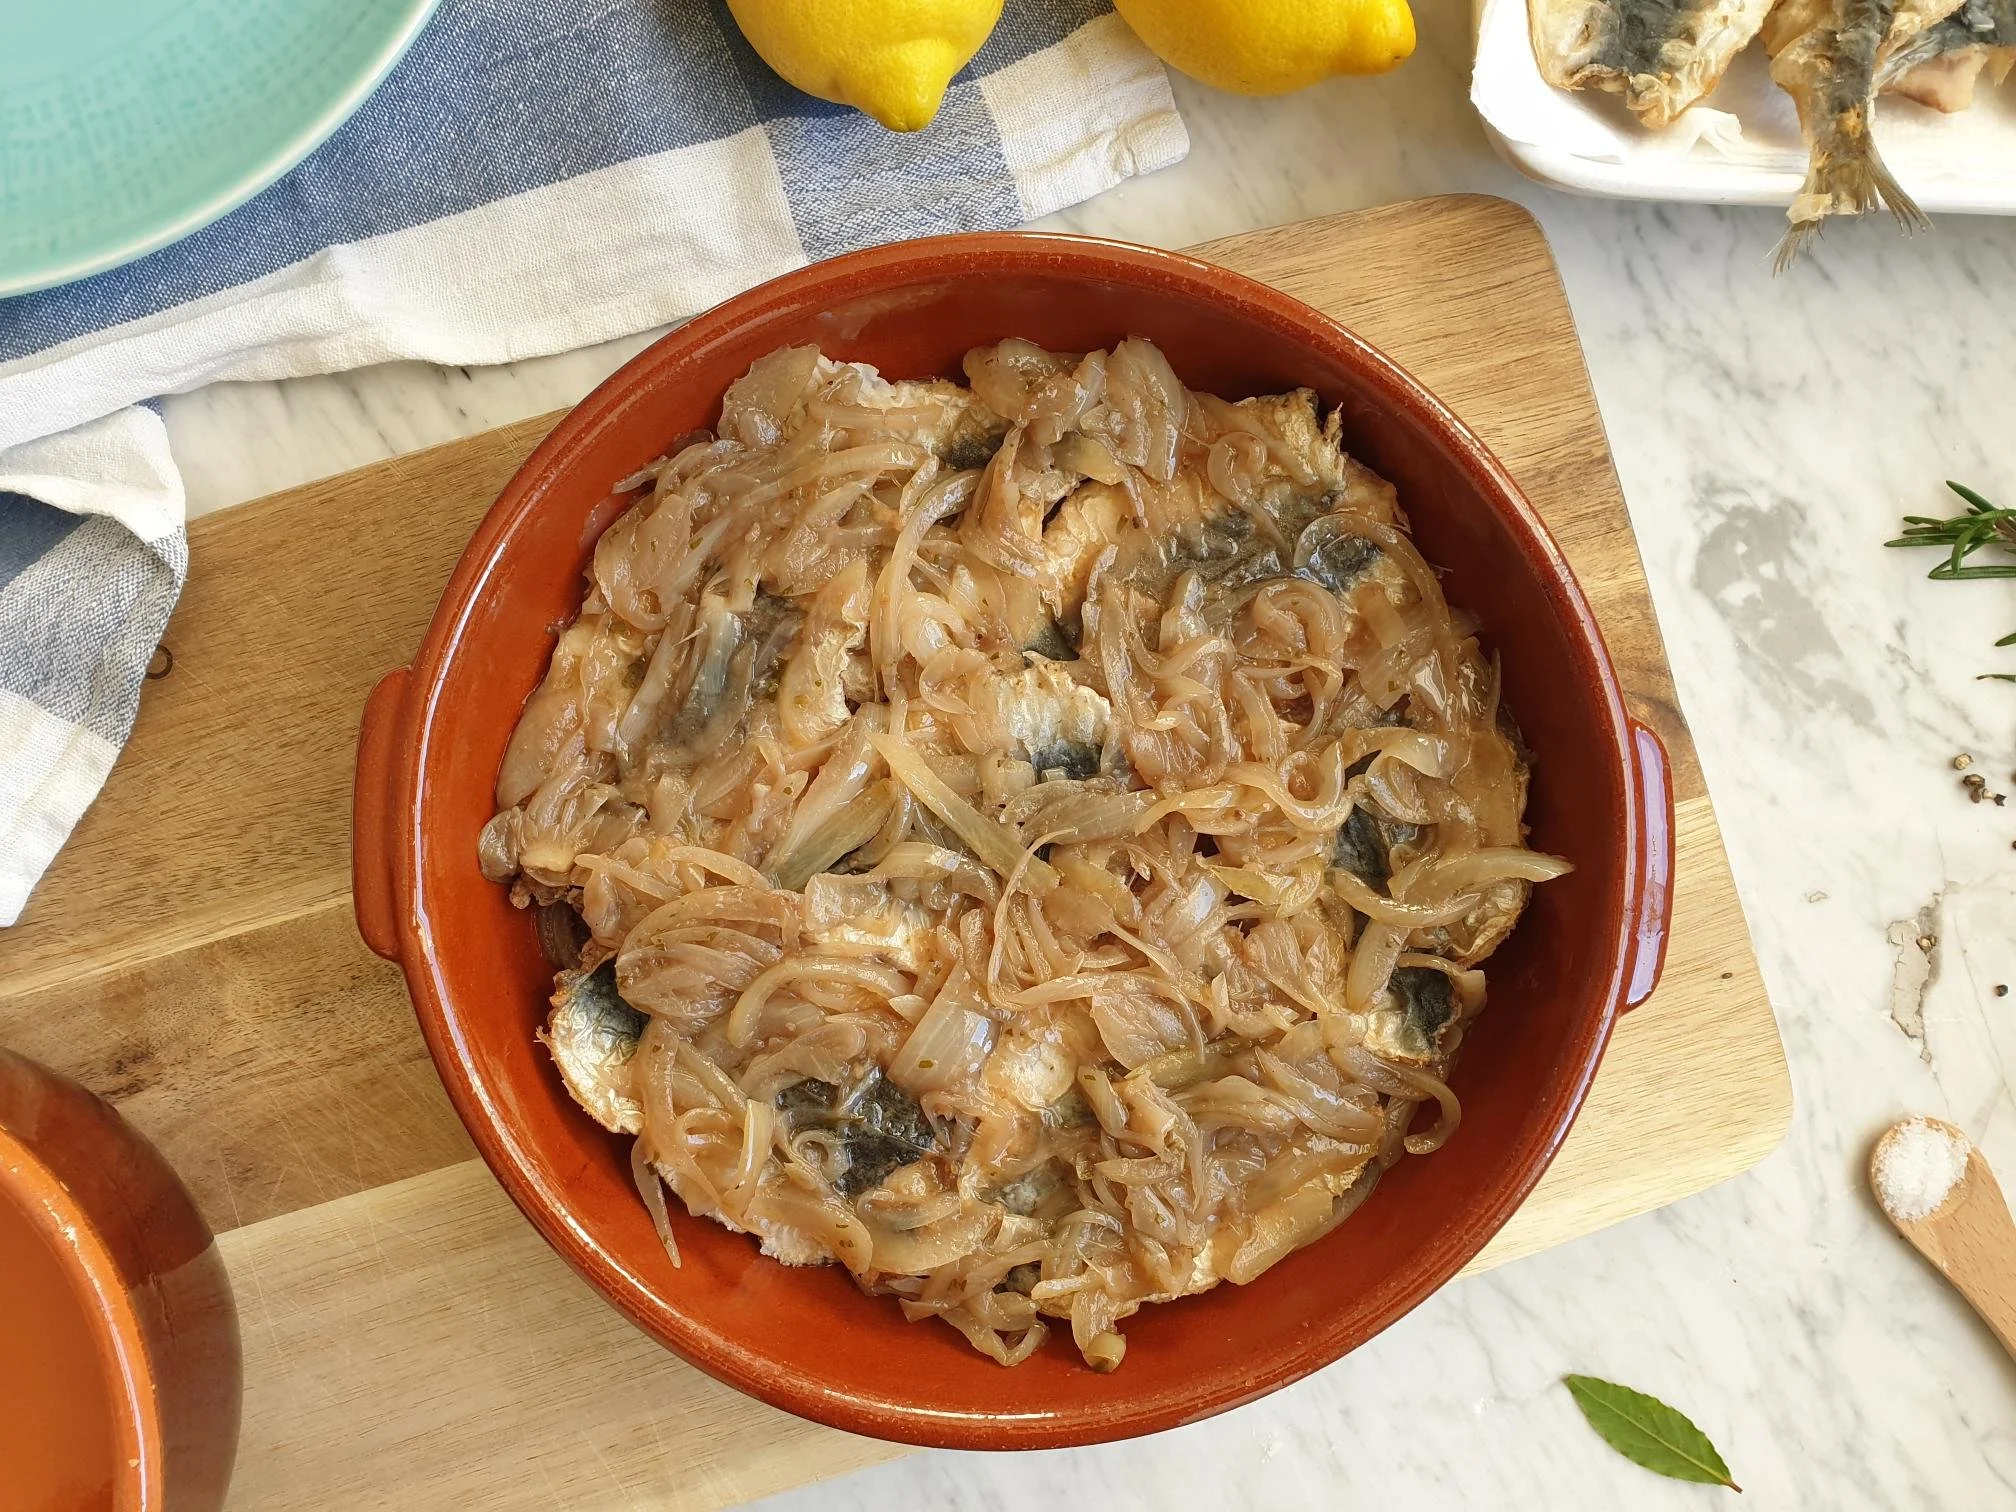
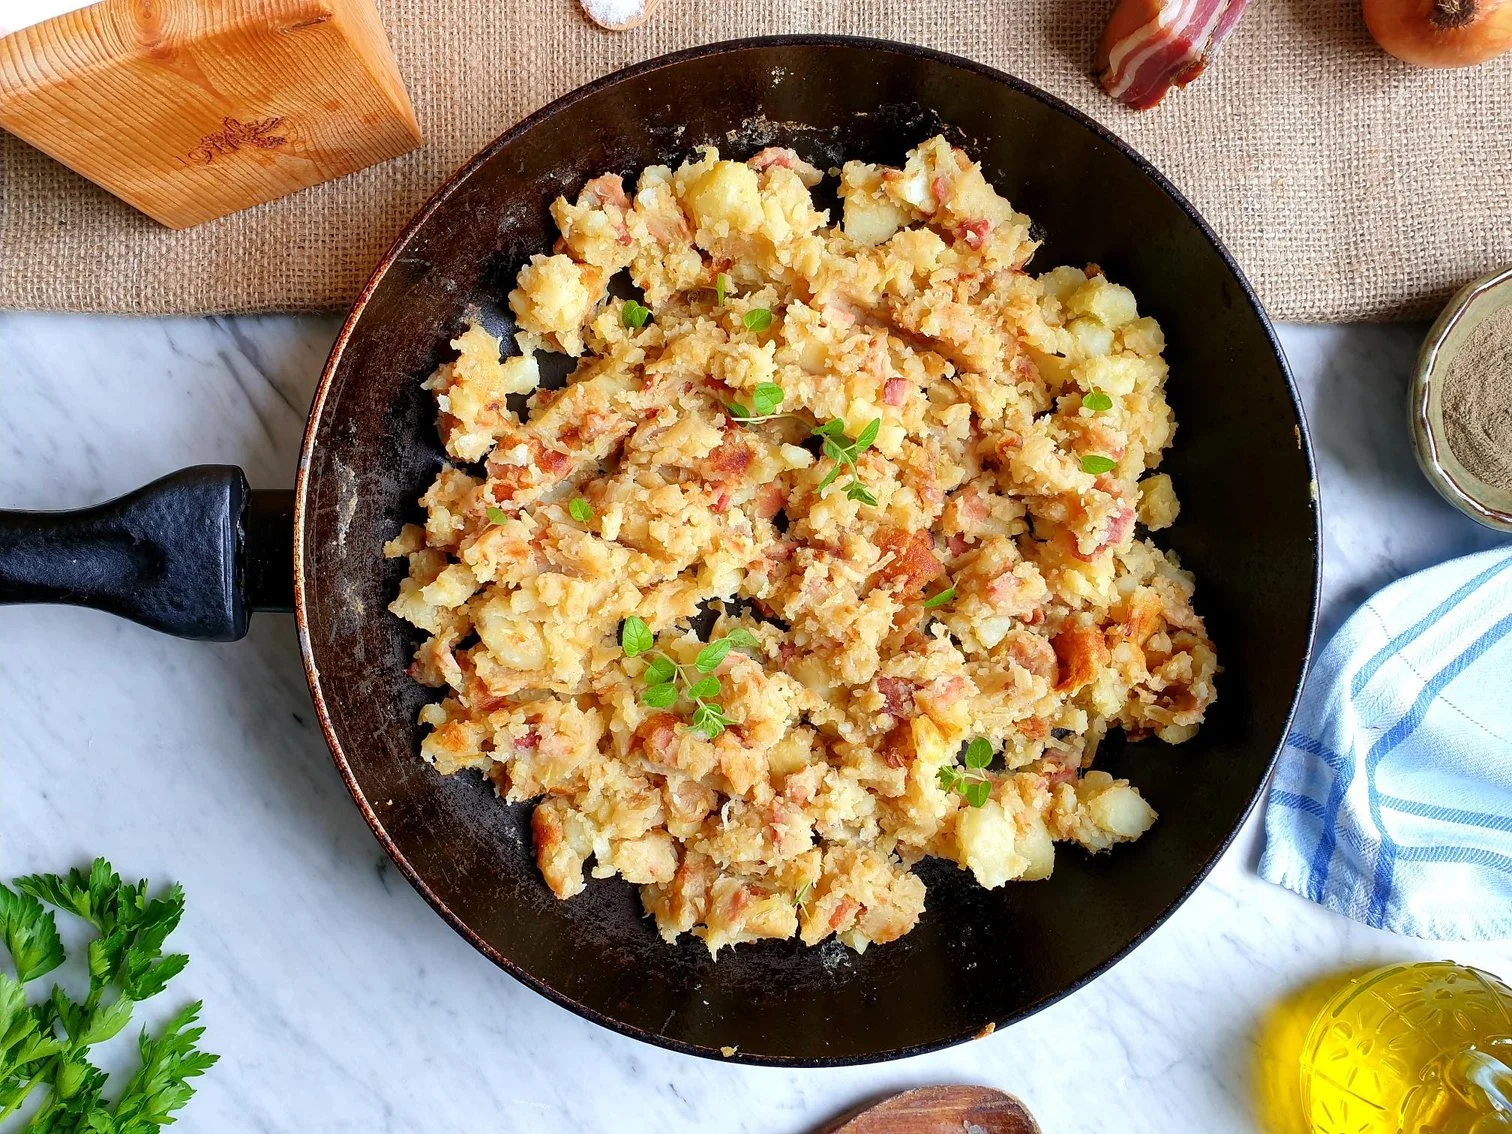
The whole idea behind repeating this process of allowing the crust to form, then breaking it and stirring the mixture is to end up with a final dish that will have a combination of crusty and crispy bits of potatoes that are stirred back, mixed with the rest of soft/mushy potatoes, caramelised onions and pancetta.
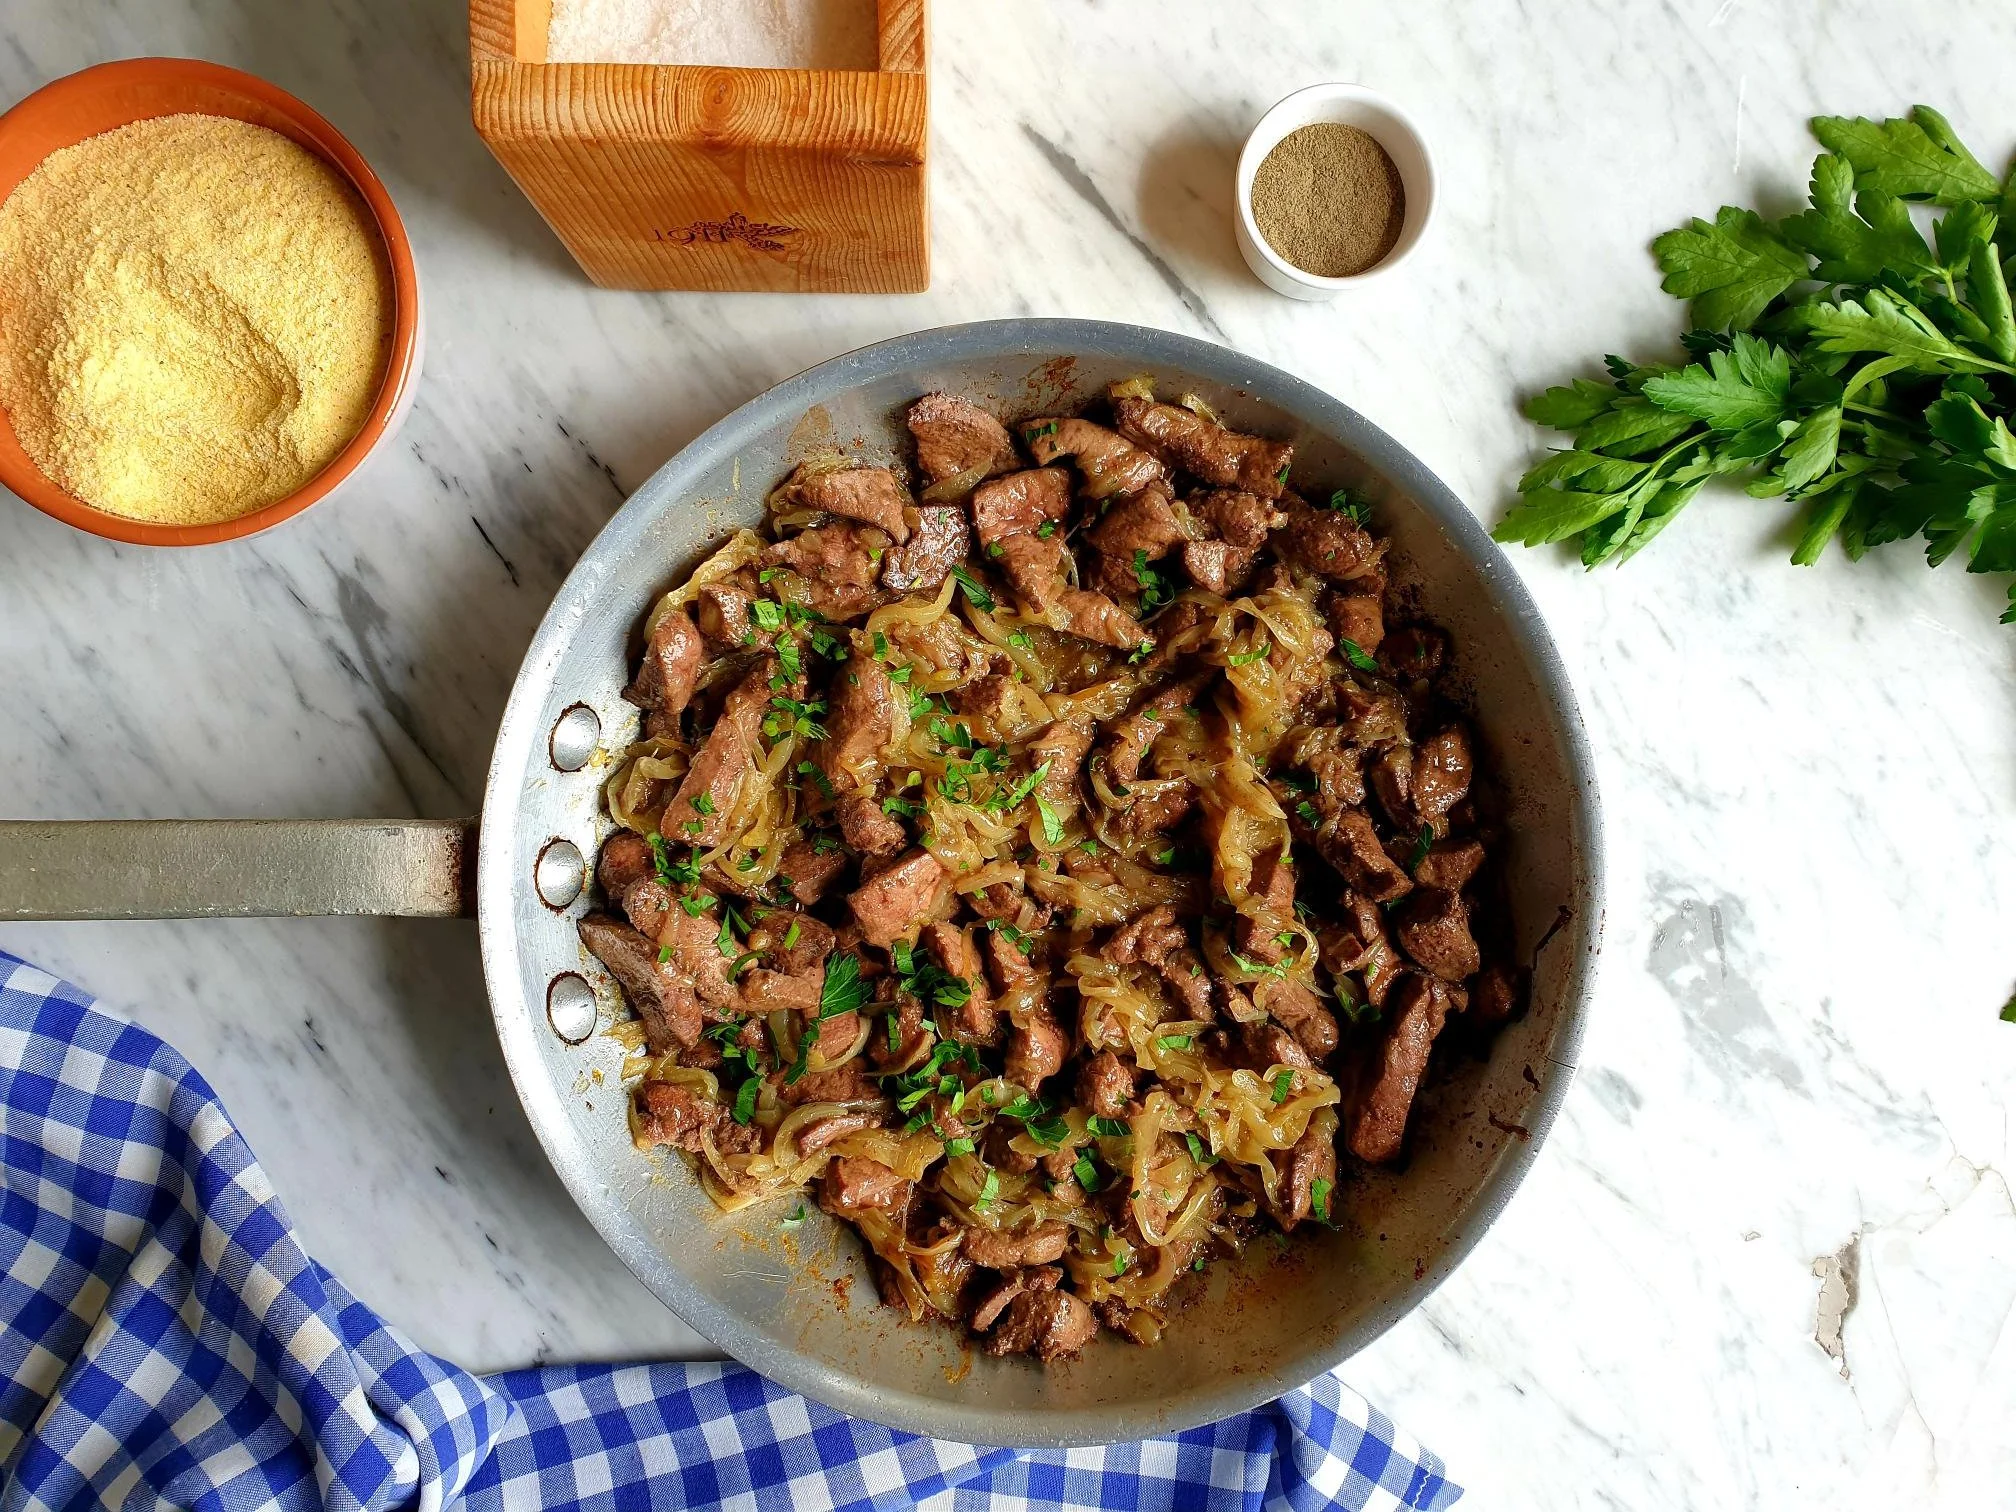
Taste, adjust the seasoning with sea salt and black pepper.
Sprinkle with roughly chopped fresh flat leaf parsley and serve hot.
Just a thought
This dish is not suitable for freezing.
When reheating this dish you will need to add some moisture back, as it gets quite dry when cooled down and kept in a fridge, adding more stock or broth.
You can cook this dish with leftover boiled potatoes or using left over mashed potatoes.
Wine suggestion
Friuli Venezia Giulia Friulano DOC "San Pietro" 2020 - I Clivi