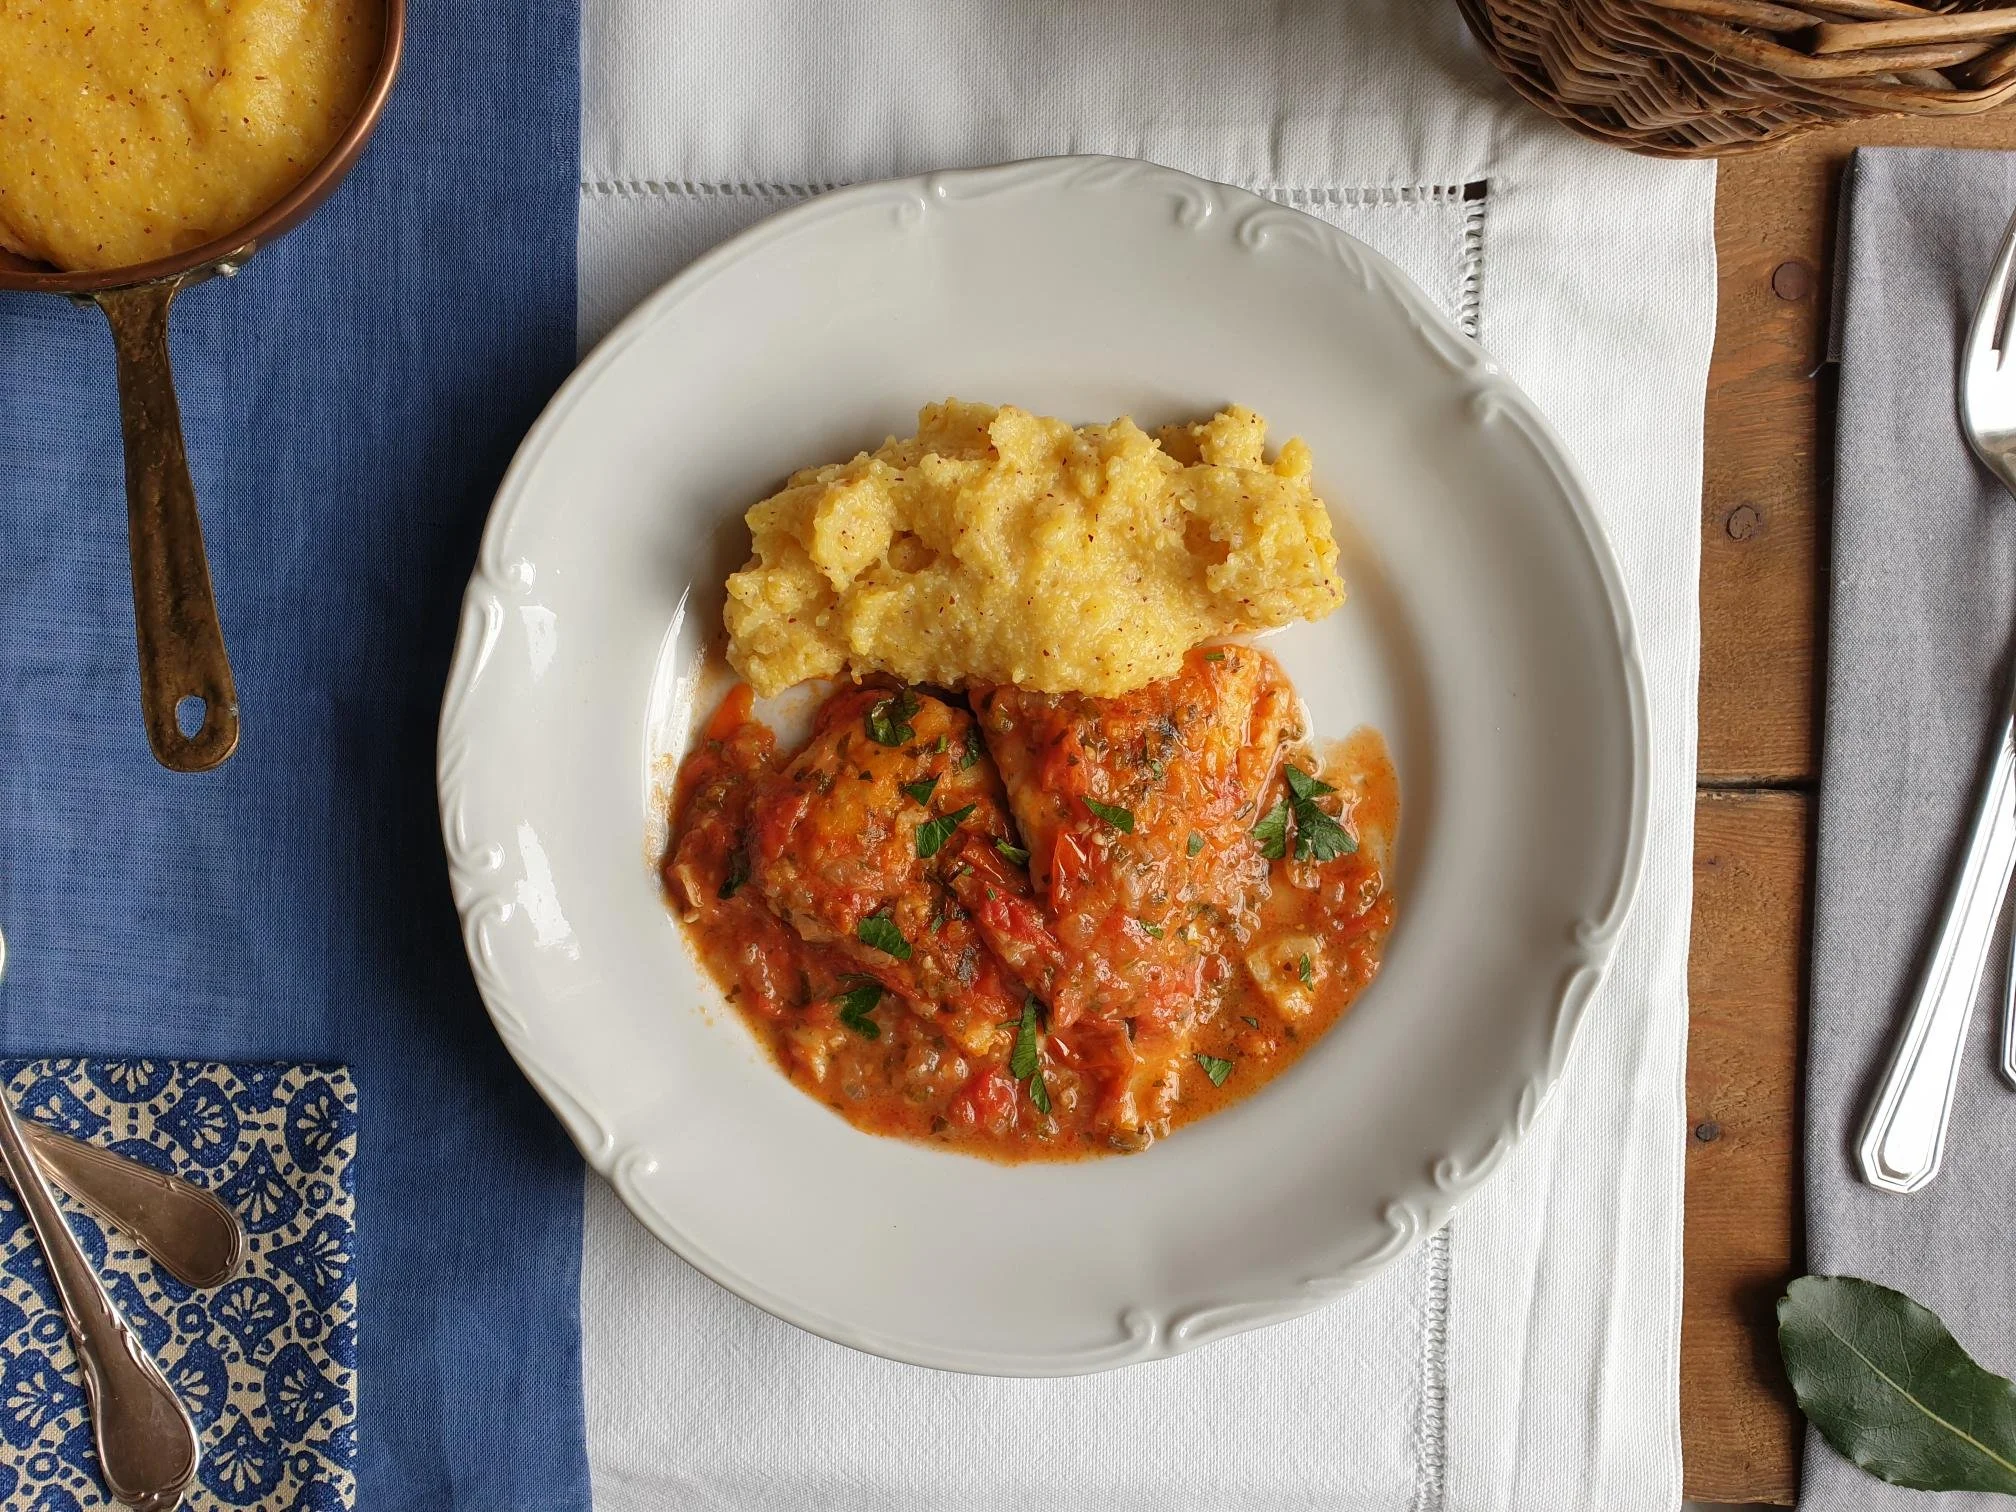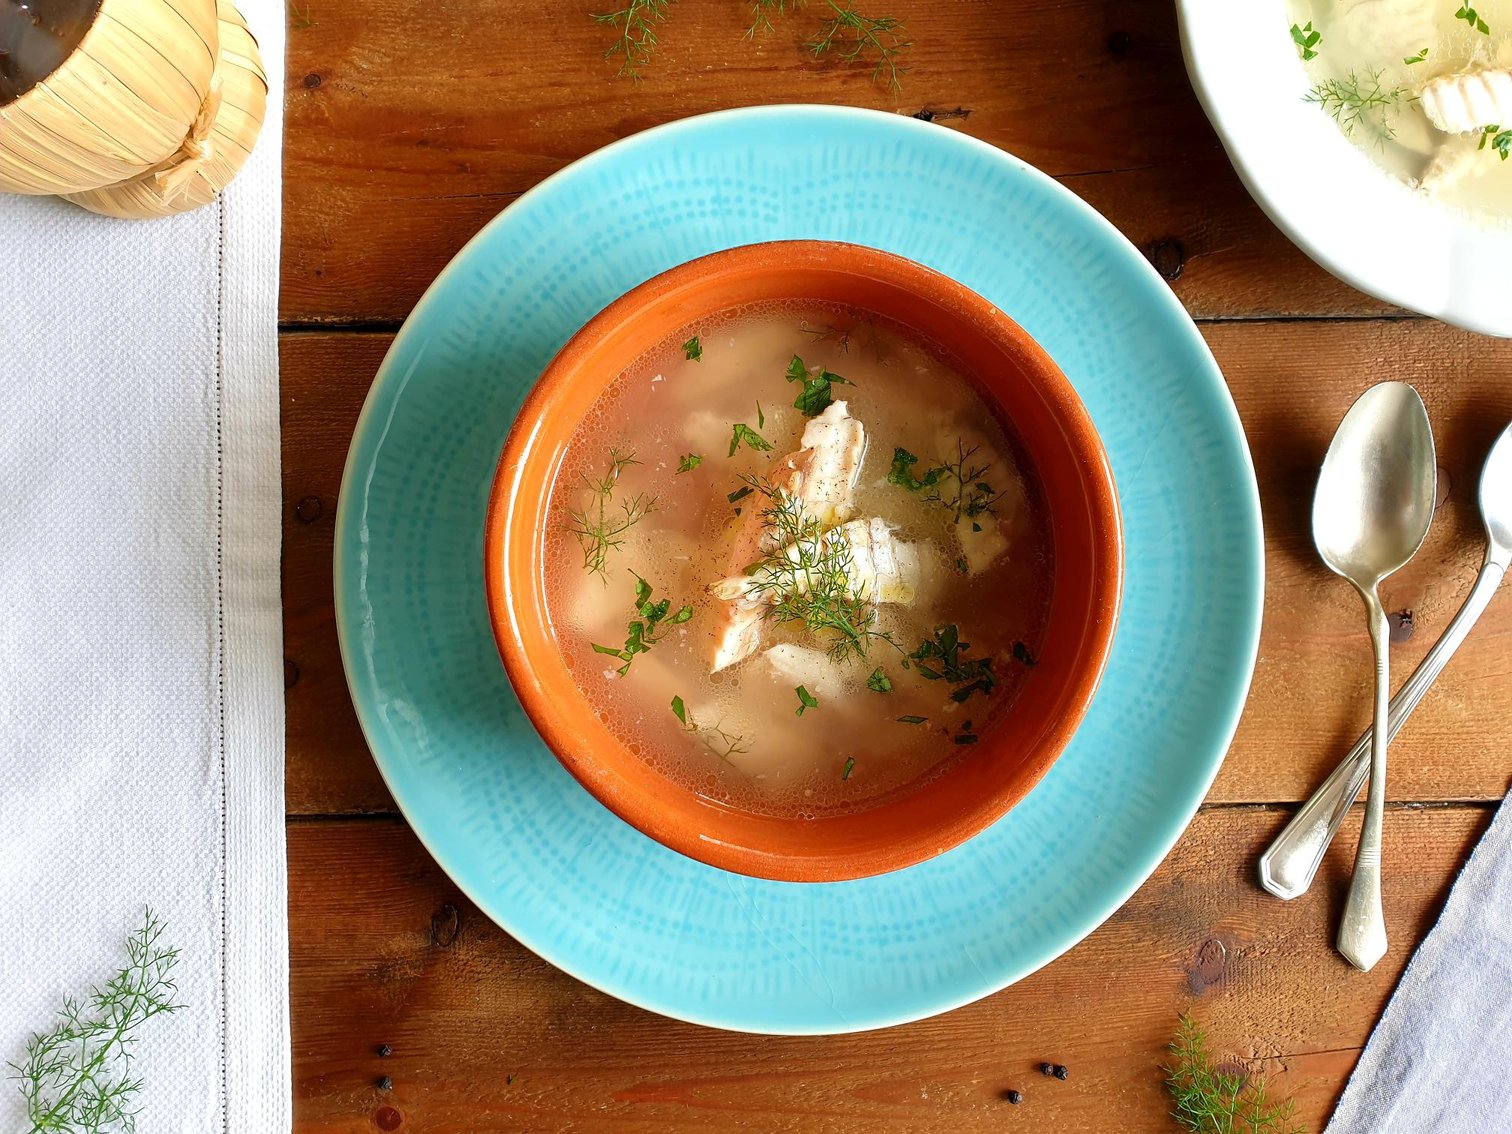
Sea Bream broth Istrian Recipe
This clear fish broth is very light and has a very pleasant, delicate and mild fish flavour, it is very nutritious and incredibly easy to make as it consists of cooking fresh whole fish in plenty of water together with the onions, celery, bay leaves, parsley, carrots, black peppercorns and seasoned with sea salt, then strained and served hot with fillets of fish and some cooked white rice if desired.
This fish broth can be as rustic or as elegant and sophisticated as you want it to be, it is a very family friendly dish and perfect for any occasion.

It would be normally eaten as a hot starter, however, you can turn this clear soup into a bit more substantial main course by cooking some white rice separately and add it into a broth, and sprinkle some freshly grated Parmiggiano Reggiano (or Padano) cheese on top, which is a very customary thing to do along the Slovenian coast, where this type of soup is very much loved by the locals, cooked recurrently in the households and found on menus in fish restaurants (Ribja juha).
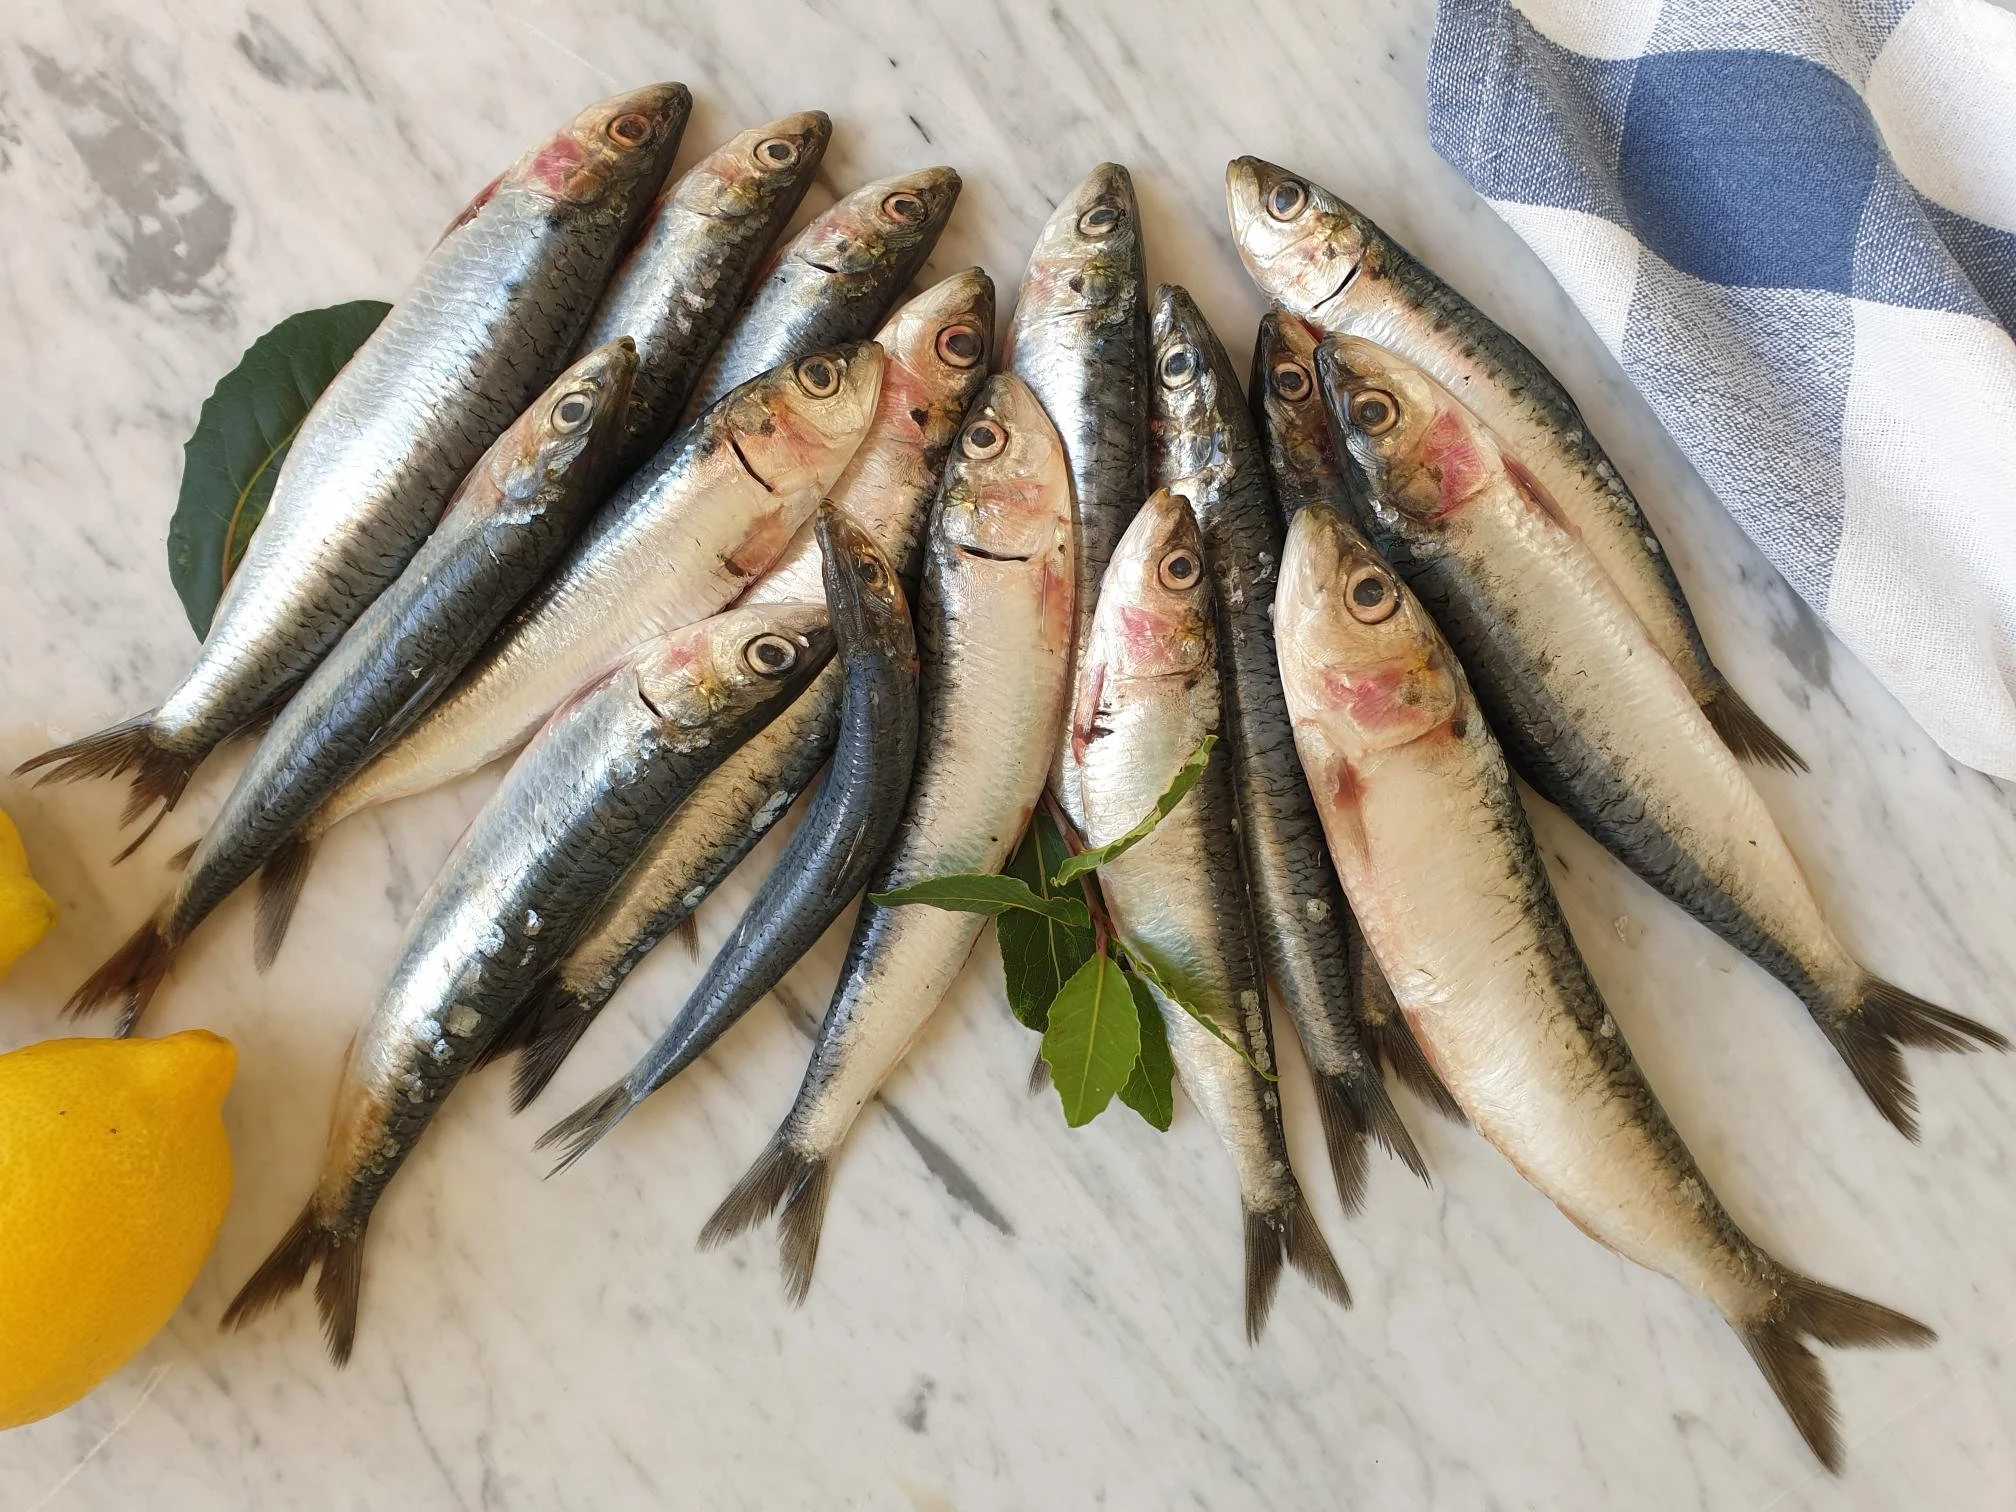
This type of broth would be most commonly cooked using fresh whole Sea bream or Sea bass, but other type of fish can be used like Red mullet, John Dory, Small red scorpionfish and similar fish that have a delicate flavour, and you can also mix and match the fish that you like and found available fresh when deciding to cook the broth.
Fish that is quite strong in taste and quite oily, like mackerel, for example, is not the best choice for the broth, also fish fillets are not particularly recommended (although you can use them for practical reasons) as they will give you a slightly blander tasting broth, and that is because the real flavour comes out of the heads and the bones of the fish.
Recipe for this broth is timeless, it has been cooked and loved by the whole family since I was very little and really does take me right back to my childhood when my family used to run a small fish based restaurant.
This type of fish broth would be cooked in large quantities as it is also a fantastic base to use for sauces and for fish and seafood risotto, as it adds bags of extra flavour.
Ingredients
Serves 4
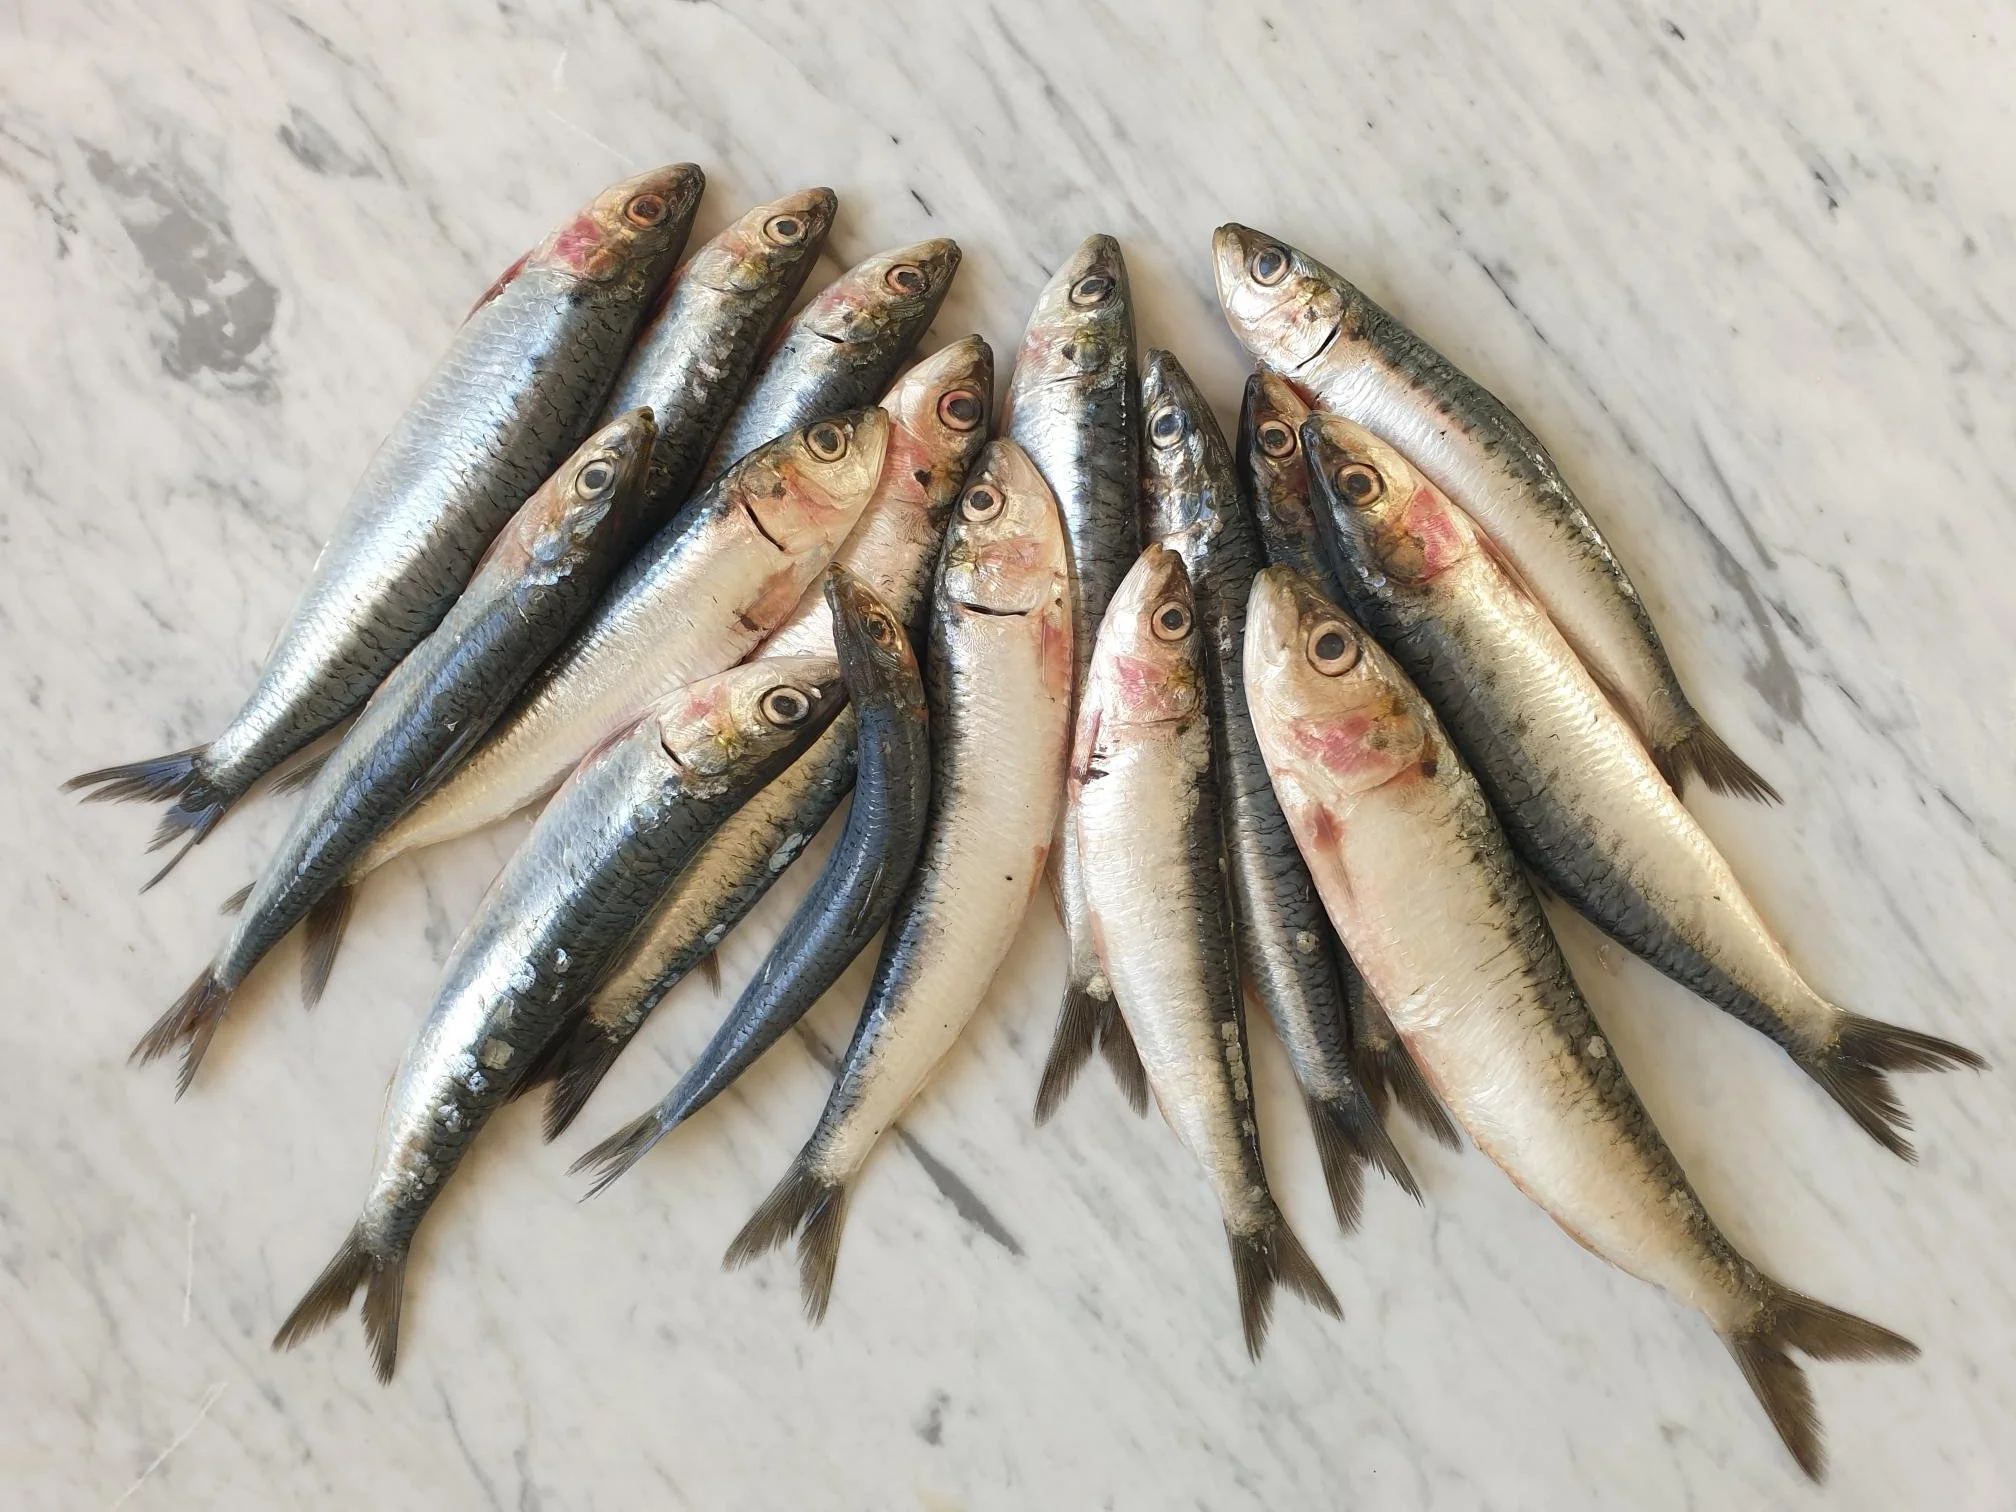
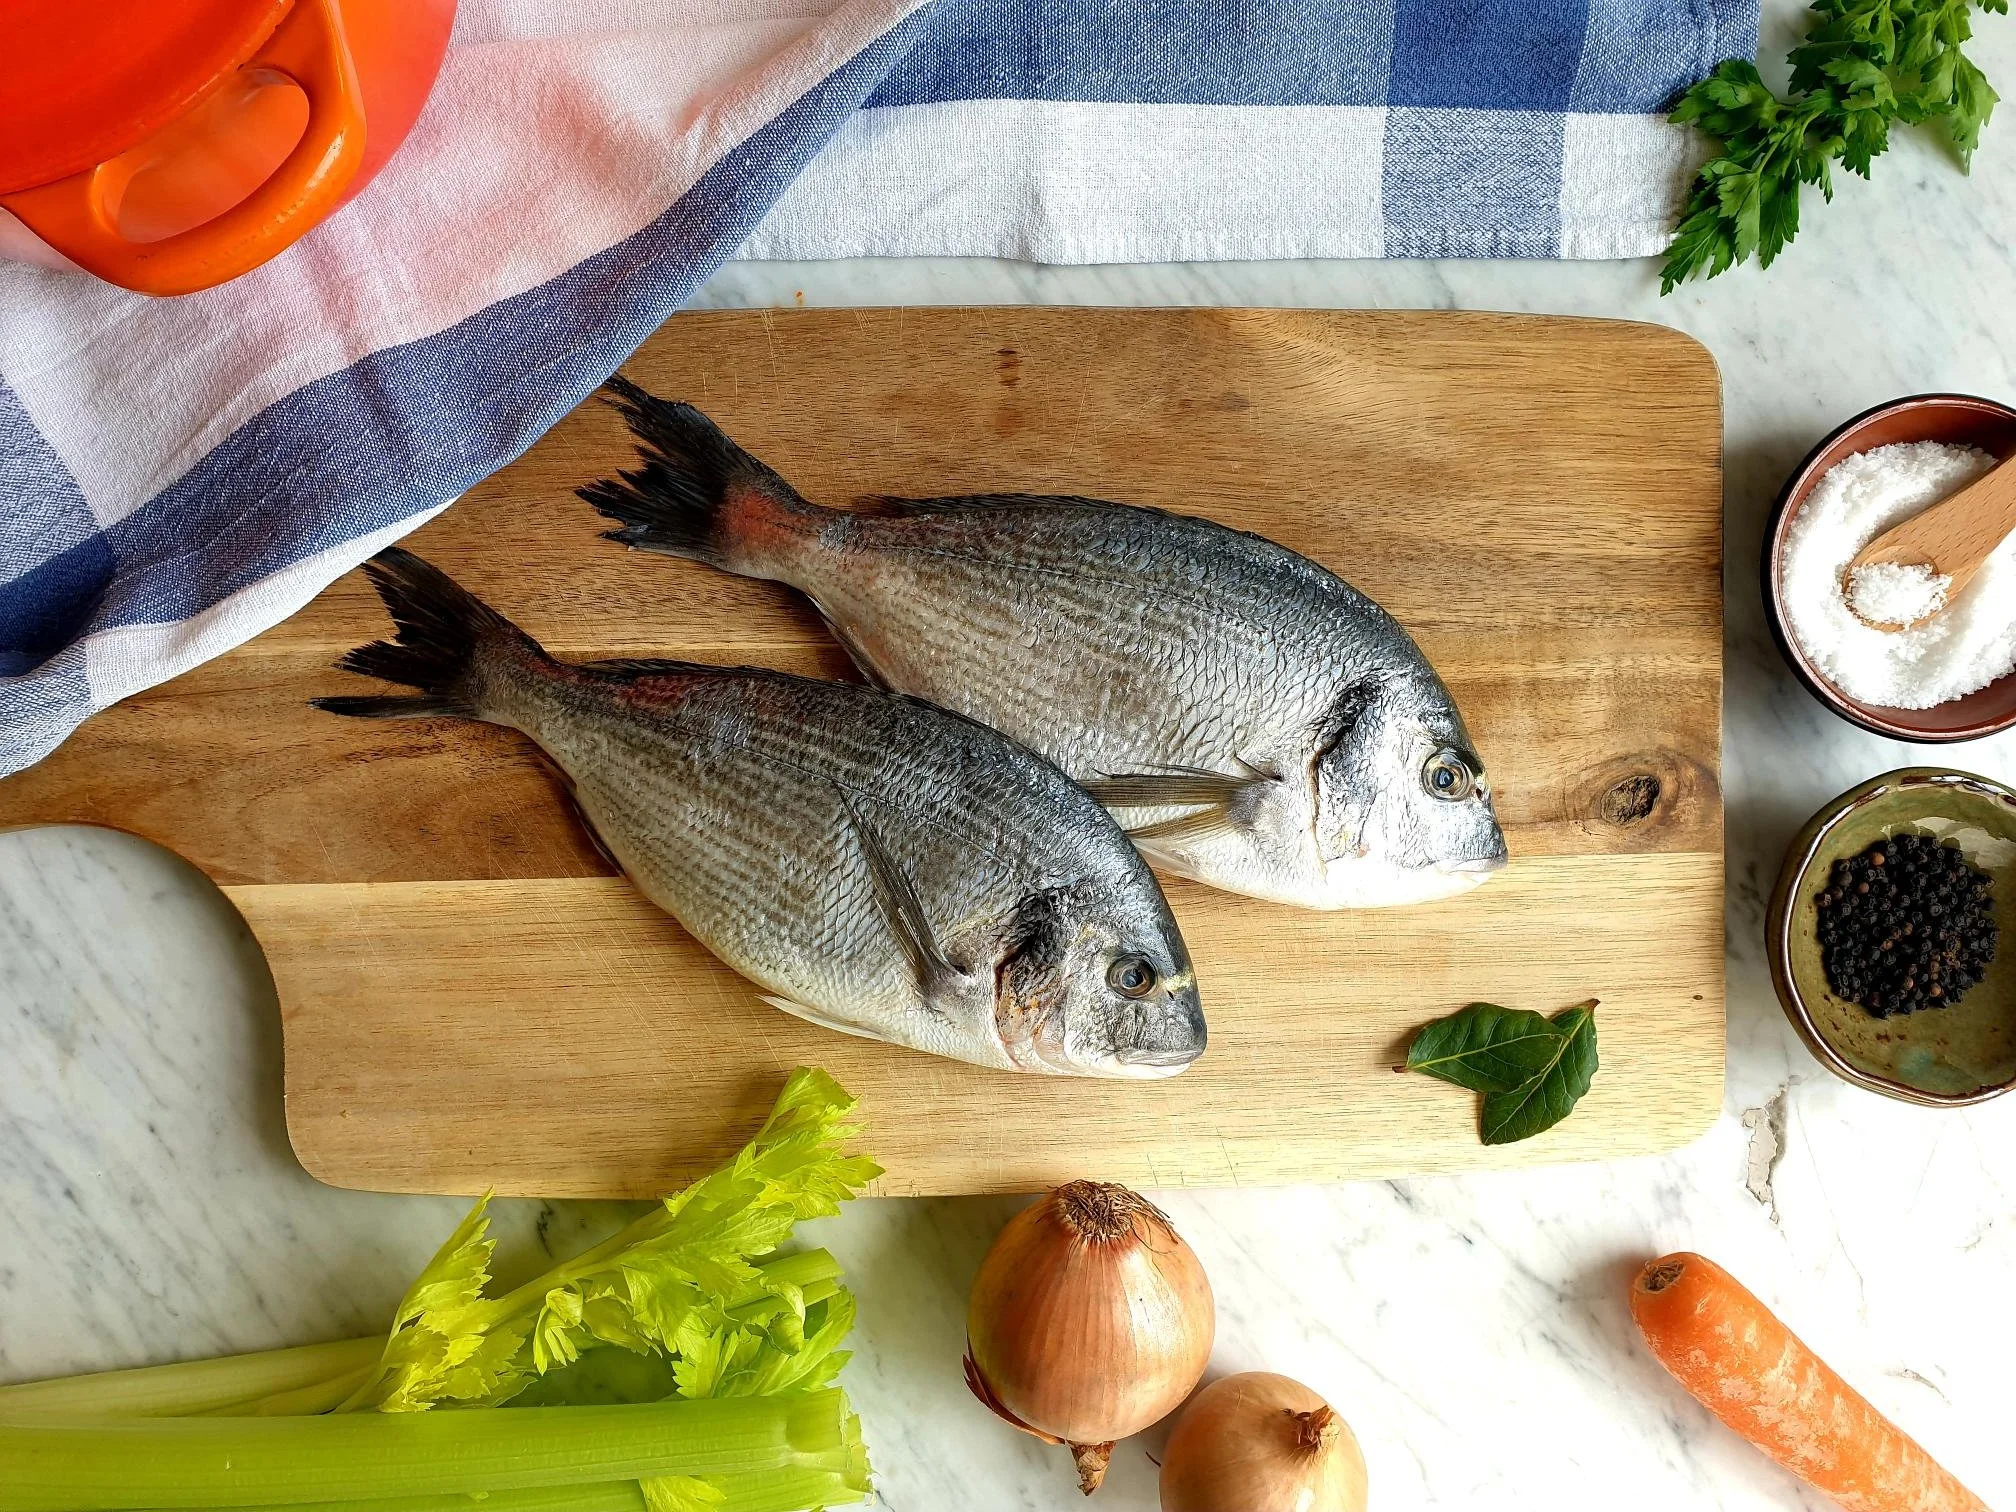
fresh whole sea bream, one big in size or a few smaller ones (total weight roughly between 400-600g), cleaned, scaled and gutted
1 medium onion, peeled and halved
1 medium carrot, peeled
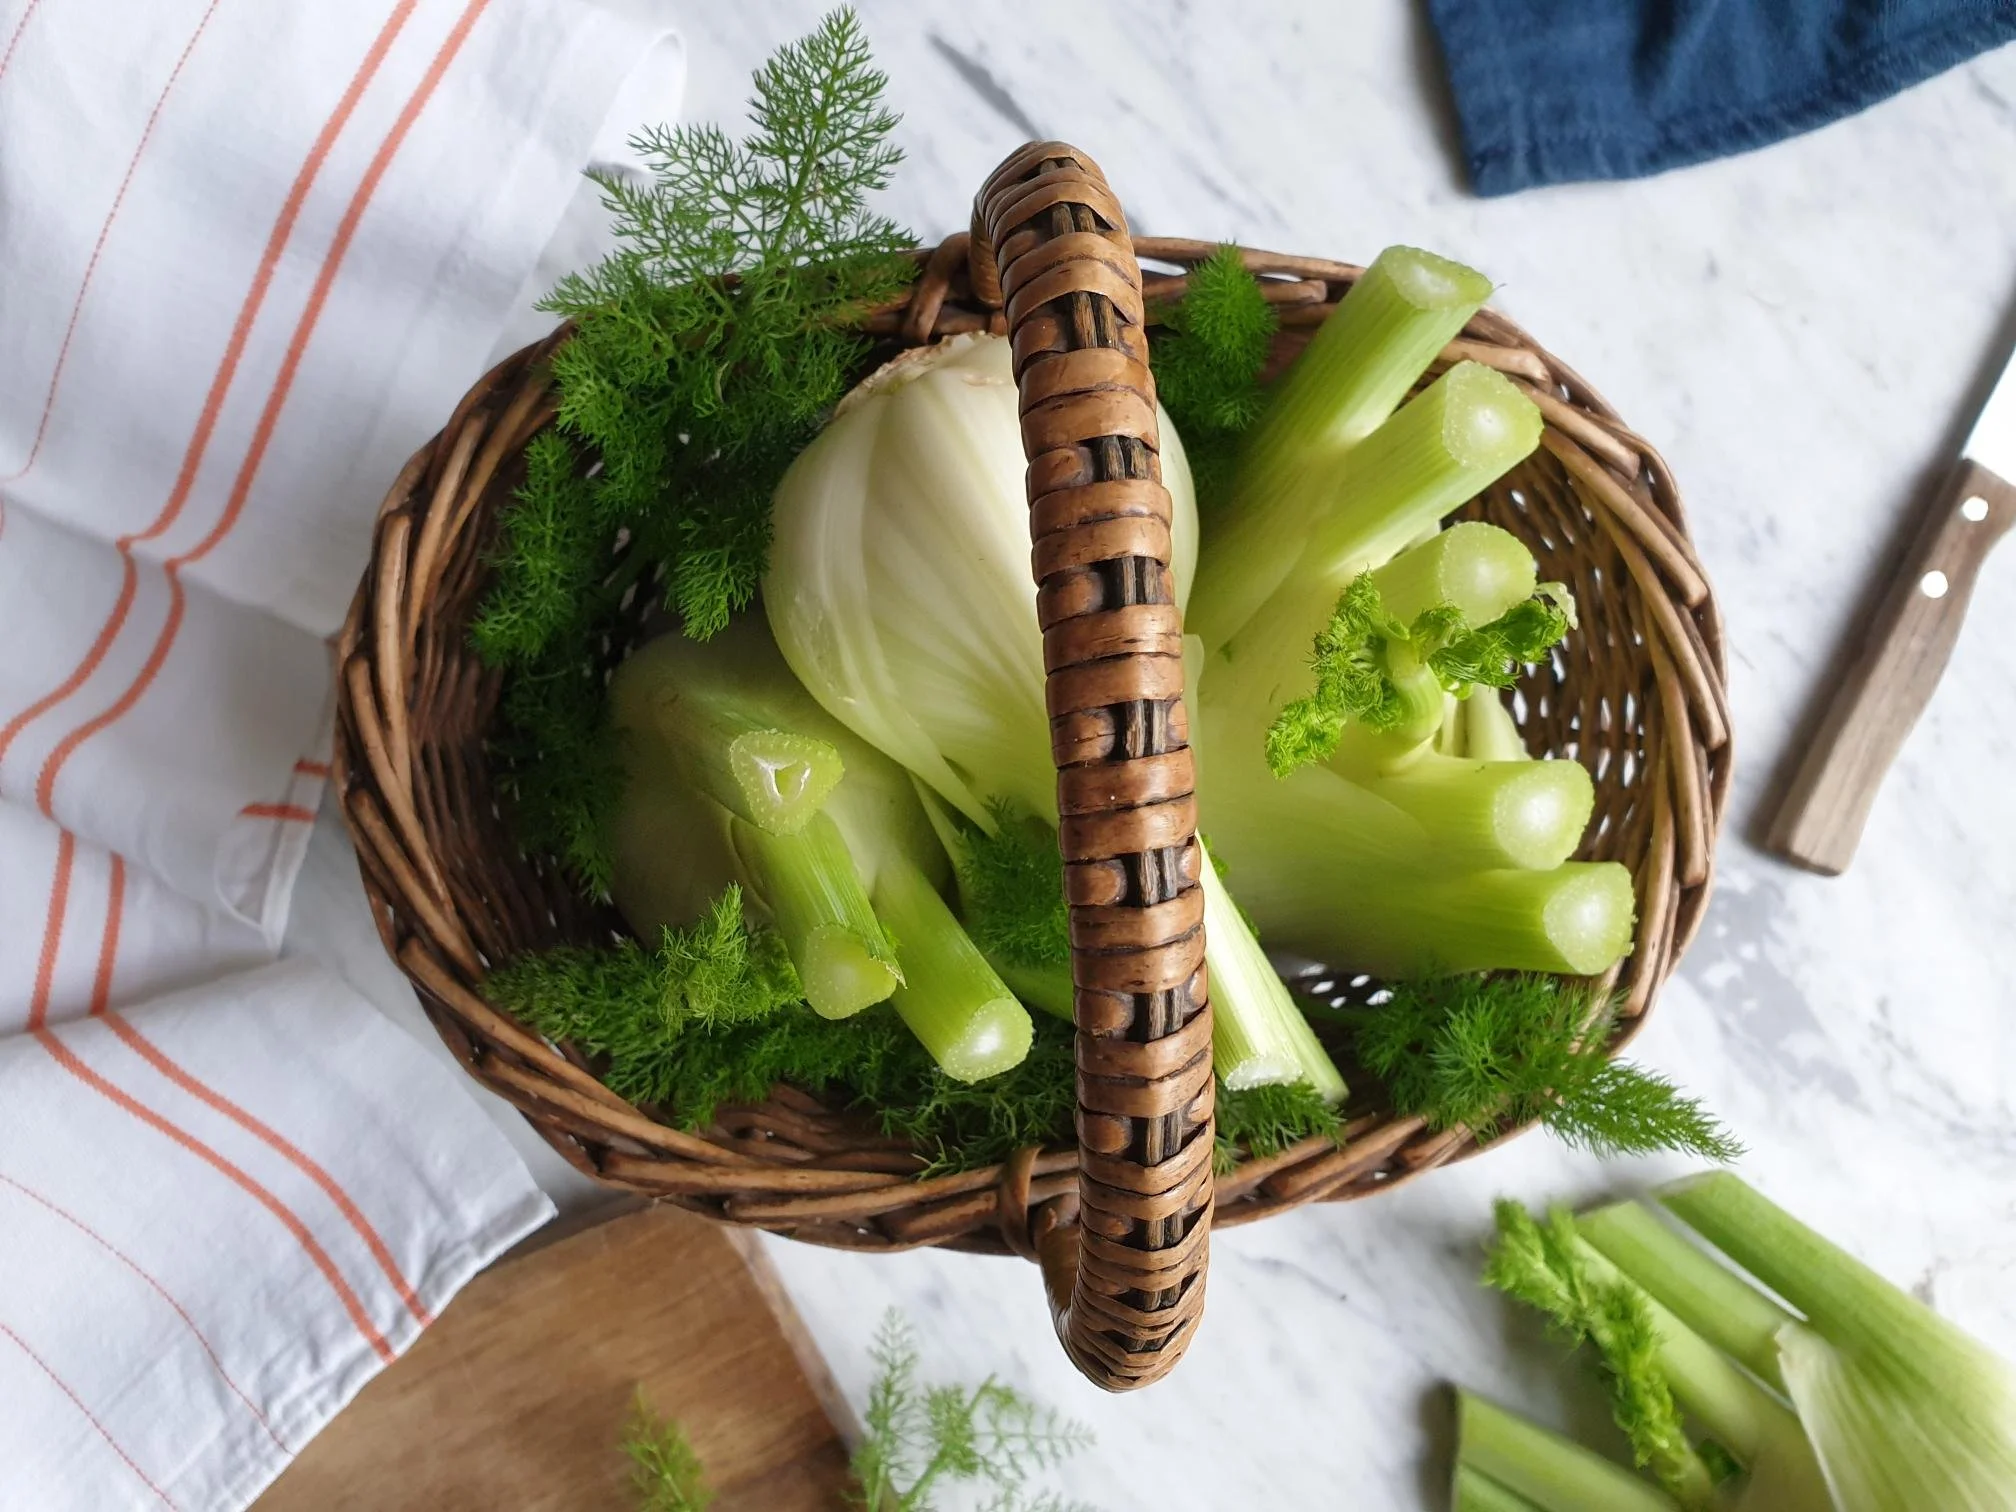
1 fresh celery stick, washed (with or without the leaves on)
2 fresh bay leaves, fresh or dry
2 branches of fresh flat leaf parsley, washed (plus some extra when serving the dish)
sea salt
few black peppercorns
extra virgin olive oil, for drizzling, optional
white rice, optional
Parmiggiano Reggiano or Padano cheese, freshly grated, optional
Method
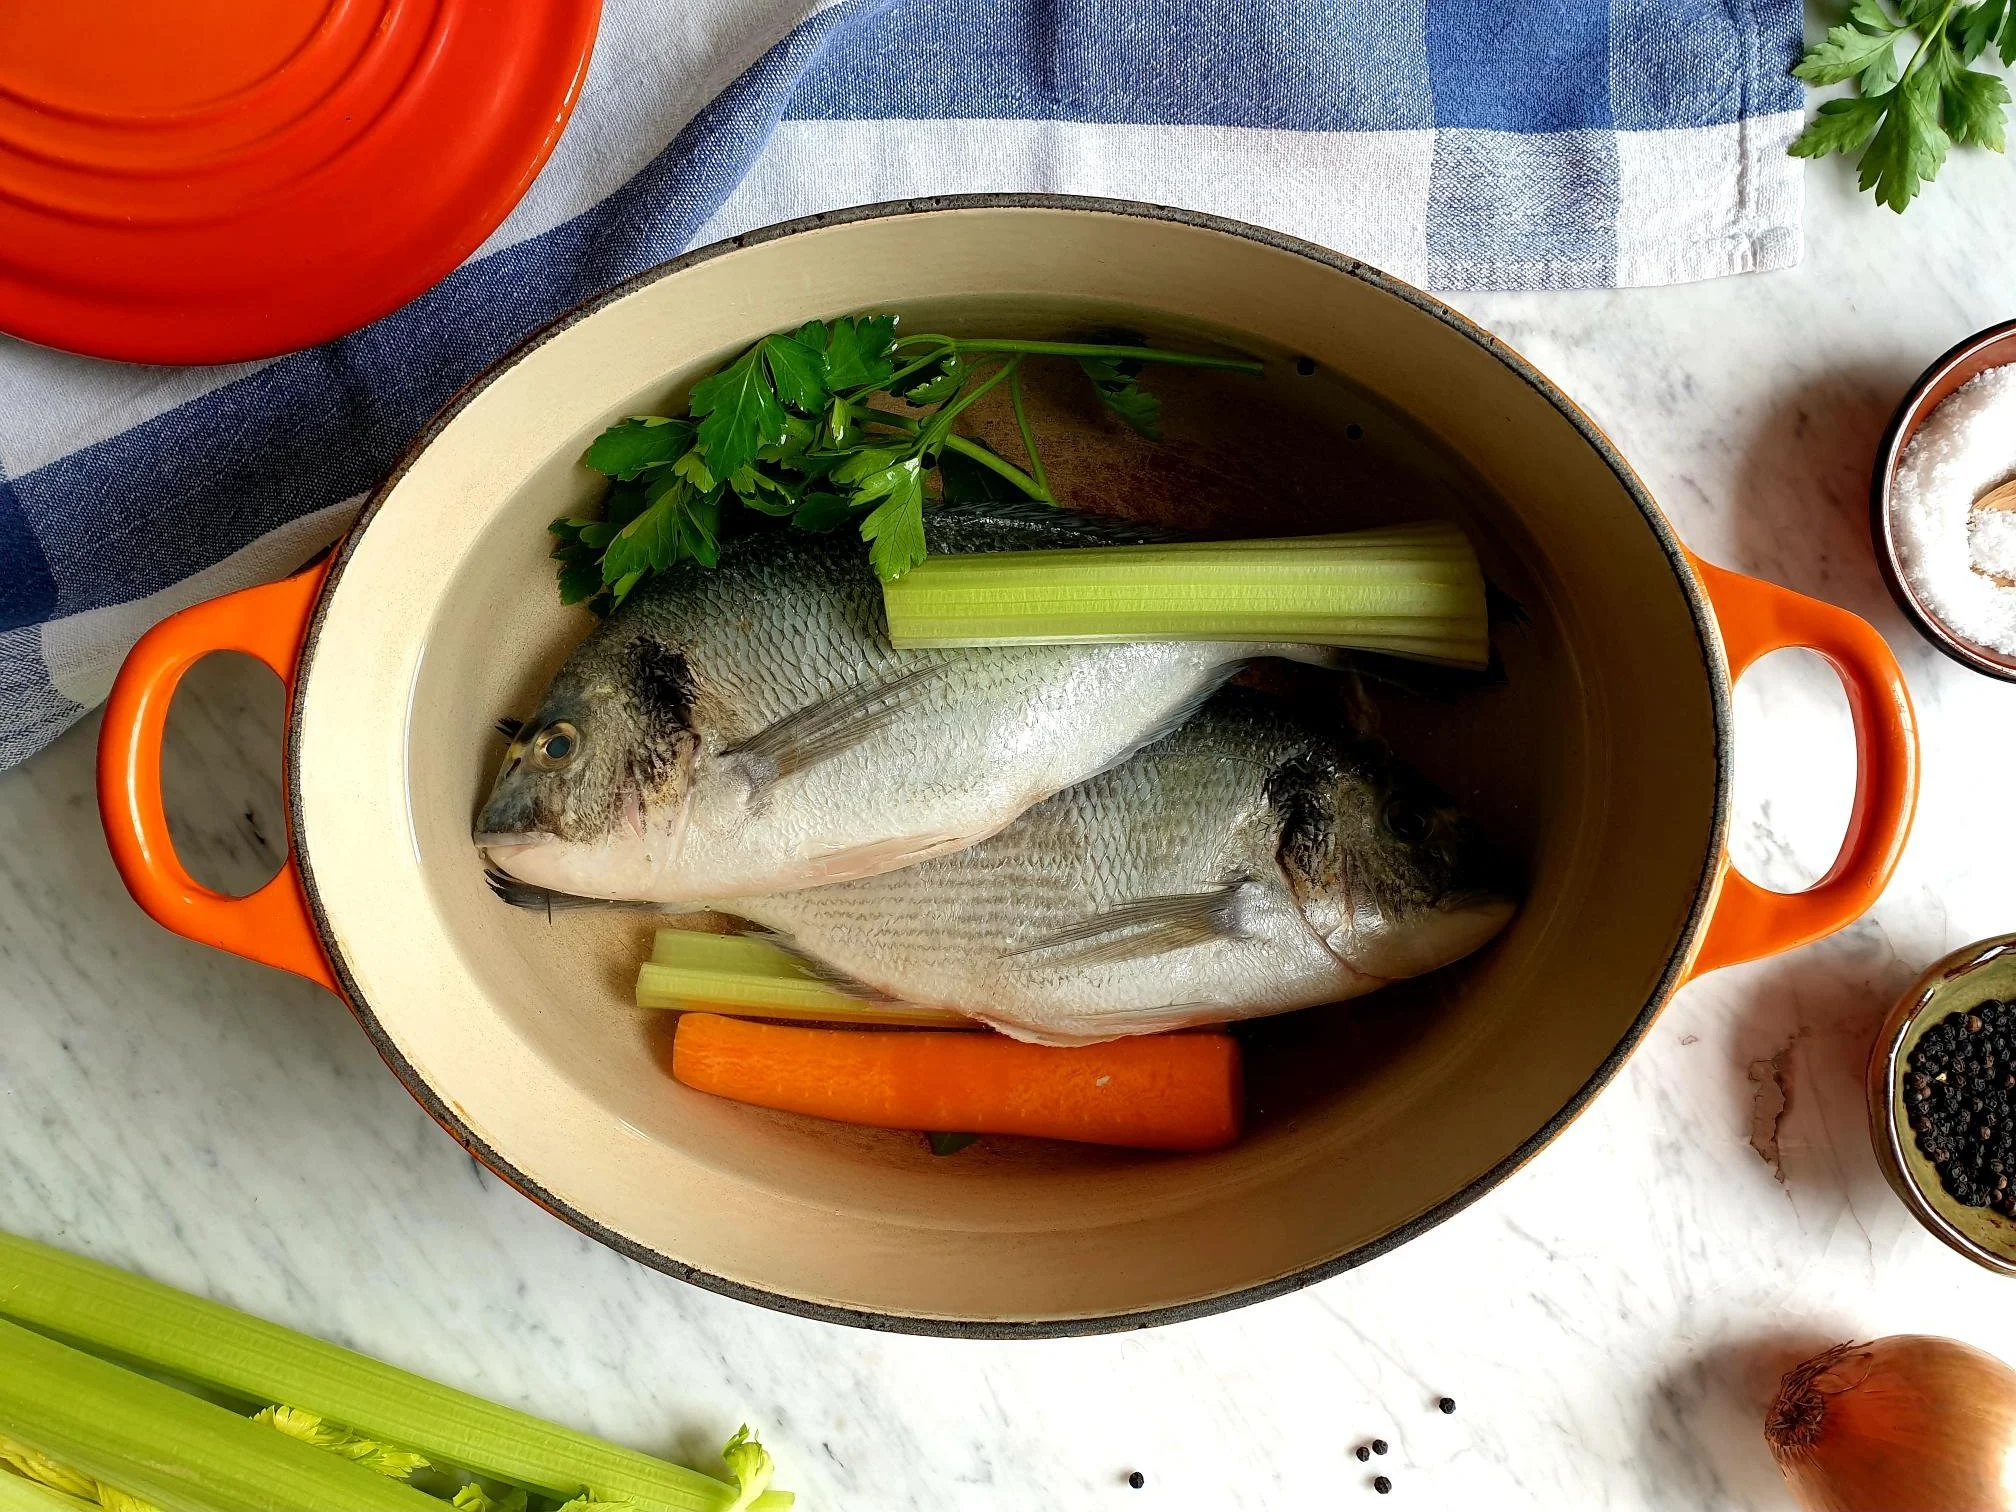
Place sea bream in a pan or stock pot large enough to accommodate the fish lying flat (if using more than one sea breams they can overlap a bit but avoid laying them one on top of the other).
Add onion, carrot, celery stick, bay leaves, fresh parsley and a pinch of salt.
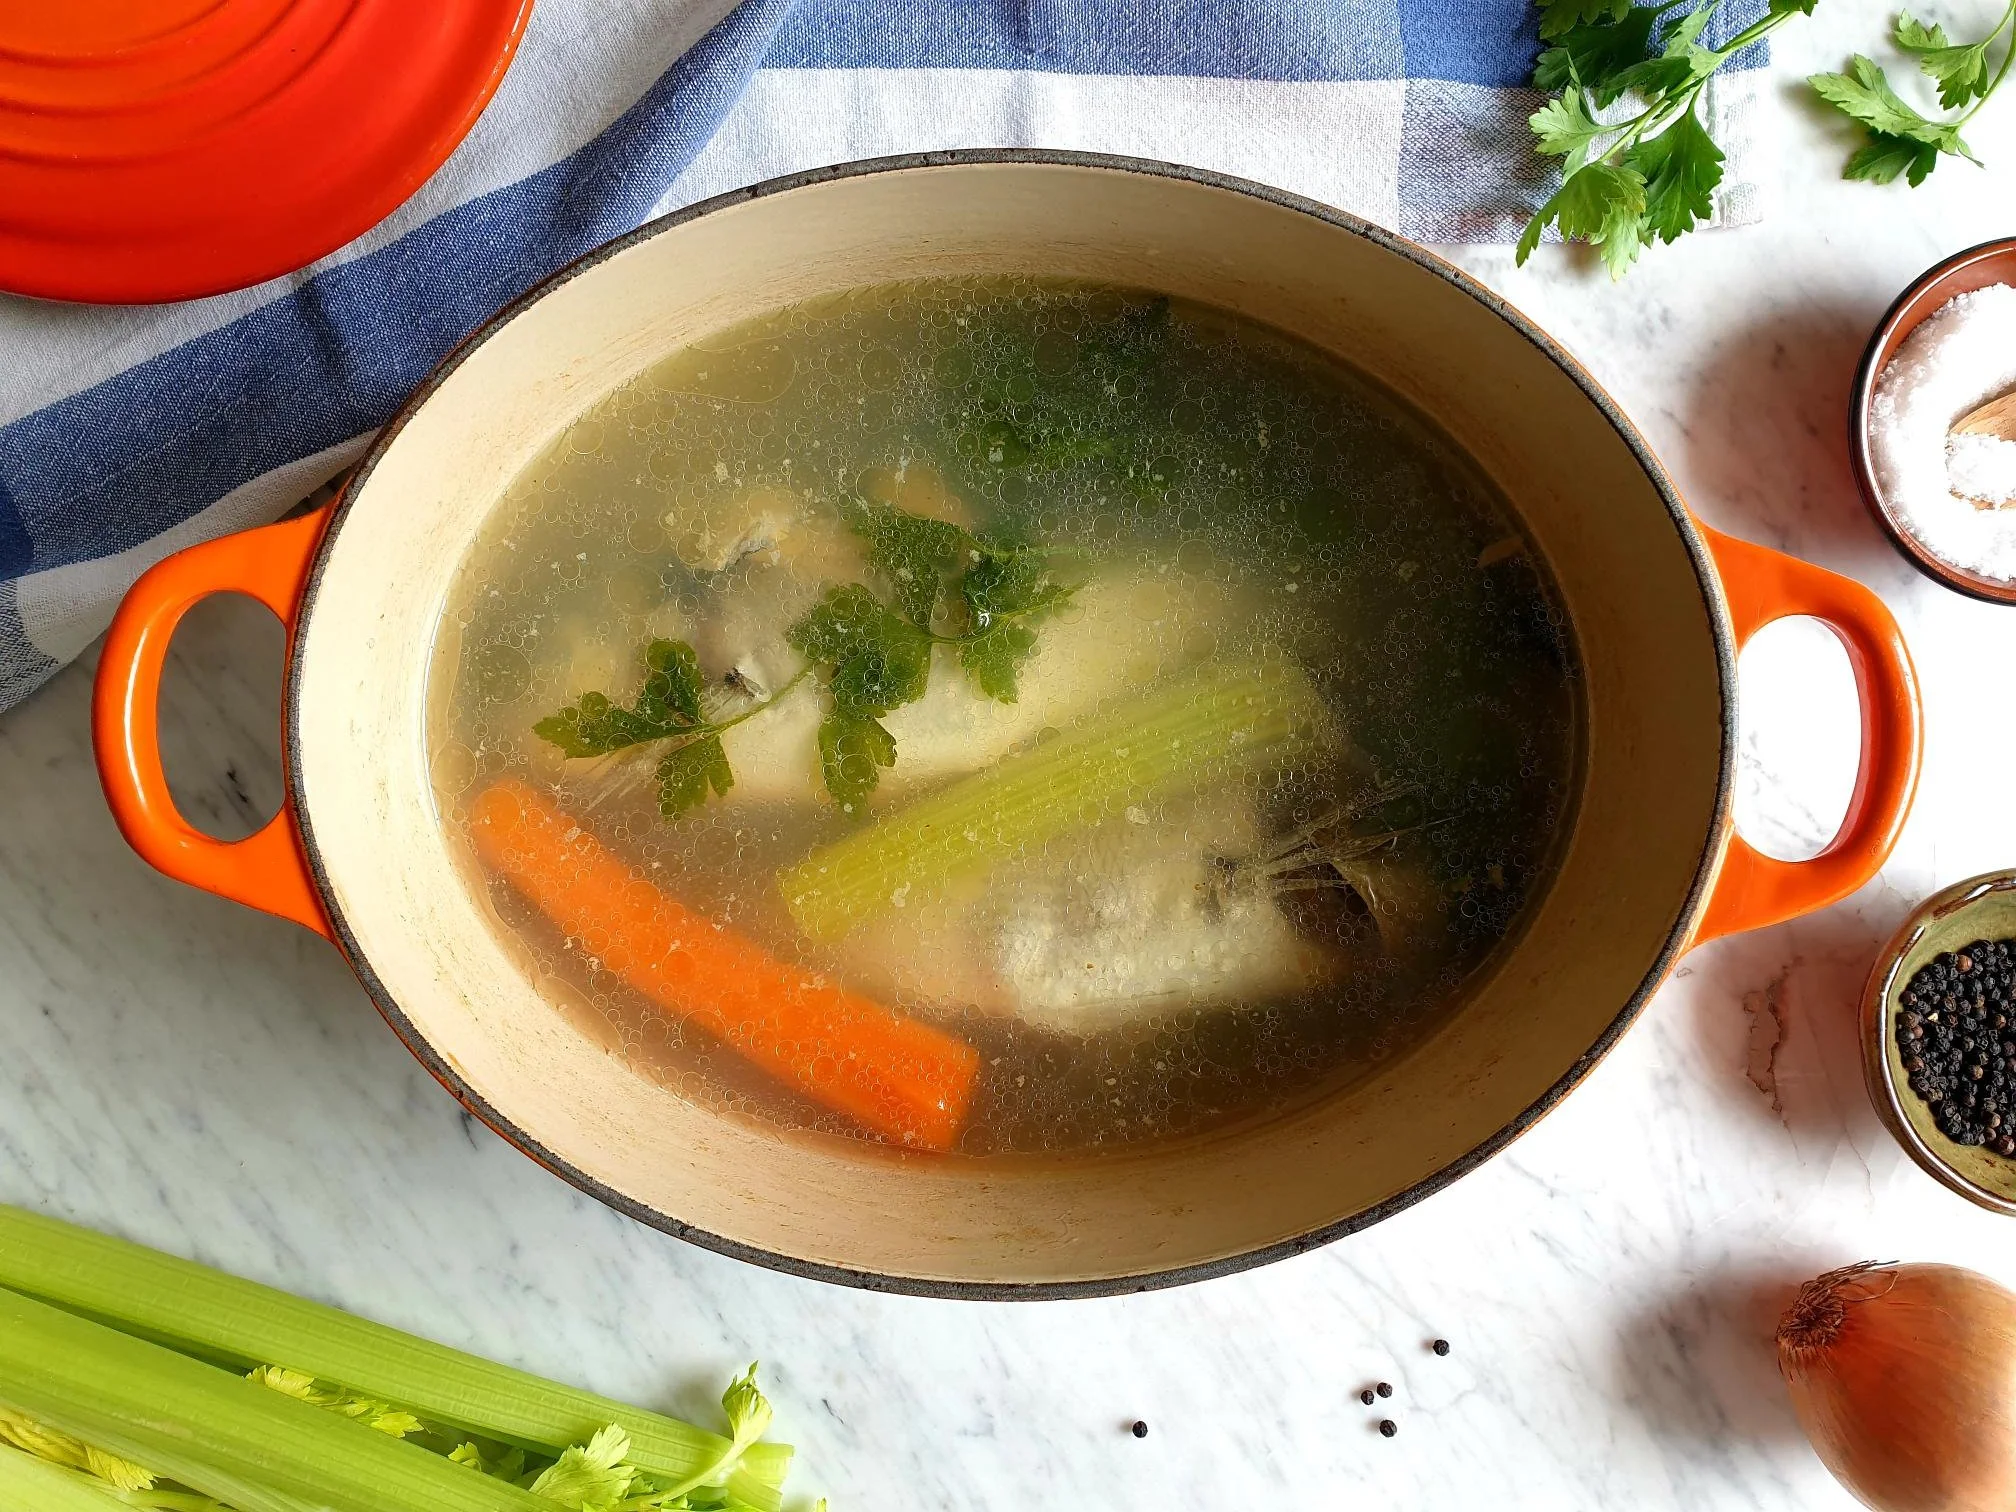
Add 2 litres of cold water and bring to boil.
Lower the heat and gently cook for about 1 hour with the lid partially uncovered.
Check occasionally so the broth does not boil too vigorously (this can break the fish into pieces) and skim off any scum if it forms.
Cook the rice as instructed on the pack, if using to add to the broth (a small handful of rice per person).
Carefully remove the fish from the pan, the use of slotted or unslotted turner spatula on each end of the fish will help to lift the fish out of the pan and place it on a big plate or chopping board.
Allow the fish to cool a bit to a manageable temperature.
Clean sea bream by removing the tails, heads, the skin and all the bones in order to obtain small fillets of fish.
Put the fillets in a dish and cover with the aluminium foil to prevent drying and set aside for later use.
Pour the broth through a fine strainer or sieve into another pan.
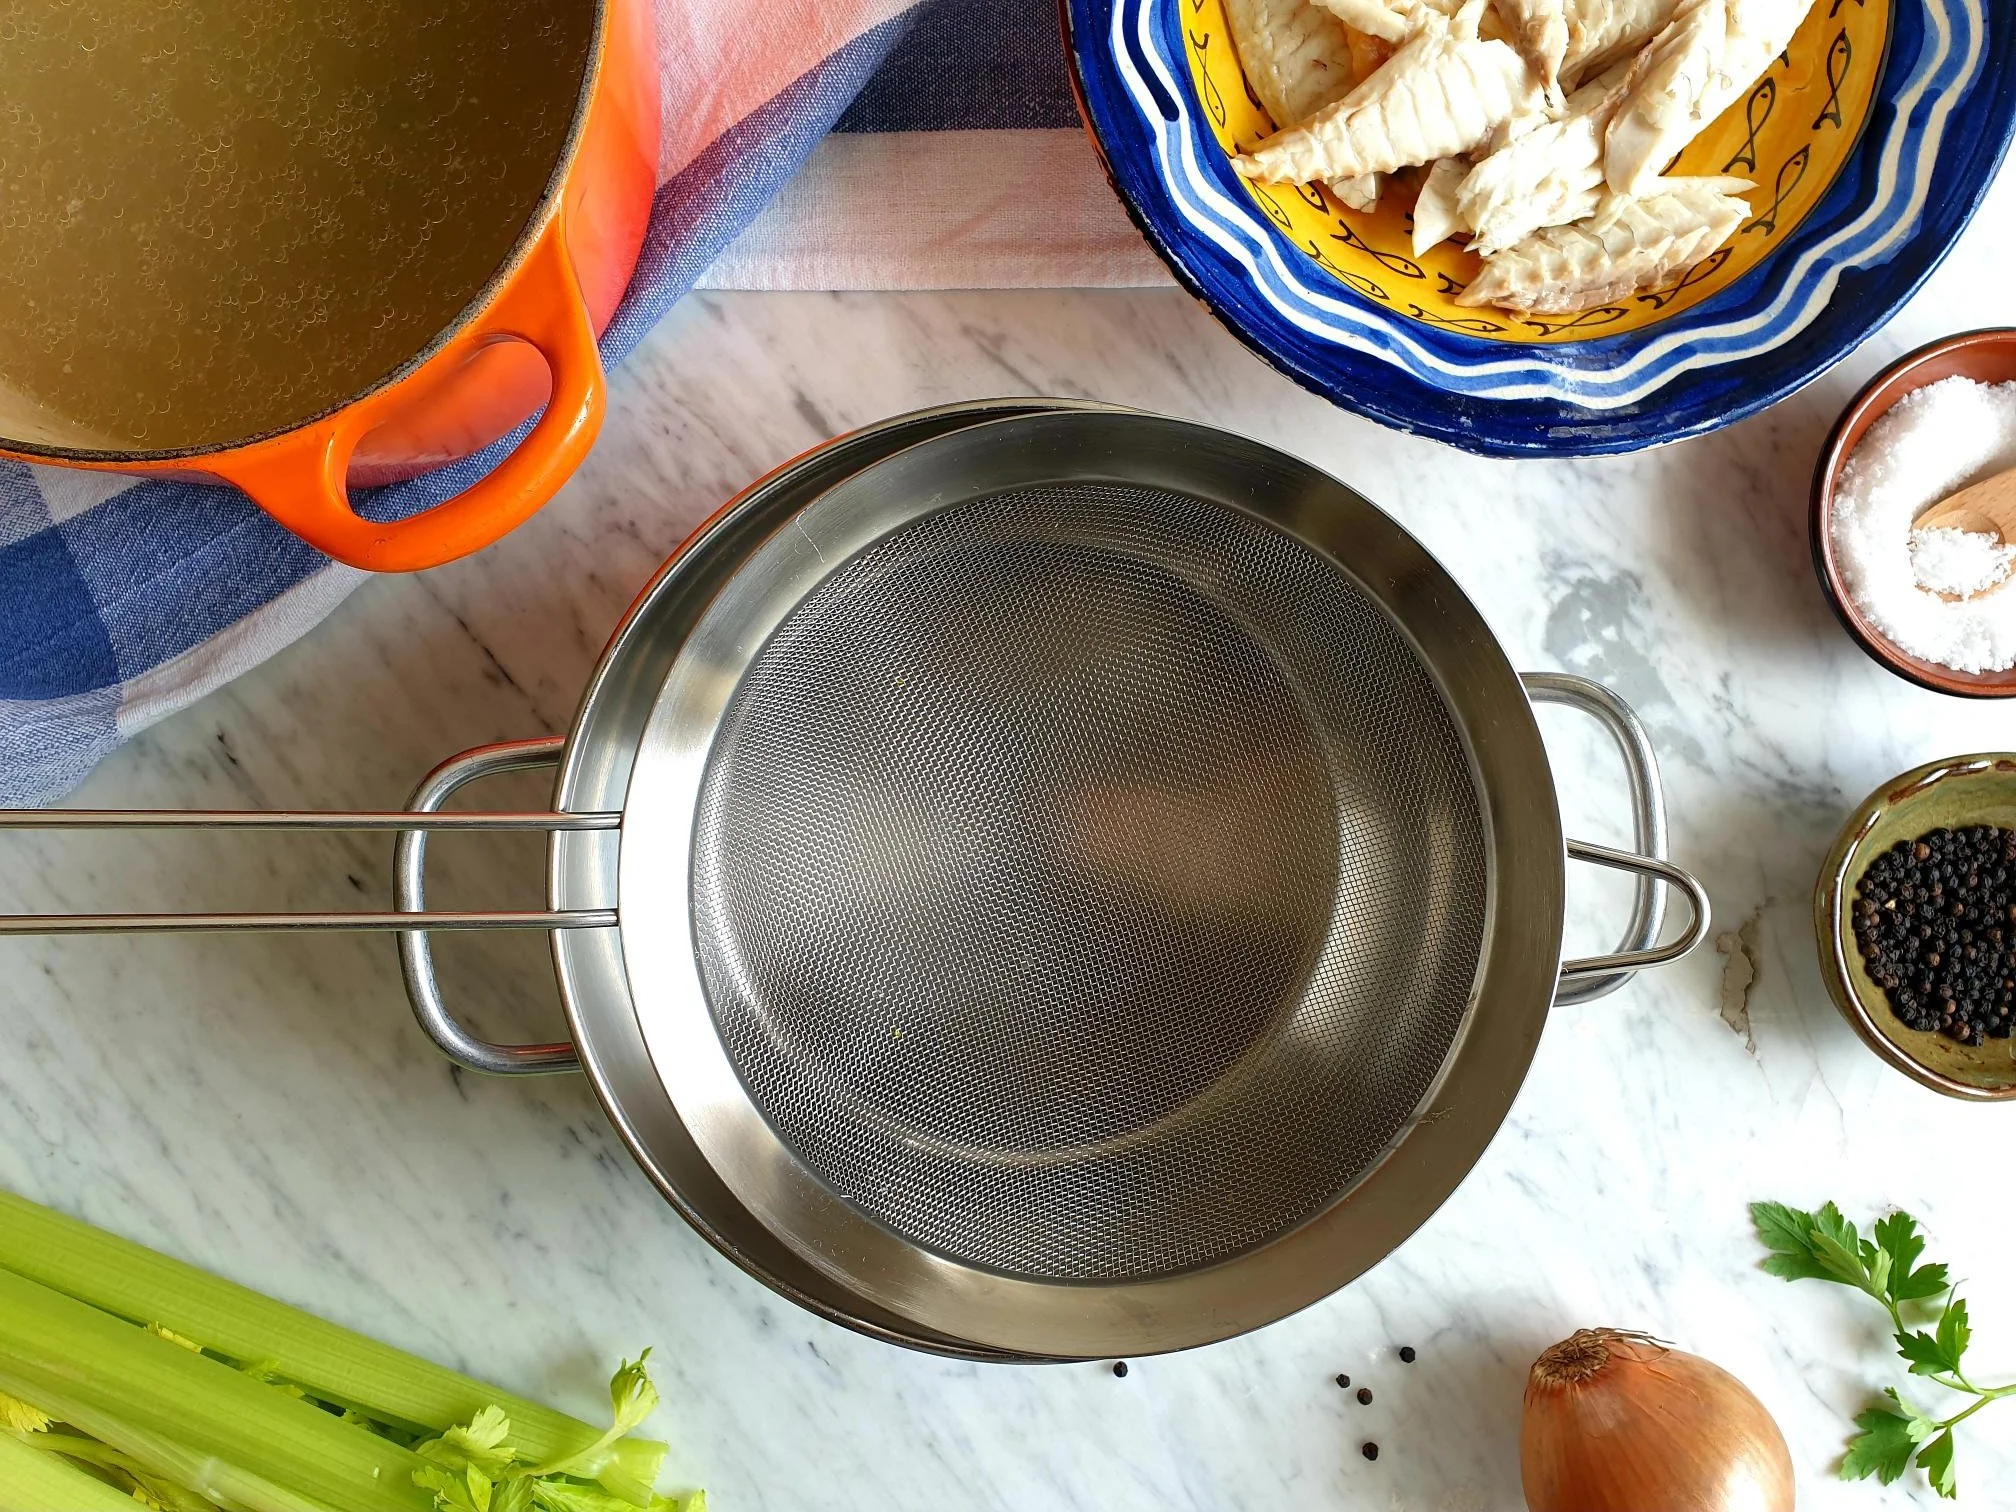
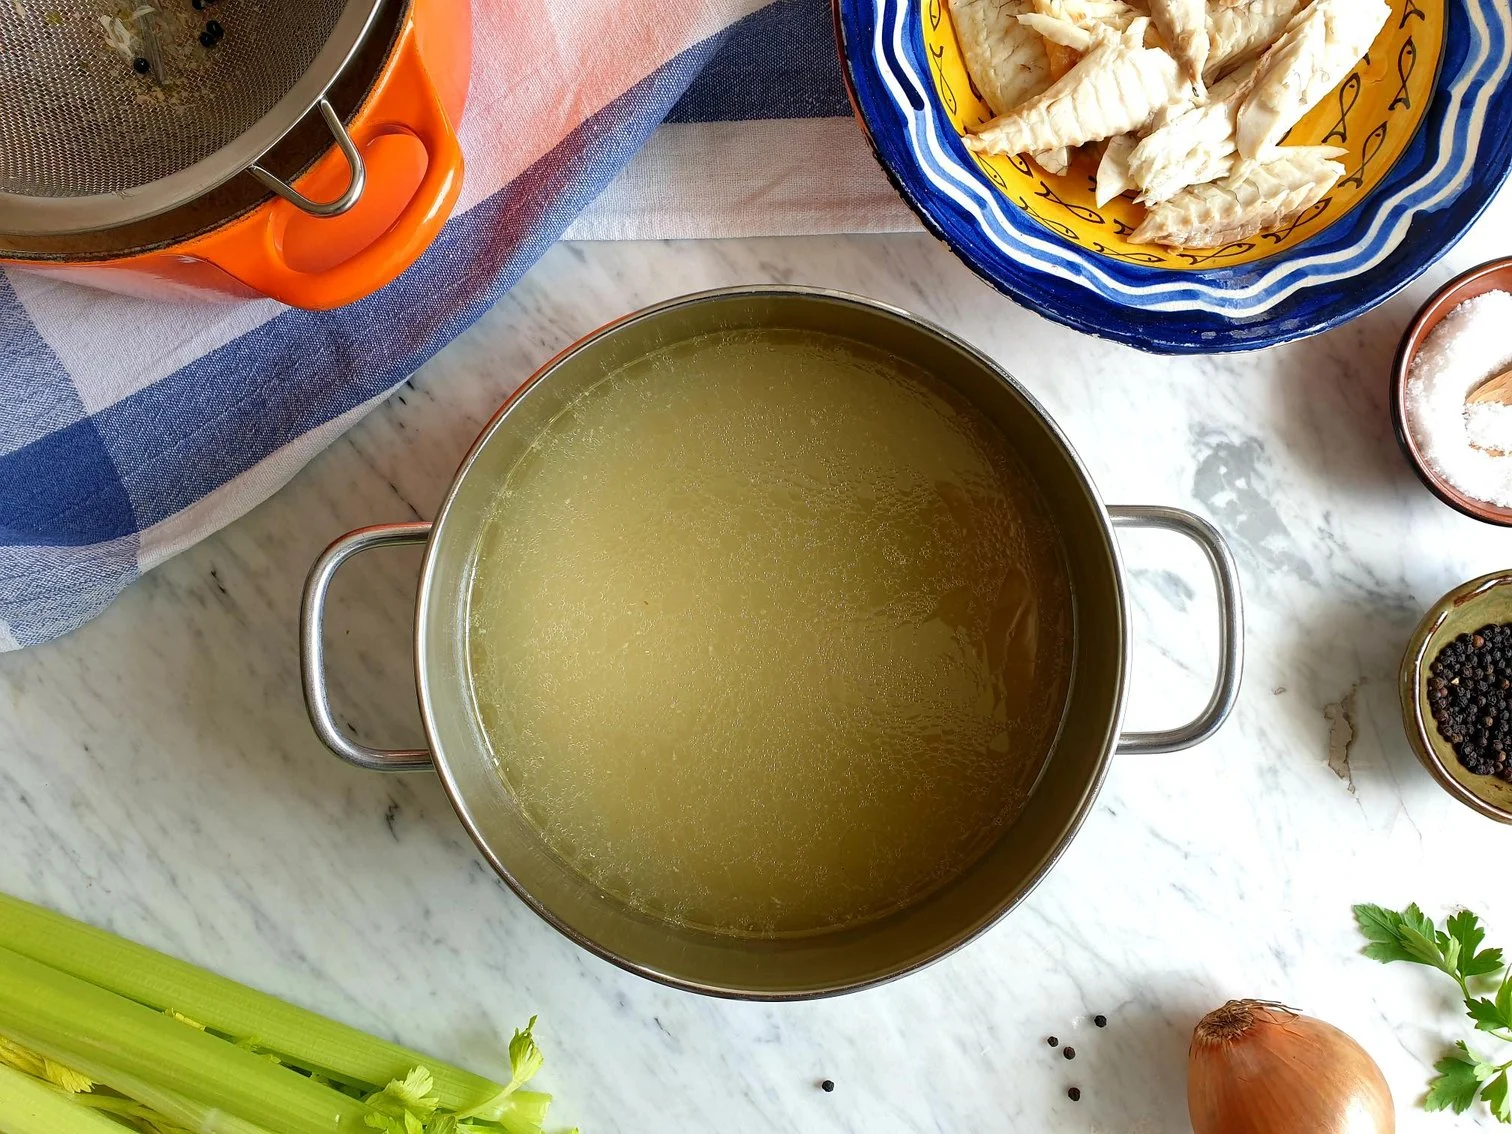
Add previously cleaned pieces of fish (small fillets) back into a pan with a filtered broth.
Discard bits and pieces caught in the strainer or in the sieve.
Taste and adjust the seasoning with sea salt.
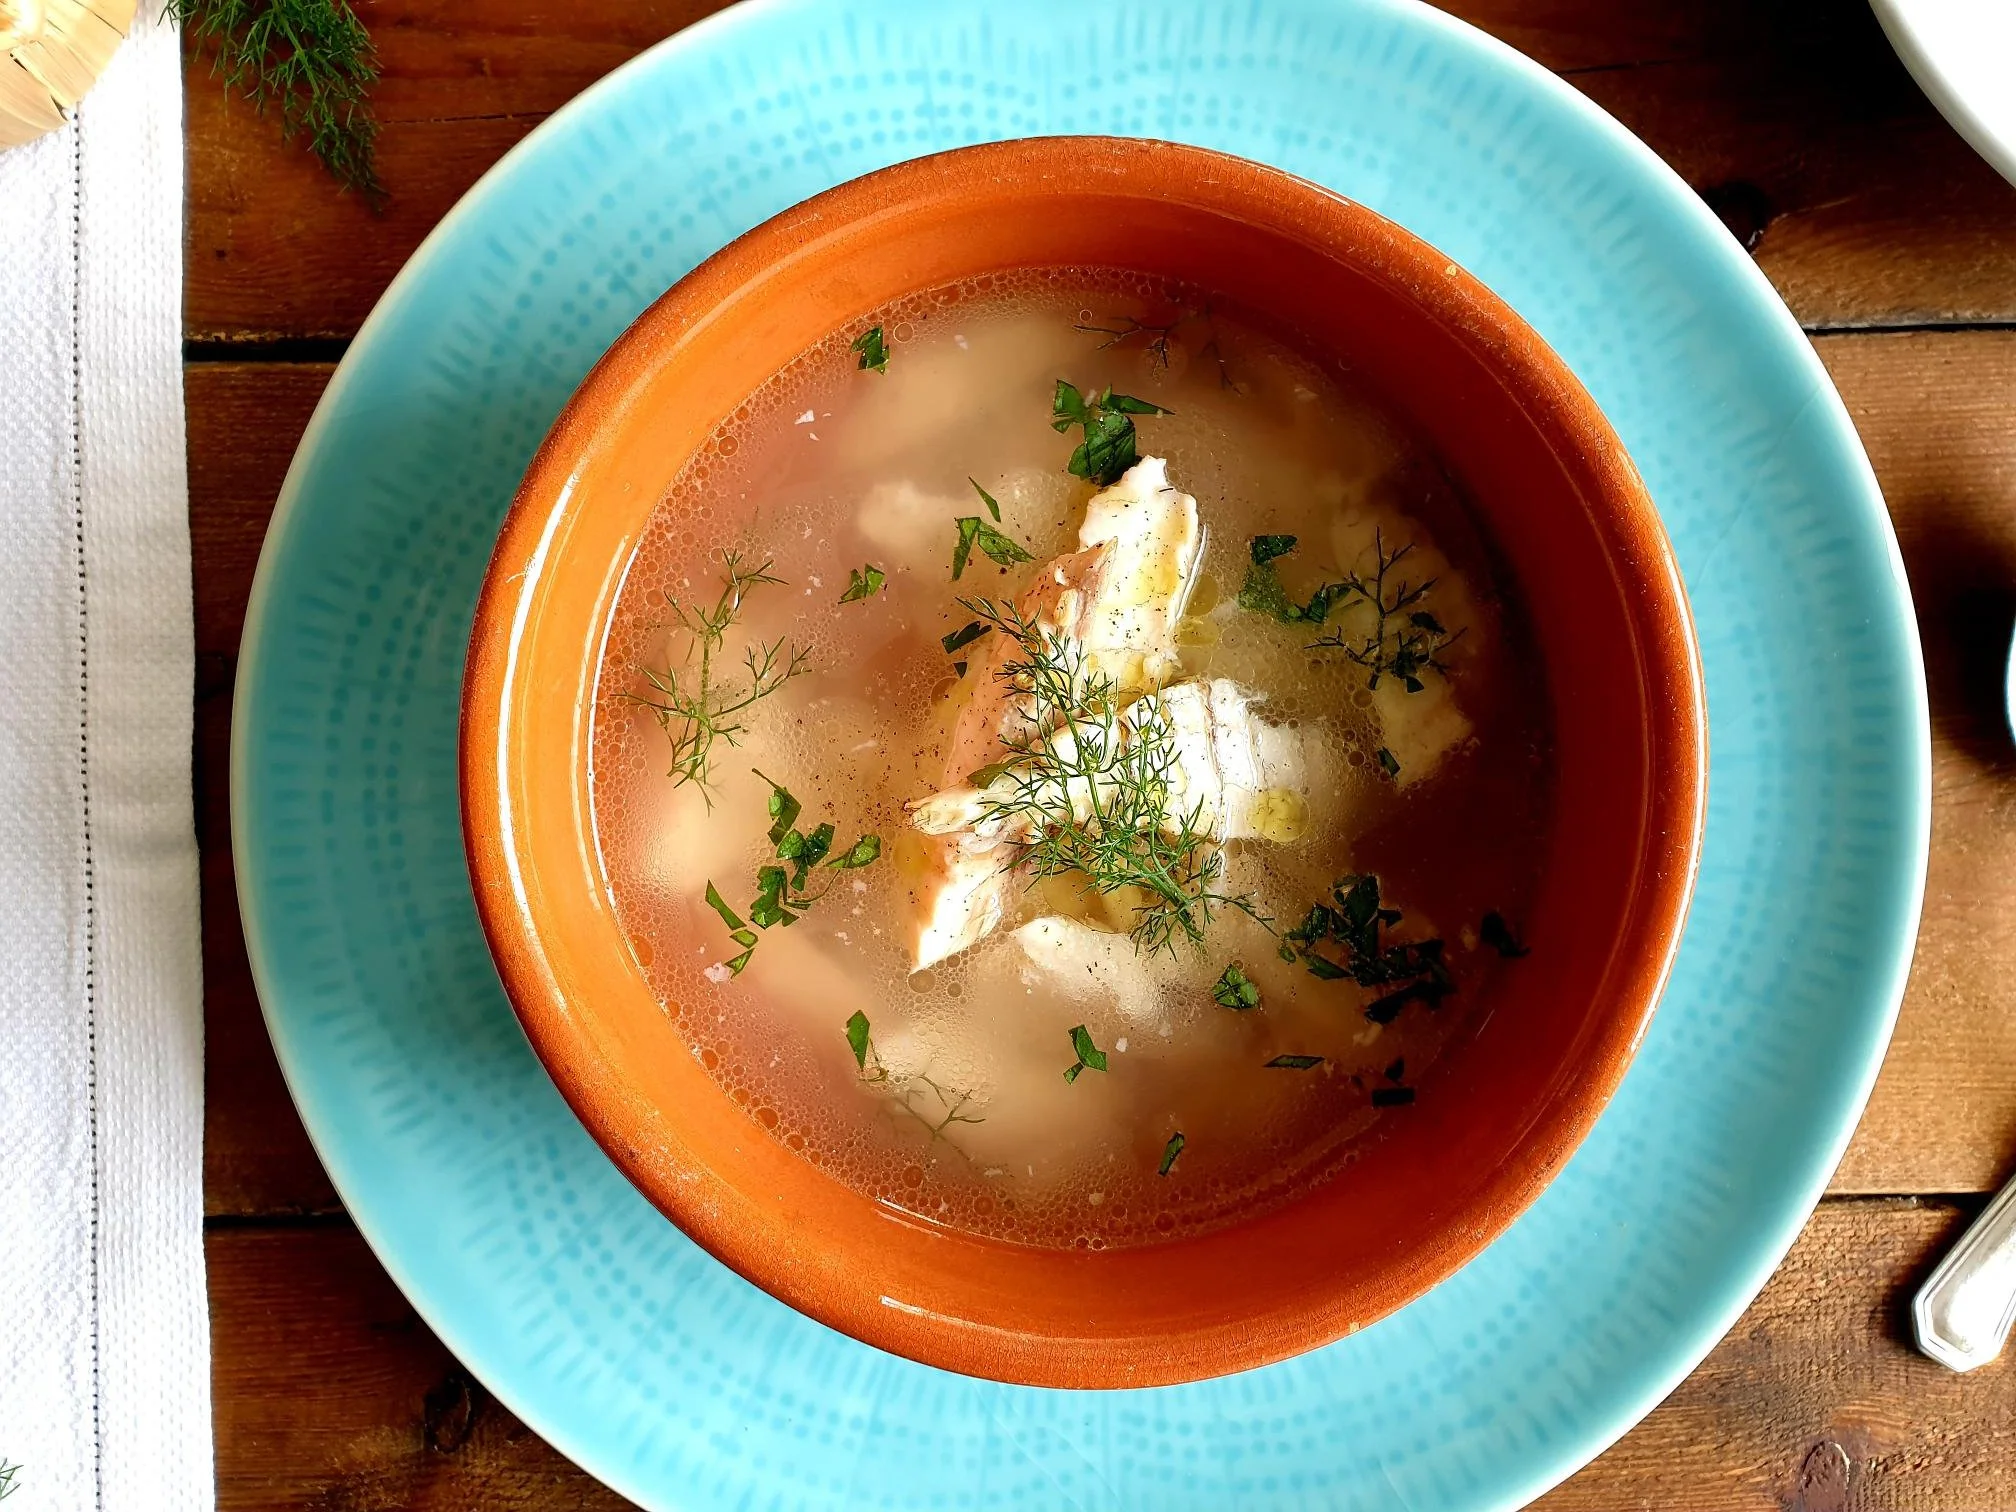
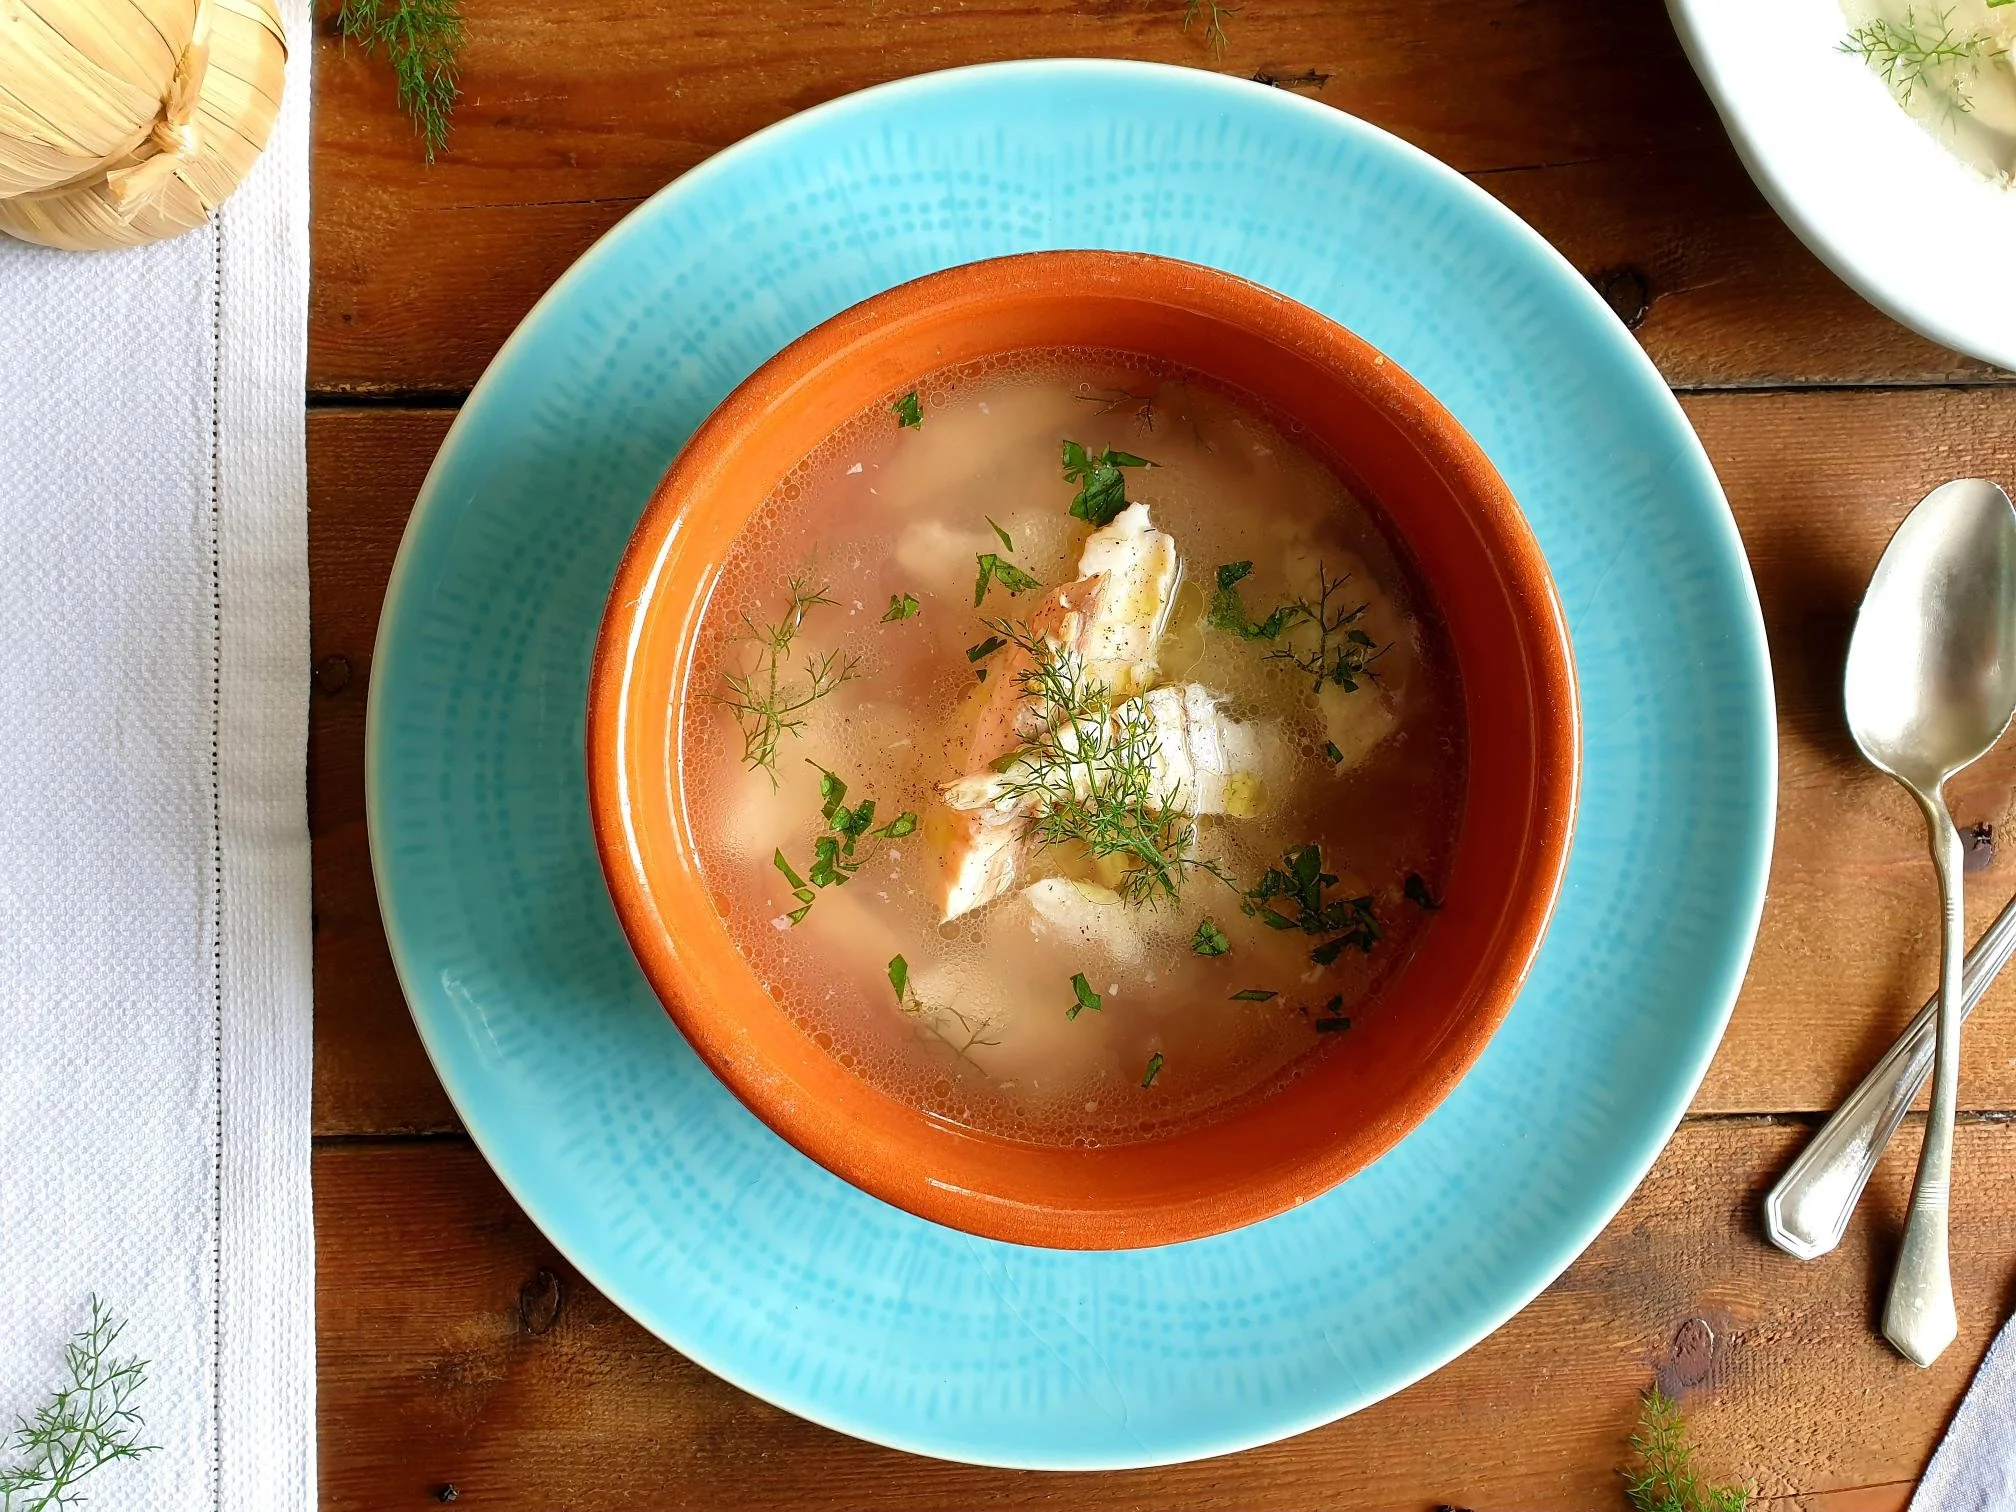
Ladle the broth into serving soup plates or bowls, sprinkle with roughly chopped fresh parsley, drizzle of extra virgin olive oil, add a small handful of cooked rice if desired, and serve hot, immediately with some fresh crunchy bread.
Just a thought
Freshly cooked fish broth will keep in the fridge for a few days in the airtight container and is suitable for freezing.
You can cook this broth using only the heads and the bones of the fish and use the fillets for a different recipe or make a second course with them.
Wine suggestion
Vino Bianco "Turno Belo" - Movia